1.LMDeploy环境部署
InternStudio上提供了快速创建conda环境的方法。打开命令行终端,创建一个名为lmdeploy的环境:
studio-conda -t lmdeploy -o pytorch-2.1.2
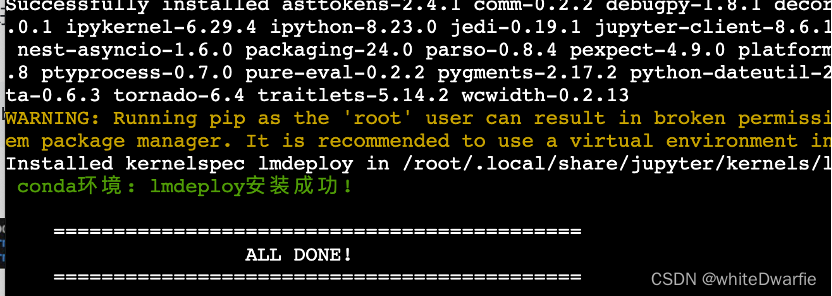
成功后显示:
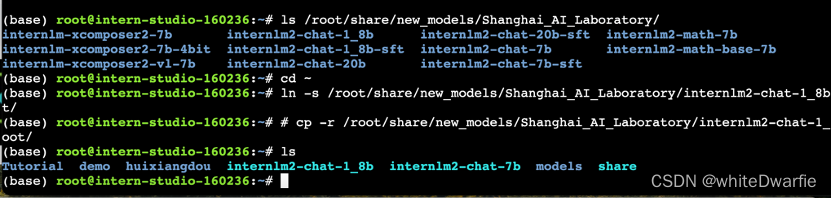
可以运行如下命令查看开发机的共享目录中常用的预训练模型:
ls /root/share/new_models/Shanghai_AI_Laboratory/
显示如下,每一个文件夹都对应一个预训练模型。
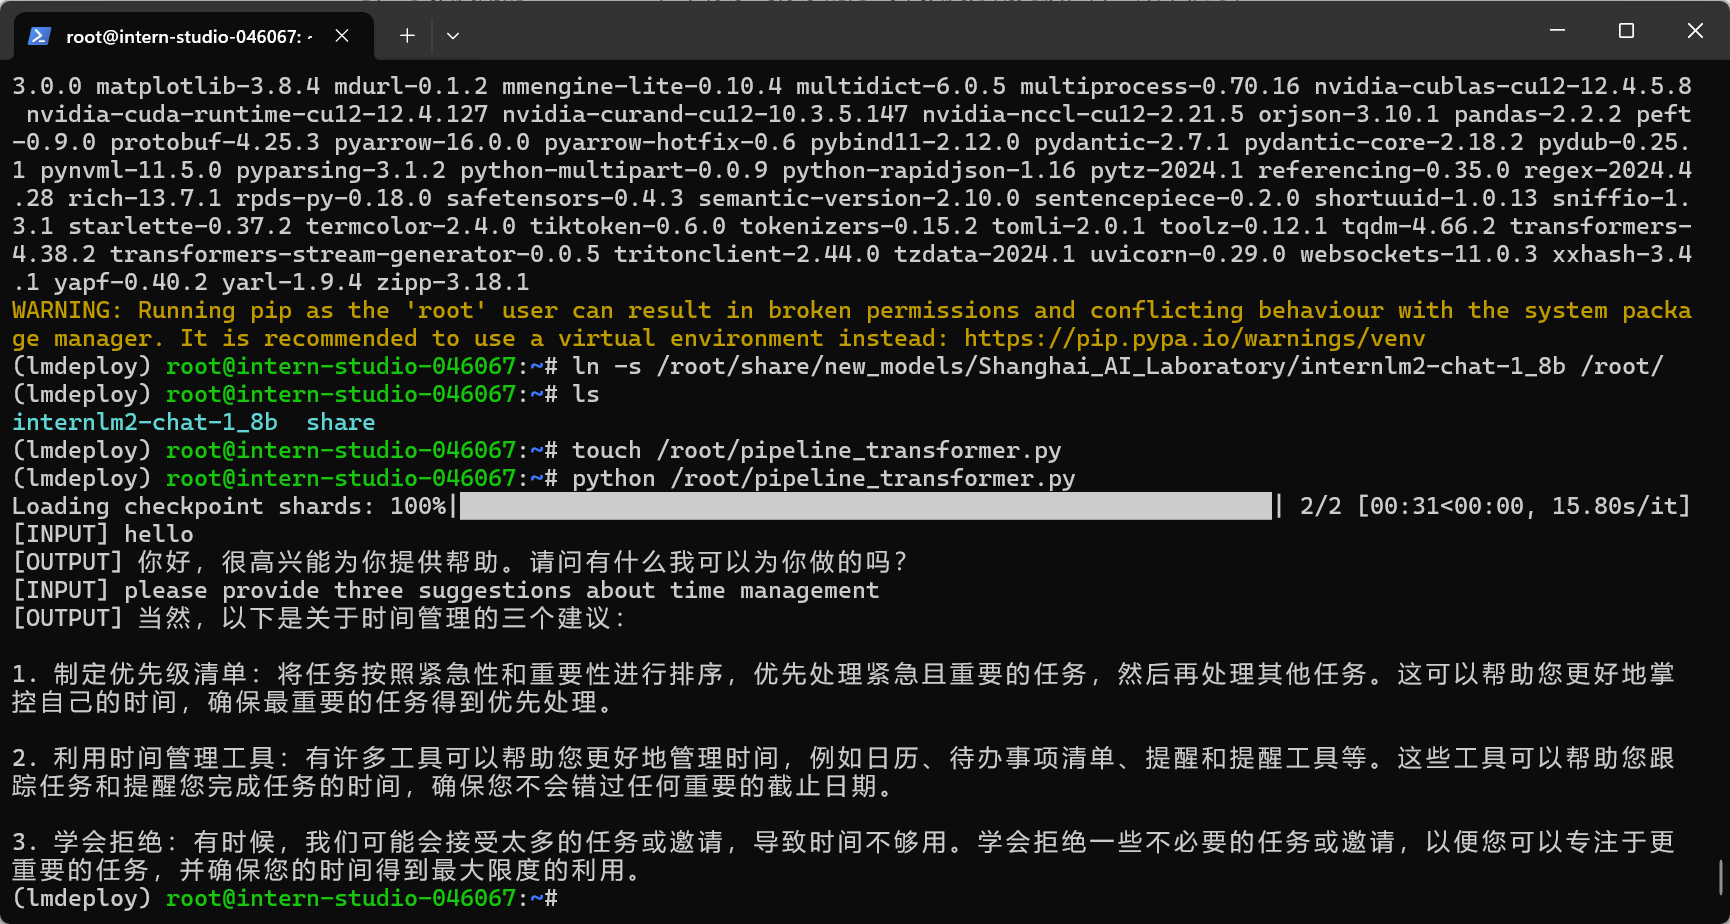
使用Transformer库运行模型
新建pipeline_transformer.py。
touch /root/pipeline_transformer.py
将以下内容复制粘贴进入pipeline_transformer.py。
import torch
from transformers import AutoTokenizer, AutoModelForCausalLM

tokenizer = AutoTokenizer.from_pretrained("/root/internlm2-chat-1_8b", trust_remote_code=True)

# Set `torch_dtype=torch.float16` to load model in float16, otherwise it will be loaded as float32 and cause OOM Error.
model = AutoModelForCausalLM.from_pretrained("/root/internlm2-chat-1_8b", torch_dtype=torch.float16, trust_remote_code=True).cuda()
model = model.eval()

inp = "hello"
print("[INPUT]", inp)
response, history = model.chat(tokenizer, inp, history=[])
print("[OUTPUT]", response)

inp = "please provide three suggestions about time management"
print("[INPUT]", inp)
response, history = model.chat(tokenizer, inp, history=history)
print("[OUTPUT]", response)
按Ctrl+S键保存(Mac用户按Command+S)。
回到终端,激活conda环境。
conda activate lmdeploy
运行python代码:
python /root/pipeline_transformer.py
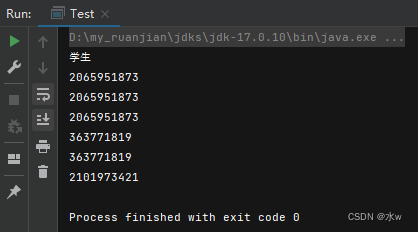
显示结果:

使用LMDeploy与模型对话
首先激活创建好的conda环境:
conda activate lmdeploy
执行如下命令运行下载的1.8B模型:
lmdeploy chat /root/internlm2-chat-1_8b
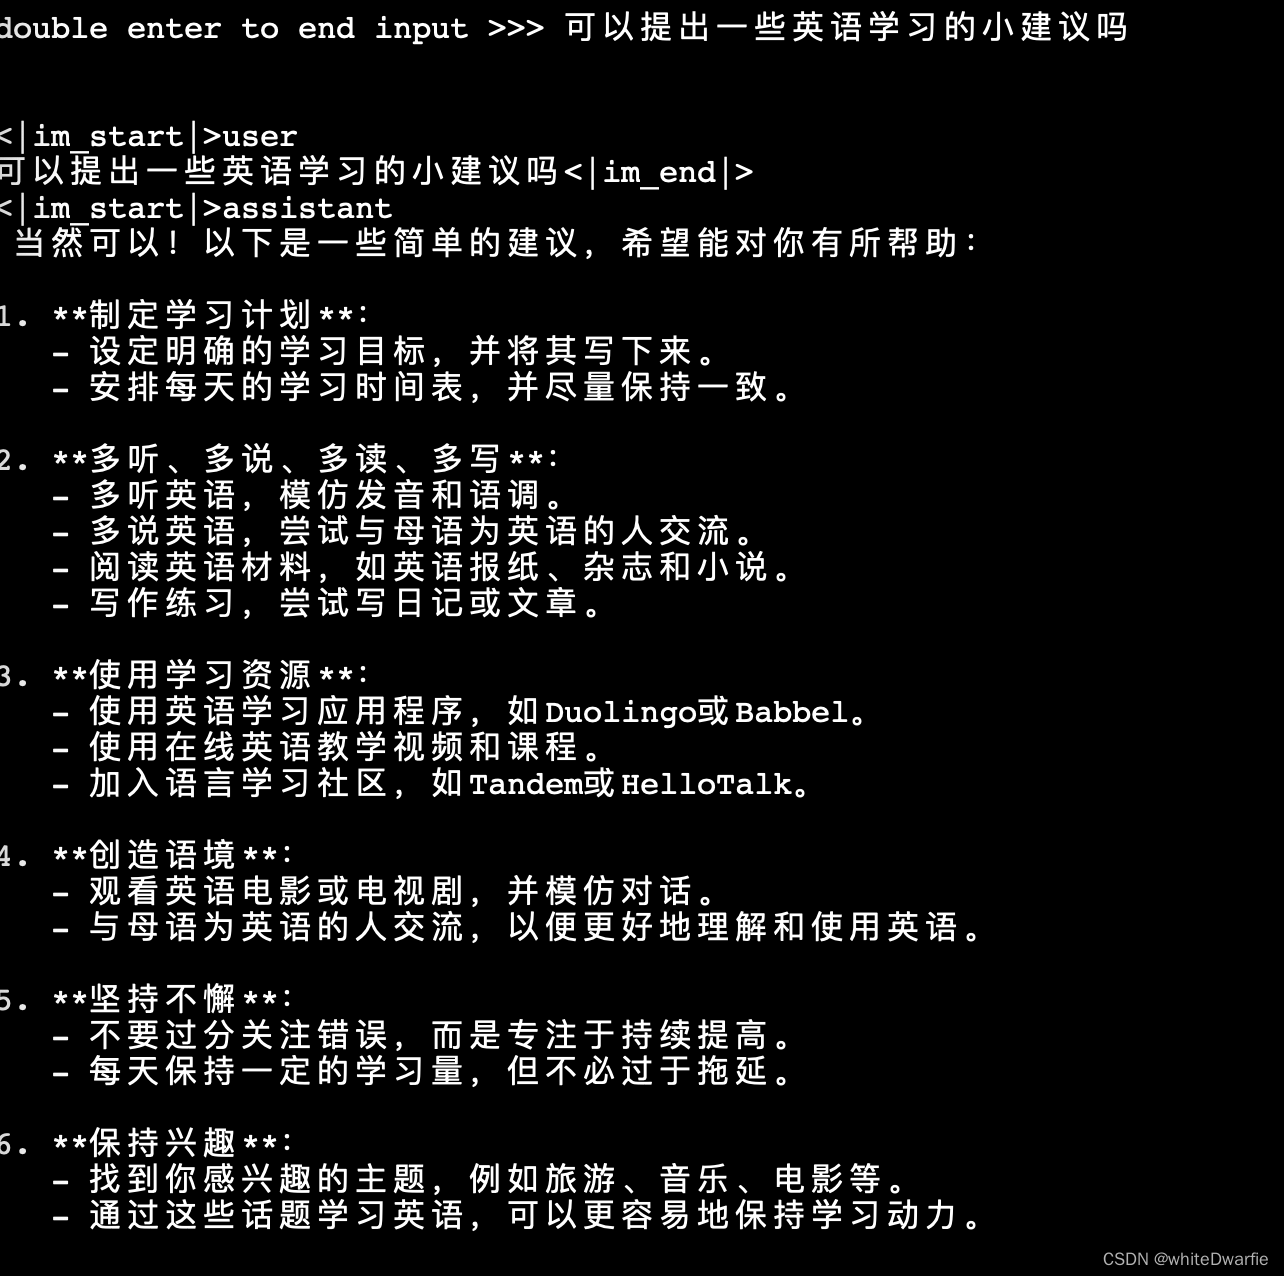
然后可以成功进行对话:
LMDeploy模型量化(lite)
调整--cache-max-entry-count参数。首先保持不加该参数(默认0.8),运行1.8B模型。
lmdeploy chat /root/internlm2-chat-1_8b
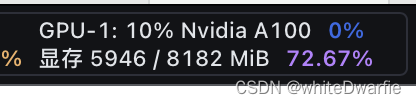
与模型对话,查看右上角资源监视器中的显存占用情况。
此时显存占用为7856MB。
改变--cache-max-entry-count参数,设为0.5。
lmdeploy chat /root/internlm2-chat-1_8b --cache-max-entry-count 0.5
与模型对话,再次查看右上角资源监视器中的显存占用情况。
显存占用明显降低,变为6608M。
把--cache-max-entry-count参数设置为0.01,约等于禁止KV Cache占用显存。
lmdeploy chat /root/internlm2-chat-1_8b --cache-max-entry-count 0.01
使用W4A16量化
pip install einops==0.7.0
lmdeploy lite auto_awq \
   /root/internlm2-chat-1_8b \
  --calib-dataset 'ptb' \
  --calib-samples 128 \
  --calib-seqlen 1024 \
  --w-bits 4 \
  --w-group-size 128 \
  --work-dir /root/internlm2-chat-1_8b-4bit
将KV Cache比例再次调为0.01,查看显存占用情况。


![[<span style='color:red;'>InternLM</span>训练<span style='color:red;'>营</span><span style='color:red;'>第二</span><span style='color:red;'>期</span><span style='color:red;'>笔记</span>]5. <span style='color:red;'>LMDeploy</span> <span style='color:red;'>量化</span><span style='color:red;'>部署</span> <span style='color:red;'>LLM</span> <span style='color:red;'>实践</span>](https://img-blog.csdnimg.cn/direct/1e17ac1ca10c4fb69f2fcda944558916.png)


![[书生·浦语大模型<span style='color:red;'>实战</span><span style='color:red;'>营</span>]——<span style='color:red;'>LMDeploy</span> <span style='color:red;'>量化</span><span style='color:red;'>部署</span> <span style='color:red;'>LLM</span> <span style='color:red;'>实践</span>](https://img-blog.csdnimg.cn/direct/8d577c3ced1b42588c295eb8f7ad0e7f.png)