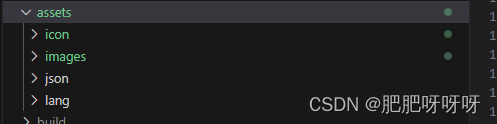
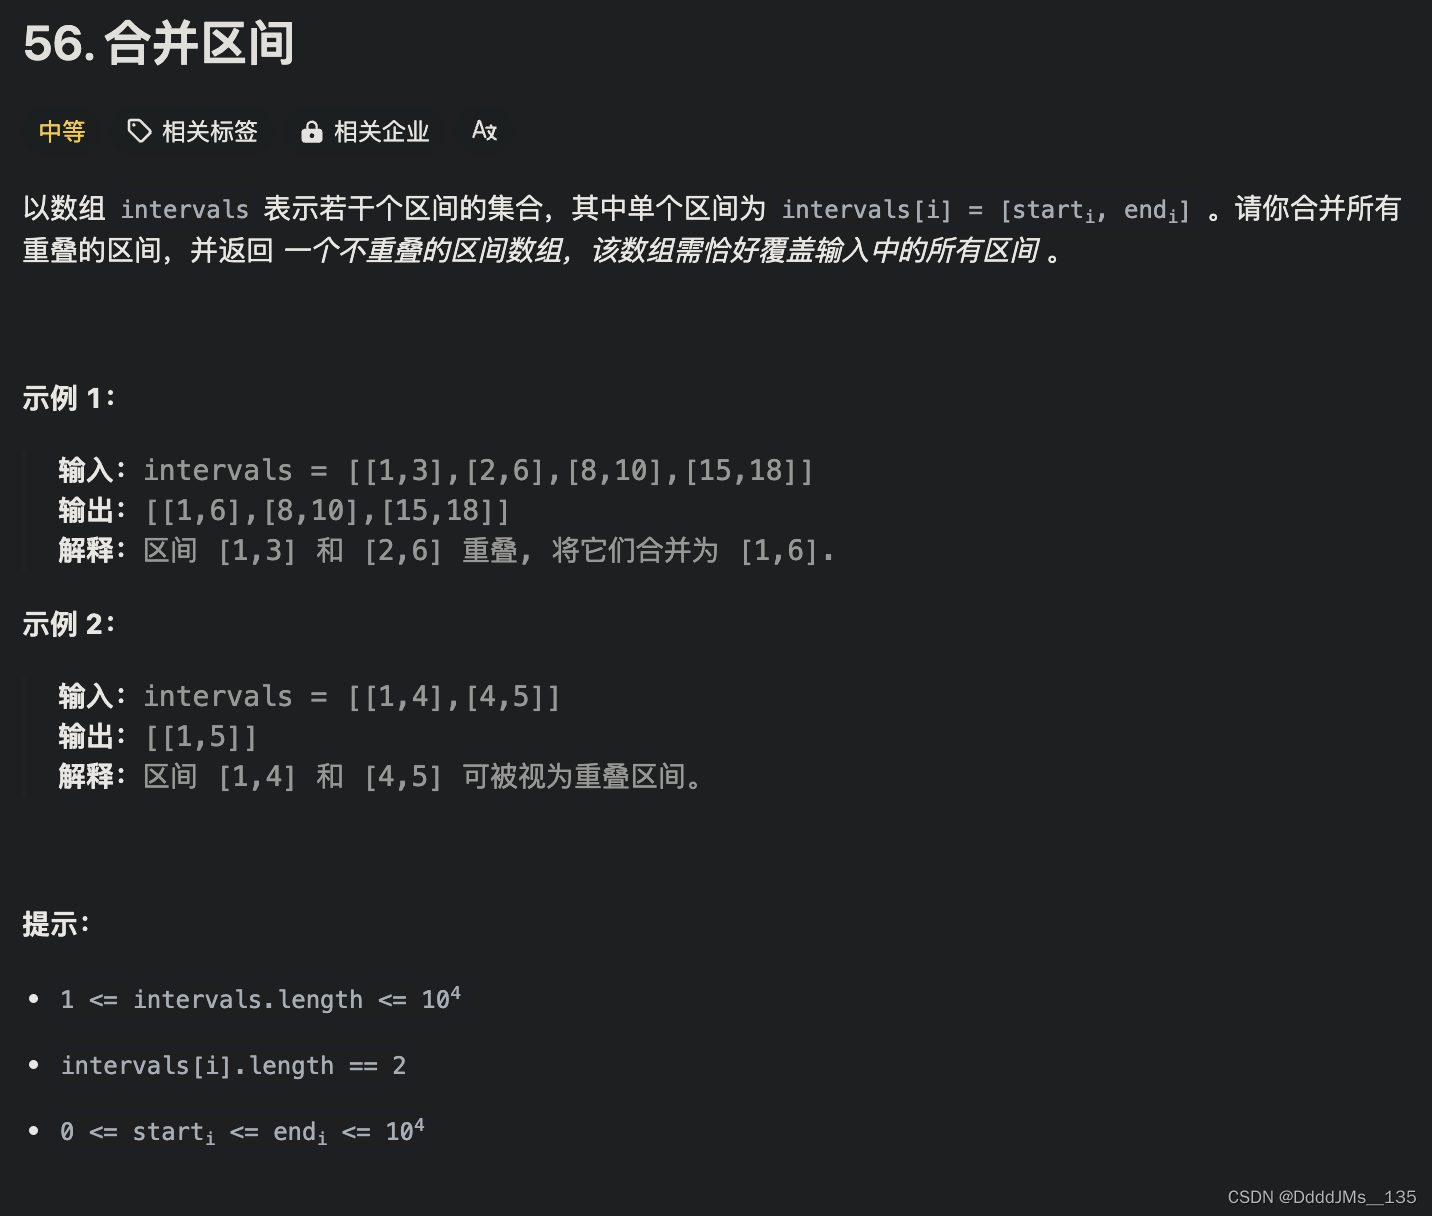
原始图片

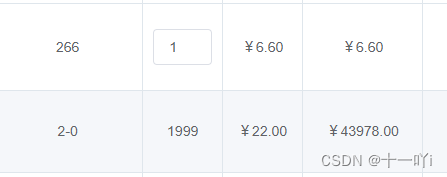
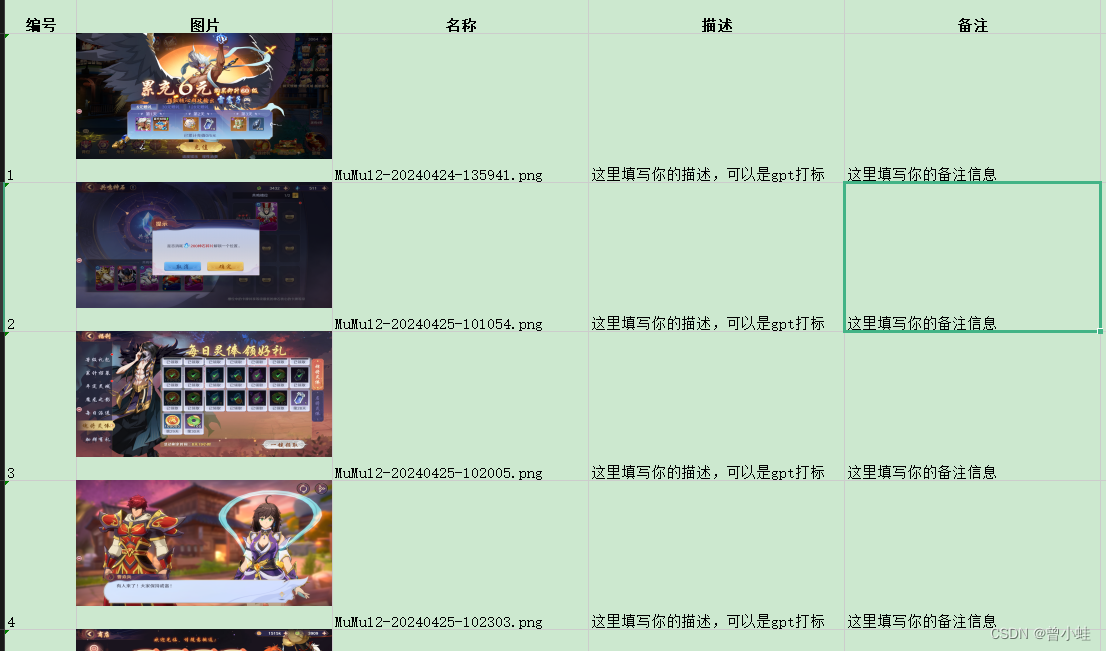
写入excel的效果
代码
# by zengxy + chatgpt
# from https://blog.csdn.net/imwaters


import os
import xlsxwriter
from PIL import Image


class Image2Xlsx():

    def  __init__(self,xls_path,
                  head_list=['编号', '图片', '名称', "描述",'备注'],
                  set_default_y=112,
                  set_default_x=224

                  ):

        # create a new Excel file and add a worksheet
        self.workbook = xlsxwriter.Workbook(xls_path)
        self.worksheet = self.workbook.add_worksheet()


        # title
        self.add_head(
                    headers=head_list)
        self.image_row_index = 1 # 第一行的序号为0,用来写head,所以索引从行1开始
        self.image_col_index = 1

        # 设置默认行高
        self.worksheet.set_default_row(set_default_y)
        self.fix_img_cell_x_width= set_default_x
        self.fix_img_cell_y_width = set_default_y

        # 设置 1-4列的像素宽度为224
        self.worksheet.set_column_pixels(first_col=1,last_col=4, width=self.fix_img_cell_x_width)


    def close(self):
        self.workbook.close()

    def add_head(
                 self,headers
                 ):
        # 设置表头的格式
        header_format = self.workbook.add_format({'bold': True, 'align': 'center'})

        # 定义表头列表

        # 在第一行循环写入表头
        for col, header in enumerate(headers):
            self.worksheet.write(0, col, header, header_format)

    def cal_img_scale(self, img_width, img_height):
        """
        计算图片的缩放比例,以便将图片适配至Excel单元格中。
        如果图片高度是宽度的1.5倍,则将单元格高度增加64像素。

        """
        # 设定宽高比例差异的阈值和宽度调整阈值
        aspect_ratio_thresh = 1.5
        cur_cell_width=self.fix_img_cell_y_width
        if img_width > img_height * aspect_ratio_thresh:
             cur_cell_width+= 64

        # 计算缩放比例,如果图片过宽,则进一步调整
        # 计算当前宽,和高度分别是原图像的倍数,以最小的为缩放比例
        scale =  min(cur_cell_width / img_height,self.fix_img_cell_x_width/img_width)
        # print('scale',scale)

        return scale

    def wirte_one_images_2_xls(self,image_path, content='by_gpt',other_des="暂时没有"):

        cur_dir,file_name=os.path.split(image_path)

        img_width, img_height = Image.open(image_path).size


            # 计算缩小放大比例
        scale=self.cal_img_scale( img_width, img_height)


        print("old_size:",img_width, img_height)
        print("cur_size:",int(img_width*scale), int(img_height*scale))

        '''
        写序号,第0列
        '''
        self.worksheet.write(self.image_row_index,
                        self.image_col_index - 1,
                        str(self.image_row_index))


        '''
        写入图片第2列 序号1
        '''


        self.worksheet.insert_image(self.image_row_index,
                               self.image_col_index,
                               image_path,
                               {
                                   'x_scale': scale,
                                   'y_scale': scale,
                                #    'x_offset': 5, 'y_offset': 5,
                                #    'positioning': 1  # 1 表示图片被定位为与单元格移动和大小改变而移动和改变大小。它使得图片与单元格"绑定"。
                                }
                            )

        '''
        写入图片名称
        '''
        self.worksheet.write(self.image_row_index,
                        self.image_col_index + 1,
                        file_name
                        )

        '''
        描述内容,可以是gpt生成的描述
        '''
        self.worksheet.write(self.image_row_index,
                         self.image_col_index + 2,
                        content)

        '''
        备注信息
        '''
        self.worksheet.write(self.image_row_index,
                         self.image_col_index + 3,
                        other_des)


        # 指向到下一行
        image2xls.image_row_index += 1


if __name__ == '__main__':

    excel_path = './test.xlsx'
    images_directory =  r'./imgaes' # Replace with the path to your images

    image2xls= Image2Xlsx(excel_path,
                          set_default_x=224,
                          set_default_y=112)

    for  file in sorted(os.listdir(images_directory)):
        img_path=os.path.join(images_directory,file )

        content="自动生成的描述,可以是gpt打标"
        other_des="这里填写你的备注信息"
        image2xls.wirte_one_images_2_xls(img_path,content,other_des)

    # 不关闭会报错
    image2xls.close()