制作自己的YOLO8数据集
前言
该数据集的格式参照于coco数据集结构✨
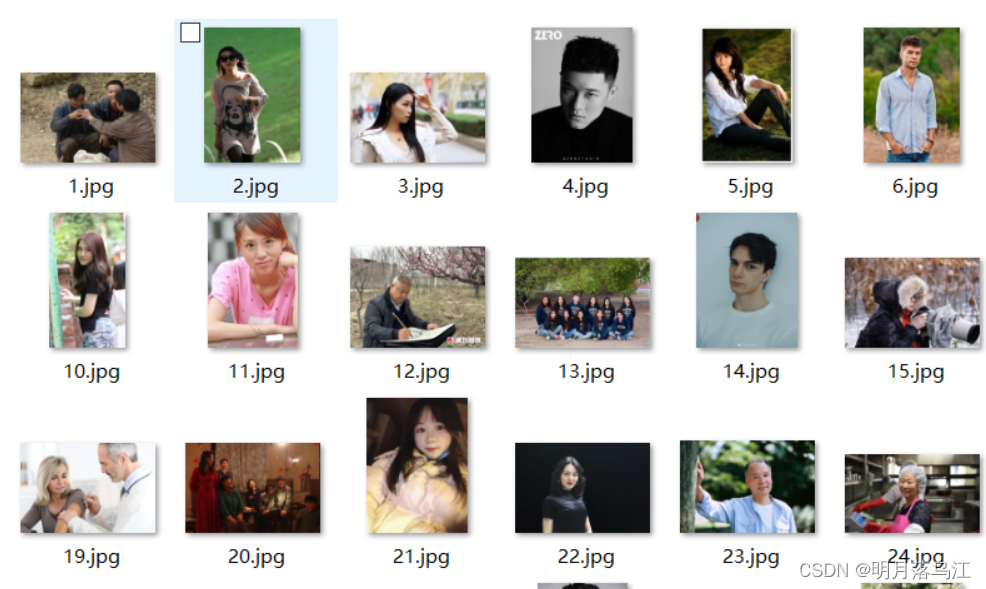
步骤一:收集图像数据
从互联网上下载公开的数据集,也可以使用摄像头或其他设备自行采集图像,确保你的图像数据覆盖了你感兴趣的目标和场景
步骤二:安装Labelme并使用
Labelme是开源的图像标注工具,常用做检测,分割和分类任务的图像标注
在电脑中安装Anaconda,然后打开Anaconda Powershell Prompt
# 安装
pip install labelme
# 运行
 labelme
打开图像文件夹,进行标注,添加标签(记得在文件界面,打开自动保存)
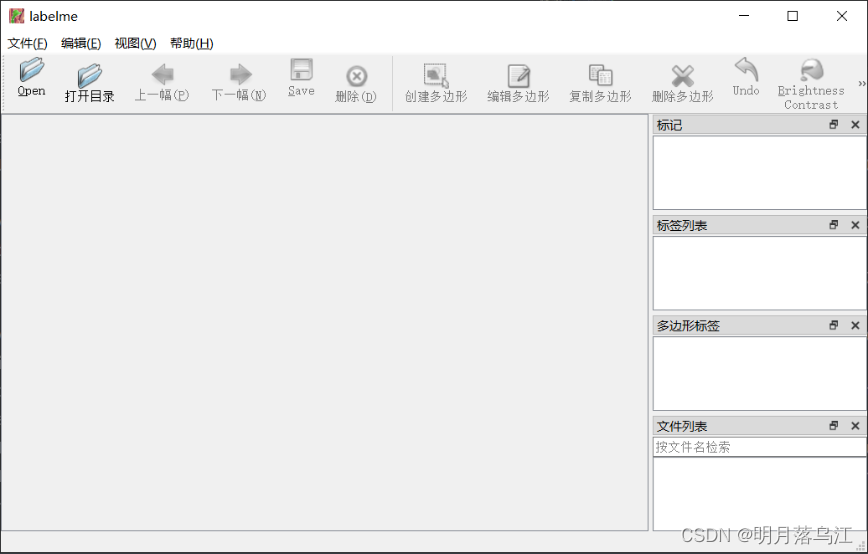
Labelme将标注结果保存为JSON格式的文件,其中包含了图像路径、标注框的位置和类别信息

步骤三:对数据进行处理
yolov8要求的的标注文件是txt格式,要先从json转成txt
新建两个文件夹,json_dir和txt_dir,把脚本放在同一目录
import os
import json
import argparse
from tqdm import tqdm


def convert_label_json(json_dir, save_dir, classes):
    # 确保保存目录存在,如果不存在则创建
    if not os.path.exists(save_dir):
        os.makedirs(save_dir)

    # 将传入的类名字符串转换为列表
    classes_list = classes.split(',')

    # 列出json_dir中的所有JSON文件
    json_paths = [f for f in os.listdir(json_dir) if f.endswith('.json')]

    # 使用tqdm显示进度条
    for json_path in tqdm(json_paths, desc='Converting JSON to TXT', unit='file'):
        # 构建完整的文件路径
        path = os.path.join(json_dir, json_path)
        with open(path, 'r', encoding='utf-8') as load_f:
            json_dict = json.load(load_f)

        # 获取图像的宽度和高度
        h, w = json_dict['imageHeight'], json_dict['imageWidth']

        # 构建TXT文件的保存路径
        txt_path = os.path.join(save_dir, json_path.replace('.json', '.txt'))

        # 打开TXT文件准备写入
        with open(txt_path, 'w', encoding='utf-8') as txt_file:
            for shape_dict in json_dict['shapes']:
                label = shape_dict['label']
                # 确保标签在类名列表中
                if label in classes_list:
                    label_index = classes_list.index(label)
                    points = shape_dict['points']

                    # 归一化点坐标并转换为字符串
                    points_nor_list = [str(p[0] / w) + ' ' + str(p[1] / h) for p in points]
                    # 将归一化坐标和标签写入TXT文件
                    txt_file.write(f'{label_index} {" ".join(points_nor_list)}\n')


if __name__ == "__main__":
    parser = argparse.ArgumentParser(description='Convert JSON label files to TXT format')
    parser.add_argument('--json-dir', type=str, required=True, help='Directory containing JSON files')
    parser.add_argument('--save-dir', type=str, required=True, help='Directory to save TXT files')
    parser.add_argument('--classes', type=str, required=True, help='Comma-separated list of class names')

    args = parser.parse_args()
    json_dir = args.json_dir
    save_dir = args.save_dir
    classes = args.classes

    convert_label_json(json_dir, save_dir, classes)
运行,person是标注的信息,可多选("person,dog")(请确保你的文件地址填写正确,下面是我的文件地址)
python totxt.py --json-dir "D:\Desktop\person\json_dir" --save-dir "D:\Desktop\person\txt_dir" --classes "person"

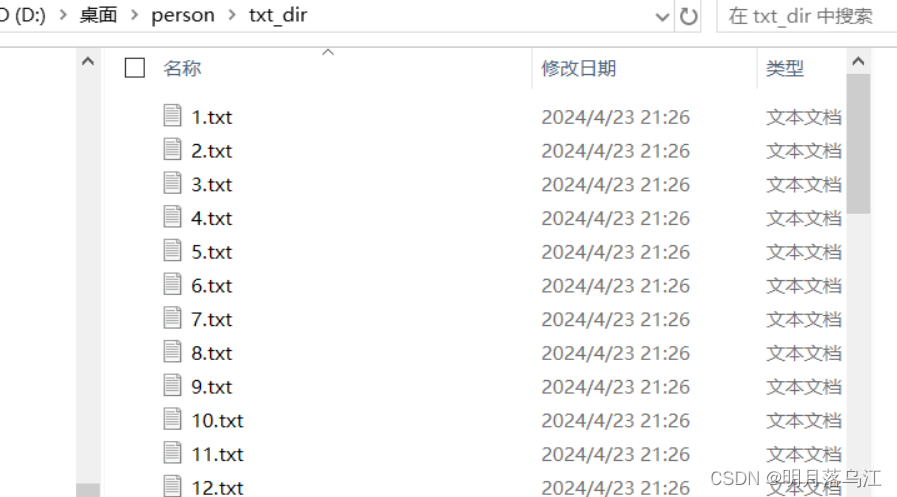
处理结果
步骤三:对数据集的划分
对数据集的划分:训练集,验证集和测试集,把脚本放在文件目录里
import os
import shutil
import argparse
import random

# 检查文件夹是否存在,如果不存在则创建
def mkdir_if_not_exist(path):
    if not os.path.exists(path):
        os.makedirs(path)

def split_dataset(image_dir, txt_dir, save_dir, train_ratio, val_ratio, test_ratio):
    # 创建保存目录
    mkdir_if_not_exist(save_dir)
    images_dir = os.path.join(save_dir, 'images')
    labels_dir = os.path.join(save_dir, 'labels')

    # 创建子目录
    for subdir in ['train', 'val', 'test']:
        mkdir_if_not_exist(os.path.join(images_dir, subdir))
        mkdir_if_not_exist(os.path.join(labels_dir, subdir))

    # 获取所有txt文件并分配到不同的数据集
    txt_files = [f for f in os.listdir(txt_dir) if f.endswith('.txt')]
    total_count = len(txt_files)
    train_count = int(total_count * train_ratio)
    val_count = int(total_count * val_ratio)
    test_count = total_count - train_count - val_count

    indices = list(range(total_count))
    random.shuffle(indices)  # 随机打乱索引

    train_indices = indices[:train_count]
    val_indices = indices[train_count:train_count + val_count]
    test_indices = indices[train_count + val_count:]

    for i, txt_file in enumerate(txt_files):
        base_name = os.path.splitext(txt_file)[0]
        src_img_path = os.path.join(image_dir, base_name + '.jpg')
        src_txt_path = os.path.join(txt_dir, txt_file)

        if i in train_indices:
            dst_img_path = os.path.join(images_dir, 'train', base_name + '.jpg')
            dst_txt_path = os.path.join(labels_dir, 'train', base_name + '.txt')
        elif i in val_indices:
            dst_img_path = os.path.join(images_dir, 'val', base_name + '.jpg')
            dst_txt_path = os.path.join(labels_dir, 'val', base_name + '.txt')
        else:
            dst_img_path = os.path.join(images_dir, 'test', base_name + '.jpg')
            dst_txt_path = os.path.join(labels_dir, 'test', base_name + '.txt')

        shutil.copy(src_img_path, dst_img_path)
        shutil.copy(src_txt_path, dst_txt_path)

if __name__ == '__main__':
    parser = argparse.ArgumentParser(description='Split dataset into train, validation and test sets')
    parser.add_argument('--image-dir', type=str, required=True, help='Directory containing images')
    parser.add_argument('--txt-dir', type=str, required=True, help='Directory containing txt files')
    parser.add_argument('--save-dir', type=str, required=True, help='Directory to save the split dataset')
    parser.add_argument('--train-ratio', type=float, default=0.7, help='Ratio for training set')
    parser.add_argument('--val-ratio', type=float, default=0.15, help='Ratio for validation set')
    parser.add_argument('--test-ratio', type=float, default=0.15, help='Ratio for test set')

    args = parser.parse_args()
    image_dir = args.image_dir
    txt_dir = args.txt_dir
    save_dir = args.save_dir
    train_ratio = args.train_ratio
    val_ratio = args.val_ratio
    test_ratio = args.test_ratio

    split_dataset(image_dir, txt_dir, save_dir, train_ratio, val_ratio, test_ratio)
运行(请确保你的文件地址填写正确,下面是我的文件地址)
python totrack.py --image-dir "D:\Desktop\person\image_dir" --txt-dir "D:\Desktop\person\txt_dir" --save-dir "D:\Desktop\person\split_dir" --train-ratio 0.7 --val-ratio 0.15 --test-ratio 0.15
- –image-dir:存放图片的目录
- –txt-dir:存放标注文本的目录
- –save-dir:划分后数据集的保存目录
- –train-ratio:训练集占总数据集的比例(可选)
- –val-ratio:验证集占总数据集的比例(可选)
- –test-ratio:测试集占总数据集的比例(可选)
预期效果

后记
此为本人学习成果的呈现,若文中有任何不妥或错误,恳请各位读者予以谅解(。_。)