一、下载并安装Mysql
(1)下载mysql安装包(mysql-8.0.26-1.el7.x86_64.rpm-bundle.tar)
(2)上传mysql安装包并解压至/usr/local/
tar -xvf /opt/mysql-8.0.26-1.el7.x86_64.rpm-bundle.tar -C /usr/local(3)进入/usr/local/,使用rpm安装mysql解压后的其中5个包(按照以下顺序安装)
rpm -ivh mysql-community-common-8.0.26-1.el7.x86_64.rpm
rpm -ivh mysql-community-libs-8.0.26-1.el7.x86_64.rpm
rpm -ivh mysql-community-client-8.0.26-1.el7.x86_64.rpm
rpm -ivh mysql-community-server-8.0.26-1.el7.x86_64.rpm
(4)启动/关闭Mysql服务器
#启动mysql服务
systemctl start mysqld
#查看mysql服务状态
systemctl status mysqld
#关闭mysql服务
systemctl stop mysqld
#重启mysql服务
service mysqld restart
二、查看Mysql的原始密码并登录进入mysql
(1)查看原始密码
[root@hadoop ~]# cat /var/log/mysqld.log | grep password
2024-04-20T16:41:01.790879Z 6 [Note] [MY-010454] [Server] A temporary password is generated for root@localhost: 9m/O;xQbsfTk
(2)使用原始密码登录
[root@hadoop ~]# mysql -uroot -p'9m/O;xQbsfTk'
mysql: [Warning] Using a password on the command line interface can be insecure.
Welcome to the MySQL monitor.  Commands end with ; or \g.
Your MySQL connection id is 8
Server version: 8.0.26

Copyright (c) 2000, 2021, Oracle and/or its affiliates.

Oracle is a registered trademark of Oracle Corporation and/or its
affiliates. Other names may be trademarks of their respective
owners.

Type 'help;' or '\h' for help. Type '\c' to clear the current input statement.

mysql>
(3)修改密码为Admin@123456
mysql> ALTER USER 'root'@'localhost' IDENTIFIED BY 'Admin@123456';
ERROR 1290 (HY000): The MySQL server is running with the --skip-grant-tables option so it cannot execute this statement
mysql> flush privileges;
Query OK, 0 rows affected (0.00 sec)

mysql> ALTER USER 'root'@'localhost' IDENTIFIED BY 'Admin@123456';
Query OK, 0 rows affected (0.01 sec)
三、下载并安装Hive
Hive下载官网:Index of /dist/hive (apache.org)![]() https://archive.apache.org/dist/hive/
https://archive.apache.org/dist/hive/
MySQL Connector下载地址:
MySQL :: Download MySQL Connector/J (Archived Versions)![]() https://downloads.mysql.com/archives/c-j/
https://downloads.mysql.com/archives/c-j/
(1)上传hive安装包到/opt目录,解压至/usr/local/
cd /opt
tar -zxvf apache-hive-3.1.2-bin.tar.gz -C /usr/local/
(2)添加环境变量
#打开系统环境变量配置文件
vim /etc/profile
#刷新一下配置文件
source /etc/profile
(3)解决日志Jar包冲突
Hive由日志slf4j配置,但是我们yarn也有,两者会冲突。将hive安装目录下的lib目录的日志文件名修改。
cd /usr/local/apache-hive-3.1.2-bin/lib
mv log4j-slf4j-impl-2.10.0.jar log4j-slf4j-impl-2.10.0.jar.bak四、将Hive元数据配置到MySQL
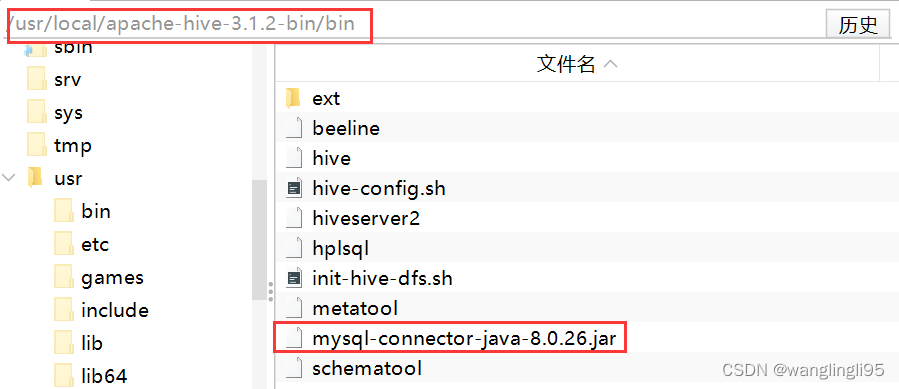
(1)将MySQL的JDBC驱动拷贝到Hive的lib目录下
MySQL Connector下载地址:
MySQL :: Download MySQL Connector/J (Archived Versions)![]() https://downloads.mysql.com/archives/c-j/
https://downloads.mysql.com/archives/c-j/
(2)配置hive-site.xml
进入hive安装目录下的conf目录:cd /usr/local/apache-hive-3.1.2-bin/conf
在hive/conf目录下新建hive-site.xml文件:vim hive-site.xml
<configuration>
   <property>
<!--Mysql的连接协议-->
        <name>javax.jdo.option.ConnectionURL</name>
        <value>jdbc:mysql://localhost:3306/metastore?useSSL=true</value>
    </property>

    <property>
        <name>javax.jdo.option.ConnectionDriverName</name>
        <value>com.mysql.jdbc.Driver</value>
    </property>
    <property>
<!--mysql  数据库账号-->
        <name>javax.jdo.option.ConnectionUserName</name>
        <value>root</value>
    </property>

    <property>
<!--mysql  数据库密码-->
        <name>javax.jdo.option.ConnectionPassword</name>
        <value>Admin@123456</value>
    </property>

    <property>
<!-- Hive 存储路径(hdfs路径)-->
        <name>hive.metastore.warehouse.dir</name>
        <value>/user/hive/warehouse</value>
    </property>

    <property>
<!-- Hive 元数据存储版本的验证 -->
        <name>hive.metastore.schema.verification</name>
        <value>false</value>
    </property>

    <property>
<!-- Hive jdbc连接端口:10000 -->
    <name>hive.server2.thrift.port</name>
    <value>10000</value>
    </property>
<!-- Hive 连接的主机 -->
    <property>
        <name>hive.server2.thrift.bind.host</name>
        <value>localhost</value>
    </property>
<!--元数据存储授权-->
    <property>
        <name>hive.metastore.event.db.notification.api.auth</name>
        <value>false</value>
    </property>
    <!-- 后两个是配置hive提示显示当前数据库名 -->
    <property>
        <name>hive.cli.print.header</name>
        <value>true</value>
    </property>

    <property>
        <name>hive.cli.print.current.db</name>
        <value>true</value>
    </property>
<!-- 将hive可以设置成本地模式来执行任务,不然会namenode内存空间不够,jvm不够新job启动导致。 -->
    <property>
      <name>hive.exec.mode.local.auto</name>
      <value>true</value>
    </property>
</configuration>
五、启动Hive
启动Hive之前,一定要先启动Hadoop集群。
(1)初始化客户端(进入mysql,新建Hive元数据库)
[root@hadoop conf]# mysql -uroot -p'Admin@123456'
mysql: [Warning] Using a password on the command line interface can be insecure.
Welcome to the MySQL monitor.  Commands end with ; or \g.
Your MySQL connection id is 10
Server version: 8.0.26 MySQL Community Server - GPL

Copyright (c) 2000, 2021, Oracle and/or its affiliates.

Oracle is a registered trademark of Oracle Corporation and/or its
affiliates. Other names may be trademarks of their respective
owners.

Type 'help;' or '\h' for help. Type '\c' to clear the current input statement.

mysql> create database metastore;
Query OK, 1 row affected (0.07 sec)

mysql> exit;
Bye
[root@hadoop conf]#
(2)初始化Mysql服务器
在启动Hive之前,需要执行schematool -dbType mysql initSchema
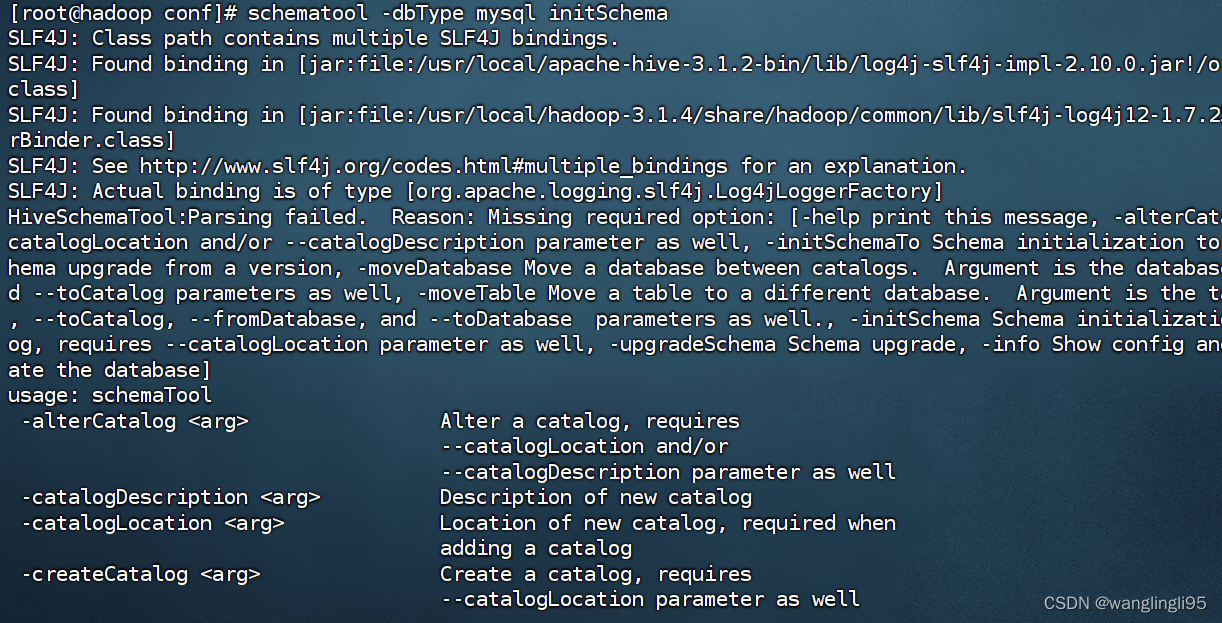
(3)启动hive
如果出现以下启动错误:

解决方案:
查看该jar包在hadoop安装目录和hive的安装目录中的版本信息,将hadopp安装目录下的jar包替换hive安装目录下的jar包。
cd /usr/local/hadoop-3.1.4/share/hadoop/common/lib
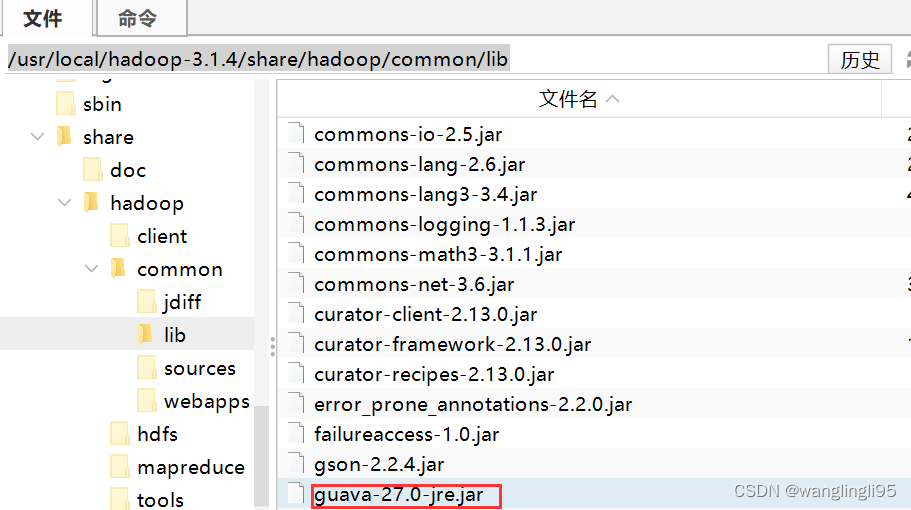
cd /usr/local/apache-hive-3.1.2-bin/lib
启动hive成功的界面(一定要先启动Hadoop集群):