GitHub - nerfstudio-project/nerfstudio:NeRF 的协作友好工作室
安装之前要确保电脑上已经有CUDA11.8或以上版本(更高版本的可以安装11.8的toolkit)
创建环境
conda create --name nerfstudio -y python=3.8
conda activate nerfstudio
python -m pip install --upgrade pip
安装依赖
首先,如果安装了2.0.1之前的PyTorch版本,则应卸载PyTorch、functhor和miny-cuda nn的早期版本。可以通过以下命令实现:
pip uninstall torch torchvision functorch tinycudann
结合CUDA11.8,安装Pytorch2.1.2
pip install torch==2.1.2+cu118 torchvision==0.16.2+cu118 --extra-index-url https://download.pytorch.org/whl/cu118
安装CUDA所需要的扩展,通过以下命令实现:
conda install -c "nvidia/label/cuda-11.8.0" cuda-toolkit
安装tiny-cuda-nn包
这里先要从github上下载tiny-cuda-nn,然后在Microsoft VIsual C++的环境下编译资源。所以如果直接执行:
pip install ninja git+https://github.com/NVlabs/tiny-cuda-nn/#subdirectory=bindings/torch
可能会报错,提示:
× python setup.py egg_info did not run successfully.
  │ exit code: 1
  ╰─> [8 lines of output]
      Traceback (most recent call last):
        File "<string>", line 2, in <module>
        File "<pip-setuptools-caller>", line 34, in <module>
        File "C:\Users\xxx\AppData\Local\Temp\pip-req-build-lz_n7l05\bindings/torch\setup.py", line 53, in <module>
          raise RuntimeError("Could not locate a supported Microsoft Visual C++ installation")
      RuntimeError: Could not locate a supported Microsoft Visual C++ installation
      Building PyTorch extension for tiny-cuda-nn version 1.7
      Obtained compute capability 86 from PyTorch
      [end of output]
这里参考了这两篇博客:安装tiny-cuda-nn时报错RuntimeError: Could not locate a supported Microsoft Visual C++ installation-CSDN博客、nerfstudio搭建 win11踩坑记录之tinycudann_nerfstudio windows-CSDN博客]
我直接说一下我的操作:
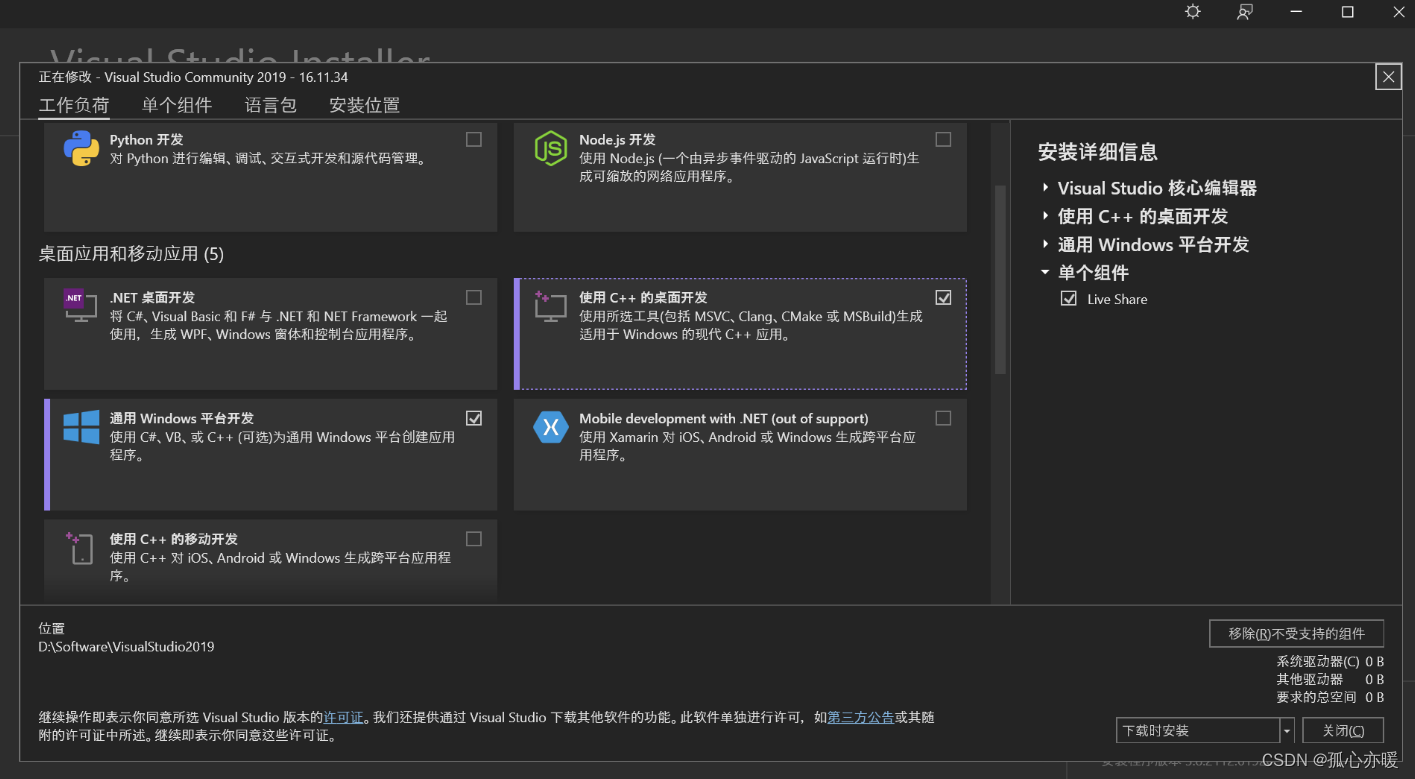
首先安装Visual Studio 2019的installer,并且选择“使用C++的桌面开发”,如下所示:
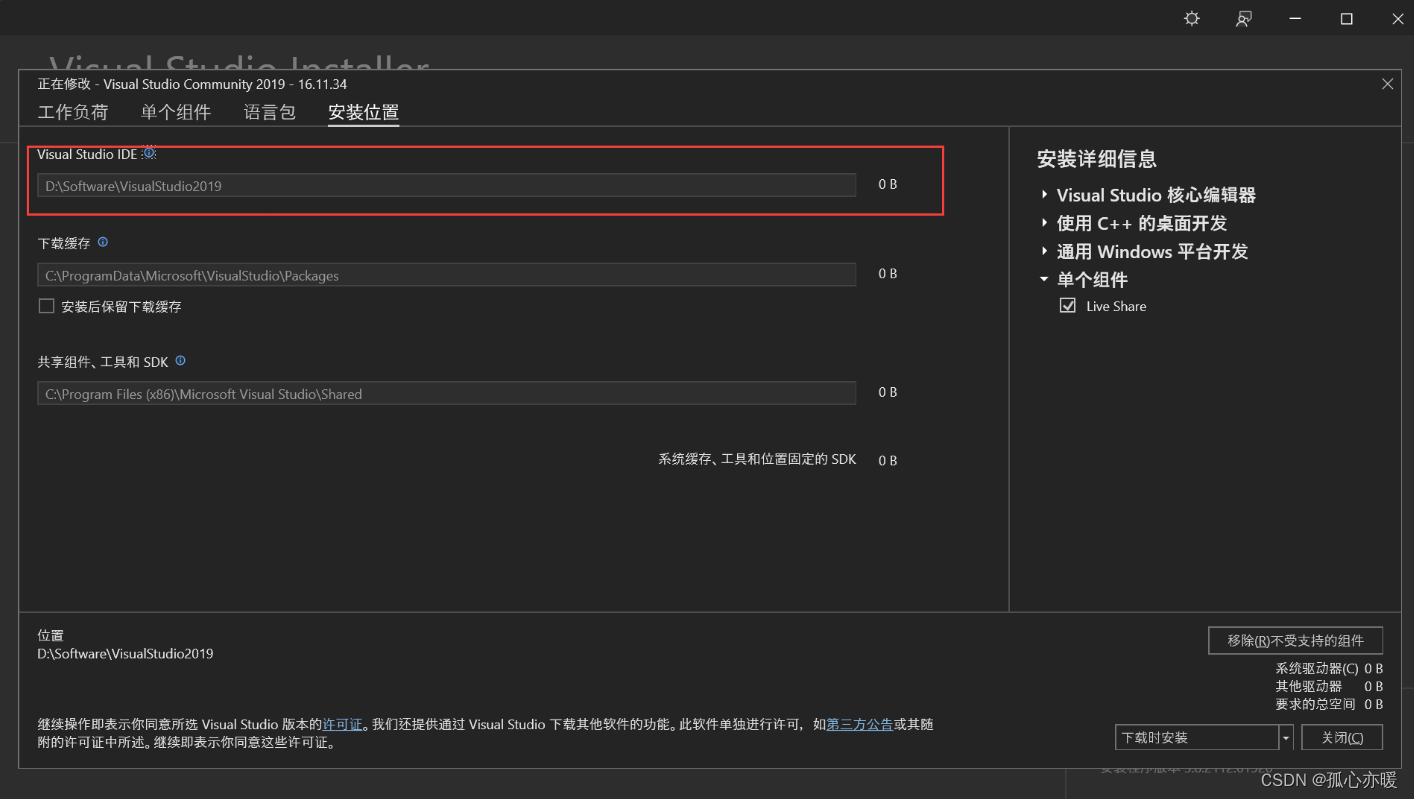
安装好以后记住安装路径,如果忘记了,可以在这里查看:
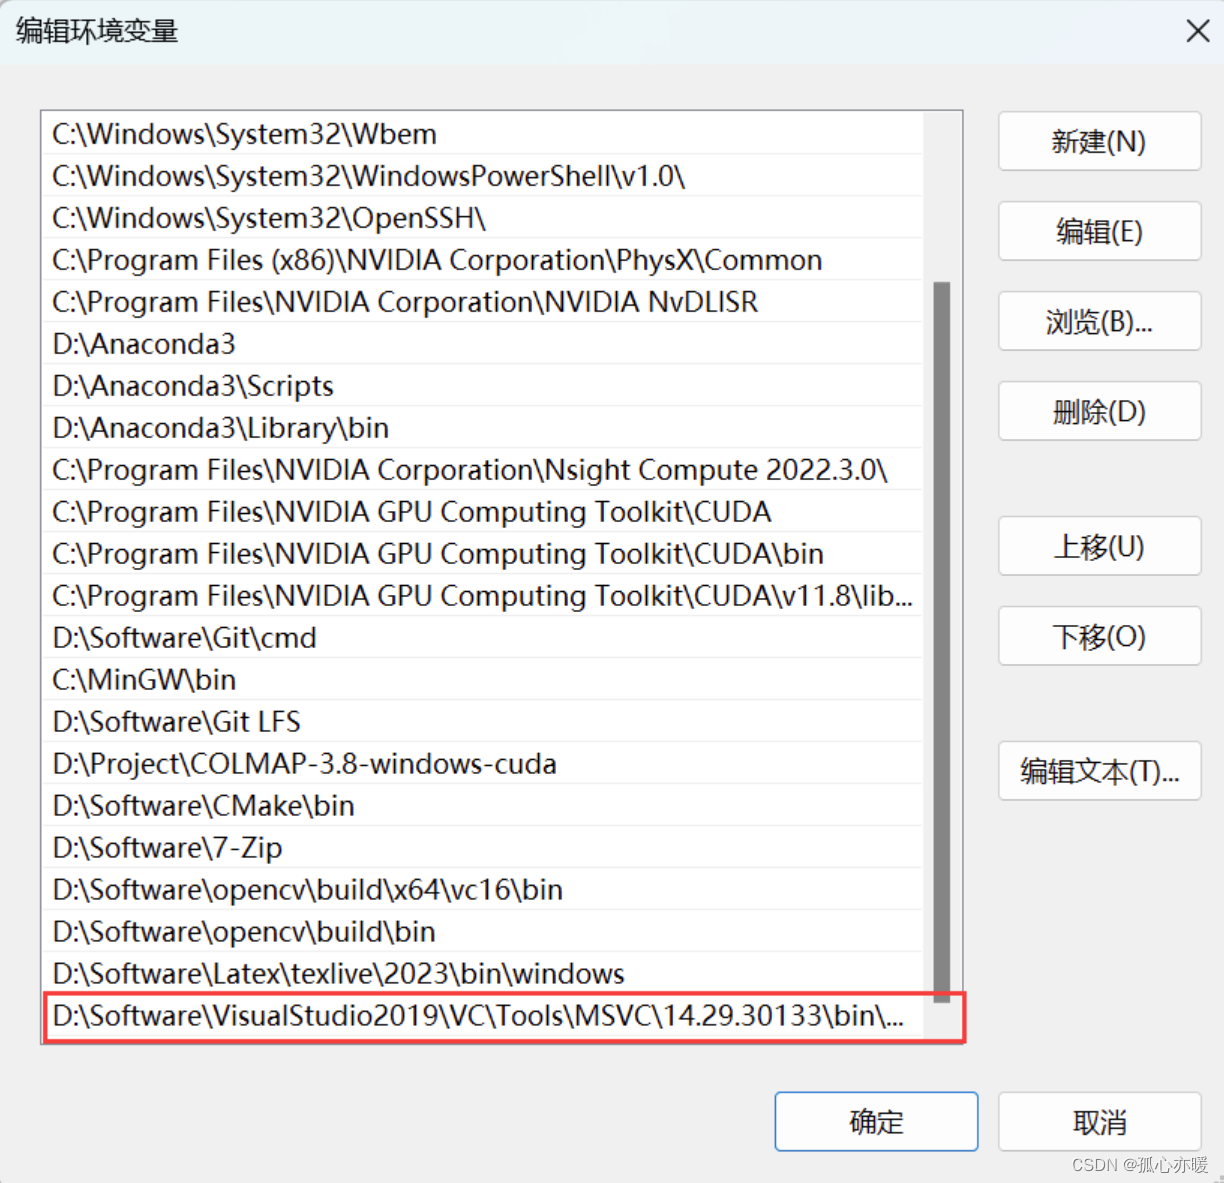
然后在path中添加环境变量,路径就是你的Visual Studio 2019安装路径后面加上\VC\Tools\MSVC\14.29.30133\bin\Hostx64\x64。
比如我的就是D:\Software\VisualStudio2019\VC\Tools\MSVC\14.29.30133\bin\Hostx64\x64:

添加好环境变量后,在虚拟环境nerfstudio中进入到 xxxxx\VC\Auxiliary\Build这个路径下,然后输入以下指令打开脚本,
.\vcvars64.bat
或者
start vcvars64.bat
接下来在弹出的新的命令行中重新输入:
pip install ninja git+https://github.com/NVlabs/tiny-cuda-nn/#subdirectory=bindings/torch
即可完成tiny-cuda-nn的安装。
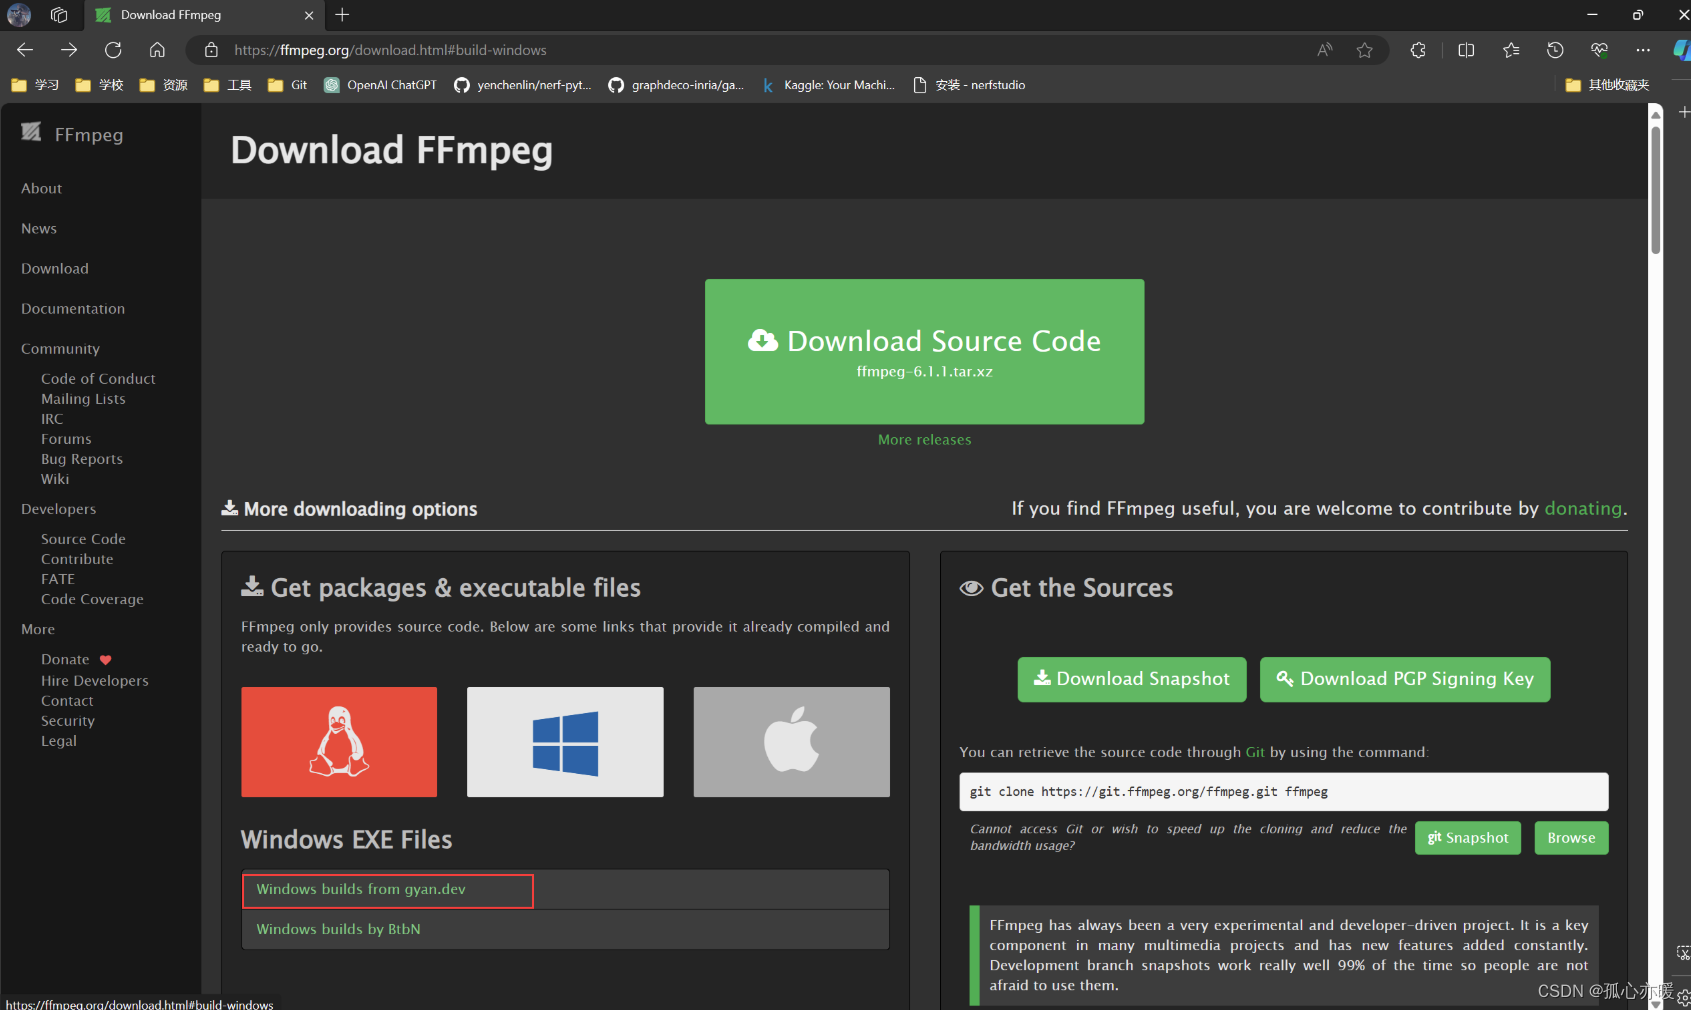
安装ffmpeg
得到项目并配置好环境后,还需要在电脑上安装ffmpeg,否则会报错未在电脑上找到ffmpeg,这个时候我们需要单独安装ffmpeg。首先,进入ffmpeg官网:Download FFmpeg。找到以下选项,并下载essential版本。
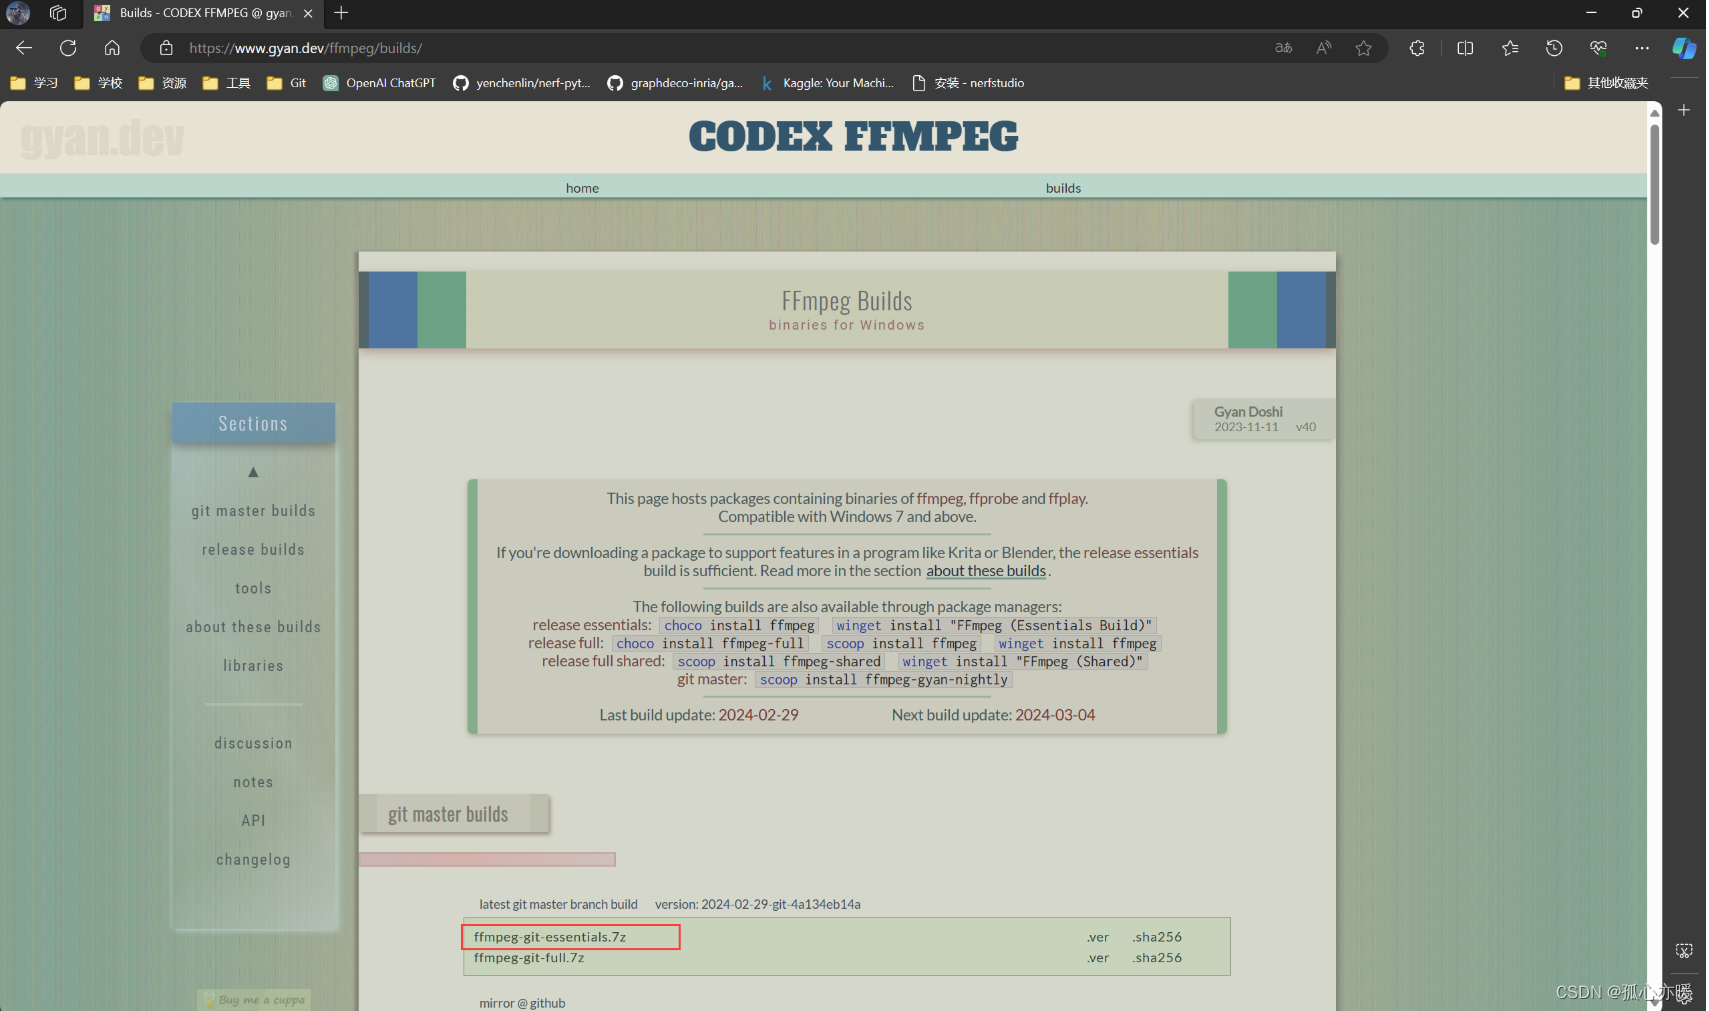
下载压缩包并解压后,将里面bin文件夹添加进系统PATH环境变量,该文件夹下有三个exe文件:


接下来,在命令行输入:
ffmpeg -version
就可以查到ffmpeg版本了:

训练自己制作的数据集:
这里就不说怎么用官方提供的数据集,看看怎么把自己拍的照片拿去训练:
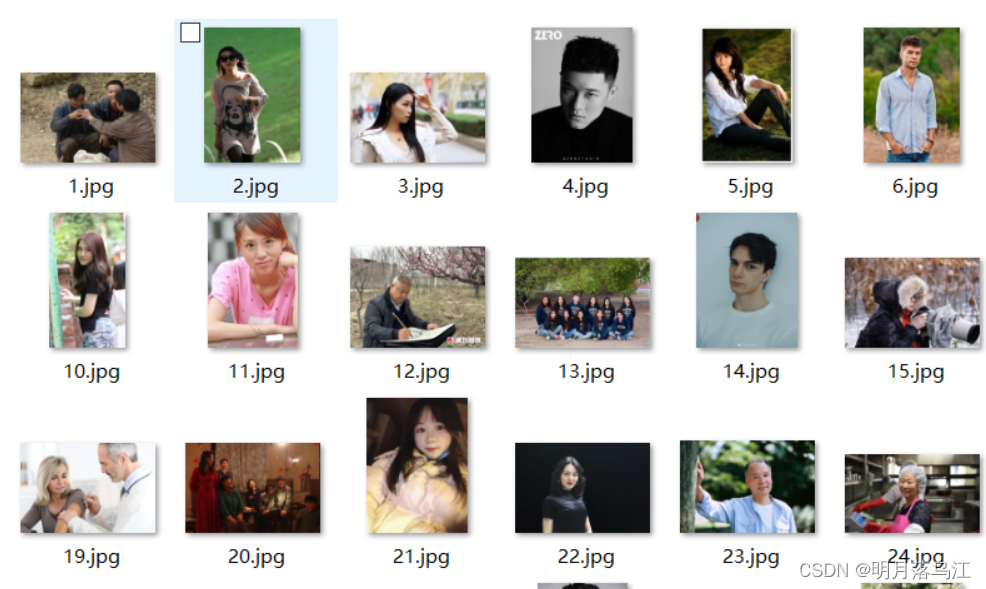
首先把自己拍的照片文件夹保存在一个路径下,比如我的是:D:\Project\nerfstudio\data\demorobo\images

官网给的指导是:
ns-process-data {video,images,polycam,record3d} --data {DATA_PATH} --output-dir {PROCESSED_DATA_DIR}
那我们就在命令行输入:
ns-process-data images --data data/demorobo/images --output-dir data/demorobo
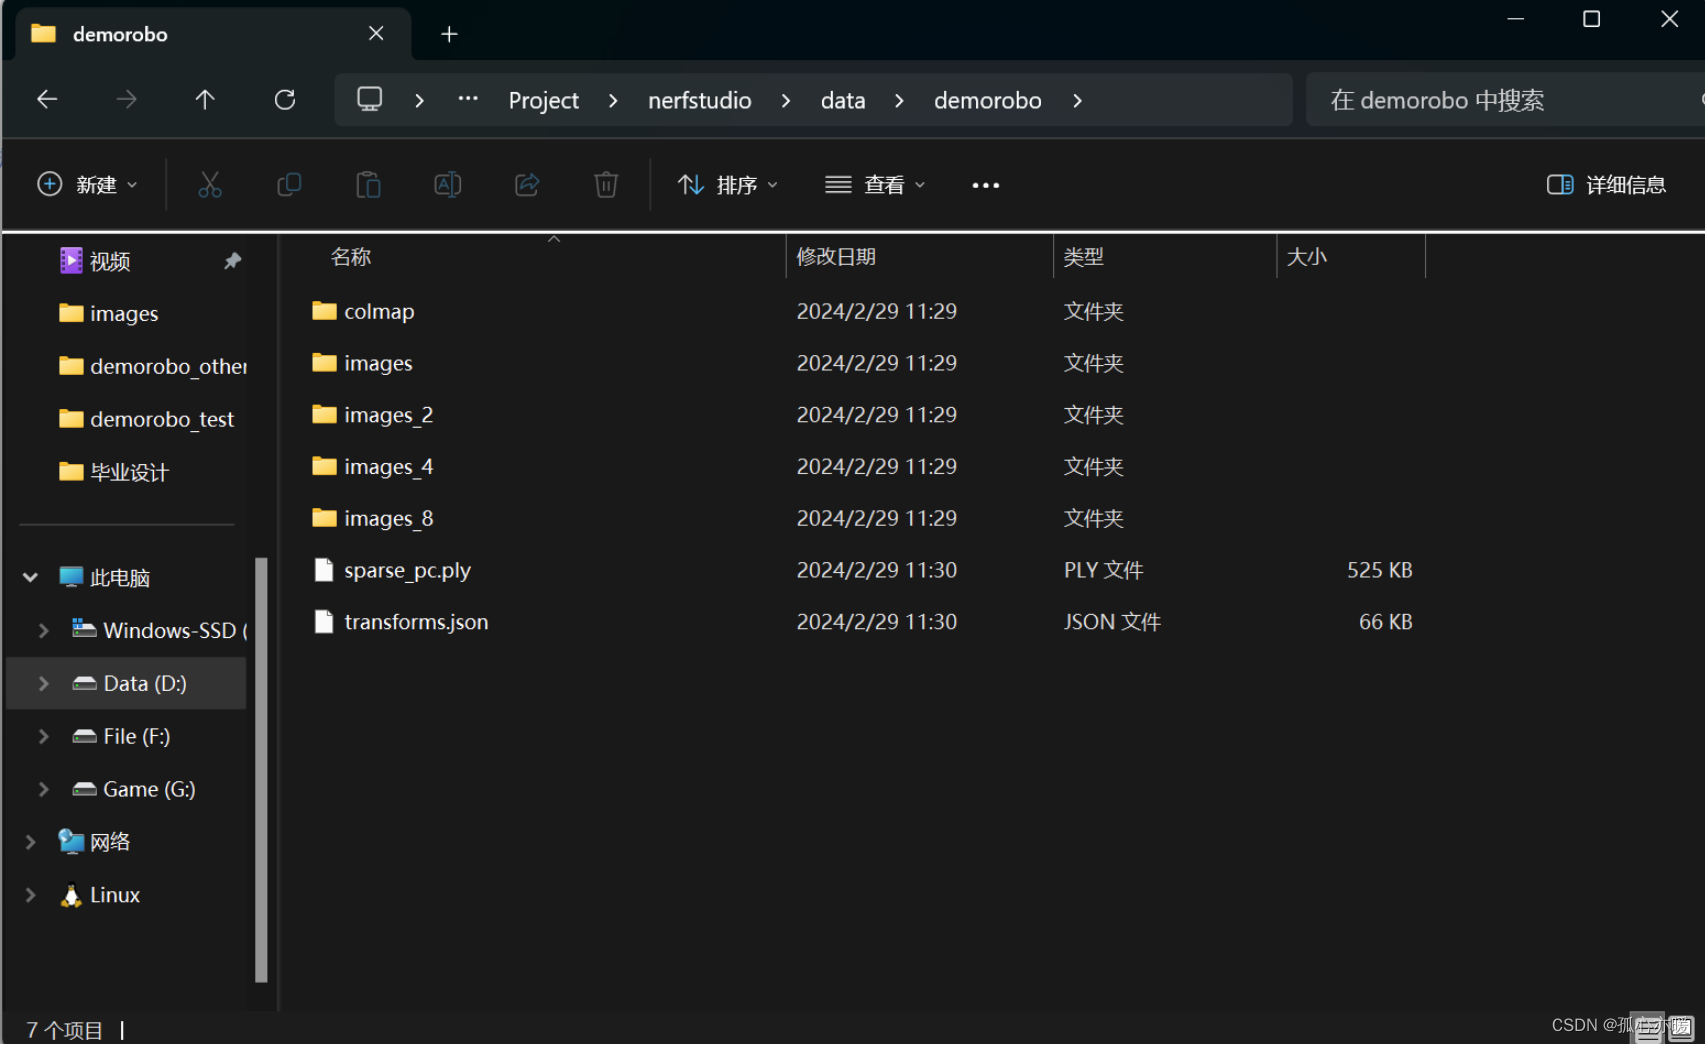
这样就可以对我们的照片进行colmap操作,并且进行下采样:

得到的文件夹结构如下:
然后执行训练,官网说法是:
ns-train nerfacto --data {PROCESSED_DATA_DIR}
我们可以这样写:
ns-train nerfacto --data data/demorobo
如果此时报错无法下载权重:
Saving config to: outputs\demorobo\nerfacto\2024-02-29_113035\config.yml             experiment_config.py:136
Saving checkpoints to: outputs\demorobo\nerfacto\2024-02-29_113035\nerfstudio_models           trainer.py:136
[11:30:36] Auto image downscale factor of 1                                                 nerfstudio_dataparser.py:484
Loading data batch ━━━━━━━━━━━━━━━━━━━━━━━━━━━━━━━━━━━━━━━━ 100% 0:00:00
Started threads
Setting up evaluation dataset...
Caching all 7 images.

Downloading: "https://download.pytorch.org/models/alexnet-owt-7be5be79.pth" to C:\Users\28291/.cache\torch\hub\checkpoints\alexnet-owt-7be5be79.pth
  2%|███▋                                                                                                                                                         | 5.41M/233M [11:36<8:07:48, 8.16kB/s]
......
......
......
TimeoutError: [WinError 10060] 由于连接方在一段时间后没有正确答复或连接的主机没有反应,连接尝试失败。
可以手动下载权重,在命令行输入:
curl -o C:/Users/28291/.cache/torch/hub/checkpoints/alexnet-owt-7be5be79.pth https://download.pytorch.org/models/alexnet-owt-7be5be79.pth
这样就可以正常训练了,能看到以下内容说明训练开始:
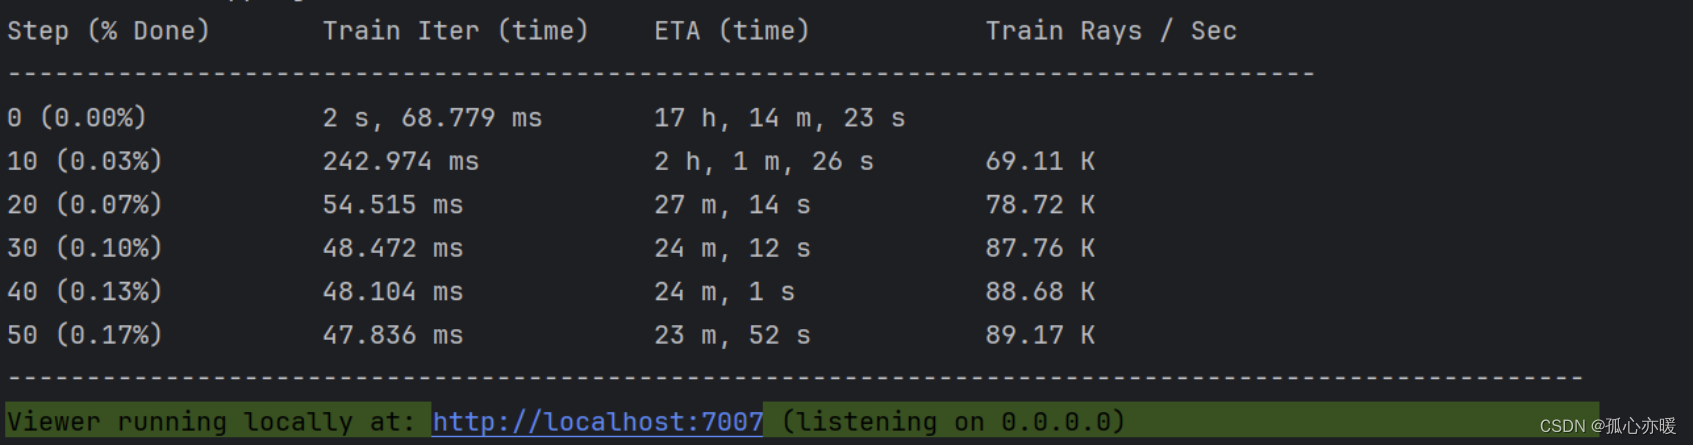
在服务器:http://localhost:7007里就可以实时查看训练进度。
看到以下内容说明训练结束:

输入ctrl+c退出训练。
评估训练指标
如果想评估训练指标,官网给的指令是:
ns-eval --load-config={PATH_TO_CONFIG} --output-path=output.json
就是把输出文件夹替换掉这个目录即可:
ns-eval --load-config=outputs/demorobo/nerfacto/2024-02-29_120354/config.yml --output-path=output.json
这样可以在项目根目录下的看到一个output.json文件,用记事本打开就可以看到指标:
{
  "experiment_name": "demorobo",
  "method_name": "nerfacto",
  "checkpoint": "outputs\\demorobo\\nerfacto\\2024-02-29_120354\\nerfstudio_models\\step-000029999.ckpt",
  "results": {
    "psnr": 22.653573989868164,
    "psnr_std": 2.9266517162323,
    "ssim": 0.7372194528579712,
    "ssim_std": 0.10289175808429718,
    "lpips": 0.08905620872974396,
    "lpips_std": 0.026574086397886276,
    "num_rays_per_sec": 244670.8125,
    "num_rays_per_sec_std": 78561.875,
    "fps": 0.46850264072418213,
    "fps_std": 0.1504325270652771
  }
}
如果想在关闭后查看渲染情况,官网给的指令是:
ns-viewer --load-config {outputs/.../config.yml}
比如我的就是:
ns-viewer --load-config outputs/demorobo/nerfacto/2024-02-29_120354/config.yml
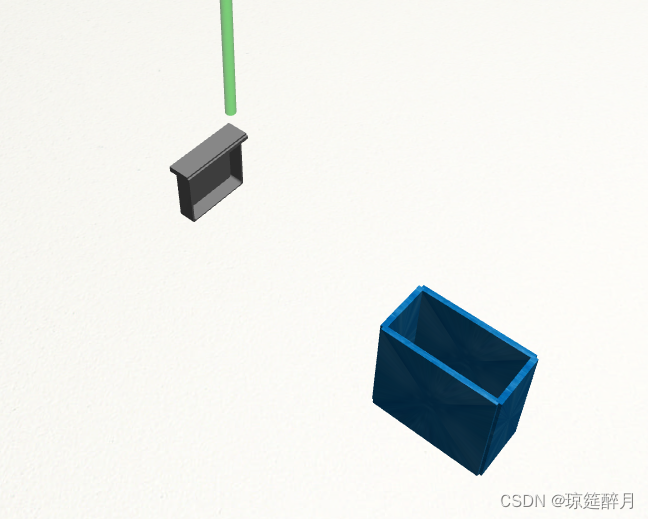
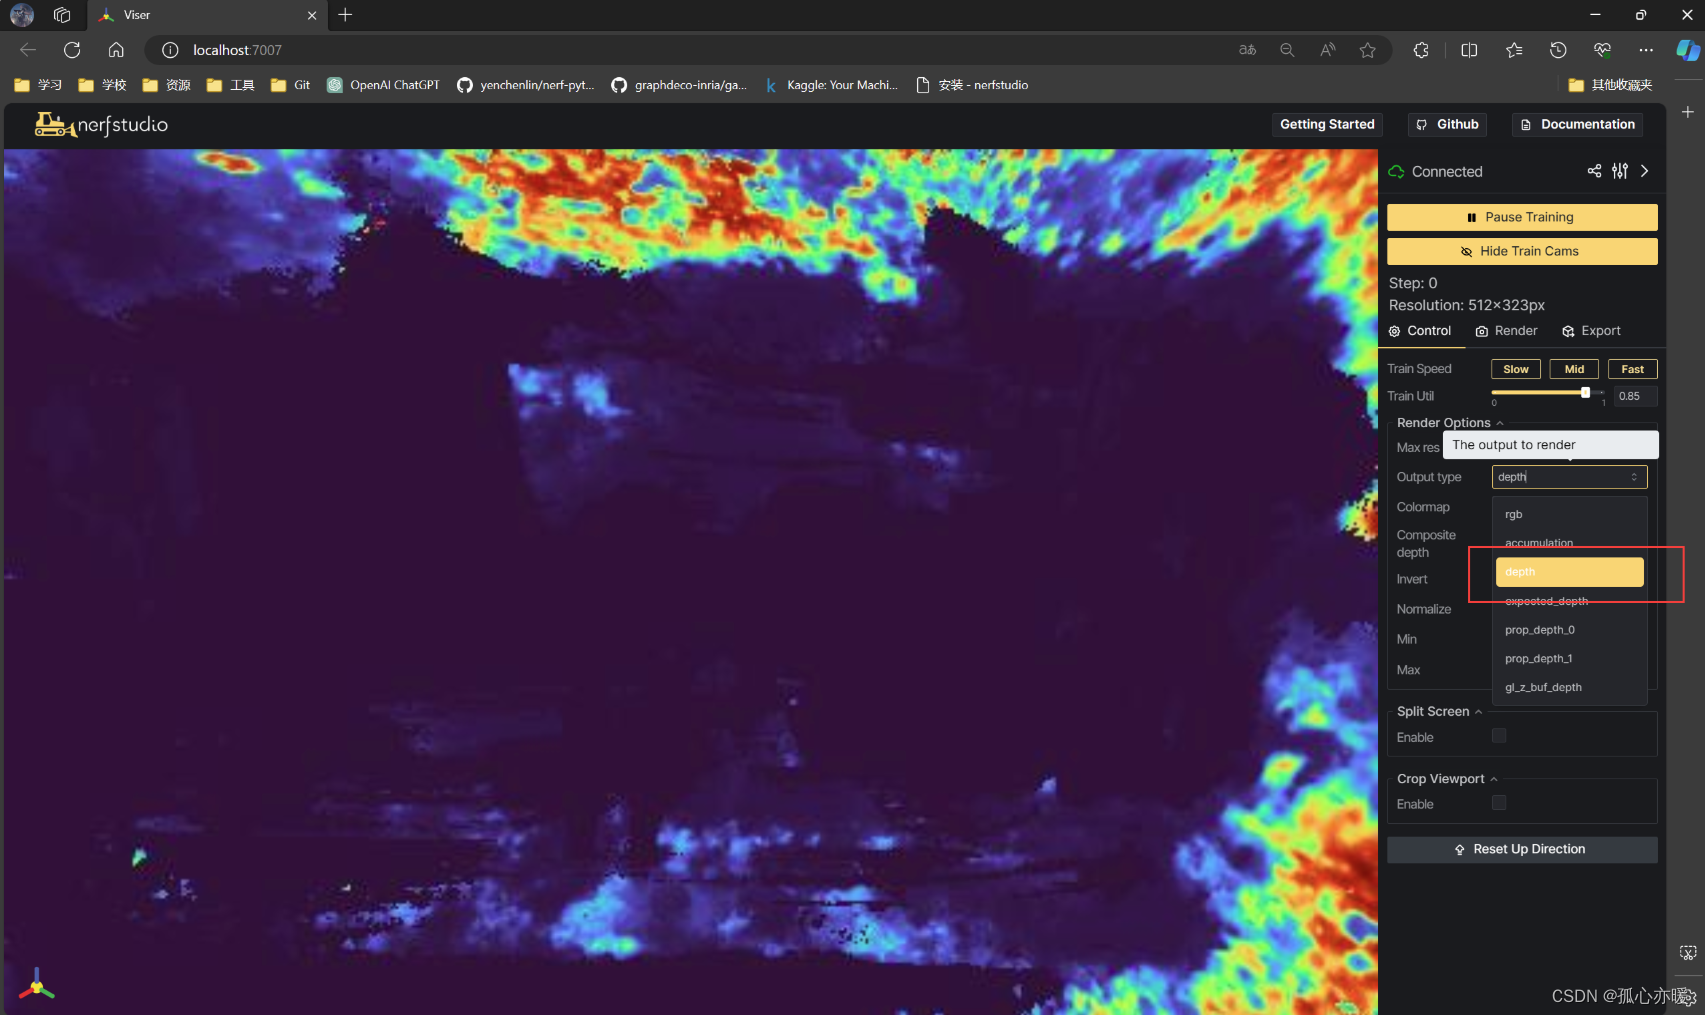
然后点击Viser就可以打开可视化工具了。因为我训练的图片数量比较少,且分辨率比较低,所以目前只能得到这样的效果:

当然也可以在这里查看深度图等其他类型的可视化:
至于更多的使用方式,可以在官网查看介绍视频,说的很详细。