前言
内容摘要
本篇先将搭建基础Triton设置模块,将ChatGLM3-6B部署为服务跑通,再加入动态批处理和模型预热来提升服务的性能和效率,包括以下几个模块
- Docker镜像环境准备
- 模型基础配置config.pbtxt
- 自定义Python后端model.py
- 模型服务加载卸载管理
- 服务请求测试
- 加入服务端动态批处理
- 加入模型预热
Docker镜像环境准备
拉取Docker仓库下的nvcr.io/nvidia/tritonserver:21.02-py3,以此作为基础镜像,安装torch,transformers,sentencepiece等Python依赖构建一个新的镜像,下文中统一命名为triton_chatglm3_6b:v1,基础环境构建有疑问的读者可以翻阅笔者往期的文章,在本篇中此内容略过。
模型基础配置config.pbtxt
我们先交代模型仓库下的目录结构,在Triton要求的model_repository的目录下创建chatglm3-6b文件夹,结构如下
.
├── 1
│   ├── chatglm3-6b
│   │   ├── config.json
│   │   ├── configuration_chatglm.py
│   │   ├── gitattributes
│   │   ├── modeling_chatglm.py
│   │   ├── MODEL_LICENSE
│   │   ├── pytorch_model-00001-of-00007.bin
│   │   ├── pytorch_model-00002-of-00007.bin
│   │   ├── pytorch_model-00003-of-00007.bin
│   │   ├── pytorch_model-00004-of-00007.bin
│   │   ├── pytorch_model-00005-of-00007.bin
│   │   ├── pytorch_model-00006-of-00007.bin
│   │   ├── pytorch_model-00007-of-00007.bin
│   │   ├── pytorch_model.bin.index.json
│   │   ├── quantization.py
│   │   ├── README.md
│   │   ├── tokenization_chatglm.py
│   │   ├── tokenizer_config.json
│   │   └── tokenizer.model
│   └── model.py
├── config.pbtxt
└── warmup
    └── raw_data
其中1文件夹代表模型版本号,其下面又包含模型文件和自定义后端脚本model.py,config.pbtxt为Triton的配置信息,warmup文件夹存放模型预热需要的数据文件。
首先完成config.pbtxt的设置,主要包括输入输出要素约定,数据类型约定,设置如下
name: "chatglm3-6b"
backend: "python"

max_batch_size: 0
input [
  {
    name: "prompt"
    data_type: TYPE_STRING
    dims: [ -1 ]
  },
  {
    name: "history"
    data_type: TYPE_STRING
    dims: [ -1 ]
  },
  {
    name: "temperature"
    data_type: TYPE_STRING
    dims: [ -1 ]
  },
  {
    name: "max_token"
    data_type: TYPE_INT16
    dims: [ 1 ]
  },
  {
    name: "history_len"
    data_type: TYPE_INT16
    dims: [ 1 ]
  }
]
output [
  {
    name: "response"
    data_type: TYPE_STRING
    dims: [ -1 ]
  },
  {
    name: "history"
    data_type: TYPE_STRING
    dims: [ -1 ]
  }
]
instance_group [
  {
      count: 1
      kind: KIND_GPU
      gpus: [ 2 ]
  }
]
对该文件中的要素做简要说明
- max_batch_size:一次请求的最大批次batch_size,本例设置为0代表实际批次由下文的input中的dims决定,而dims为一维向量,代表客户端只允许输入一条文本
- input/output:输入和输出约定,输入端需要传入prompt,history,温度系数,history上下文长度,最大推理token数,输出端需要输出回答response,以及历史累计的history,这些都是由chatglm3的特性决定。对于prompt和history它们都是自然语言字符串,设置为TYPE_STRING,且不定长因此dims设置为-1。温度系数设置为字符串会在服务端解析为浮点数。
- instance_group:执行实例,本例中设置了只有一个GPU:2来执行推理,且只给了该块GPU一个实例,读者可以根据自己机器的条件自行设置
自定义Python后端model.py
config.pbtxt搭建起了客户端和服务端的桥梁,下一步编辑自定义后端脚本model.py,它基于config.pbtxt中的约定抽取对应的数据进行推理逻辑的编写,model.py内容如下
import os

os.environ['PYTORCH_CUDA_ALLOC_CONF'] = 'max_split_size_mb:32'
os.environ['TRANSFORMERS_CACHE'] = os.path.dirname(os.path.abspath(__file__)) + "/work/"
os.environ['HF_MODULES_CACHE'] = os.path.dirname(os.path.abspath(__file__)) + "/work/"

import json
import triton_python_backend_utils as pb_utils
import sys
import gc
import time
import logging
import torch
from transformers import AutoTokenizer, AutoModel
import numpy as np

gc.collect()
torch.cuda.empty_cache()

logging.basicConfig(format='%(asctime)s - %(filename)s[line:%(lineno)d] - %(levelname)s: %(message)s',
                    level=logging.INFO)


class TritonPythonModel:
    def initialize(self, args):
        device = "cuda" if args["model_instance_kind"] == "GPU" else "cpu"
        device_id = args["model_instance_device_id"]
        self.device = f"{device}:{device_id}"

        self.model_config = json.loads(args['model_config'])
        output_response_config = pb_utils.get_output_config_by_name(self.model_config, "response")
        output_history_config = pb_utils.get_output_config_by_name(self.model_config, "history")
        self.output_response_dtype = pb_utils.triton_string_to_numpy(output_response_config['data_type'])
        self.output_history_dtype = pb_utils.triton_string_to_numpy(output_history_config['data_type'])
        ChatGLM_path = os.path.dirname(os.path.abspath(__file__)) + "/chatglm3-6b"
        self.tokenizer = AutoTokenizer.from_pretrained(ChatGLM_path, trust_remote_code=True)
        model = AutoModel.from_pretrained(ChatGLM_path,
                                          torch_dtype=torch.bfloat16,
                                          trust_remote_code=True).half().to(self.device)
        self.model = model.eval()
        logging.info("model init success")

    def execute(self, requests):
        responses = []
        for request in requests:
            prompt = pb_utils.get_input_tensor_by_name(request, "prompt").as_numpy()[0].decode('utf-8')
            history_origin = pb_utils.get_input_tensor_by_name(request, "history").as_numpy()[0].decode('utf-8')
            if history_origin:
                history = eval(history_origin)
            else:
                history = []
            temperature = float(pb_utils.get_input_tensor_by_name(request, "temperature").as_numpy()[0].decode("utf-8"))
            max_token = int(pb_utils.get_input_tensor_by_name(request, "max_token").as_numpy()[0])
            history_len = int(pb_utils.get_input_tensor_by_name(request, "history_len").as_numpy()[0])

            # 日志输出传入信息
            in_log_info = {
                "in_prompt": prompt,
                "in_history": history,
                "in_temperature": temperature,
                "in_max_token": max_token,
                "in_history_len": history_len
            }
            logging.info(in_log_info)
            response, history = self.model.chat(self.tokenizer,
                                                prompt,
                                                # 由于history的结构,问和答是分开的因此*2
                                                history=history[-history_len * 2:] if history_len > 0 else [],
                                                max_length=max_token,
                                                temperature=temperature)
            # 日志输出处理后的信息
            out_log_info = {
                "out_response": response,
                "out_history": history
            }
            logging.info(out_log_info)
            response = np.char.encode(np.array([response]))
            history = np.char.encode(np.array([str(history)]))

            response_output_tensor = pb_utils.Tensor("response", response.astype(self.output_response_dtype))
            history_output_tensor = pb_utils.Tensor("history", history.astype(self.output_response_dtype))

            final_inference_response = pb_utils.InferenceResponse(
                output_tensors=[response_output_tensor, history_output_tensor])
            responses.append(final_inference_response)

        return responses

    def finalize(self):
        print('Cleaning up...')
首先在初始化initialize中通过model_instance_device_id和model_instance_device_id拿到对应的设备device,通过HuggingFace加载模型并装载到GPU上,在execute中实现推理逻辑,从请求requests中解析出对应的prompt,history,温度系数等参数,执行chatglm3模型自带的chat方法即可完成推理,最终输出为Triton指定的类型格式包装输出。
这里对history做简要说明,在chatglm3中history的格式为由字典组成的列表,每字典包含角色和内容,例如
>>> history
>>> [{'role': 'user', 'content': '你好'}, {'role': 'assistant', 'metadata': '', 'content': '你好👋!我是人工智能助手 ChatGLM3-6B,很高兴见到你,欢迎问我任何问题。'}]
而在客户端笔者的处理方式直接作为STRING类型传给Triton后端,在服务端通过Python语法eval还原出字典列表格式,再传递给chatglm3做推理。
模型服务加载卸载管理
在config.pbtxt和model.py准备完毕之后,服务端代码层面已经ok了,我们采用explicit模式来启动Triton Inference Server,这种模式下Triton不会自动启动model_repository任何模型服务,而必须是客户端通过指令明确告知需要加载或者卸载哪个服务。
启动命令如下
docker run --rm --gpus=all \
-p18999:8000 -p18998:8001 -p18997:8002 \
-v /home/model_repository/:/models \
triton_chatglm3_6b:v1 \
tritonserver \
--model-repository=/models \
--model-control-mode explicit \
--load-model chatglm3-6b
启动日志如下,READY代表chatglm3-6b推理服务已经准备就绪
Loading checkpoint shards: 100%|██████████| 7/7 [00:09<00:00,  1.43s/it]
2024-04-04 00:28:21,716 - model.py[line:41] - INFO: model init success
I0404 00:28:21.716920 1 model_repository_manager.cc:960] successfully loaded 'chatglm3-6b' version 1

I0404 00:28:21.717332 1 server.cc:538]
+-------------+---------+--------+
| Model       | Version | Status |
+-------------+---------+--------+
| chatglm3-6b | 1       | READY  |
+-------------+---------+--------+
也可以通过HTTP请求的方式来加载或者重新加载chatglm3-6b模型,语句如下
curl -X POST http://0.0.0.0:18999/v2/repository/models/chatglm3-6b/load
注意在模型已经加载的情况下,想通过该语句reload模型,只有chatglm3-6b目录下存在变动时才会生效。
同样的可以通过HTTP请求卸载模型
curl -X POST http://0.0.0.0:18999/v2/repository/models/chatglm3-6b/unload
服务请求测试
这里我们以HTTP请求的方式来和服务进行交互,客户端使用Python的requests来发送数据请求,代码如下
import requests
import json

url = "http://0.0.0.0:18999/v2/models/chatglm3-6b/infer"


def handle(prompt: str, history: str, temperature: float = 0.3, max_token: int = 1024, history_len: int = 10):
    raw_data = {
        "inputs": [
            {
                "name": "prompt",
                "datatype": "BYTES",
                "shape": [1],
                "data": [prompt],
            },
            {
                "name": "history",
                "datatype": "BYTES",
                "shape": [1],
                "data": [history],
            },
            {
                "name": "temperature",
                "datatype": "BYTES",
                "shape": [1],
                "data": [str(temperature)],
            },
            {
                "name": "max_token",
                "datatype": "INT16",
                "shape": [1],
                "data": [max_token],
            },
            {
                "name": "history_len",  # 上下文截取的历史对话论次长度,如果为0,则历史会话不使用
                "datatype": "INT16",
                "shape": [1],
                "data": [history_len],
            }
        ],
        "outputs": [
            {
                "name": "response",
            },
            {
                "name": "history",
            }
        ]
    }
    response = requests.post(url=url,
                             data=json.dumps(raw_data, ensure_ascii=True),
                             headers={"Content_Type": "application/json"},
                             timeout=2000)
    response = json.loads(response.text)["outputs"]
    answer = response[0]["data"][0]
    history = response[1]["data"][0]

    return answer, history
在raw_data中定义了输入和输出的维度和格式,其内容必须和config.pbtxt相对应,该函数封装了HTTP请求服务端的Triton模型服务,我们通过该函数进行多轮对话
>>> answer, history = handle("请介绍一下自己", "")
>>> answer
'你好,我是一个名为 ChatGLM3-6B 的人工智能助手,是基于清华大学 KEG 实验室和智谱 AI 公司于 2023 年共同训练的语言模型开发的。我的任务是针对用户的问题和要求提供适当的答复和支持。由于我是一个计算机程序,所以我没有自我意识,也不能像人类一样感知世界。我只能通过分析我所学到的信息来回答问题。'
>>> history
"[{'role': 'user', 'content': '请介绍一下自己'}, {'role': 'assistant', 'metadata': '', 'content': '你好,我是一个名为 ChatGLM3-6B 的人工智能助手,是基于清华大学 KEG 实验室和智谱 AI 公司于 2023 年共同训练的语言模型开发的。我的任务是针对用户的问题和要求提供适当的答复和支持。由于我是一个计算机程序,所以我没有自我意识,也不能像人类一样感知世界。我只能通过分析我所学到的信息来回答问题。'}]"
我们将输出的history传入下一轮对话
>>> answer, history = handle("你和其他大语言模型有什么不同", history)
>>> answer
'作为一个人工智能助手,我和其他大语言模型有许多相似之处,例如我都是基于大型语言模型开发的,都拥有强大的语言理解能力和生成能力,都可以用于回答用户的问题和要求。但是,我也有一些不同的地方。例如,我是由清华大学 KEG 实验室和智谱 AI 公司共同训练的,专门用于支持中文问答,而其他大语言模型可能更多地用于支持英文问答。此外,我还可能拥有某些特定的功能或特点,例如对某些领域或话题具有更多的知识或更强的能力。'
>>> history
"[{'role': 'user', 'content': '请介绍一下自己'}, {'role': 'assistant', 'metadata': '', 'content': '你好,我是一个名为 ChatGLM3-6B 的人工智能助手,是基于清华大学 KEG 实验室和智谱 AI 公司于 2023 年共同训练的语言模型开发的。我的任务是针对用户的问题和要求提供适当的答复和支持。由于我是一个计算机程序,所以我没有自我意识,也不能像人类一样感知世界。我只能通过分析我所学到的信息来回答问题。'}, {'role': 'user', 'content': '你和其他大语言模型有什么不同'}, {'role': 'assistant', 'metadata': '', 'content': '作为一个人工智能助手,我和其他大语言模型有许多相似之处,例如我都是基于大型语言模型开发的,都拥有强大的语言理解能力和生成能力,都可以用于回答用户的问题和要求。但是,我也有一些不同的地方。例如,我是由清华大学 KEG 实验室和智谱 AI 公司共同训练的,专门用于支持中文问答,而其他大语言模型可能更多地用于支持英文问答。此外,我还可能拥有某些特定的功能或特点,例如对某些领域或话题具有更多的知识或更强的能力。'}]"
能够观察到history的拼接结构正常,多轮对话能够正常运行。
加入服务端动态批处理
目前我们在后端逻辑中针对每一个请求的问题进行回答,我们将他改造为对一批问题进行统一批量推理回答,此时ChatGLM3自带的chat方法已经不能满足需要,需要调用transformer原生的generate,代码改造如下
import os

os.environ['PYTORCH_CUDA_ALLOC_CONF'] = 'max_split_size_mb:32'
os.environ['TRANSFORMERS_CACHE'] = os.path.dirname(os.path.abspath(__file__)) + "/work/"
os.environ['HF_MODULES_CACHE'] = os.path.dirname(os.path.abspath(__file__)) + "/work/"

import json
import triton_python_backend_utils as pb_utils
from copy import deepcopy
import sys
import gc
import time
import logging
import torch
from transformers import AutoTokenizer, AutoModel
from transformers.generation.logits_process import LogitsProcessor
from transformers.generation.utils import LogitsProcessorList
import numpy as np

gc.collect()
torch.cuda.empty_cache()

logging.basicConfig(format='%(asctime)s - %(filename)s[line:%(lineno)d] - %(levelname)s: %(message)s',
                    level=logging.INFO)


class TritonPythonModel:
    def initialize(self, args):
        device = "cuda" if args["model_instance_kind"] == "GPU" else "cpu"
        device_id = args["model_instance_device_id"]
        self.device = f"{device}:{device_id}"

        self.model_config = json.loads(args['model_config'])
        output_response_config = pb_utils.get_output_config_by_name(self.model_config, "response")
        output_history_config = pb_utils.get_output_config_by_name(self.model_config, "history")
        self.output_response_dtype = pb_utils.triton_string_to_numpy(output_response_config['data_type'])
        self.output_history_dtype = pb_utils.triton_string_to_numpy(output_history_config['data_type'])
        ChatGLM_path = os.path.dirname(os.path.abspath(__file__)) + "/chatglm3-6b"
        self.tokenizer = AutoTokenizer.from_pretrained(ChatGLM_path, trust_remote_code=True)
        model = AutoModel.from_pretrained(ChatGLM_path,
                                          torch_dtype=torch.bfloat16,
                                          trust_remote_code=True).half().to(self.device)
        self.model = model.eval()
        logging.info("model init success")

    def build_chat_input(self, query, history=None, role="user"):
        if history is None:
            history = []
        input_ids = []
        # TODO 直接将分词编码之后的id进行拼接
        for item in history:
            content = item["content"]
            if item["role"] == "system" and "tools" in item:
                content = content + "\n" + json.dumps(item["tools"], indent=4, ensure_ascii=False)
            # TODO 解析出role和content
            input_ids.extend(self.tokenizer.build_single_message(item["role"], item.get("metadata", ""), content))
        # TODO 最新这一轮的提问
        input_ids.extend(self.tokenizer.build_single_message(role, "", query))
        # TODO 助手回答起个头
        input_ids.extend([self.tokenizer.get_command("<|assistant|>")])
        return input_ids

    def process_response(self, output, history):
        content = ""
        history = deepcopy(history)
        for response in output.split("<|assistant|>"):
            metadata, content = response.split("\n", maxsplit=1)
            if not metadata.strip():
                content = content.strip()
                history.append({"role": "assistant", "metadata": metadata, "content": content})
                content = content.replace("[[训练时间]]", "2023年")
            else:
                history.append({"role": "assistant", "metadata": metadata, "content": content})
                if history[0]["role"] == "system" and "tools" in history[0]:
                    content = "\n".join(content.split("\n")[1:-1])

                    def tool_call(**kwargs):
                        return kwargs

                    parameters = eval(content)
                    content = {"name": metadata.strip(), "parameters": parameters}
                else:
                    content = {"name": metadata.strip(), "content": content}
        return content, history

    def execute(self, requests):
        responses = []
        input_ids_batch, prompt_batch, history_batch = [], [], []
        temperature, max_token = 0, 0
        for request in requests:
            prompt = pb_utils.get_input_tensor_by_name(request, "prompt").as_numpy()[0][0].decode('utf-8')
            history_origin = pb_utils.get_input_tensor_by_name(request, "history").as_numpy()[0][0].decode('utf-8')
            history = eval(history_origin) if history_origin else []
            history = history[-10:]
            t_value = float(pb_utils.get_input_tensor_by_name(request, "temperature").as_numpy()[0][0].decode('utf-8'))
            m_value = float(pb_utils.get_input_tensor_by_name(request, "max_token").as_numpy()[0][0].decode('utf-8'))
            temperature = max(temperature, t_value)
            max_token = max(max_token, m_value)
            prompt_batch.append(prompt)
            history_batch.append(history)
            # TODO 构造input_ids
            input_ids = self.build_chat_input(query=prompt, history=history)
            input_ids_batch.append(input_ids)
        input_ids_batch = self.tokenizer.batch_encode_plus(input_ids_batch, return_tensors="pt",
                                                           is_split_into_words=True, padding=True, truncation=True)

        input_ids_batch = input_ids_batch.to(self.device)
        eos_token_id = [self.tokenizer.eos_token_id, self.tokenizer.get_command("<|user|>"),
                        self.tokenizer.get_command("<|observation|>")]
        logits_processor = LogitsProcessorList()
        logits_processor.append(InvalidScoreLogitsProcessor())
        gen_kwargs = {"max_length": max_token or 1024, "num_beams": 1, "do_sample": True, "top_p": 0.8,
                      "temperature": temperature or 0.3, "logits_processor": logits_processor}
        outputs = self.model.generate(**input_ids_batch, **gen_kwargs, eos_token_id=eos_token_id)
        outputs = outputs[:, input_ids_batch["input_ids"].shape[1]:-1]
        outputs = self.tokenizer.batch_decode(outputs)

        # TODO 后处理
        for p, h, o in zip(prompt_batch, history_batch, outputs):
            h.append({"role": "user", "content": p})
            one_response, one_history = self.process_response(o, h)
            one_response = np.char.encode(np.array([one_response]))
            one_history = np.char.encode(np.array([str(one_history)]))
            response_output_tensor = pb_utils.Tensor("response", one_response.astype(self.output_response_dtype))
            history_output_tensor = pb_utils.Tensor("history", one_history.astype(self.output_response_dtype))
            final_inference_response = pb_utils.InferenceResponse(
                output_tensors=[response_output_tensor, history_output_tensor])
            responses.append(final_inference_response)

        return responses

    def finalize(self):
        print('Cleaning up...')


class InvalidScoreLogitsProcessor(LogitsProcessor):
    def __call__(self, input_ids: torch.LongTensor, scores: torch.FloatTensor) -> torch.FloatTensor:
        if torch.isnan(scores).any() or torch.isinf(scores).any():
            scores.zero_()
            scores[..., 5] = 5e4
        return scores
其中generate推理部分参考了chatglm3-6b的源码modeling_chatglm.py,稍作改造拼接即可。在config.pbtxt中只需要修改一个max_batch_size参数,比如设置为4,服务端最大聚合4条样本为一个批次
max_batch_size: 4
我们修改客户端代码,用十条句子作为prompt,让服务端推理出回答和history
import requests
import json

url = "http://0.0.0.0:18999/v2/models/chatglm3-6b/infer"


def handle(info):
    prompt = info["prompt"]
    history = info["history"]
    temperature = info.get("temperature", 0.3)
    max_token = info.get("max_token", 1024)
    raw_data = {
        "inputs": [
            {
                "name": "prompt",
                "datatype": "BYTES",
                "shape": [1, 1],
                "data": [prompt],
            },
            {
                "name": "history",
                "datatype": "BYTES",
                "shape": [1, 1],
                "data": [history],
            },
            {
                "name": "temperature",
                "datatype": "BYTES",
                "shape": [1, 1],
                "data": [str(temperature)],
            },
            {
                "name": "max_token",
                "datatype": "BYTES",
                "shape": [1, 1],
                "data": [str(max_token)],
            }
        ],
        "outputs": [
            {
                "name": "response",
            },
            {
                "name": "history",
            }
        ]
    }
    response = requests.post(url=url,
                             data=json.dumps(raw_data, ensure_ascii=True),
                             headers={"Content_Type": "application/json"},
                             timeout=2000)
    response = json.loads(response.text)["outputs"]
    answer = response[0]["data"][0]
    history = response[1]["data"][0]

    return answer, history


if __name__ == "__main__":
    from concurrent.futures import ThreadPoolExecutor
    res = []
    a = ["请介绍一下自己", "你是谁", "你几岁", "你是哪个国家的", "你姓什么", "你是男的女的", "你的学历是什么", "你能做什么", "你的英语怎么样", "你会不会数学"]
    with ThreadPoolExecutor(4) as executor:
        futures = [executor.submit(handle, {"prompt": [a[i]], "history": [""]}) for i in range(10)]
        executor.shutdown(wait=True)
        for fut in futures:
            res.extend(fut.result())
    for r in res:
        print(r)
回答内容如下
你好,我是一个名为 ChatGLM3-6B 的人工智能助手,是基于清华大学 KEG 实验室和智谱 AI 公司于 2023 年共同训练的语言模型开发的。我的任务是针对用户的问题和要求提供适当的答复和支持。由于我是一个计算机程序,所以我没有自我意识,也不能像人类一样感知世界。我只能通过分析我所学到的信息来回答问题。
[{'role': 'user', 'content': '请介绍一下自己'}, {'role': 'assistant', 'metadata': '', 'content': '你好,我是一个名为 ChatGLM3-6B 的人工智能助手,是基于清华大学 KEG 实验室和智谱 AI 公司于 2023 年共同训练的语言模型开发的。我的任务是针对用户的问题和要求提供适当的答复和支持。由于我是一个计算机程序,所以我没有自我意识,也不能像人类一样感知世界。我只能通过分析我所学到的信息来回答问题。'}]
我是一个名为 ChatGLM3-6B 的人工智能助手,是基于清华大学 KEG 实验室和智谱 AI 公司于 2023 年共同训练的语言模型开发的。我的任务是针对用户的问题和要求提供适当的答复和支持。
[{'role': 'user', 'content': '你是谁'}, {'role': 'assistant', 'metadata': '', 'content': '我是一个名为 ChatGLM3-6B 的人工智能助手,是基于清华大学 KEG 实验室和智谱 AI 公司于 2023 年共同训练的语言模型开发的。我的任务是针对用户的问题和要求提供适当的答复和支持。'}]
...
服务端打印出批量大小日志,显示10个单条请求被聚合为4,4,2的三个批次
-----------requests 4
-----------requests 4
-----------requests 2
我们以单机单卡单实例的环境为例,分别对比一下没有动态批处理,和动态批处理最大批次为4,在并发调用场景下的单条响应耗时
| 没有动态批处理 | 动态批处理batch=4 | |
|---|---|---|
| 4并发100条prompt | 2.58(s) | 1.42(s) |
加入模型预热
最后我们给模型加上预热,预热就是在模型服务启动前给一些预设的数据,来促使模型能够完全初始化,我们在warmup目录下用以下代码依次生成数据,以prompt数据为例代码如下,通过serialize_byte_tensor方法将字符转化为服务端需要的序列化格式
import numpy as np
from tritonclient.utils import serialize_byte_tensor

serialized = serialize_byte_tensor(
    np.array(["介绍一下中国".encode("utf-8")], dtype=object)
)

with open("/home/model_repository/chatglm3-6b/warmup/prompt", "wb") as fh:
    fh.write(serialized.item())
然后在config.pbtxt加入model_warmup配置,在inputs中需要加入4个预设数据,它们的key和input中的name要一一对应
model_warmup  [
  {
    name: "random_prompt"
    batch_size: 1
    inputs: [{
      key: "prompt"
      value: {
        data_type: TYPE_STRING
        dims: [ 1 ]
        input_data_file: "prompt"
          }
       },
   {
      key: "history"
      value: {
        data_type: TYPE_STRING
        dims: [ 1 ]
        input_data_file: "history"
          }
       },
   {
      key: "temperature"
      value: {
        data_type: TYPE_STRING
        dims: [ 1 ]
        input_data_file: "temperature"
          }
       },
   {
      key: "max_token"
      value: {
        data_type: TYPE_STRING
        dims: [ 1 ]
        input_data_file: "max_token"
          }
       }]
   }
]
我们启动服务,查看启动日志,在服务READY之前已经推理了一条,该条数据为warmup目录下的测试数据
...
2024-04-08 05:40:01,278 - model.py[line:121] - INFO: {'out_response': ['\n 中国,全名中华人民共和国,是位于东亚的国家,世界人口最多的国家,国土面积仅次于俄罗斯、加拿大、美利坚合众国位列世界第四。我国有着五千年的悠久历史,是四大文明古国之一,中华文明对全球历史和文化产生了深远影响。\n\n中国现实行社会主义制度,共产党是国家的执政党。经过改革开放和现代化建设,我国已经成为世界第二大经济体,综合国力不断增强。同时,我国在国际事务中发挥着越来越重要的作用,积极参与全球治理,推动构建人类命运共同体。\n\n中国有着丰富的自然和人文景观,有着独特的民族文化和传统,如中医、中庸、儒家思想、道家学说等。此外,我国的传统节日如春节、中秋节、端午节等,也具有丰富的文化内涵和独特的魅力。\n\n中国是一个多民族国家,拥有56个民族,汉族是最大的民族,占总人口的近90%。此外,还有回、藏、维吾尔、蒙古族、藏族、维吾尔族、彝族、土家族、蒙古族、汉族等55个少数民族。各个民族之间相互尊重、平等、团结,共同繁荣发展。\n\n总之,中国是一个历史悠久、文化底蕴丰厚、国土辽阔、民族 diverse的国家,在世界舞台上日益崛起,展现着强大的国家实力和民族魅力。']}
I0408 05:40:01.279463 1 model_repository_manager.cc:960] successfully loaded 'chatglm3-6b' version 1
I0408 05:40:01.279802 1 server.cc:495]
+-------------+-----------------------------------------------------------------+------+
| Backend     | Config                                                          | Path |
+-------------+-----------------------------------------------------------------+------+
| pytorch     | /opt/tritonserver/backends/pytorch/libtriton_pytorch.so         | {}   |
| onnxruntime | /opt/tritonserver/backends/onnxruntime/libtriton_onnxruntime.so | {}   |
| tensorflow  | /opt/tritonserver/backends/tensorflow1/libtriton_tensorflow1.so | {}   |
| python      | /opt/tritonserver/backends/python/libtriton_python.so           | {}   |
+-------------+-----------------------------------------------------------------+------+

I0408 05:40:01.279886 1 server.cc:538]
+-------------+---------+--------+
| Model       | Version | Status |
+-------------+---------+--------+
| chatglm3-6b | 1       | READY  |
+-------------+---------+--------+
如何系统的去学习大模型LLM ?
作为一名热心肠的互联网老兵,我意识到有很多经验和知识值得分享给大家,也可以通过我们的能力和经验解答大家在人工智能学习中的很多困惑,所以在工作繁忙的情况下还是坚持各种整理和分享。
但苦于知识传播途径有限,很多互联网行业朋友无法获得正确的资料得到学习提升,故此将并将重要的 AI大模型资料 包括AI大模型入门学习思维导图、精品AI大模型学习书籍手册、视频教程、实战学习等录播视频免费分享出来。
😝有需要的小伙伴,可以V扫描下方二维码免费领取🆓

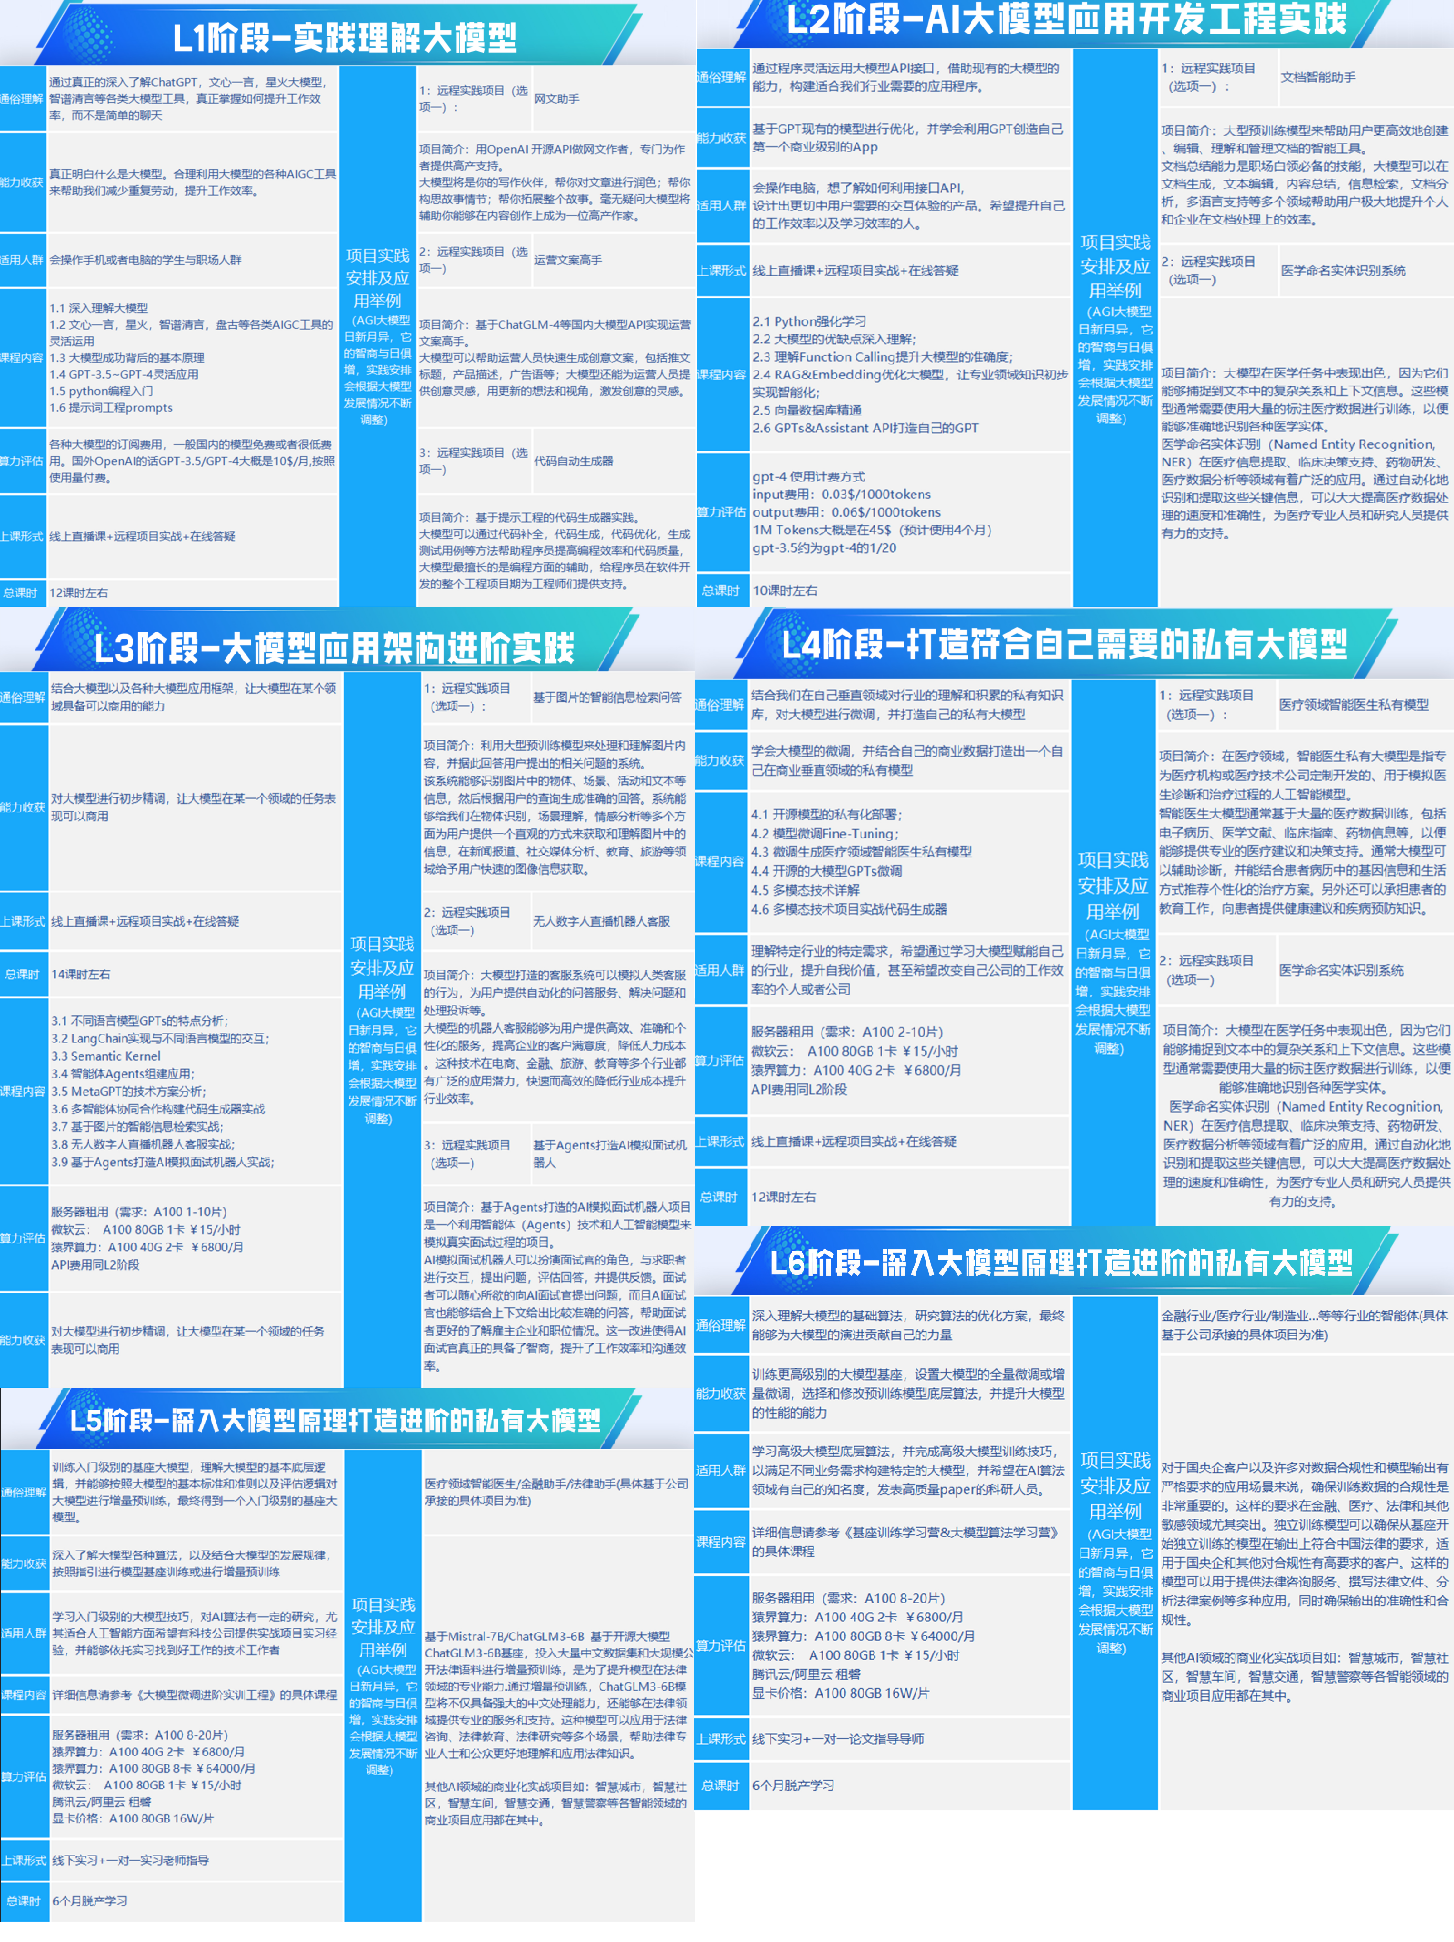
一、全套AGI大模型学习路线
AI大模型时代的学习之旅:从基础到前沿,掌握人工智能的核心技能!
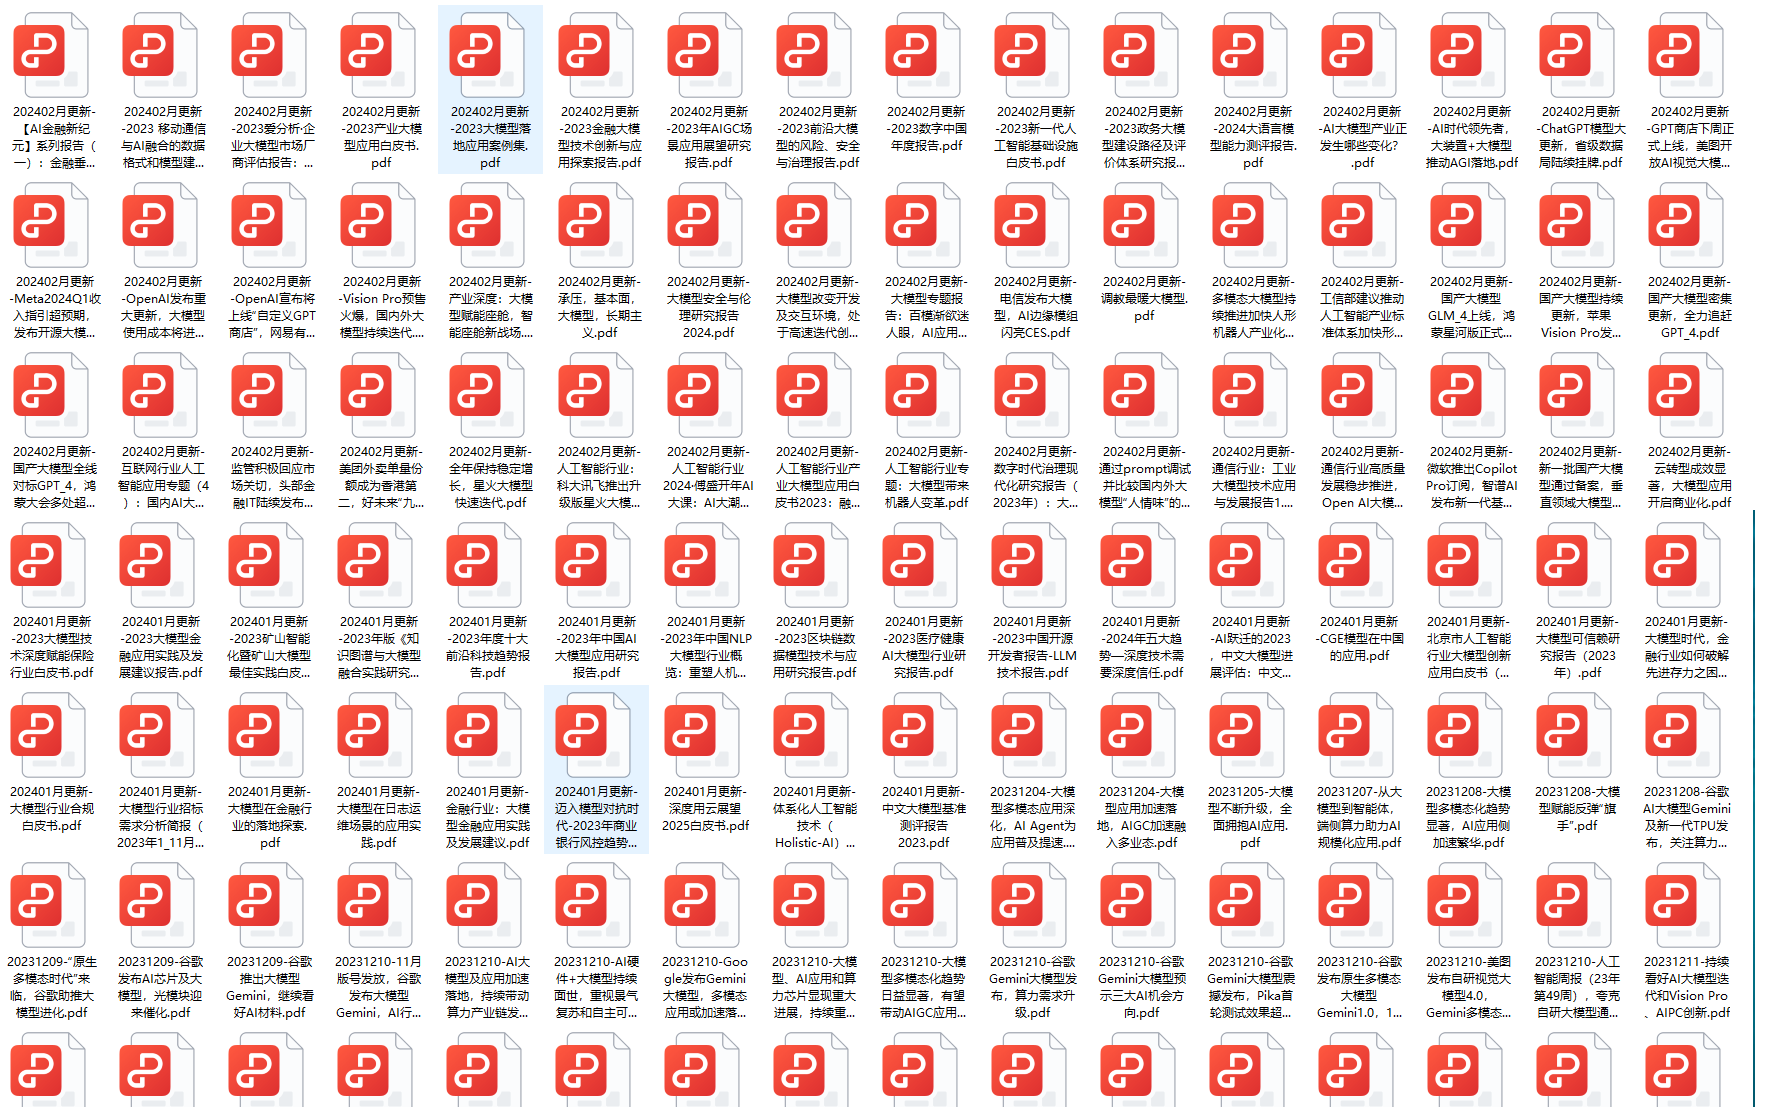
二、640套AI大模型报告合集
这套包含640份报告的合集,涵盖了AI大模型的理论研究、技术实现、行业应用等多个方面。无论您是科研人员、工程师,还是对AI大模型感兴趣的爱好者,这套报告合集都将为您提供宝贵的信息和启示。
三、AI大模型经典PDF籍
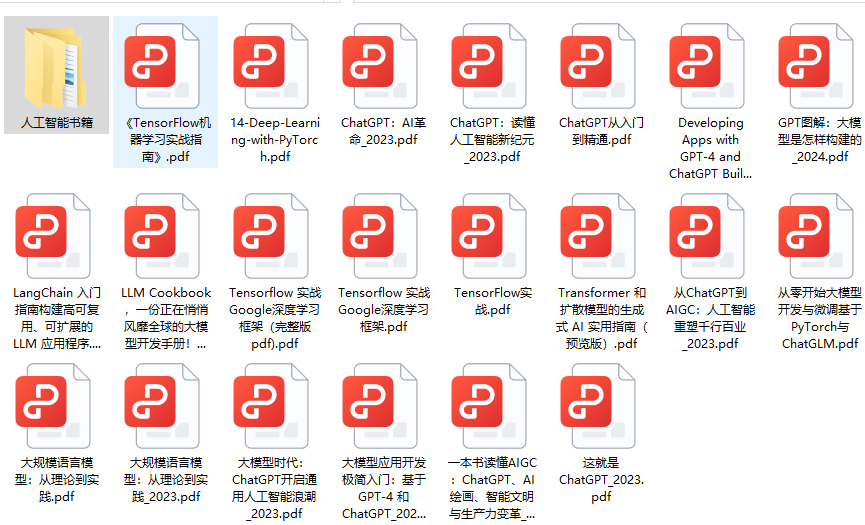
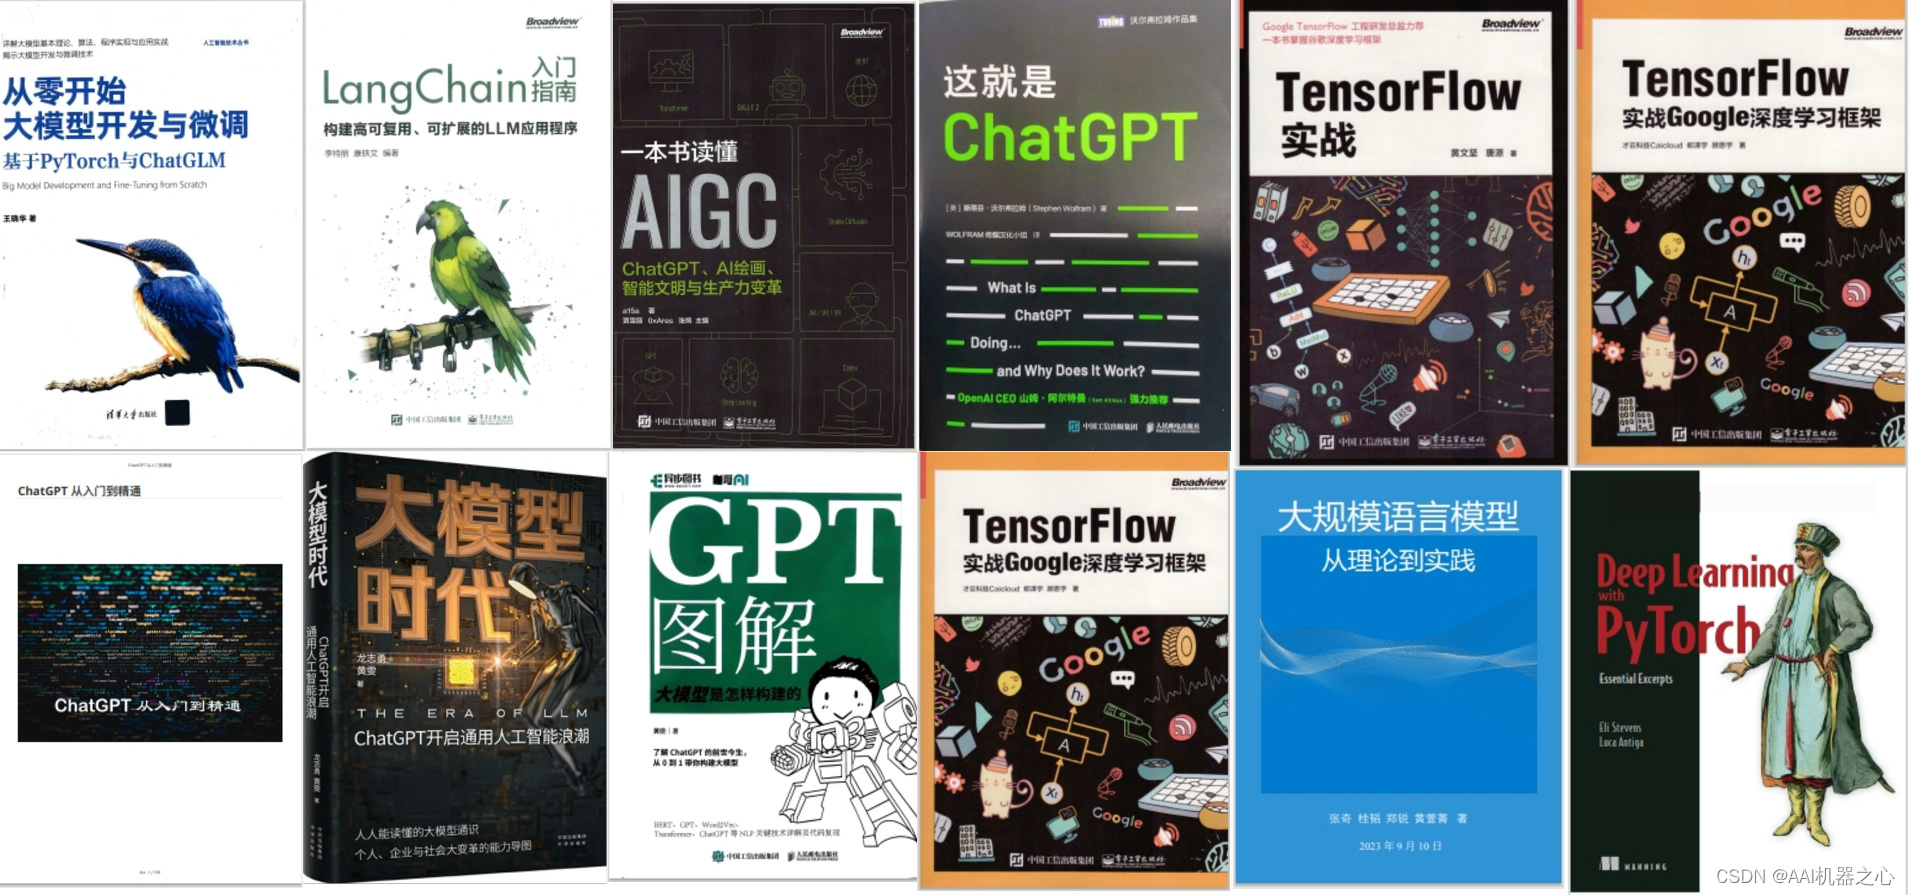
随着人工智能技术的飞速发展,AI大模型已经成为了当今科技领域的一大热点。这些大型预训练模型,如GPT-3、BERT、XLNet等,以其强大的语言理解和生成能力,正在改变我们对人工智能的认识。 那以下这些PDF籍就是非常不错的学习资源。
四、AI大模型商业化落地方案

阶段1:AI大模型时代的基础理解
- 目标:了解AI大模型的基本概念、发展历程和核心原理。
- 内容:
- L1.1 人工智能简述与大模型起源
- L1.2 大模型与通用人工智能
- L1.3 GPT模型的发展历程
- L1.4 模型工程
- L1.4.1 知识大模型
- L1.4.2 生产大模型
- L1.4.3 模型工程方法论
- L1.4.4 模型工程实践
- L1.5 GPT应用案例
阶段2:AI大模型API应用开发工程
- 目标:掌握AI大模型API的使用和开发,以及相关的编程技能。
- 内容:
- L2.1 API接口
- L2.1.1 OpenAI API接口
- L2.1.2 Python接口接入
- L2.1.3 BOT工具类框架
- L2.1.4 代码示例
- L2.2 Prompt框架
- L2.2.1 什么是Prompt
- L2.2.2 Prompt框架应用现状
- L2.2.3 基于GPTAS的Prompt框架
- L2.2.4 Prompt框架与Thought
- L2.2.5 Prompt框架与提示词
- L2.3 流水线工程
- L2.3.1 流水线工程的概念
- L2.3.2 流水线工程的优点
- L2.3.3 流水线工程的应用
- L2.4 总结与展望
阶段3:AI大模型应用架构实践
- 目标:深入理解AI大模型的应用架构,并能够进行私有化部署。
- 内容:
- L3.1 Agent模型框架
- L3.1.1 Agent模型框架的设计理念
- L3.1.2 Agent模型框架的核心组件
- L3.1.3 Agent模型框架的实现细节
- L3.2 MetaGPT
- L3.2.1 MetaGPT的基本概念
- L3.2.2 MetaGPT的工作原理
- L3.2.3 MetaGPT的应用场景
- L3.3 ChatGLM
- L3.3.1 ChatGLM的特点
- L3.3.2 ChatGLM的开发环境
- L3.3.3 ChatGLM的使用示例
- L3.4 LLAMA
- L3.4.1 LLAMA的特点
- L3.4.2 LLAMA的开发环境
- L3.4.3 LLAMA的使用示例
- L3.5 其他大模型介绍
阶段4:AI大模型私有化部署
- 目标:掌握多种AI大模型的私有化部署,包括多模态和特定领域模型。
- 内容:
- L4.1 模型私有化部署概述
- L4.2 模型私有化部署的关键技术
- L4.3 模型私有化部署的实施步骤
- L4.4 模型私有化部署的应用场景
学习计划:
- 阶段1:1-2个月,建立AI大模型的基础知识体系。
- 阶段2:2-3个月,专注于API应用开发能力的提升。
- 阶段3:3-4个月,深入实践AI大模型的应用架构和私有化部署。
- 阶段4:4-5个月,专注于高级模型的应用和部署。
这份完整版的大模型 LLM 学习资料已经上传CSDN,朋友们如果需要可以微信扫描下方CSDN官方认证二维码免费领取【保证100%免费】
😝有需要的小伙伴,可以Vx扫描下方二维码免费领取🆓


