登陆界面案例
这里通过一个登陆界面来复习一下前面学习的内容。
先在接口部分定义两个UILabel、两个UITextField、两个UIButton按键:
#import <UIKit/UIKit.h>

@interface ViewController : UIViewController
{
    UILabel* _lbUser;
    UILabel* _lbPassword;
    UITextField* _textUser;
    UITextField* _textPassword;
    UIButton* _btn1;
    UIButton* _btn2;
}
@property (retain, nonatomic) UILabel* lbUser;
@property (retain, nonatomic) UILabel* lbPassword;
@property (retain, nonatomic) UITextField* textUser;
@property (retain, nonatomic) UITextField* textPassword;
@property (retain, nonatomic) UIButton* btn1;
@property (retain, nonatomic) UIButton* btn2;

@end
实现部分:
#import "ViewController.h"

@interface ViewController ()

@end

@implementation ViewController
@synthesize lbUser = _lbUser;
@synthesize lbPassword = _lbPassword;
@synthesize textUser = _textUser;
@synthesize textPassword = _textPassword;
@synthesize btn1 = _btn1;
@synthesize btn2 = _btn2;


- (void)viewDidLoad {
    [super viewDidLoad];
    // Do any additional setup after loading the view.
    //设置两个UILabel
    self.lbUser = [[UILabel alloc] initWithFrame:CGRectMake(50, 160, 100, 40)];
    self.lbUser.text = @"用户名:";
    self.lbUser.font = [UIFont systemFontOfSize:24];
    self.lbPassword = [[UILabel alloc] initWithFrame:CGRectMake(50, 230, 100, 40)];
    self.lbPassword.text = @"密码:";
    self.lbPassword.font = [UIFont systemFontOfSize:24];
    [self.view addSubview:self.lbUser];
    [self.view addSubview:self.lbPassword];
    //设置两个输入框
    self.textUser = [[UITextField alloc] initWithFrame:CGRectMake(150, 160, 200, 40)];
    self.textUser.borderStyle = UITextBorderStyleRoundedRect;
    self.textUser.keyboardType = UIKeyboardTypeDefault;
    self.textUser.font = [UIFont systemFontOfSize:24];
    self.textUser.text = @"";
    [self.view addSubview:self.textUser];
    _textPassword = [[UITextField alloc] initWithFrame:CGRectMake(150, 230, 200, 40)];
    self.textPassword.borderStyle = UITextBorderStyleRoundedRect;
    self.textPassword.keyboardType = UIKeyboardTypeDefault;
    self.textPassword.font = [UIFont systemFontOfSize:24];
    self.textPassword.text = @"";
    [self.view addSubview:self.textPassword];
    //设置两个按钮
    self.btn1 = [UIButton buttonWithType:UIButtonTypeRoundedRect];
    self.btn1.frame = CGRectMake(150, 350, 100, 40);
    [self.btn1 setTitle:@"登陆" forState:UIControlStateNormal];
    self.btn1.titleLabel.font = [UIFont systemFontOfSize:32];
    [self.btn1 addTarget:self action:@selector(pressLogin) forControlEvents:UIControlEventTouchUpInside];
    [self.view addSubview:self.btn1];
    self.btn2 = [UIButton buttonWithType:UIButtonTypeRoundedRect];
    self.btn2.frame = CGRectMake(150, 450, 100, 40);
    [self.btn2 setTitle:@"注册" forState:UIControlStateNormal];
    self.btn2.titleLabel.font = [UIFont systemFontOfSize:32];
    [self.btn2 addTarget:self action:@selector(pressRegister) forControlEvents:UIControlEventTouchUpInside];
    [self.view addSubview:self.btn2];
}

-(void) touchesBegan:(NSSet<UITouch *> *)touches withEvent:(UIEvent *)event {
    [self.textUser resignFirstResponder];
    [self.textPassword resignFirstResponder];
}

-(void) pressLogin
{
    NSString* Username = @"Reus";
    NSString* Password = @"123098";
    NSString* strUser = self.textUser.text;
    NSString* strPass = self.textPassword.text;
    if([Username isEqual:strUser] && [Password isEqual:strPass]) {
        NSLog(@"对对对");
        UIAlertController* ele = [UIAlertController alertControllerWithTitle:@"提示" message:@"您的账号和密码输入正确,即将进入主页面" preferredStyle:UIAlertControllerStyleAlert];
        UIAlertAction* act = [UIAlertAction actionWithTitle:@"确认" style:UIAlertActionStyleDefault handler:^(UIAlertAction *action){
            //设置密码输入正确将要进入的界面
            UIView* view = [[UIView alloc] initWithFrame:CGRectMake(0, 0, 10000, 10000)];
            view.backgroundColor = [UIColor grayColor];
            UILabel* lb = [[UILabel alloc] initWithFrame:CGRectMake(50, 50, 300, 100)];
            lb.text = @"哈哈哈哈哈哈哈哈";
            lb.textColor = [UIColor redColor];
            lb.font = [UIFont systemFontOfSize:34];
            [view addSubview:lb];
            [self.view addSubview:view];
        }];
        [ele addAction:act];
        [self presentViewController:ele animated:YES completion:nil];
    } else {
        UIAlertController* ele = [UIAlertController alertControllerWithTitle:@"提示" message:@"您的账号或密码输入错误,请重新输入" preferredStyle:UIAlertControllerStyleAlert];
        UIAlertAction* act = [UIAlertAction actionWithTitle:@"确认" style:UIAlertActionStyleDestructive handler:^(UIAlertAction *action){
            self.textUser.text = @"";
            self.textPassword.text = @"";
        }];
        [ele addAction:act];
        [self presentViewController:ele animated:YES completion:nil];
    }
}

-(void) pressRegister
{
    NSLog(@"好好好");
}


@end
效果图:

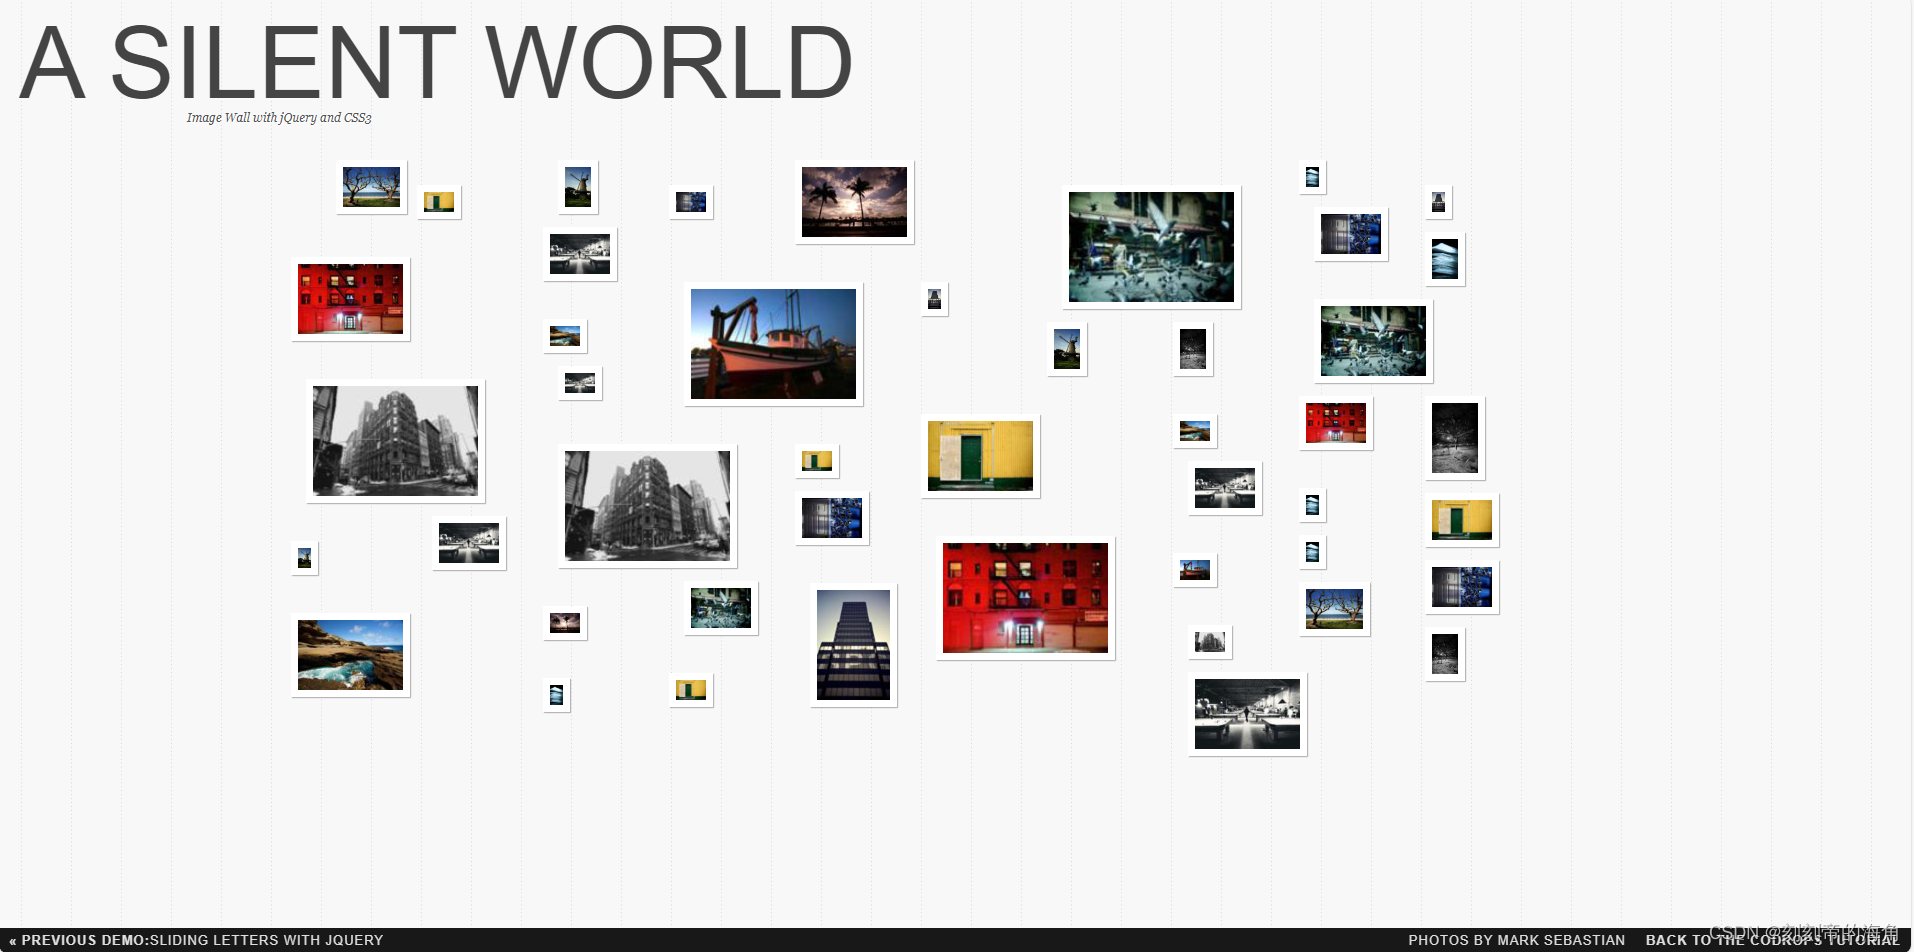
照片墙案例
UITapGestureRecognizer:iOS 中一种手势识别器,用于检测用户在屏幕上的单击或双击操作。
在 Objective-C 中,- (void)pushViewController:(UIViewController *)viewController animated:(BOOL)animated; 是 UINavigationController 类的一个实例方法,用于将一个新的视图控制器添加到导航栈中,并将其推送到当前视图控制器上。
该方法的主要作用如下:
添加新的视图控制器到导航栈中
该方法会将传入的 viewController 参数添加到导航栈的顶部,成为当前显示的视图控制器。
切换到新的视图控制器
调用该方法后,导航控制器会切换到新推送的视图控制器,用户将看到新的视图控制器的内容。
动画效果
animated 参数决定了视图切换时是否使用动画效果。如果设置为 YES,则视图切换时会有一个平滑的动画效果;如果设置为 NO,则视图会立即切换到新的视图控制器。
导航栈管理
每次调用该方法后,新的视图控制器都会被添加到导航栈的顶部。用户可以通过导航栏上的返回按钮,返回到之前的视图控制器。
SceneDelegate.m:
#import "SceneDelegate.h"
#import "VCRoot.h"
@interface SceneDelegate ()

@end

@implementation SceneDelegate


- (void)scene:(UIScene *)scene willConnectToSession:(UISceneSession *)session options:(UISceneConnectionOptions *)connectionOptions {
    //导航控制器框架结构
    UINavigationController* nav = [[UINavigationController alloc] initWithRootViewController:[[VCRoot alloc] init]];

    self.window.rootViewController = nav;
    [self.window makeKeyAndVisible];
}


- (void)sceneDidDisconnect:(UIScene *)scene {
    // Called as the scene is being released by the system.
    // This occurs shortly after the scene enters the background, or when its session is discarded.
    // Release any resources associated with this scene that can be re-created the next time the scene connects.
    // The scene may re-connect later, as its session was not necessarily discarded (see `application:didDiscardSceneSessions` instead).
}


- (void)sceneDidBecomeActive:(UIScene *)scene {
    // Called when the scene has moved from an inactive state to an active state.
    // Use this method to restart any tasks that were paused (or not yet started) when the scene was inactive.
}


- (void)sceneWillResignActive:(UIScene *)scene {
    // Called when the scene will move from an active state to an inactive state.
    // This may occur due to temporary interruptions (ex. an incoming phone call).
}


- (void)sceneWillEnterForeground:(UIScene *)scene {
    // Called as the scene transitions from the background to the foreground.
    // Use this method to undo the changes made on entering the background.
}


- (void)sceneDidEnterBackground:(UIScene *)scene {
    // Called as the scene transitions from the foreground to the background.
    // Use this method to save data, release shared resources, and store enough scene-specific state information
    // to restore the scene back to its current state.
}


@end
VCRoot.m:
#import "VCRoot.h"
#import "VCImageShow.h"
@interface VCRoot ()

@end

@implementation VCRoot

- (void)viewDidLoad {
    [super viewDidLoad];
    // Do any additional setup after loading the view.

    self.title = @"照片墙";

    self.navigationController.navigationBar.translucent = YES;
    self.view.backgroundColor = [UIColor whiteColor];
    UIScrollView* sv = [[UIScrollView alloc] init];

    sv.frame = self.view.bounds;//CGRectMake(5, 10, 394, 852);

    sv.contentSize = CGSizeMake(self.view.bounds.size.width, self.view.bounds.size.height);
    //  打开交互事件,关闭会导致无法使用点击等手势操作成功运行
    sv.userInteractionEnabled = YES;

    for(int i = 0; i < 10; i++) {
        NSString* strName = [NSString stringWithFormat:@"%d.JPG",i+1];
        UIImage* image = [UIImage imageNamed:strName];
        UIImageView* iview = [[UIImageView alloc] initWithImage:image];
        iview.frame = CGRectMake(10 + (i % 3) * self.view.bounds.size.width / 3, (i / 3) * self.view.bounds.size.height / 4, 110, 200);
        [sv addSubview:iview];
        iview.userInteractionEnabled = YES;
        iview.tag = 101 + i;
        UITapGestureRecognizer* tap = [[UITapGestureRecognizer alloc] initWithTarget:self action:@selector(press:)];
        //表示我们需要检测单次点击事件
        tap.numberOfTapsRequired = 2;
        //表示我们需要检测单指点击事件
        tap.numberOfTouchesRequired = 1;
        //将手势识别器添加到视图上去
        [iview addGestureRecognizer:tap];

    }
    [self.view addSubview:sv];
}

-(void) press:(UITapGestureRecognizer*) tap {
    UIImageView* imageView = (UIImageView*) tap.view;
    //创建显示视图控制器
    VCImageShow* imageShow = [[VCImageShow alloc] init];
    imageShow.imageTag = imageView.tag;
    [self.navigationController pushViewController:imageShow animated:YES];
}

/*
#pragma mark - Navigation

// In a storyboard-based application, you will often want to do a little preparation before navigation
- (void)prepareForSegue:(UIStoryboardSegue *)segue sender:(id)sender {
    // Get the new view controller using [segue destinationViewController].
    // Pass the selected object to the new view controller.
}
*/

@end
VCIamgeShow.h:
#import <UIKit/UIKit.h>

NS_ASSUME_NONNULL_BEGIN

@interface VCImageShow : UIViewController
@property (assign, nonatomic) NSUInteger imageTag;
@property (nonatomic, retain) UIImage* image;
@property (nonatomic, retain) UIImageView* imageView;
@end
VCImageShow.m:
#import "VCImageShow.h"
#import "VCRoot.h"
@interface VCImageShow ()

@end

@implementation VCImageShow
@synthesize imageView = _imageView;
@synthesize image = _image;
- (void)viewDidLoad {
    [super viewDidLoad];
    self.title = @"图片展示";
    UIImageView* _imageView = [[UIImageView alloc] init];
    _imageView.frame = self.view.bounds;

    _imageView.image = [UIImage imageNamed:[NSString stringWithFormat:@"%lu.JPG", (unsigned long)(_imageTag-100)]];
    [self.view addSubview:_imageView];
}

/*
#pragma mark - Navigation

// In a storyboard-based application, you will often want to do a little preparation before navigation
- (void)prepareForSegue:(UIStoryboardSegue *)segue sender:(id)sender {
    // Get the new view controller using [segue destinationViewController].
    // Pass the selected object to the new view controller.
}
*/

@end
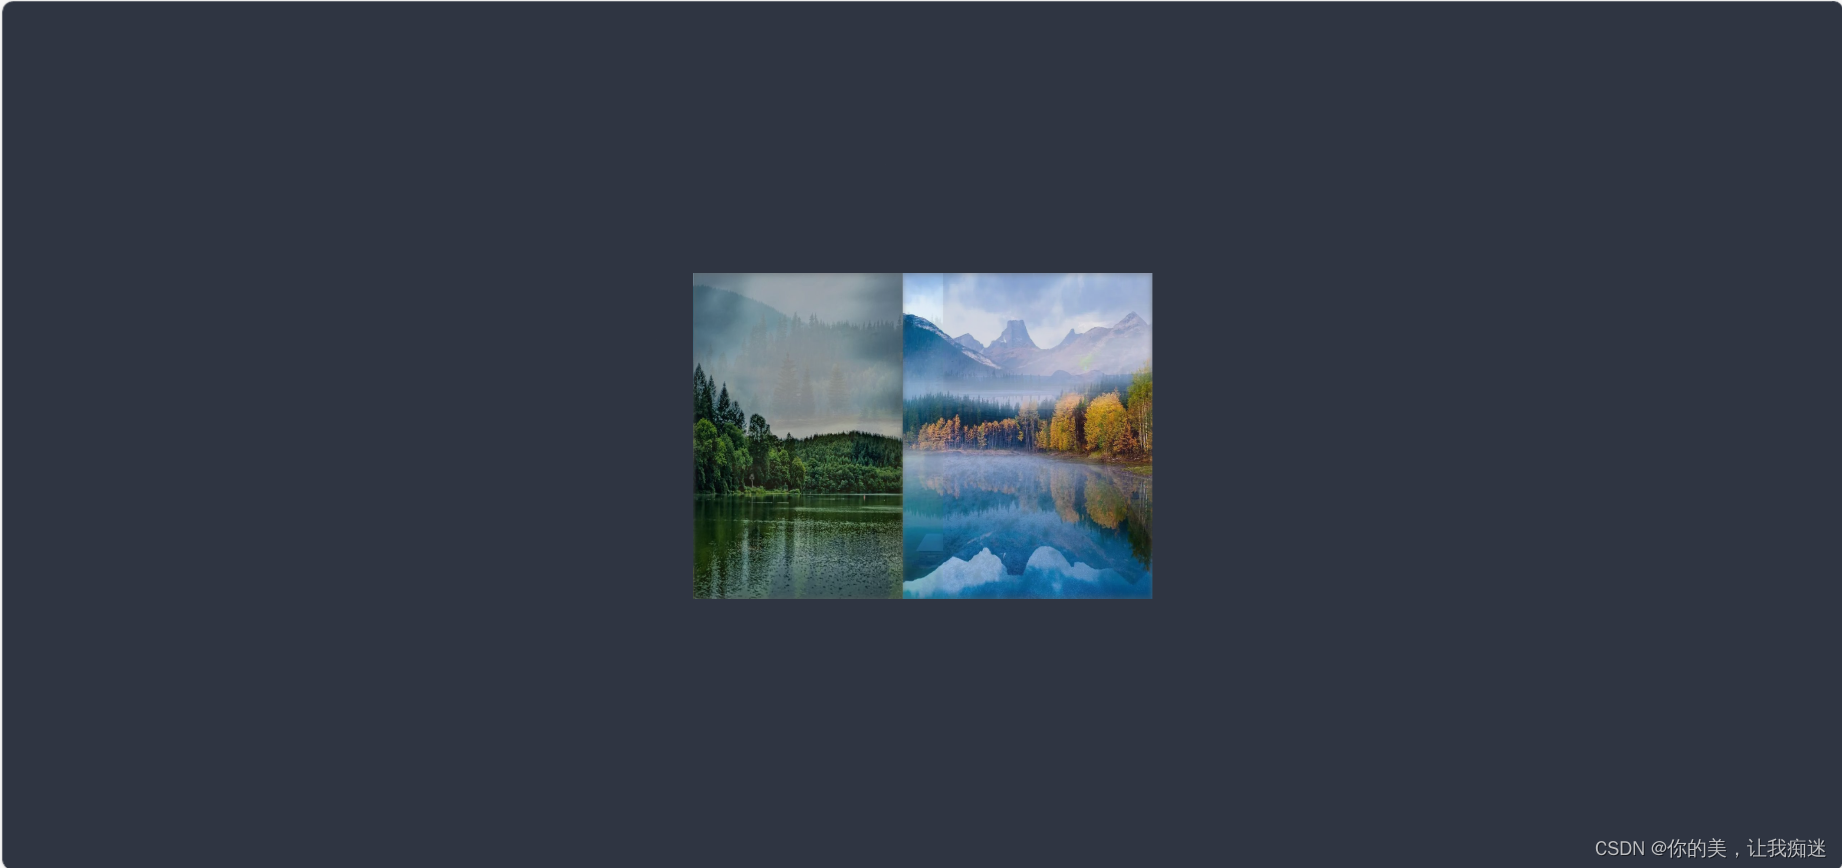
效果图: