用Pip配置Pytorch环境 (Pytorch==2.3.0)
本文主要讲解: 如何用Conda搭建Pytorch环境,用Conda的方式安装,需要单独去安装Cuda。
1. 下载Python安装包
安装Python 3.10.11,下载地址 Python 3.10.11
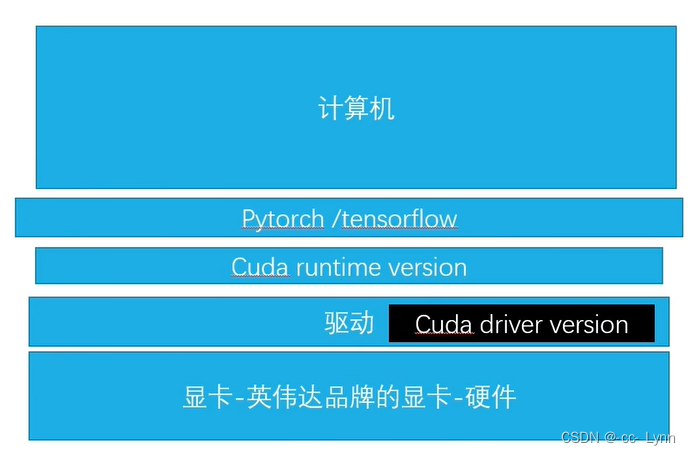
2. CUDA 安装
安装CUDA 12.1, 查看官网:CUDA 12.1
下载地址 CUDA 12.1
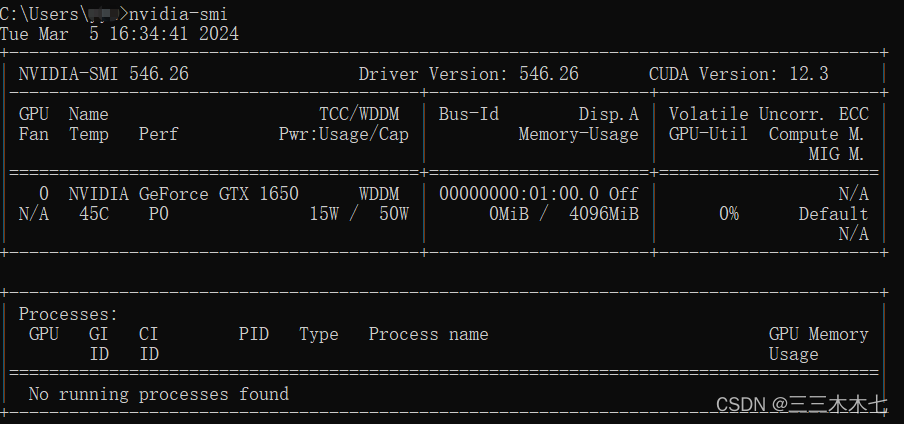
cuda安装完之后,已经配置好环境路径了,直接在cmd中查看
nvcc -V
3. Cudnn 8.x 安装
安装Cudnn 8.x, 查看官网:Cudnn 8.x
下载地址 Cudnn 8.x
把cudnn8.x解压出来的文件,拷贝到cuda下,有对应的文件下名称,对应拷贝过去。
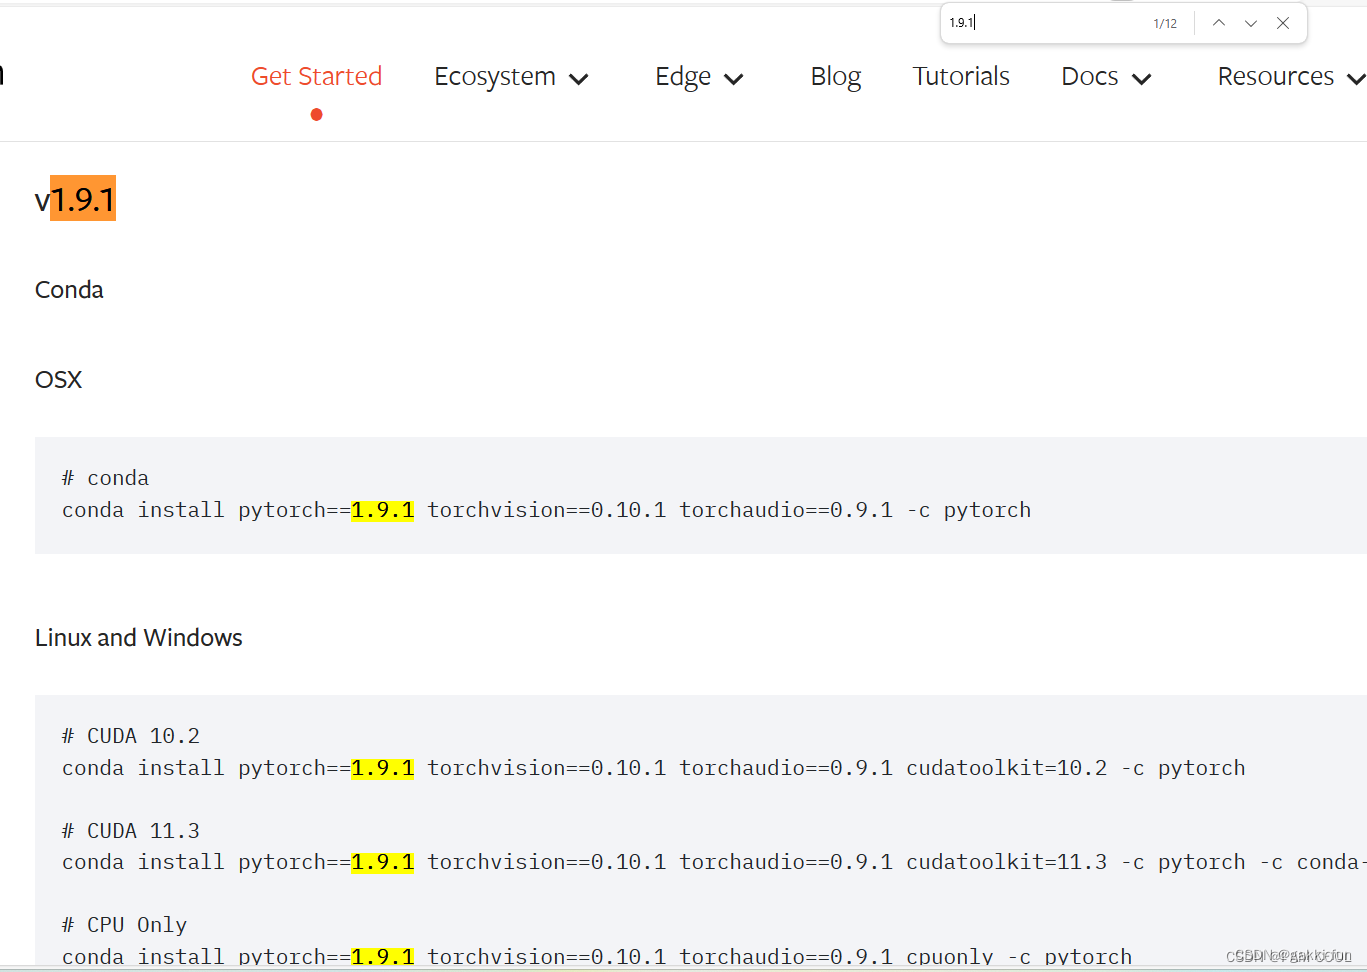
4. 安装Pytorch
pip install torch==2.3.0 torchvision==0.18.0 torchaudio==2.3.0 --index-url https://download.pytorch.org/whl/cu121
5. 安装常用包
pip install scikit-learn einops ipywidgets pandas tqdm jupyterlab matplotlib seaborn
6. pip设置清华源
pip config list
pip config set global.index-url https://pypi.tuna.tsinghua.edu.cn/simple
7. 一个分类网络的例子
测试Pytorch环境是否Okay
python mnist.py
文件mnist.py内容:
# Task
# Our task is simple, recognize handwritten digits. We will use MNIST dataset for this tutorial.
#

# # Import necessary library
# In this tutorial, we are going to use pytorch, the cutting-edge deep learning framework to complete our task.

# In[2]:


import torch
import torchvision


# In[3]:


## Create dataloader, in PyTorch, we feed the trainer data with use of dataloader
## We create dataloader with dataset from torchvision,
## and we dont have to download it seperately, all automatically done

# Define batch size, batch size is how much data you feed for training in one iteration
batch_size_train = 64 # We use a small batch size here for training
batch_size_test = 1024 #

# define how image transformed
image_transform = torchvision.transforms.Compose([
                               torchvision.transforms.ToTensor(),
                               torchvision.transforms.Normalize(
                                 (0.1307,), (0.3081,))
                             ])
#image datasets
train_dataset = torchvision.datasets.MNIST('dataset/',
                                           train=True,
                                           download=True,
                                           transform=image_transform)
test_dataset = torchvision.datasets.MNIST('dataset/',
                                          train=False,
                                          download=True,
                                          transform=image_transform)
#data loaders
train_loader = torch.utils.data.DataLoader(train_dataset,
                                           batch_size=batch_size_train,
                                           shuffle=True)
test_loader = torch.utils.data.DataLoader(test_dataset,
                                          batch_size=batch_size_test,
                                          shuffle=True)


# In[64]:


# import library
# We can check the dataloader
_, (example_datas, labels) = next(enumerate(test_loader))
sample = example_datas[0][0]
# show the data


# In[60]:


## Now we can start to build our CNN model
## We first import the pytorch nn module and optimizer
import torch.nn as nn
import torch.nn.functional as F
import torch.optim as optim
## Then define the model class
class CNN(nn.Module):
    def __init__(self):
        super(CNN, self).__init__()
        #input channel 1, output channel 10
        self.conv1 = nn.Conv2d(1, 10, kernel_size=5, stride=1)
        #input channel 10, output channel 20
        self.conv2 = nn.Conv2d(10, 20, kernel_size=5, stride=1)
        #dropout layer
        self.conv2_drop = nn.Dropout2d()
        #fully connected layer
        self.fc1 = nn.Linear(320, 5000)
        self.fc2 = nn.Linear(5000, 10)
    def forward(self, x):
        x = self.conv1(x)
        x = F.max_pool2d(x, 2)
        x = F.relu(x)
        x = self.conv2(x)
        x = self.conv2_drop(x)
        x = F.max_pool2d(x, 2)
        x = F.relu(x)
        x = x.view(-1, 320)
        x = self.fc1(x)
        x = F.relu(x)
        x = F.dropout(x)
        x = self.fc2(x)
        return F.log_softmax(x)


# In[61]:


## create model and optimizer
learning_rate = 0.01
momentum = 0.5
device = "cuda"
model = CNN().to(device) #using cpu here
optimizer = optim.SGD(model.parameters(), lr=learning_rate,
                      momentum=momentum)


# In[78]:


##define train function
def train(model, device, train_loader, optimizer, epoch, log_interval=10000):
    model.train()
    counter = 0
    for batch_idx, (data, target) in enumerate(train_loader):
        data, target = data.to(device), target.to(device)
        optimizer.zero_grad()
        output = model(data)
        loss = F.nll_loss(output, target)
        loss.backward()
        optimizer.step()
        counter += 1

        print("loss:", loss.item())
##define test function
def test(model, device, test_loader):
    model.eval()
    test_loss = 0
    correct = 0
    with torch.no_grad():
        for data, target in test_loader:
            data, target = data.to(device), target.to(device)
            output = model(data)
            test_loss += F.nll_loss(output, target, reduction='sum').item() # sum up batch loss
            pred = output.argmax(dim=1, keepdim=True) # get the index of the max log-probability
            correct += pred.eq(target.view_as(pred)).sum().item()
    test_loss /= len(test_loader.dataset)

    print('\nTest set: Average loss: {:.4f}, Accuracy: {}/{} ({:.0f}%)\n'.format(
        test_loss, correct, len(test_loader.dataset),
        100. * correct / len(test_loader.dataset)))


# In[79]:


num_epoch = 10
for epoch in range(1, num_epoch + 1):
        train(model, device, train_loader, optimizer, epoch)
        test(model, device, test_loader)


# In[70]:

# from torchsummary import summary
# summary(model, (1, 28, 28))
END