1.学习内容参考了
three.js入门教程--零基础也能学会_threejs菜鸟教程-CSDN博客
本章内容包含渲染立方体,并配合ui工具食用~
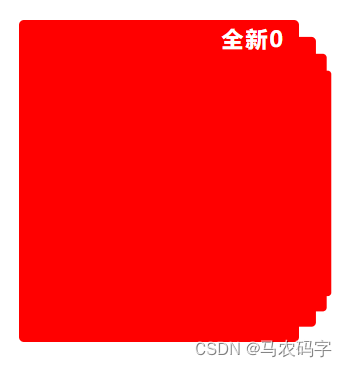
2.效果图


import * as THREE from 'three'
import * as dat from 'dat.gui'
import { OrbitControls } from 'three/addons/controls/OrbitControls.js'
import { GLTFLoader } from 'three/addons/loaders/GLTFLoader.js'
// const controls = new OrbitControls(camera, renderer.domElement)
// const loader = new GLTFLoader()
// 创建一个场景
const scene = new THREE.Scene()
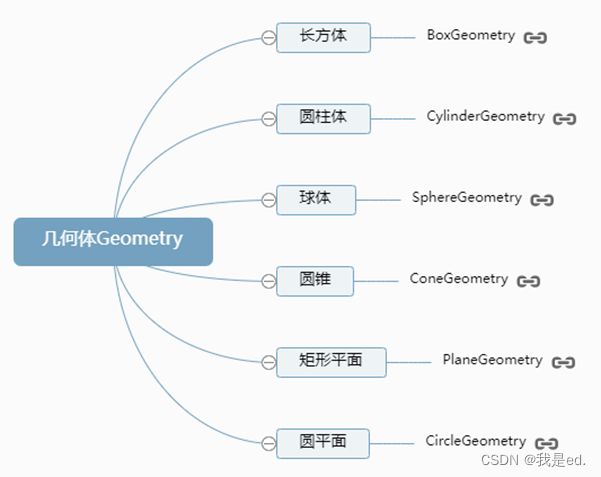
const cubeGeometry = new THREE.BoxGeometry(1, 1, 1)
const cubMaterial = new THREE.MeshNormalMaterial()
const cube = new THREE.Mesh(cubeGeometry, cubMaterial)
scene.add(cube)
// 创建一个相机
const camera = new THREE.PerspectiveCamera(
45,
window.innerWidth / window.innerHeight,
1,
500
)
camera.position.z = 5
// 创建一个渲染器
const renderer = new THREE.WebGLRenderer()
// 设置渲染器大小 为页面宽高 或一半
renderer.setSize(window.innerWidth, window.innerHeight)
renderer.setPixelRatio(window.devicePixelRatio)
document.body.appendChild(renderer.domElement)
renderer.render(scene, camera)
//初始化集成GUI
const gui = new dat.GUI()
// 第一个参数 对象
// 第二个参数 对象属性
// 第三个参数 步长范围
const guiPosition = gui.addFolder('位置信息')
guiPosition.add(cube.position, 'x', -10, 10, 1)
guiPosition.add(cube.position, 'y', -10, 10, 1)
guiPosition.add(cube.position, 'z', -10, 10, 1)
const guiScale = gui.addFolder('缩放')
guiScale.add(cube.scale, 'x', 1, 10, 1)
guiScale.add(cube.scale, 'y', 1, 10, 1)
guiScale.add(cube.scale, 'z', 1, 10, 1)
// 创建轨道控制器
const controls =new OrbitControls(camera,renderer.domElement)
function animation() {
// cube.rotation.x += 0.01
cube.rotation.y += 0.01
cube.rotation.z += 0.01
renderer.render(scene, camera)
requestAnimationFrame(animation)
}
animation()
document.body.appendChild(renderer.domElement)
// 4.创建坐标辅助器
const axesHelper = new THREE.AxesHelper(10)
scene.add(axesHelper)
// 5.创建自适应画布
window.addEventListener('resize', () => {
// 重新设置相机宽高比
camera.aspect = window.innerWidth / window.innerHeight
camera.updateProjectionMatrix()
// 设置渲染器出图 照片大小
renderer.setSize(window.innerWidth,window.innerHeight)
})
// 6.创建网格辅助对象
const gridHelper = new THREE.GridHelper(20, 20, 0xffffff, 0xffffff)
gridHelper.material.transparent = true
gridHelper.material.opacity = 0.5
scene.add(gridHelper)
// 7.对正方体进行基础设置
// 设置移动位置
cube.position.x = 10
cube.position.y = 10
cube.position.z = 10
// 大小 x y z放大倍数
cube.scale.set(2, 2, 3)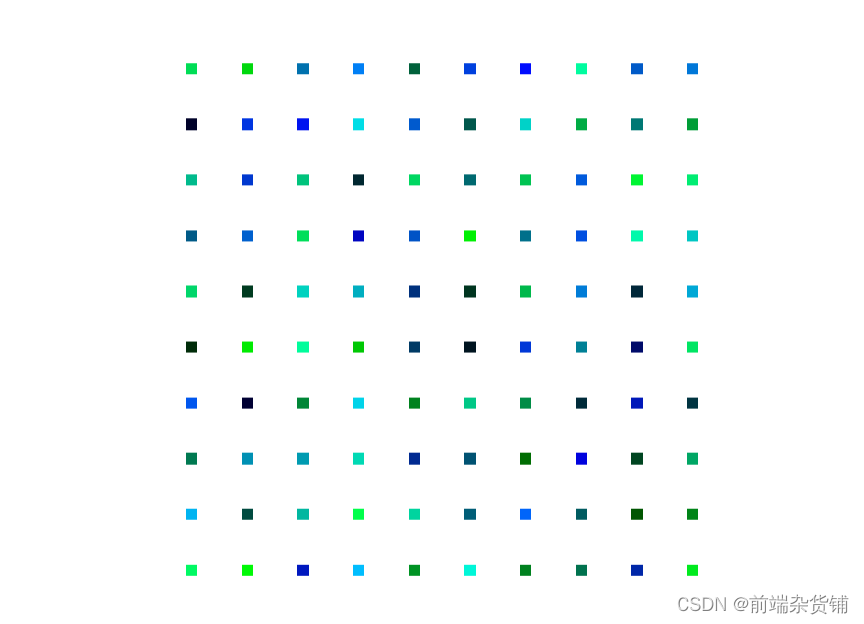


![[windows系统安装/重装系统][step-3]装驱动、打驱动、系统激活](https://img-blog.csdnimg.cn/img_convert/957102212e58cf6712ef610ab9d7b421.png)