领取资料,咨询答疑,请➕wei: June__Go
上一小节我们学习了pytest运行上次失败用例的方法,本小节我们讲解一下pytest几种内置fixture的使用方法。
pytest的开发者在pytest中包含了一些常用的Fixture。pytest预包装的Fixture可以帮助你在测试中轻松而一致地做一些非常有用的事情。例如pytest包含的内置Fixture可以处理临时目录和文件,访问命令行选项,在测试会话之间通信,验证输出流,修改环境变量,以及询问警告。内置固定程序是对pytest的核心功能的扩展。
使用命令pytest --fixtures或者pytest --funcargs可以查看所有可用的fixture,包括内置的、插件中的以及当前项目定义的。

下面介绍一些常用内置固件:
tmpdir、tmpdir_factory、cache、capsys、monkeypatch、doctest_namespace、recwarn等。
1、tmpdir和tmpdir_factory固件
tmpdir和tmpdir_factory用于临时文件和目录的管理,在测试开始前创建临时文件目录,并且在测试结束后销毁,适用于在测试过程中需要创建一个临时文件,并且对文件进行读写操作的场景。tmpdir的作用范围是函数级别;tmpdir_factory的作用域是会话级别。
tmpdir的使用
看下面一个示例:测试方法在执行过程中创建临时目录和文件,在文件中写入数据,断言数据是否存在于临时文件中。
import pytest

def test_tmpdir(tmpdir):
    tmp_dir = tmpdir.mkdir('testdir') #创建一个临时目录
    tmp_file = tmp_dir.join('tmpfile.txt') #在临时目录下创建一个临时文件
    tmp_file.write('这是一个临时文件') #在临时文件中写入数据
    assert tmp_file.read() == '这是一个临时文件'

if __name__ == '__main__':
    pytest.main(['-s', '-v', 'test_fixture_tmpdir.py'])
运行结果如下:可见断言成功了,临时目录和文件创建成功,也成功对文件进行了读写操作。
(venv) PS D:\PycharmProjects\Source_Code\pytest_demo> pytest -s .\test_fixture_tmpdir.py
========================================================================================= test session starts ==========================================================================================
platform win32 -- Python 3.9.12, pytest-7.3.1, pluggy-1.4.0
rootdir: D:\PycharmProjects\Source_Code\pytest_demo
collected 1 item

test_fixture_tmpdir.py .

========================================================================================== 1 passed in 0.03s ===========================================================================================
tmpdir_factory的使用
看下面的示例:自定义一个fixture方法,调用tmpdir_factory创建临时文件,并在其他测试方法可以读取临时文件。
import pytest

@pytest.fixture(scope='module')
def test_tempdir_fixture(tmpdir_factory):
    tmp_dir = tmpdir_factory.mktemp('testdir') #创建一个临时目录
    tmp_file = tmp_dir.join('testfile.txt') #创建一个临时文件
    tmp_file.write('这是一个临时文件') #在临时文件中写入数据
    return tmp_file #返回临时文件

def test_tmp1(test_tempdir_fixture):
    with test_tempdir_fixture.open() as f:
        assert f.read() == '这是一个临时文件'

def test_tmp2(test_tempdir_fixture):
    assert '这是一个临时文件' in test_tempdir_fixture.read()
运行结果如下:两个测试方法都运行成功了,可见tmpdir_factory在module级别可以创建目录和文件,并且可以对文件进行读写
============================= test session starts =============================
collecting ... collected 2 items

test_fixture_tmpdir.py::test_tmp1 PASSED                                 [ 50%]
test_fixture_tmpdir.py::test_tmp2 PASSED                                 [100%]

============================== 2 passed in 0.04s ==============================2、pytestconfig
内置的 pytestconfig 可以通过命令行参数、选项、配置文件、插件、运行目录等等方式来控制pytest的运行。
直接来看代码
# conftest.py
def pytest_addoption(parser):
    # parser.addoption():为pytest添加命令行参数
    parser.addoption("--testopt", action="store_true",
                     help="this is test msg")
    parser.addoption("--free", action="store", default="beer",
                     help="free: beer or people")
需要注意的是, conftest.py 需要在顶层目录下,不能处于测试子目录下
接下来我们测试上述代码
# test_pytestconfig.py
import pytest


def test_option(pytestconfig):
    print('"testopt" set to:', pytestconfig.getoption('testopt'))
    print('"free" set to:', pytestconfig.getoption('free'))
运行测试
$ pytest -sq test_config.py::test_option
"testopt" set to: False
"free" set to: beer
.
1 passed in 0.01s

$ pytest -sq --testopt test_config.py::test_option
"testopt" set to: True
"free" set to: beer
.
1 passed in 0.01s

$ pytest -sq --testopt --free people test_config.py::test_option
"testopt" set to: True
"free" set to: people
.
1 passed in 0.01s
pytestconfig 本身就是一个fixture,所以我们也可以用在其他fixture上。
@pytest.fixture()
def testopt(pytestconfig):
    return pytestconfig.option.testopt


@pytest.fixture()
def free(pytestconfig):
    return pytestconfig.option.free


def test_fixtures_for_options(testopt, free):
    print('"testopt" set to:', testopt)
    print('"free" set to:', free)
$ pytest -sq --testopt --free people test_config.py::test_fixtures_for_options
"testopt" set to: True
"free" set to: people
.
1 passed in 0.02s
3、cache
我们在测试的时候,有时候需要每个测试之间是相互独立的,保证测试结果不依赖于测试顺序,用不同的测试顺序也可以得到相同的测试结果。但是,有的时候又希望用到上一次会话的信息,这时候需要使用到 cache 。
–ff or --lf
cache 的作用是存储一段测试会话的信息,在下一段测试会话中使用。使用命令行参数 --lf | --last-failed 或者 --ff | --failed-first 来查看缓存的数据。
测试一段简单的代码
# test_pass_fail.py
def test_this_passes():
    assert 1 == 1


def test_this_fails():
    assert 1 == 2
我们先运行一次测试,使其拥有缓存
$ pytest -q test_pass_fail.py
.F                                                                                                                                                                         [100%]
============================================== FAILURES ====================================================================================
________________________________________________________________________________ test_this_fails _________________________________________________________________________________

    def test_this_fails():
>       assert 1 == 2
E       assert 1 == 2

test_pass_fail.py:6: AssertionError
========================================== short test summary info =============================================================================
FAILED test_pass_fail.py::test_this_fails - assert 1 == 2
1 failed, 1 passed in 0.32s
接下来使用 --ff 参数或 --failed-first ,观察用例的运行顺序
$ pytest -q --ff test_pass_fail.py
F.                                                                                                                                                                         [100%]
============================================ FAILURES ====================================================================================
________________________________________________________________________________ test_this_fails _________________________________________________________________________________

    def test_this_fails():
>       assert 1 == 2
E       assert 1 == 2

test_pass_fail.py:6: AssertionError
==================================== short test summary info =============================================================================
FAILED test_pass_fail.py::test_this_fails - assert 1 == 2
1 failed, 1 passed in 0.18s
可以看到,上次运行失败的用例这次首先运行了,其次才运行上次pass的用例。再看一下 --lf 参数的作用
$ pytest -q --lf test_pass_fail.py
F                                                                                                                                                                          [100%]
==================================================================================== FAILURES ====================================================================================
________________________________________________________________________________ test_this_fails _________________________________________________________________________________

    def test_this_fails():
>       assert 1 == 2
E       assert 1 == 2

test_pass_fail.py:6: AssertionError
============================================================================ short test summary info =============================================================================
FAILED test_pass_fail.py::test_this_fails - assert 1 == 2
1 failed, 1 deselected in 0.28s
--lf 参数可以使测试只运行上次失败的用例。
查看缓存
既然有缓存,一定是存在于某个文件里面的数据,我们可以直接查看这些缓存数据。
--cache-show 是查看缓存的命令行参数
缓存文件都存在于 .pytest_cache 目录下。

4、capsys
capsys 有两个功能
允许使用代码读取 stdout 和 stderr
可以临时禁止抓取日志的输出
我们假设某个函数要把信息输出到 stdout
# test_capsys.py
def print_info(info):
    print('This is ours masseage: ' % info)
函数的定义限制了我们无法使用返回值去测试,只能使用 stdout ,这个时候 capsys 就派上用场了
# test_capsys.py
...
def test_print_info(capsys):
    msg = 'life is short,you need python'
    print_info(msg)
    out, err = capsys.readouterr()
    assert out == 'This is ours masseage: ' + msg + '\n'
    assert err == ''

    print_info('test1...')
    print_info('test2...')
    out, err = capsys.readouterr()
    assert out == 'This is ours masseage: test1\n' + 'This is ours masseage: test2...\n'
    assert err == ''
测试结果
$ pytest -q test_capsys.py::test_print_info
.                                                                                                                                                                          [100%]
1 passed in 0.02s
读取到的 stdout 和 stderr 信息是从 capsys.readouterr() 中获取到的。返回值从测试函数运行后捕捉,或者从上次调用中获取。
再来一个 stderr 的例子
def ping(output):
    print('loading...', file=output)


def test_stderr(capsys):
    ping(sys.stderr)
    out, err = capsys.readouterr()
    assert out == ''
    assert err == 'loading...\n'
capsys.disabled() 可以临时让输出绕过默认的输出捕捉机制
# test_capsys_disabled.py
def test_capsys_disabled(capsys):
    with capsys.disabled():
        print('\nalways print this')
    print('normal print, usually captured')
从测试结果中就可以看出, ‘always print this’ 这句话一直会输出,而 ‘normal print, usually captured’ 这句话只有在 -s 参数下才会显示。
$ pytest -q test_capsys.py::test_capsys_disabled

always print this
.                                                                                                                                                                          [100%]
1 passed in 0.03s
$ pytest -qs test_capsys.py::test_capsys_disabled

always print this
normal print, usually captured
.
1 passed in 0.02s5、monkeypatch
monkey patch 可以在运行期间对类或模块进行动态修改。在测试中, monkey patch 常用于被测试代码的部分运行环境,或者将输入依赖或输出依赖替换成更容易测试的对象或函数。在测试期间的一切修改都会在测试结束后复原。
先来看下 monkeypatch 的API
- setattr(target,name,value=<notset>,raising=True) 设置一个属性
- delattr(target,name=<notset>,raising=True) 删除一个属性
- setitem(dic,name,value) 设置字典中的一条记录
- delitem(dic,name,raising=True) 删除字典中的一条记录
- setnev(name,value,prepend=True) 设置一个环境变量
- delenv(name,raising) 删除一个环境变量
- syspath_prepend(path) 将路径 path 加入 sys.path 并放在最前面, sys.path 是 Python 导入的系统路径列表
- chdir(path) 改变当前的工作目录
注: raising 参数用于指示 pytest 是否在记录不存在时抛出异常。 setenv() 函数里的 prepend 参数可以是一个字符,如果是这样设置,环境变量的值就是 value + prepend + <old value>
下面用一段简单的代码来讲述 monkeypatch 在工作中的作用
# cheese.py
import os
import json


def read_cheese_preferences():
    # os.path.enpanduser()会将用户设置的环境变量 HOME ,替换掉参数中的 ~ 。
    full_path = os.path.expanduser('~/.cheese.json')
    with open(full_path, 'r') as f:
        prefs = json.load(f)
    return prefs


def write_cheese_preferences(prefs):
    full_path = os.path.expanduser('~/.cheese.json')
    with open(full_path, 'w') as f:
        json.dump(prefs, f, indent=4)


def write_default_cheese_preferences():
    write_cheese_preferences(_default_prefs)


_default_prefs = {
    'slicing': ['manchego', 'sharp cheddar'],
    'spreadable': ['Saint Andre', 'camembert',
                   'bucheron', 'goat', 'humbolt fog', 'cambozola'],
    'salads': ['crumbled feta']
}
上面的代码假设 write_cheese_preferences() 生成了配置文件。但是既没有参数也没有返回值,我们该如何进行测试?如果是直接运行,用户在之前的预置配置文件 ~/.cheese.json 就会被覆盖,这显然不符合我们的测试要求。所以我们需要创建一个临时的 HOME 目录,并在这个临时目录里面测试。
# test_cheese.py
def test_def_prefs_change_home(tmpdir, monkeypatch):
    # 这里就用到了 setenv() 设置环境变量。先利用 tmpdir 创建了一个临时目录,然后将这个临时
    # 目录指向了 HOME 变量
    monkeypatch.setenv('HOME', tmpdir.mkdir('home'))
    cheese.write_default_cheese_preferences()
    expected = cheese._default_prefs
    actual = cheese.read_cheese_preferences()
    assert expected == actual
$ pytest -qs test_cheese.py::test_def_prefs_change_home
.
1 passed in 0.01s这样看起来确实可以了,但是这只针对 MacOS / Linux 系统有效,显然不适用于 Windows 用户,所以我们接下来看看另一种实现方式。
# test_cheese.py
...
def test_def_prefs_change_expanduser(tmpdir, monkeypatch):
    fake_home_dir = tmpdir.mkdir('home')
    # 这里将 cheese 模块中的 os.path.expanduser() 函数替换成了下面的匿名函数
    # 将 ~ 替换成了我们自己定义的 home 目录
    monkeypatch.setattr(cheese.os.path, 'expanduser',
                        (lambda x: x.replace('~', str(fake_home_dir))))
    cheese.write_default_cheese_preferences()
    expected = cheese._default_prefs
    actual = cheese.read_cheese_preferences()
    assert expected == actual
从结果看来也是没什么问题的,Windows用户运行起来应该也是OK的。
$ pytest -qs test_cheese.py::test_def_prefs_change_expanduser
.
1 passed in 0.00s
上面已经使用了 setenv() 以及 setattr() ,下面来看一看 setitem() 函数
# test_cheese.py
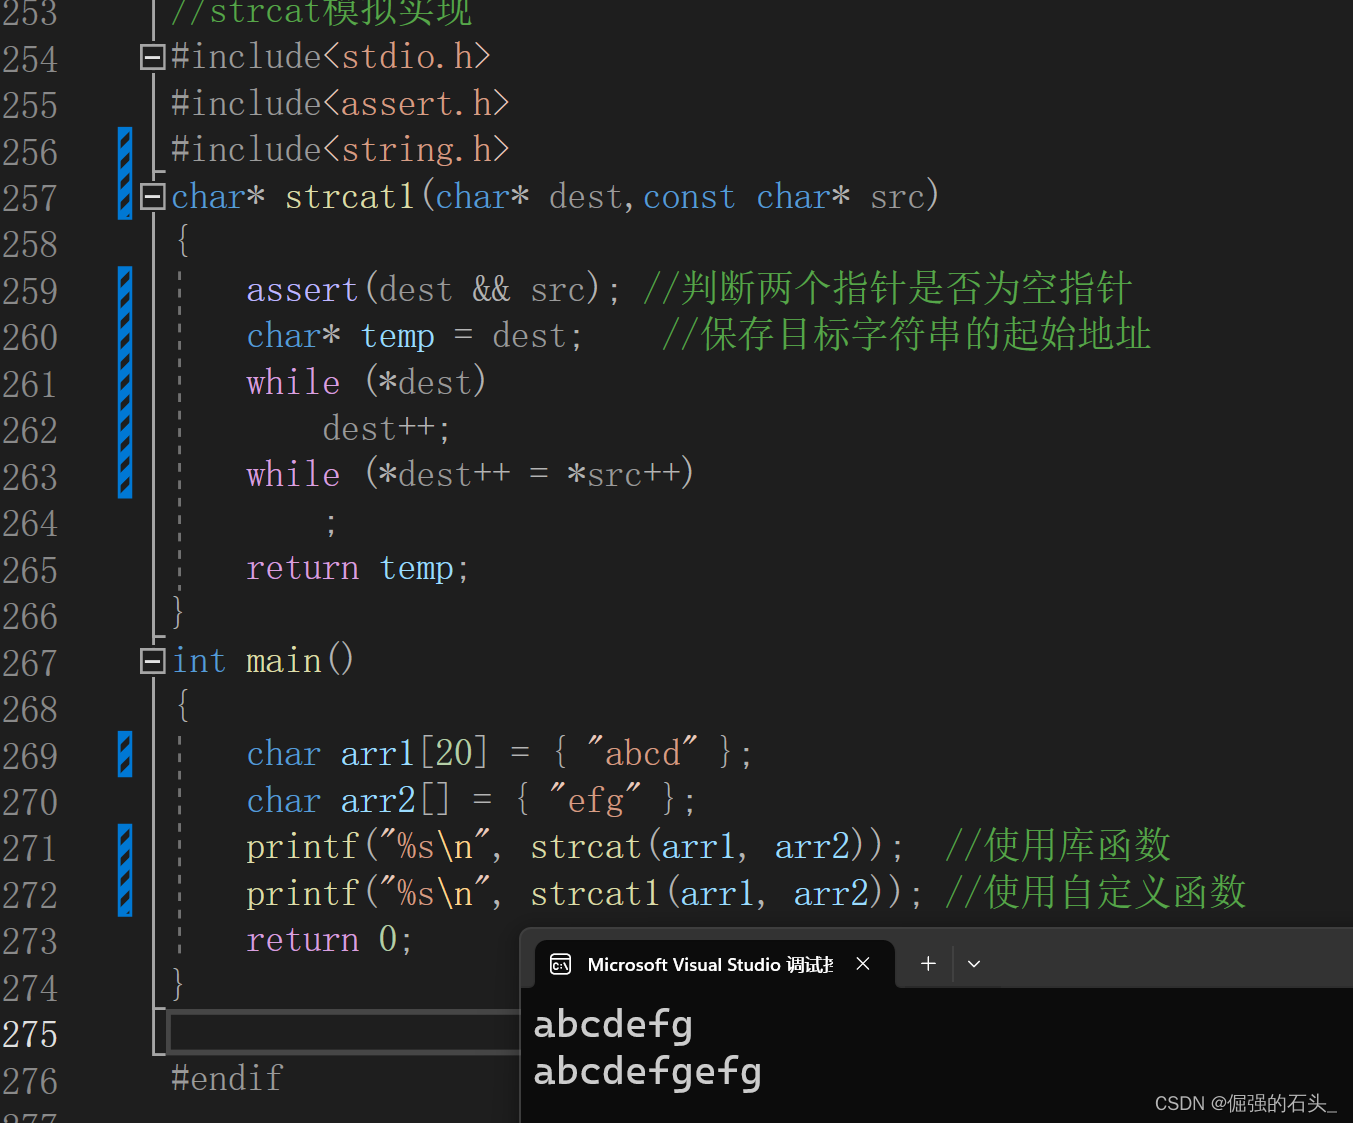
def test_def_prefs_change_defaults(tmpdir, monkeypatch):
fake_home_dir = tmpdir.mkdir('home')
# setattr 用法上面已经说明过
monkeypatch.setattr(cheese.os.path, 'expanduser',
(lambda x: x.replace('~', str(fake_home_dir))))
cheese.write_default_cheese_preferences()
# 在修改 item 之前先进行深拷贝,作为后面断言的对象
defaults_before = copy.deepcopy(cheese._default_prefs)
# 利用 setitem 属性来改变默认字典的值
monkeypatch.setitem(cheese._default_prefs, 'slicing', ['provolone'])
monkeypatch.setitem(cheese._default_prefs, 'spreadable', ['brie'])
monkeypatch.setitem(cheese._default_prefs, 'salads', ['pepper jack'])
defaults_modified = cheese._default_prefs
# 这里写入配置文件的字典已经是修改过后的
cheese.write_default_cheese_preferences()
# 读取配置文件中的字典信息
actual = cheese.read_cheese_preferences()
assert defaults_modified == actual
assert defaults_modified != defaults_before
$ pytest -qs test_cheese.py::test_def_prefs_change_defaults
.
1 passed in 0.00s
6、doctest_namespace
doctest 模块是 Python 标准库的一部分,借助它,可以在函数的文档字符串中放入示例代码,并通过测试确保有效。你可以使用 --doctest-modules 标识搜寻并运行 doctest 测试用例;
# conftest.py
import pytest

@pytest.fixture(autouse=True)
def bar(doctest_namespace):
    doctest_namespace["bar"] = "This is BAR"
#foo.py
def foo():
    """
    >>> bar
    'This is BAR'
    """
执行命令:pytest -v --doctest-modules .\foo.py
(venv) PS D:\PycharmProjects\Source_Code\pytest_demo> pytest -v --doctest-modules .\foo.py
========================================================================================= test session starts ==========================================================================================
platform win32 -- Python 3.9.12, pytest-7.3.1, pluggy-1.4.0 -- D:\PycharmProjects\Source_Code\pytest_demo\venv\Scripts\python.exe
cachedir: .pytest_cache
rootdir: D:\PycharmProjects\Source_Code\pytest_demo
collected 1 item

foo.py::foo.foo PASSED                                                                                                                                                                            [100%]

========================================================================================== 1 passed in 0.08s ===========================================================================================
7、recwarn
可以用来检查待测代码产生的警告信息;recwarn 的值就像是一个警告信息列表,列表里的每个警告信息都有4个属性 category、message、filename、lineno。警告信息在测试开始后收集,如果你在意的警告信息出现在测试尾部,则可以在信息收集前使用 recwarn.clear() 清除不需要的内容。除了 recwarn,pytest 还可以使用 pytest.warns() 来检查警告信息。
在pytest框架中,利用recwarn这个内置的fixture,可以对测试用例产生的所有告警进行记录,并可以在最后进行统一的解析处理,比如如下代码,这里人工产生两条不同类型的告警,UserWarning和SyntaxWarning类型的告警。在测试代码最后,对当前测试用例中产生的告警条数进行了断言,并且打印了告警的信息,包括类型、告警信息,产生告警的文件以及产生告警的代码行数。
import warnings


def test_demo(recwarn):
    warnings.warn(UserWarning("user warning test ..."))
    warnings.warn(SyntaxWarning("syntax warning demo ..."))
    assert len(recwarn) == 2
    w = recwarn.pop()
    print("---------------------------")
    print(w.category)
    print(w.message)
    print(w.filename)
    print(w.lineno)
    print("---------------------------")
    w = recwarn.pop()
    print(w.category)
    print(w.message)
    print(w.filename)
    print(w.lineno)
    print("---------------------------")
执行结果如下,可以看出,解析的时候是按照从前往后的顺序解析的,即可以理解为告警是存放在一个先进先出的队列中。
============================= test session starts =============================
collecting ... collected 1 item

test_pytestconfig.py::test_demo PASSED                                   [100%]---------------------------
<class 'UserWarning'>
user warning test ...
D:\PycharmProjects\Source_Code\pytest_demo\test_pytestconfig.py
5
---------------------------
<class 'SyntaxWarning'>
syntax warning demo ...
D:\PycharmProjects\Source_Code\pytest_demo\test_pytestconfig.py
6
---------------------------


============================== 1 passed in 0.02s ==============================
最后感谢每一个认真阅读我文章的人,礼尚往来总是要有的,虽然不是什么很值钱的东西,如果你用得到的话可以直接拿走,希望可以帮助到大家!领取资料,咨询答疑,请➕wei: June__Go