vue3尝鲜体验

初始化
安装@vue/cli@next:
yarn global add @vue/cli@next
# OR
npm install -g @vue/cli@next
然后在 Vue 项目运行:
vue upgrade --next
项目目录
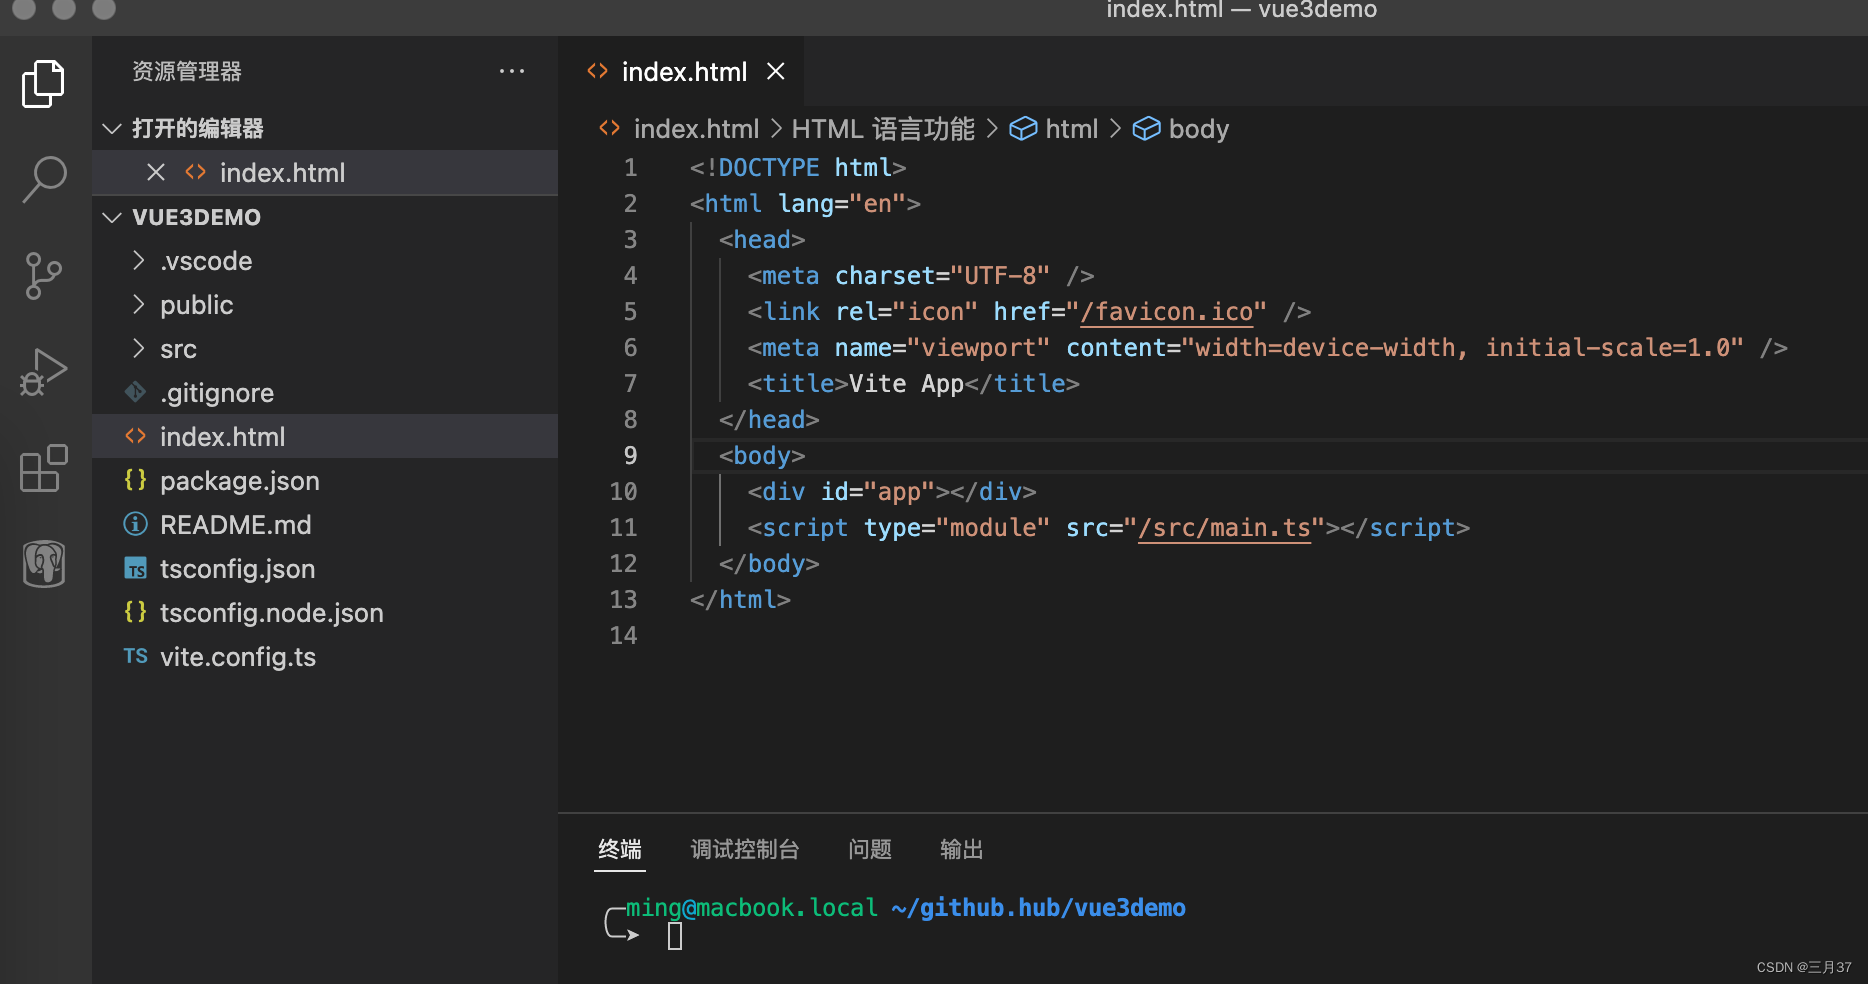
vue3-template
├── index.html	//	html模板
├── mock		// mock数据
│   └── user.js
├── node_modules
├── package-lock.json
├── package.json
├── plugins		// 自定义插件
│   └── vite-plugin-virtual-file.js
├── public
│   └── favicon.ico
├── README.md
├── src
│   ├── App.vue
│   ├── assets		// 资源文件
│   ├── components
│   ├── layouts		// 基本布局
│   ├── main.js
│   ├── plugins		// 用于配置第三方插件,如element等
│   ├── router		// 路由
│   ├── store		// vuex状态管理
│   ├── styles		// 样式配置
│   ├── utils		// 工具包,如request
│   └── views		// 页面
├── .env.development// 配置环境
├── .env.production	// 配置环境
└── vite.config.js	// vite配置目录
vite创建项目:
npm init vite-app <project-name>
cd <project-name>
npm install
npm run dev
vite项目配置:
vite中配置vue,vuex都需要使用插件,使用 defineConfig配置有代码提示,推荐使用,配置。resolve/alias 配置别名。
import vueJsx from '@vitejs/plugin-vue-jsx'
import vue from '@vitejs/plugin-vue'
import { defineConfig } from 'vite'
export default defineConfig({
  resolve:{
    alias: {
      '@': path.resolve(__dirname, 'src'),
      'comp': path.resolve(__dirname, 'src/components'),
      'views': path.resolve(__dirname, 'src/views'),
      'styles': path.resolve(__dirname, 'src/styles'),
      'plugins': path.resolve(__dirname, 'src/plugins'),
      'layouts': path.resolve(__dirname, 'src/layouts'),
      'utils': path.resolve(__dirname, 'src/utils'),
    }
  },
  plugins: [
    vue(),
    vueJsx(),
    viteMockServe({
      mockPath: 'mock',
      supportTs: false,
    })]
})
配置路由
npm install vue-router@4
router/index.js:
配置Layout为基本的布局页
import { createRouter,createWebHashHistory} from 'vue-router';
import Layout from 'layouts/index.vue'
const router = createRouter({
    history: createWebHashHistory(),
    routes: [
        {
            path:'/',
            component:Layout,
            children:[
                {
                    path:"/", component: () => import('views/home.vue')
                }
            ]
        }
    ]
})
export default router
配置状态管理
npm install vuex@next --save
store/index.js
import {
    createStore } from 'vuex';

const store = createStore({

    state () {

        return {

            count: 0
        }
    },
    mutations: {

        add (state) {

            state.count++
        }
    }
 })
export default store
配置样式文件
vite中可以直接导入.css文件,样式将影响导入的页面,最终会被打包到style.css
配置Sass
npm install sass
配置Postcss
npm i postcss autoprefixer
# vite.config.js
# 添加autoprefixer
import autoprefixer from 'autoprefixer';

export default defineConfig({

  plugins: [
    autoprefixer()
  ]
})
Scoped CSS
<style scoped>
/**/
</style>
CSS Module
<style module>
/**/
</style>
资源处理
我们可以在*.vue 文件的template, style和纯.css文件中以相对和绝对路径方式引用静态资源。
<!-- 相对路径 -->
<img src="./assets/logo.png">
<!-- 绝对路径 -->
<img src="/src/assets/logo.png">

<style scoped>
#app {

  background-image: url('./assets/logo.png');
}
</style>
public目录
public 目录下可以存放未在源码中引用的资源,它们会被留下且文件名不会有哈希处理。
这些文件会被原封不动拷贝到发布目录的根目录下
<img src="/logo.png">
引入Element3
生产环境中按需引入,开发环境直接引入所有的包
src/ plugins/element3.js
// import Element3 from 'element3';
// import 'element3/lib/theme-chalk/index.css';
import {
   ElButton, ElRow, ElCol, } from 'element3'
import 'element3/lib/theme-chalk/button.css';
import 'element3/lib/theme-chalk/row.css';
import 'element3/lib/theme-chalk/col.css';
export default function (app) {

// app.use(Element3)
     app.use(ElButton)
        .use(ElRow)
       .use(ElCol)
}
main.js
import { createApp } from 'vue'
import Element3 from 'plugins/element3';

createApp(App).use(Element3)
配置环境
npm install cross-env -D
在.env.development 或者 .env.production中配置相应环境
# 例如:
VITE_BASE_API=/api
package.json
# cross-env NODE_ENV=development 配置dev运行环境
{
  "scripts": {
    "dev": "cross-env NODE_ENV=development vite",
    "build": "vite build",
    "serve": "vite preview"
  },
}
配置请求
npm install axios
utils/request.js
import axios from 'axios';
import {
    Message, Msgbox } from 'element3';
import store from '@/store';
const service = axios.create({

    baseURL: import.meta.env.VITE_BASE_API,
    timeout: 5000,
})
service.interceptors.request.use((config) => {

    config.headers['X-token'] = 'my token';
    console.log("Aaa")
    return config;
}, (error) => {

    console.log(error);
    return Promise.reject(error);
})

service.interceptors.response.use((response) => {

    const res = response.data;
    if(res.code !== 20000) {

        Message.error({

            message: res.message || 'Error',
            duration: 5 * 1000,
        })
        if(res.code === 50008 || res.code === 50012 || res.code === 50014) {

            Msgbox.confirm('您已登出,请重新登录', '确定', {

                confirmButtonText: '重新登录',
                cancelButtonText: '取消',
                type: 'warning',
            }).then(()=> {

                store.dispatch('user/resetToken').then(()=> {

                    location.reload();
                })
            })
        }
        return Promise.reject(new Error(res.message || 'Error'));
    } else {

        return res;
    }
}, (error) => {

    console.log(error);
    Message.error({

        message: res.message || 'Error',
        duration: 5 * 1000,
    });
    return Promise.reject(error);
})
export default service;
打包和部署
使用github actions持续集成,当push时打包上传
.github/workflows/publish.yml
name: 打包上传

on:
  push:
    branches:
      - master

jobs:
  build:
    runs-on: ubuntu-latest
    steps:
      - name: 迁出代码
        uses: actions/checkout@master

      - name: 安装node.js
        uses: actions/setup-node@v1
        with:
          node-version: 14.0.0

      - name: 安装依赖
        run: npm install

      - name: 打包
        run: npm run build

      - name: 上传到服务器
        uses: easingthemes/ssh-deploy@v2.1.5
        env:
          SSH_PRIVATE_KEY: ${
  { secrets.SERVER_SSH_KEY }}
          ARGS: "-rltgoDzvO --delete"
          SOURCE: "dist/"
          REMOTE_HOST: ${
  { secrets.REMOTE_HOST }}
          REMOTE_USER: ${
  { secrets.REMOTE_USER }}
          TARGET: ${
  { secrets.REMOTE_TARGET }}
在github项目的action中配置secret
REMOTE_HOST : 服务器ip
SERVER_SSH_KEY:本地私钥
REMOTE_USER: 服务器登录用户
REMOTE_TARGET:放置服务器哪个目录
SOURCE: 将哪个目录放置服务器中(此处打包后是生成dist目录)
服务器配置:
编辑 /etc/ssh/sshd_config 文件,开启服务器允许通过秘钥登录
PubkeyAuthentication yes
注意:使用root账号登录服务器时开启
PermitRootLogin yes
重启 ssh 服务器
service sshd restart