Spirngboot3+Vue3-0125
扫描配置文件
@Value
@ConfigurationProperties(prefix = "email")扫描bean
@ComponentScanbean注册
-三方的bean
@Bean注册bean
@Bean("自定义名称")@Import
设置bean注册的条件
@Conditional-自己的bean
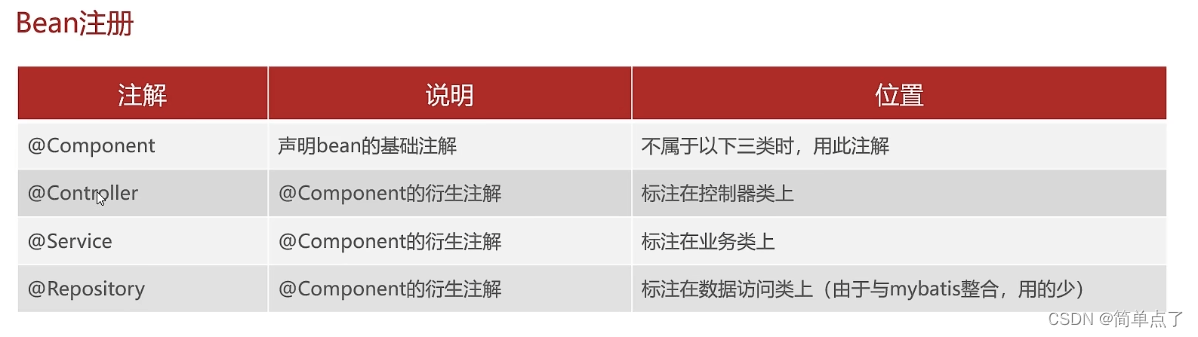
@Repository
@Service
@Controller
1.概述
1.1概述
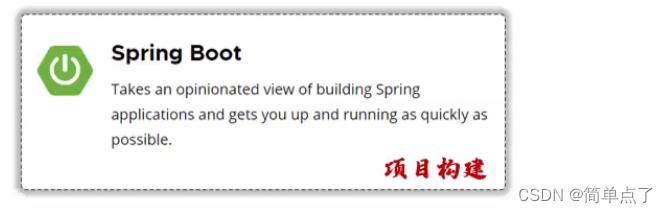
Springboot是spring的子项目,快速构建spring的子程序。
SpringData是用于数据获取的。
springFramework是核心功能
springSecurity是认证授权的
springAMQP 消息传递的
springcloud是服务治理的
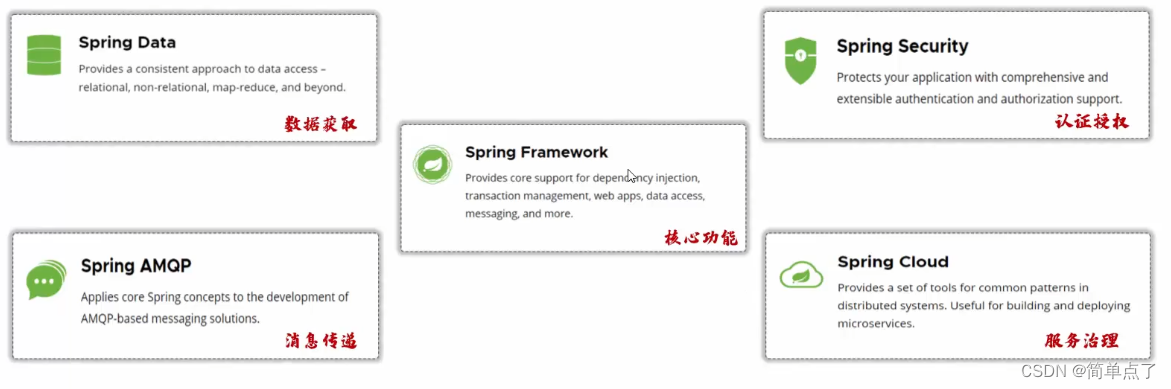
其他所有的都必须依赖于springframework
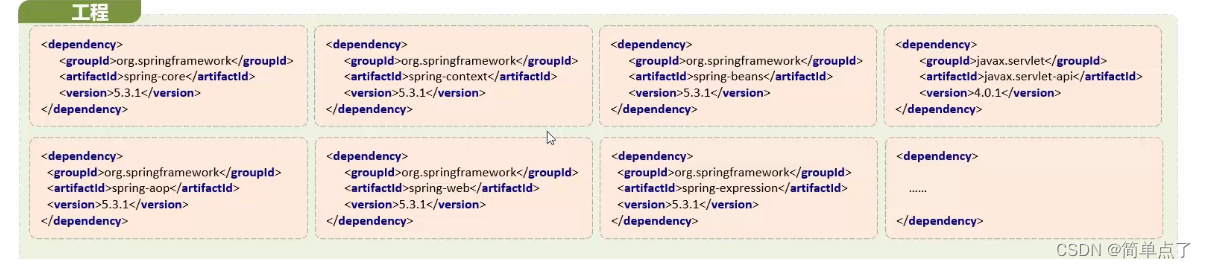
1.2传统的方式进行构建
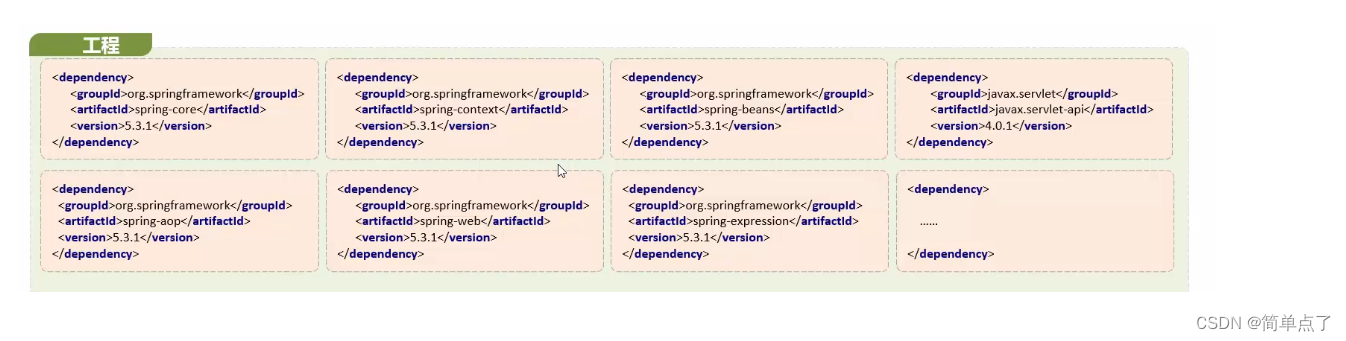
上面的依赖非常的依赖。非常的繁琐。
配置繁琐,声明大量的bean对象
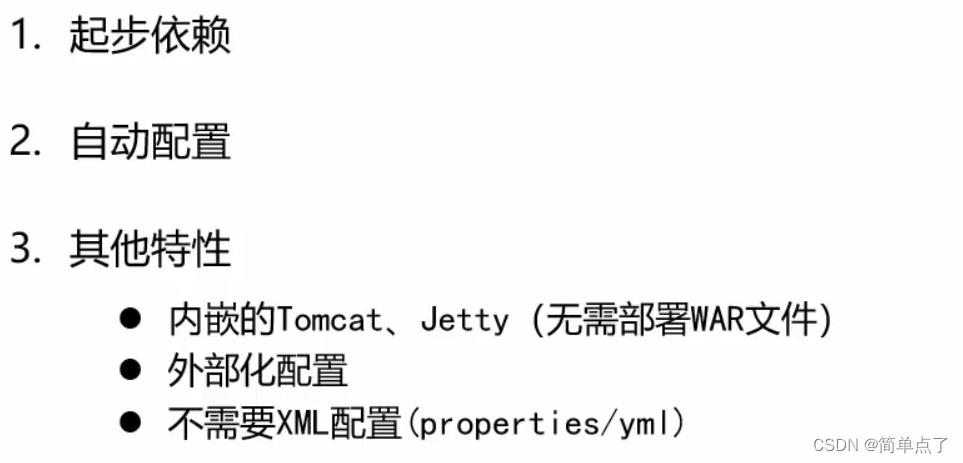
起步依赖是完成了功能的坐标的设置,springboot直接完成了相关依赖的整合。不需要一个一个的依赖引入了。
完成了下面的操作了。
约定大于配置。
不需要声明bean了,自动注入bean对象了,不需要手动的声明了。
其他特性:
内嵌tomcat,jetty,不用部署war
外部化配置
不需要xml配置,变成yml
1.3 总结
1.4创建方式
创建maven项目
导入起步依赖
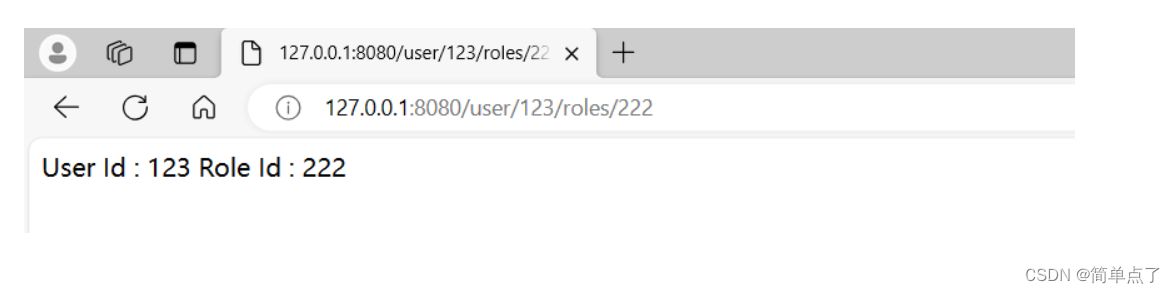
编写控制器
提供启动类

需要设置Java17

2.配置文件
2.1基本使用
# 应用服务 WEB 访问端口
server:
#  端口
  port: 8080
#  虚拟目录
  servlet:
    context-path: /api
yml好处是结构清晰
2.2常见的配置
三方的配置
自定义的配置
引入依赖
设置配置信息
获取配置信息
2.2.1 写并获取。@Value注解
将常见的变量配置信息写到自己的需要写的地方
# 自定义相关配置
email:
  user: zhangsan@qq.com
  code: 123456
  host: localhost
  auth: true
多层级用·连接
@Component
public class EmailParam {

    @Value("${email.user}")
    private String user;

    @Value("${email.code}")
    private String  code;

    @Value("${email.host}")
    private String  host;

    @Value("${email.auth}")
    private boolean  auth;

}
使用的时候直接注入就可以了。
要是直接采用new 对象的方式的话是获取不到的

2.2.2写并获取。@ConfigurationProperties(prefix = "email")
# 自定义相关配置
email:
  user: zhangsan@qq.com
  code: 123456
  host: localhost
  auth: true
用@ConfigurationProperties注解的时候需要写上对应的get和set方法
@Component
@ConfigurationProperties(prefix = "email")
public class Email {

    private String user;
    private String  code;
    private String  host;
    private boolean  auth;

    //get 和set方法必须写不然对应不上啊!!!
}
2.3整合mybatis
CREATE TABLE `user` (
  `id` bigint(20) NOT NULL AUTO_INCREMENT COMMENT '用户id',
  `username` varchar(50) CHARACTER SET utf8 COLLATE utf8_general_ci NOT NULL COMMENT '用户名',
  `password` varchar(128) CHARACTER SET utf8 COLLATE utf8_general_ci NOT NULL COMMENT '密码',
  `phone` varchar(20) CHARACTER SET utf8 COLLATE utf8_general_ci DEFAULT NULL COMMENT '注册手机号',
  `info` json NOT NULL COMMENT '详细信息',
  `status` int(11) DEFAULT '1' COMMENT '使用状态(1正常 2冻结)',
  `balance` int(11) DEFAULT NULL COMMENT '账户余额',
  `create_time` datetime NOT NULL COMMENT '创建时间',
  `update_time` datetime NOT NULL COMMENT '更新时间',
  PRIMARY KEY (`id`) USING BTREE,
  UNIQUE KEY `username` (`username`) USING BTREE
) ENGINE=InnoDB AUTO_INCREMENT=1674613593516396925 DEFAULT CHARSET=utf8 ROW_FORMAT=COMPACT COMMENT='用户表';
依赖
<!--        mysql-->
        <dependency>
            <groupId>com.mysql</groupId>
            <artifactId>mysql-connector-j</artifactId>
        </dependency>


<!--        mybatis-->
        <dependency>
            <groupId>com.baomidou</groupId>
            <artifactId>mybatis-plus-boot-starter</artifactId>
            <version>3.5.3.1</version>
配置文件
spring:
  datasource:
    driver-class-name: com.mysql.cj.jdbc.Driver
    password: root
    username: root
    url: jdbc:mysql://localhost:3306/mp?useUnicode=true&characterEncoding=utf8&serverTimezone=UTC&useSSL=false&requireSSL=false
@Mapper
public interface UserMapper extends BaseMapper<User> {
@Select("select * from user where id = #{id}")
public User findById(@Param("id") Long id);
}

3.Bean扫描
3.1bean扫描 @ComponentScan
启动类的
@SpringBootApplication等价于
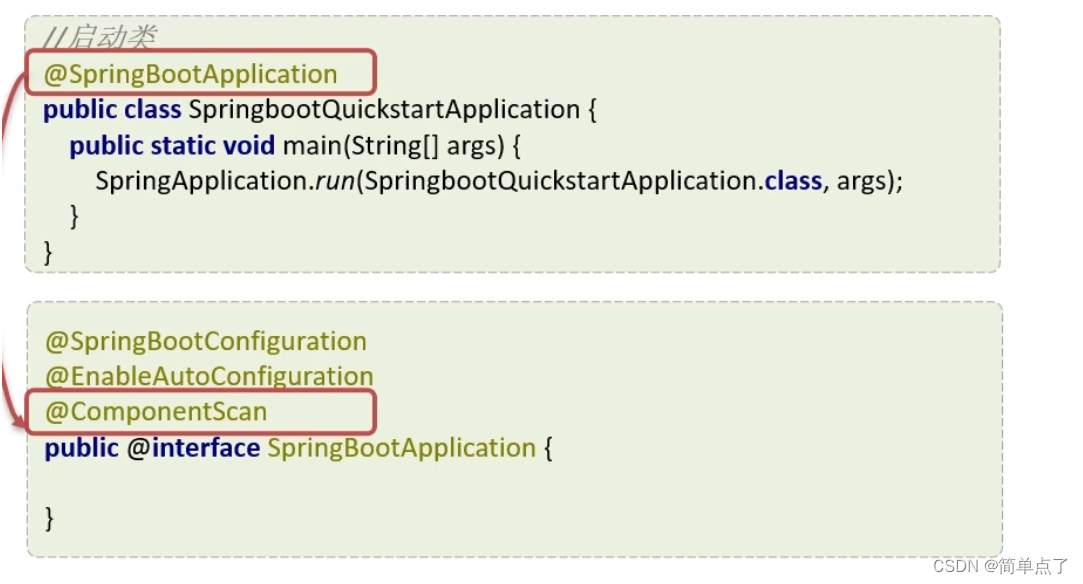
默认是在启动类所在的包和子包。
可以自己写
@ComponentScan(basePackages = "com.example")3.2Bean注册
3.3bean注册-三方的用@Bean
<!--       引入三方的-->
        <dependency>
            <groupId>com.example</groupId>
            <artifactId>test01</artifactId>
            <version>0.0.1-SNAPSHOT</version>
        </dependency>
注册bean
@Configuration
public class TestConfig {

    @Bean
    public User test1User(){
        return new User();
    }

}
使用刚才注册的bean
  @Autowired
  private User test1User;
起个bean的名字
@Bean("自定义名称")3.4bean注册-@Import
主要导入配置类和接口实现类

spring会把这个类放到容器中。相当于手动的扫描。
数组的形式也可以
@Import({TestConfig.class})采用ImportSelector接口实现类也是可以的。
第一步实现ImportSelector接口
public class CommonImportSelector implements ImportSelector {
    @Override
    public String[] selectImports(AnnotationMetadata importingClassMetadata) {
        //写的是全命名
        return new String[]{"com.example.tes2.config.TestConfig"};
    }
}
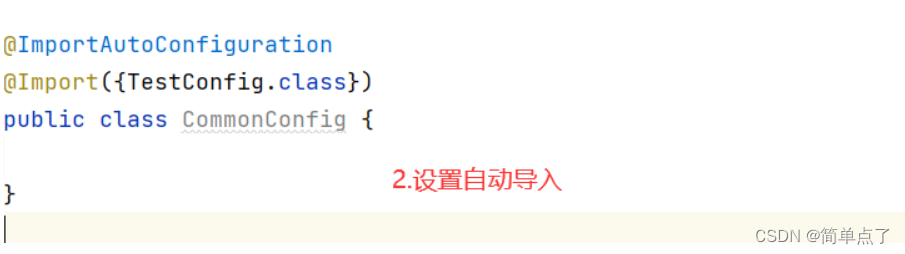
第二步导入

3.5自己写组合注解
@Target({ElementType.TYPE}) //类上使用
@Retention(RetentionPolicy.RUNTIME) //运行时可以用
@Import(CommonImportSelector.class)
public @interface EnableCommonConfig {

}
此时就自定义了一个注解
@EnableCommonConfig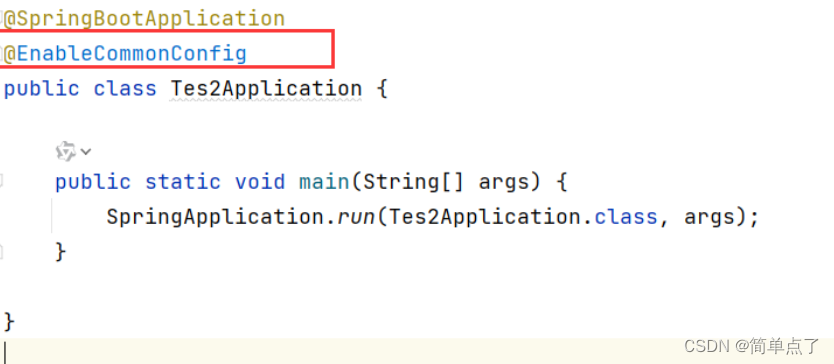
模拟bean读取配置文件的内容
u:
  name: zhangsan
  age: 30
@Configuration
public class TestConfig {

    @Value("${u.name}")
    private String name;

    @Value("${u.age}")
    private Integer age;

    @Bean
    public User test1User(){
        User u = new User();
        u.setAge(age);
        u.setName(name);
        return u;
    }
}
等价于
@Configuration
public class TestConfig {

    @Bean
    public User test1User(@Value("${u.name}") String name , @Value("${u.age}")  Integer age){
        User u = new User();
        u.setAge(age);
        u.setName(name);
        return u;
    }

}
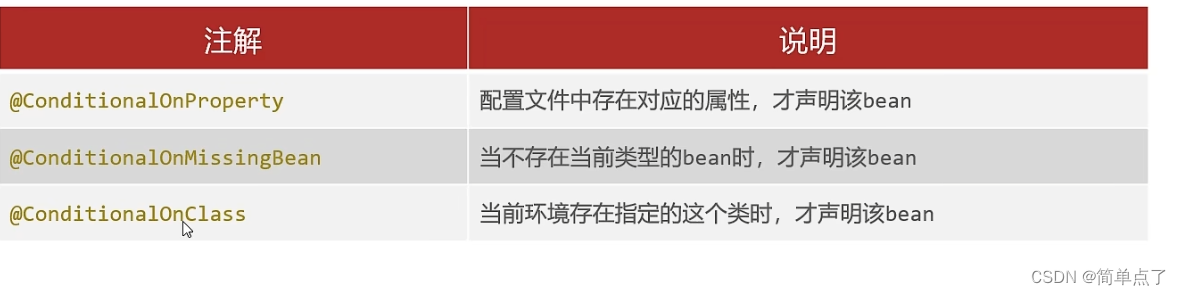
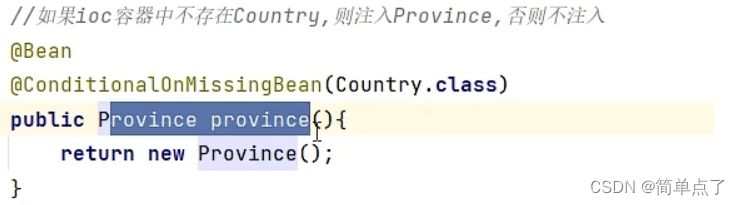
3.6设置bean注册的条件 @Conditional
    /*
    * 如果配置文件中配置和指定的信息则注入否则不注入
    * */
    @Bean
    @ConditionalOnProperty(prefix = "u", name = {"name", "age"})
    public User test1User(@Value("${u.name}") String name , @Value("${u.age}")  Integer age){
        User u = new User();
        u.setAge(age);
        u.setName(name);
        return u;
} 
如果当前引入了xxx则注入否则不注入
@ConditionalOnClass(UserService.class)4.自动配置原理
我们将自定义组件配置成自动注册的组件。
就是引入starter就实现了自动注入bean。

项目A:

项目B: