一、画多边形
使用API polylines绘制多边形。
polylines(img, pts, isClose, color, thickness, lineType, shift)
其中:
pts:表示多边形的点集,(需要使用集合来表示,且必须是int32位及以上)
isColse:判断是否多边形是否闭合,如果闭合则线段连在一起;不闭合则是断开的。
示例代码如下:
import cv2
import numpy as np


img = np.zeros((480, 640, 3), np.uint8)   # 创建一个全黑的背景图
pts = np.array([(200, 100), (150, 300), (350, 400)])
img2 = np.zeros((480, 640, 3), np.uint8)   # 创建一个全黑的背景图

cv2.polylines(img, [pts], False, (0, 255, 0), 5, 16)
cv2.polylines(img2, [pts], True, (0, 255, 0), 5, 16)
# Opencv读取的行和列与numpy相反


cv2.imshow("line", img)
cv2.imshow("line2", img2)
cv2.waitKey(0)
cv2.destroyAllWindows()
主要注意pts是三维的。
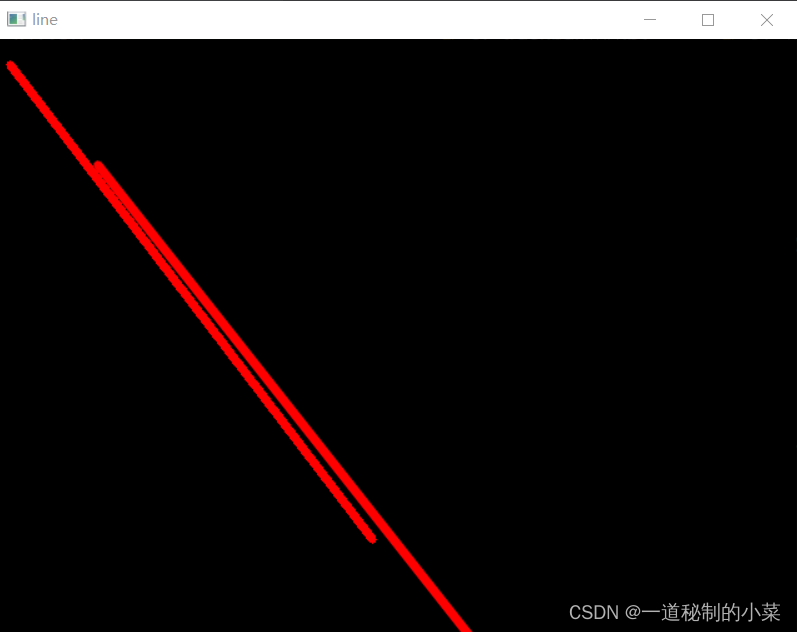
输出结果如下:
不闭合的效果:

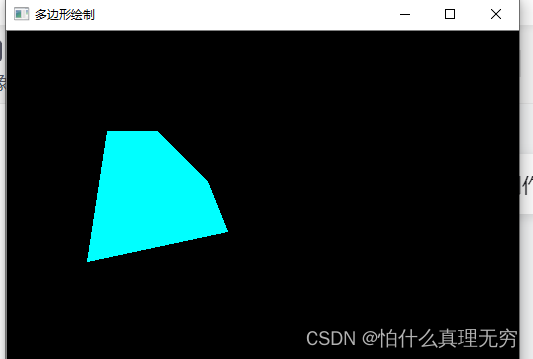
闭合的效果:

二、填充多边形
使用API cv2.fillPoly()
与polylines相比,缺少isColse,因为为百分百闭合。
follPloy(img, pts, isClose, color, thickness, lineType, shift)
示例代码如下:
import cv2
import numpy as np


img = np.zeros((480, 640, 3), np.uint8)   # 创建一个全黑的背景图
pts = np.array([(200, 100), (150, 300), (350, 400)])

cv2.fillPoly(img, [pts], (0, 0, 255), 4)
cv2.imshow("line", img)


cv2.waitKey(0)
cv2.destroyAllWindows()
输出结果如下:

三、绘制文本及中文文本
cv2.putText(img,text,org,fontFace,color,thickness,lineType,[bottomleftOrigin])
text:表示绘制的文本
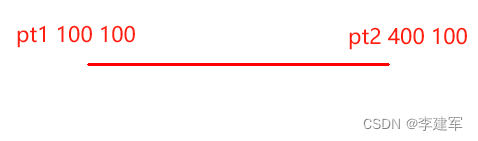
org:文本在图片中的左下角坐标(即文字从哪个坐标开始)
fontFace:字体类型
fontScale:字体大小
示例代码如下:
import cv2
import numpy as np
img = np.zeros((480, 640, 3), np.uint8) # 创建一个全黑的背景图
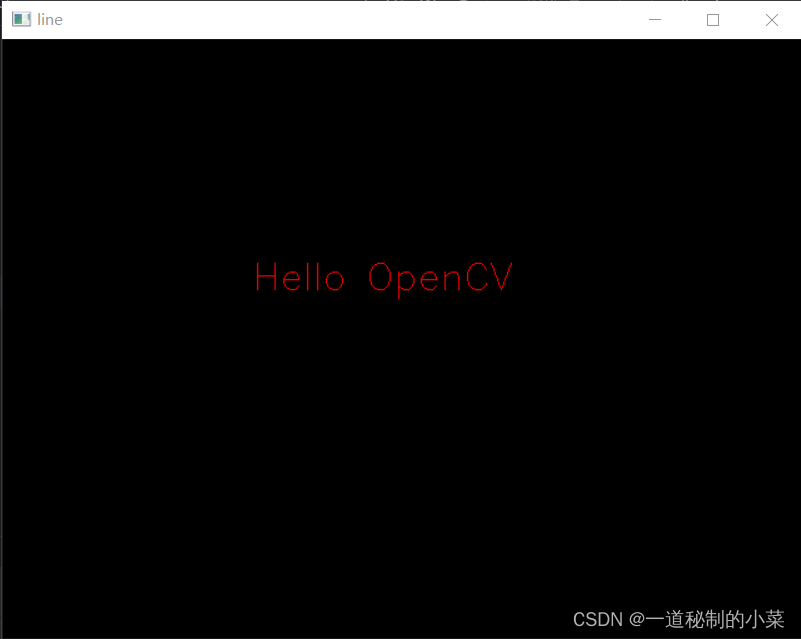
cv2.putText(img, "Hello OpenCV", (200, 200), cv2.FONT_HERSHEY_SIMPLEX, 1, (0, 0, 255))
cv2.imshow("line", img)
cv2.waitKey(0)
cv2.destroyAllWindows()输出结果如下:
但是,当输出的文本为中文时,会报错,因此OpenCV无法直接绘制中文。
如果需要绘制中文,可以使用Pillow包。
打开C盘,在以下路径中找到字体文件:C:\Windows\Fonts
将需要的中文字体Copy到程序的子目录中。
示例代码如下:
import cv2
import numpy as np
from PIL import ImageFont, ImageDraw, Image  # 导入字体形状,字体绘制和图像


img = np.full((400, 520, 3), fill_value=255, dtype=np.uint8)   # 创建一个480P的白底背景图

# 导入字体  第一个参数为字体类型,第二个参数为字体大小
font = ImageFont.truetype("./SIMYOU.TTF", 30)

# 创建一个pillow的图片
img_pill = Image.fromarray(img)
# 将创建好的图片绘制出来
draw = ImageDraw.Draw(img_pill)
# 利用draw去绘制中文
draw.text((150, 180), "大家好", font = font, fill=(0, 0, 255))
# 重新变回ndarray
img = np.array(img_pill)
cv2.imshow("text", img)
cv2.waitKey(0)
cv2.destroyAllWindows()
输出结果如下:
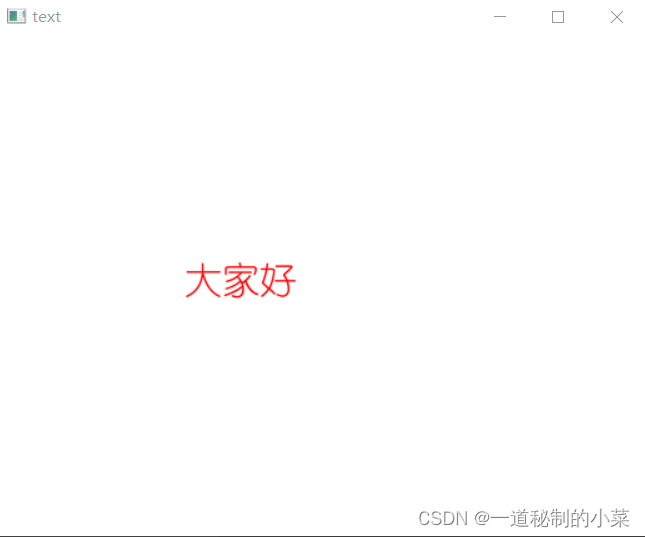
OpenCV无法实现绘制中文文本,因此通过Pillow绘制再转化为ndarray的格式用OpenCV的形式显示。