组件的自定义事件
设置School组件实现props,子给父传数据。School组件用于和Student组件做对比。
App向School组件传getSchoolName,School组件通过props接收存入School的VueConponent。随后通过调用getSchoolName实现子给父传递数据
想让组件标签识别原生Vue提供的事件。需要加入native
<School @click.native='show'/><template> <div class="school"> <h2>学校的名字:{ { name }}</h2> <button @click="sendSchoolName">测试sendSchoolName方法</button> </div> </template> <script> export default { props: ['getSchoolName'], data(){ return { name: '小猴子的玩具商' } }, methods:{ sendSchoolName(){ this.getSchoolName(this.name) } }, } </script> <style scoped> .school { background-color: pink; padding: 5px; margin-top: 30px; } </style>> Student组件实现功能也是子给父传递数据。但用组件的自定义事件来实现
<template>
  <div class="blue">
    <h2>学生的名字:{
    { name }}</h2>
    <h2>学生的名字:{
    { address }}</h2>
   <button @click="sendStudentName">测试sendStudentName方法</button>
  </div>
</template>
<script>
export default {
    name:'Student',
    data(){
        return {
            name:'boy',
            address:'老地方'
        }
    },
    methods: {
        sendStudentName(){
            // 事件在谁身上则在哪里触发,故触发Student组件实例身上的boy事件,emit有发射的意思。传了一个参数name给App
            this.$emit('boy',this.name)
        }
    },
}
</script>
<style scoped>
    .blue{
        background-color: blue;
        padding: 5px;
    }
</style>
Student和School组件实现的区别在于
1、App中的getSchoolName方法是直接给School组件,School组件需要props接收一下,自己调用一下。
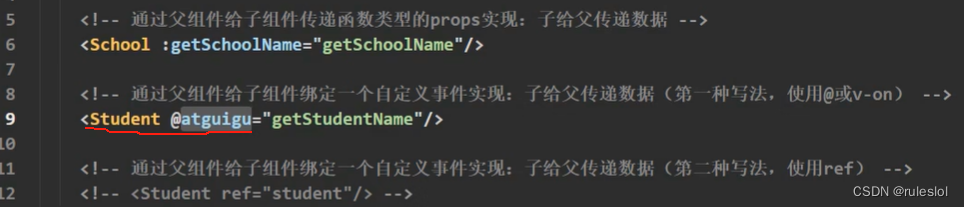
2、App中的getStudentName方法不直接传给Student组件,而是利用触发事件( this.$emit() ) 的方式,调用demo
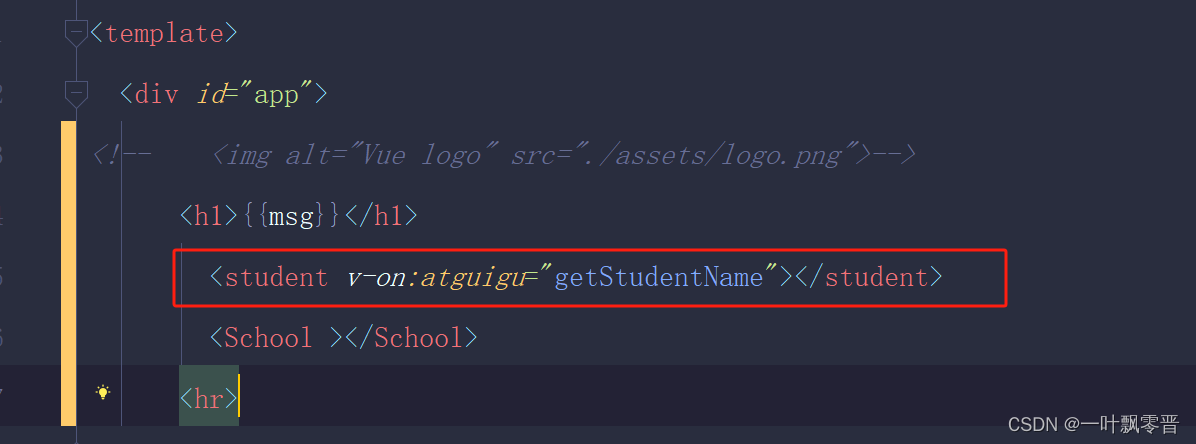
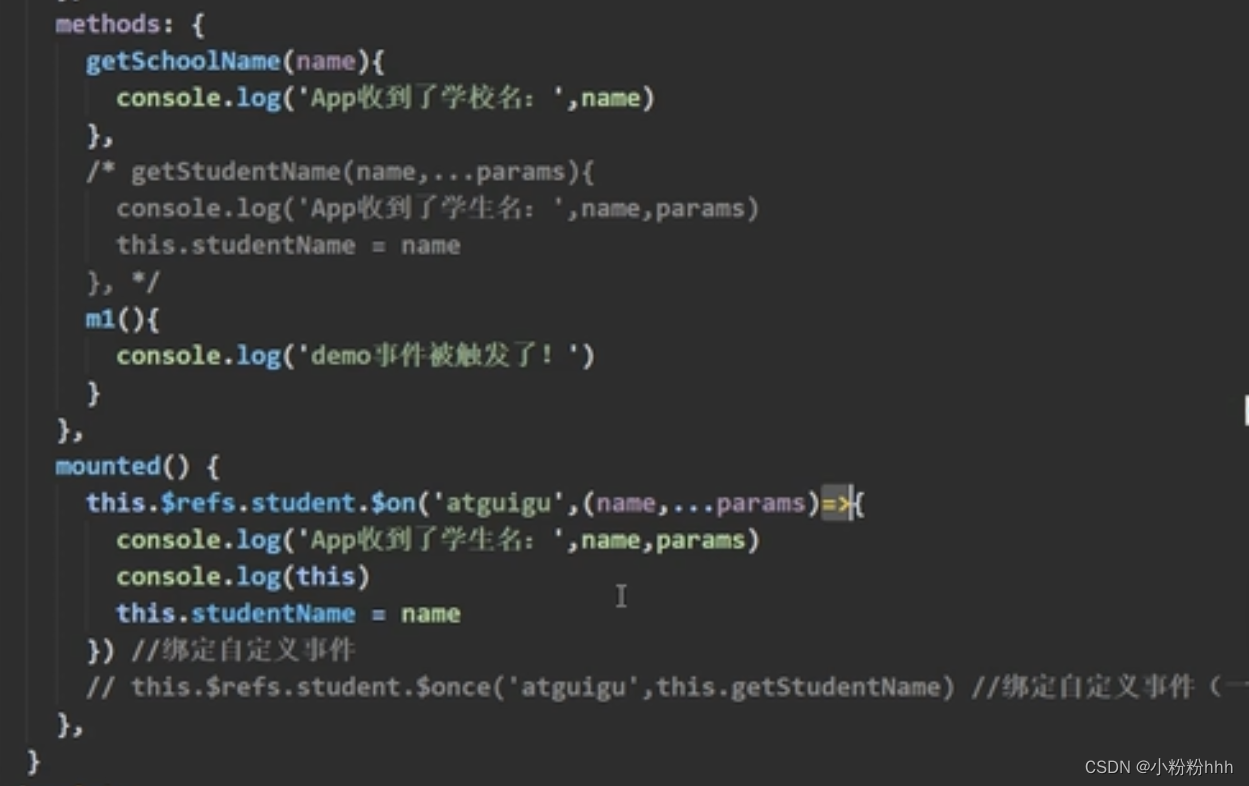
<template> <div class="title"> <router-view/> <h2>{ { mas }}</h2> <!-- 给组件的实列对象VueComponent上绑定事件(boy事件)。如果触发boy事件demo就被调用 --> <!-- 第一种写法,<Student v-on:boy = "demo"/> --> <!-- 第二种写法,用ref获取Student组件的VueComponent--> <Student ref="student"/> <!-- 通过父组件给子组件传递函数类型的props实现:子给父传递数据 --> <School :getSchoolName ='getSchoolName'/> </div> </template> <script> import Student from '../src/components/Student.vue' import School from '../src/components/School.vue' export default { name: 'App', components:{Student,School}, data(){ return { mas: '你好啊' } }, methods: { //接收School组件传过来的name getSchoolName(name){ console.log('发送成功了',name); }, //接收Student组件传过来的name demo(name){ console.log('demo被调用',name) } } }, // 第二种写法的灵活性更高,当要求是:延迟3秒才触发事件。第二种方法可以实现。如下 mounted(){ setTimeout(()=>{ // this.$refs.student为获取到Student组件的VueComponent,$on为当什么的时候。括号内的第一个元素为事件名,第二个元素为触发事件回调的方法 this.$refs.student.$on('boy', this.demo) },3000) } </script> <style scoped> .title { background-color: gray; padding: 5px; }解绑组件的自定义事件
this.$off()//解绑一个自定义事件
this.$off([ ])//解绑多个自定义事件
this.$off()//解绑所有的自定义事件
this.$destroy()销毁当前组件的VueConponent,而Vue提供的事件还能响应
<template> <div class="blue"> <h2>学生的名字:{ { name }}</h2> <h2>学生的名字:{ { address }}</h2> <button @click="sendStudentName">测试sendStudentName方法</button> <button @click="unbind">解绑自定义事件</button> <button @click="death">销毁当前组件的实例化对象</button> </div> </template> <script> export default { name:'Student', data(){ return { name:'boy', address:'老地方' } }, methods: { sendStudentName(){ // 事件在谁身上则在哪里触发,故触发Student组件实例身上的boy事件,emit有发射的意思。传了一个参数name this.$emit('boy',this.name) this.$emit('girl') }, unbind(){ this.$off('boy')//解绑一个自定义事件 this.$off(['boy','girl'])//解绑多个自定义事件 this.$off()//解绑所有的自定义事件 }, death(){ //销毁当前的Student组件的实例,销毁后所有的Student实列的自定义事件全都不奏效。 this.$destroy() } }, } </script> <style scoped> .blue{ background-color: blue; padding: 5px; } </style>