一、目的
对于Flume的负载均衡和故障转移拓扑结构,进行一个开发测试
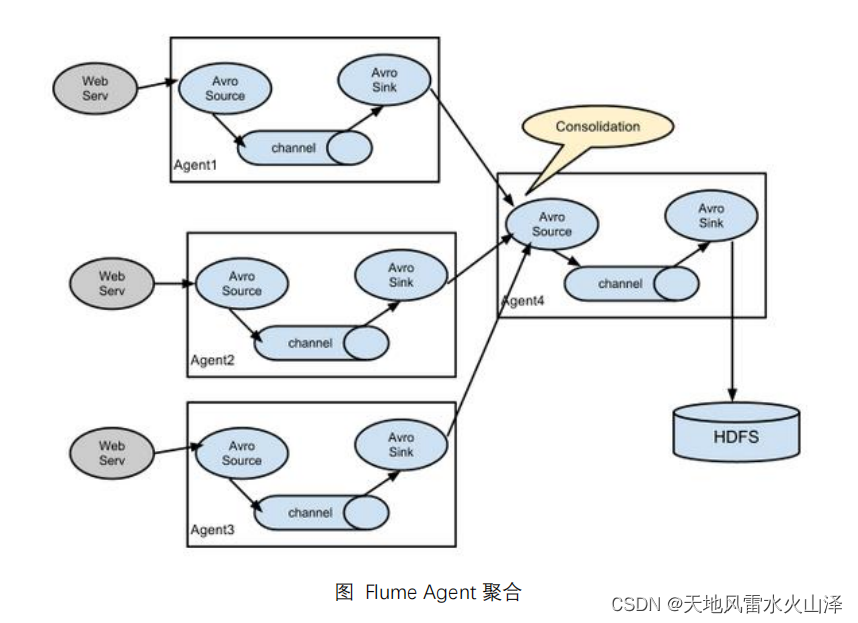
二、负载均衡和故障转移

(一)结构含义
Flume支持使用将多个sink逻辑上分到一个sink组
(二)结构特征
sink组配合不同的SinkProcessor可以实现负载均衡和错误恢复的功能
三、需求案例
(一)案例需求
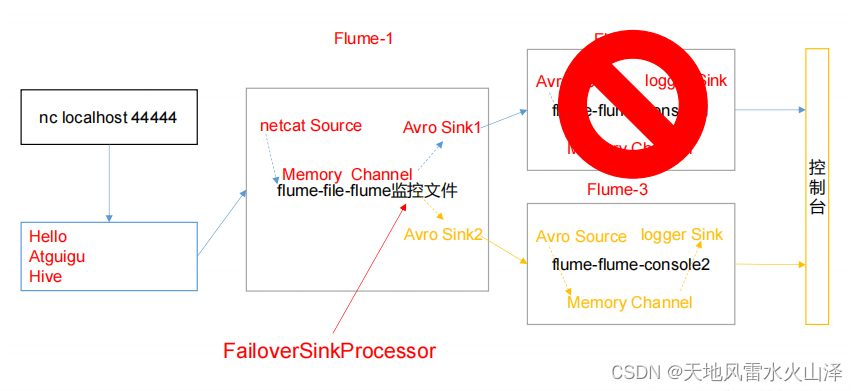
使用 Flume1 监控一个端口,其sink组中的sink分别对接 Flume2 和 Flume3,采用FailoverSinkProcessor,实现故障转移的功能。
(二)需求分析
四、前期准备
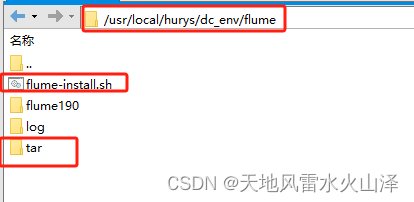
(一)安装好Flume工具
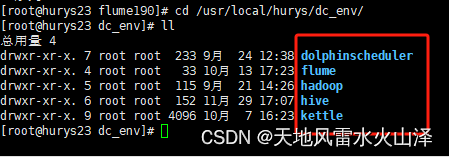
(二)在Flume中创建测试任务的文件夹group2
[root@hurys23 conf]# mkdir group2
[root@hurys23 conf]# cd ./group2/
[root@hurys23 group2]# pwd
/usr/local/hurys/dc_env/flume/flume190/conf/group2
五、在group2中创建flume的任务文件
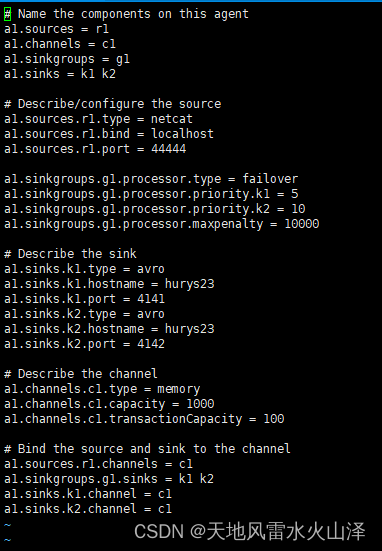
(一)创建任务文件 a1 flume-netcat-flume.conf
配置 1 个 netcat source 和 1 个 channel、1 个 sink group(2 个 sink),分别输送给flume-flume-console1 和 flume-flume-console2。
[root@hurys23 group2]# vi flume-netcat-flume.conf
# Name the components on this agent
a1.sources = r1
a1.channels = c1
a1.sinkgroups = g1
a1.sinks = k1 k2
# Describe/configure the source
a1.sources.r1.type = netcat
a1.sources.r1.bind = localhost
a1.sources.r1.port = 44444
a1.sinkgroups.g1.processor.type = failover
a1.sinkgroups.g1.processor.priority.k1 = 5
a1.sinkgroups.g1.processor.priority.k2 = 10
a1.sinkgroups.g1.processor.maxpenalty = 10000
# Describe the sink
a1.sinks.k1.type = avro
a1.sinks.k1.hostname = hurys23
a1.sinks.k1.port = 4141
a1.sinks.k2.type = avro
a1.sinks.k2.hostname = hurys23
a1.sinks.k2.port = 4142
# Describe the channel
a1.channels.c1.type = memory
a1.channels.c1.capacity = 1000
a1.channels.c1.transactionCapacity = 100
# Bind the source and sink to the channel
a1.sources.r1.channels = c1
a1.sinkgroups.g1.sinks = k1 k2
a1.sinks.k1.channel = c1
a1.sinks.k2.channel = c1
注意:
1、配置文件中的各项参数需要调式,这里只是为了演示,实现目的、打通路径即可!实际在项目中操作时需要调试参数。
2、a1.sinks.k1.hostname = hurys23 hurys23 为服务器名字
(二)创建任务文件 a2 flume-flume-console1.conf
配置上级 Flume 输出的 Source,输出是到本地控制台。
[root@hurys23 group2]# vi flume-flume-console1.conf
# Name the components on this agent
a2.sources = r1
a2.sinks = k1
a2.channels = c1
# Describe/configure the source
a2.sources.r1.type = avro
a2.sources.r1.bind = hurys23
a2.sources.r1.port = 4141
# Describe the sink
a2.sinks.k1.type = logger
# Describe the channel
a2.channels.c1.type = memory
a2.channels.c1.capacity = 1000
a2.channels.c1.transactionCapacity = 100
# Bind the source and sink to the channel
a2.sources.r1.channels = c1
a2.sinks.k1.channel = c1

(三)创建任务文件 a3 flume-flume-console2.conf
配置上级 Flume 输出的 Source,输出是到本地控制台。
[root@hurys23 group2]# vi flume-flume-console2.conf
# Name the components on this agent
a3.sources = r1
a3.sinks = k1
a3.channels = c2
# Describe/configure the source
a3.sources.r1.type = avro
a3.sources.r1.bind = hurys23
a3.sources.r1.port = 4142
# Describe the sink
a3.sinks.k1.type = logger
# Describe the channel
a3.channels.c2.type = memory
a3.channels.c2.capacity = 1000
a3.channels.c2.transactionCapacity = 100
# Bind the source and sink to the channel
a3.sources.r1.channels = c2
a3.sinks.k1.channel = c2

六、分别启动Flume任务文件
(一)首先启动 a3 flume-flume-console2.conf
[root@hurys23 flume190]# bin/flume-ng agent -n a3 -f /usr/local/hurys/dc_env/flume/flume190/conf/group2/flume-flume-console2.conf

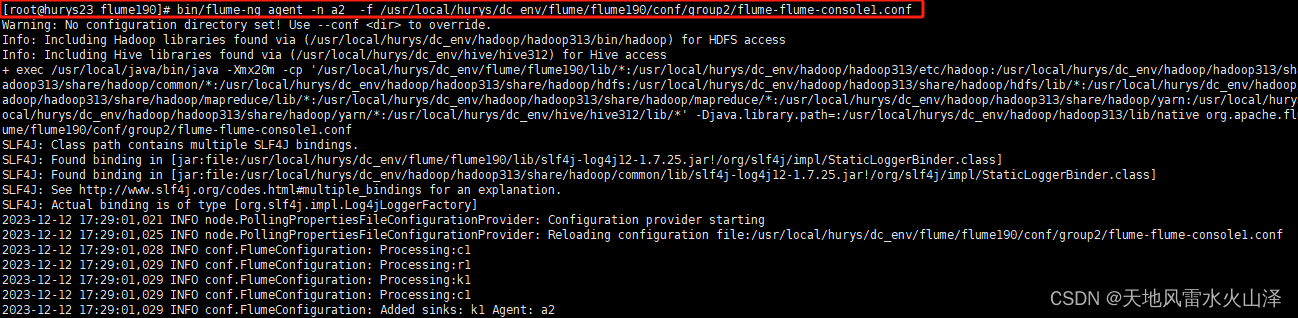
(二)其次启动 a2 flume-flume-console1.conf
[root@hurys23 flume190]# bin/flume-ng agent -n a2 -f /usr/local/hurys/dc_env/flume/flume190/conf/group2/flume-flume-console1.conf
(三)最后启动 a1 flume-netcat-flume.conf
[root@hurys23 flume190]# bin/flume-ng agent -n a1 -f /usr/local/hurys/dc_env/flume/flume190/conf/group2/flume-netcat-flume.conf

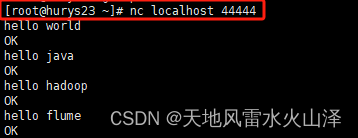
七、使用 netcat 工具向本机的 44444 端口发送内容
[root@hurys23 ~]# nc localhost 44444
hello world
OK
hello java
OK
hello hadoop
OK
hello flume
OK
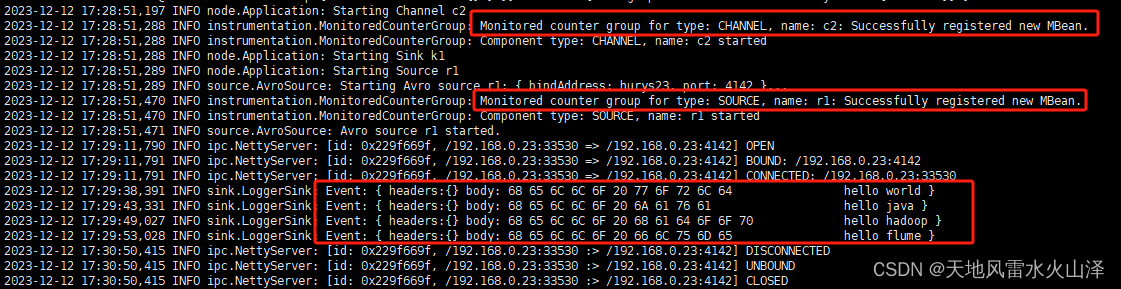
八、Flume任务运行执行状况
(一)a1 a1任务运行截图

(二)a2 a2任务运行截图

(三)a3 a3任务运行截图
2023-12-12 17:29:38,391 INFO sink.LoggerSink: Event: { headers:{} body: 68 65 6C 6C 6F 20 77 6F 72 6C 64 hello world }
2023-12-12 17:29:43,331 INFO sink.LoggerSink: Event: { headers:{} body: 68 65 6C 6C 6F 20 6A 61 76 61 hello java }
2023-12-12 17:29:49,027 INFO sink.LoggerSink: Event: { headers:{} body: 68 65 6C 6C 6F 20 68 61 64 6F 6F 70 hello hadoop }
2023-12-12 17:29:53,028 INFO sink.LoggerSink: Event: { headers:{} body: 68 65 6C 6C 6F 20 66 6C 75 6D 65 hello flume }
Flume负载均衡和故障转移拓扑结构的测试成功,当然这个案例比较简单。
Flume玩法继续研究中!


![[学习笔记]在CentOS7中用Docker方式安装Jenkins](https://img-blog.csdnimg.cn/direct/e376e0a49cff4f76a61cdfe272ba4fde.png)
