本地部署 Qwen-Audio-Chat
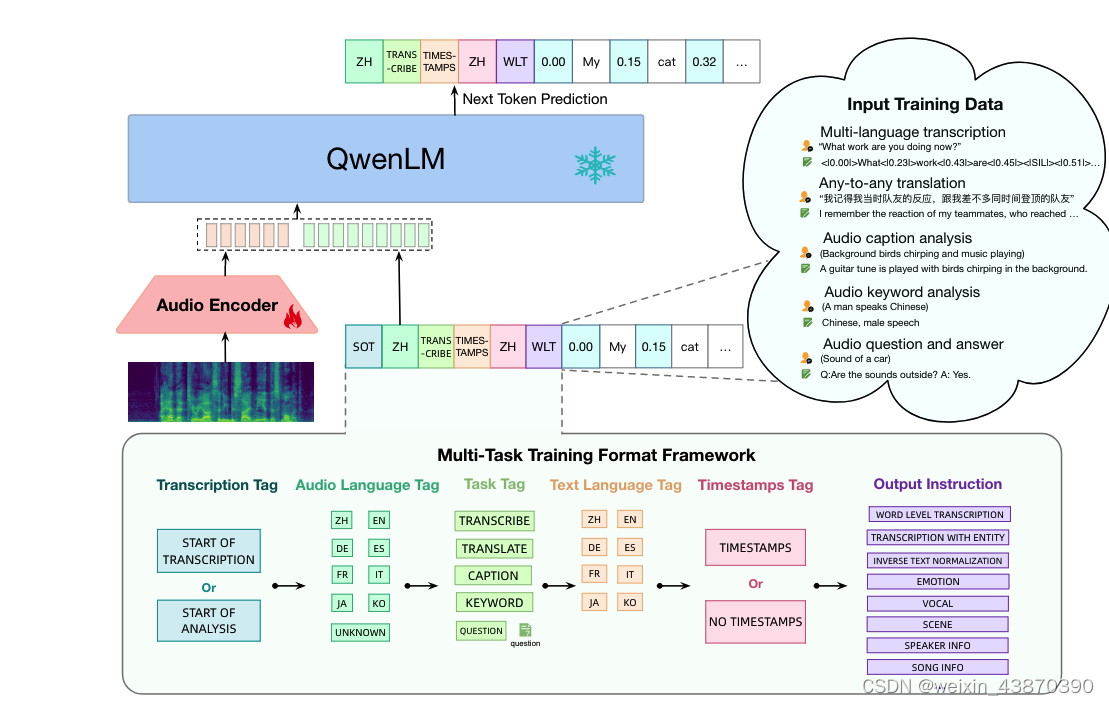
Qwen-Audio-Chat 介绍
Qwen-Audio-Chat是通用语音多模态大规模语言模型,因此它可以完成多种音频理解任务。在本教程之中,我们会给出一些简明的例子,用以展示Qwen-Audio-Chat在语音识别,语音翻译,环境音理解,多音频理解和语音定位(根据指令截取语音中指定文本的片段)等多方面的能力。
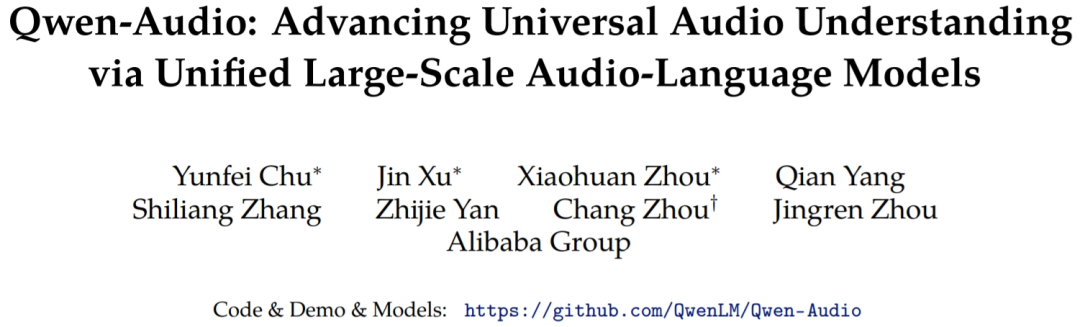
Qwen-Audio Github 地址
https://github.com/QwenLM/Qwen-Audio
部署 Qwen-Audio-Chat
安装 ffmpeg
sudo apt install ffmpeg
克隆代码库
git clone https://github.com/QwenLM/Qwen-Audio.git
cd Qwen-Audio
创建虚拟环境
conda create -n qwenaudio python=3.10 -y
conda activate qwenaudio
使用 pip 安装 pytorch
pip install torch torchvision torchaudio --index-url https://download.pytorch.org/whl/cu118
验证 cuda 可用,
python -c "import torch;print(torch.cuda.is_available());"
使用 pip 安装依赖
pip install -r requirements.txt -i https://mirrors.aliyun.com/pypi/simple/
安装 flash-attn,
git clone https://github.com/Dao-AILab/flash-attention; cd flash-attention
# 20231209 时点最新是 flash-attn-2.3.6 版本
pip install flash-attn --no-build-isolation
# 下方安装可选,安装可能比较缓慢。
pip install csrc/layer_norm
pip install csrc/rotary
使用 ModelScope
安装 modelscope,
pip install modelscope -i https://mirrors.aliyun.com/pypi/simple/
修改 web_demo_audio.py 使用 ModelScope,
cp web_demo_audio.py webui.py
vi webui.py

--- add
from modelscope import (
    snapshot_download, AutoModelForCausalLM, AutoTokenizer, GenerationConfig
)
import torch
model_id = 'qwen/Qwen-Audio-Chat'
revision = 'master'

model_dir = snapshot_download(model_id, revision=revision)
torch.manual_seed(1234)
---

--- modify
    # tokenizer = AutoTokenizer.from_pretrained(
    #     args.checkpoint_path, trust_remote_code=True, resume_download=True,
    # )
    tokenizer = AutoTokenizer.from_pretrained(model_dir, trust_remote_code=True)
    if not hasattr(tokenizer, 'model_dir'):
        tokenizer.model_dir = model_dir
---

--- modify
    # model = AutoModelForCausalLM.from_pretrained(
    #     args.checkpoint_path,
    #     device_map=device_map,
    #     trust_remote_code=True,
    #     resume_download=True,
    # ).eval()
    # model.generation_config = GenerationConfig.from_pretrained(
    #     args.checkpoint_path, trust_remote_code=True, resume_download=True,
    # )
    model = AutoModelForCausalLM.from_pretrained(model_dir, device_map="auto", trust_remote_code=True).eval()
---
运行 Web UI
pip install -r requirements_web_demo.txt -i https://mirrors.aliyun.com/pypi/simple/
创建 webui.sh,
eval "$(conda shell.bash hook)"
conda activate qwenaudio
CUDA_VISIBLE_DEVICES=0
python webui.py  --server-name 0.0.0.0 --server-port 8001
随后运行如下命令,并点击生成链接:
./webui.sh
完结!
![[大模型]<span style='color:red;'>Qwen</span>-<span style='color:red;'>Audio</span>-<span style='color:red;'>chat</span> WebDemo <span style='color:red;'>部署</span>](https://img-blog.csdnimg.cn/direct/e2935baa06674badacba9928a372ab80.png#pic_center)


![[大模型]<span style='color:red;'>Qwen</span>1.5-7B-<span style='color:red;'>Chat</span>-GPTQ-Int4 <span style='color:red;'>部署</span>环境](https://img-blog.csdnimg.cn/direct/a00a5637ff5e459a9e274da85c6afac7.png#pic_center)