环境:ubuntu16.04
gitlab服务器:192.168.1.12
runner服务器:192.168.1.11
1.下载
环境:192.168.1.11
cd /usr/local/src

wget https://gitlab-runner-downloads.s3.amazonaws.com/latest/deb/gitlab-runner_amd64.deb

sudo dpkg -i gitlab-runner_amd64.deb
2.使用gitlab-runner用户创建密钥
su gitlab-runner
ssh-keygen -t rsa
将生成的密钥保存在gitlab有所有项目权限的用户密钥中
3.使gitlab-runner登录其他服务器为免密登录
cd /home/gitlab-runner/.ssh/
scp id.rsa.pub www@192.168.1.12:/home/www/.ssh/id_rsa.pub_12
cat id_rsa.pub_12 >> authorized_keys
或
ssh-copy-id -i ~/.ssh/id_rsa.pub www@192.168.1.12
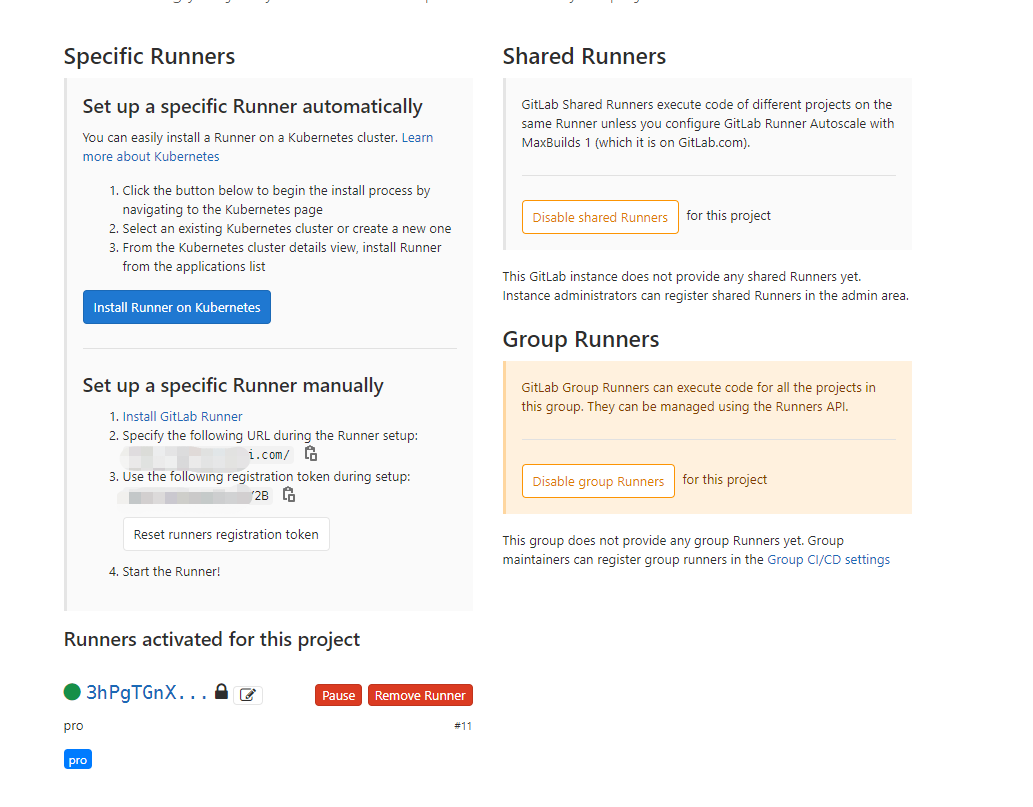
4.注册项目
项目token地址:http://gitlab.xxx.com/root/docs/-/settings/ci_cd

gitlab-runner必须使用root权限来注册项目与gitlab关联,非root用户注册可使用sudo提权注册
root@gitlab-runner:/home/gitlab-runner/builds# gitlab-runner register
Enter the GitLab instance URL (for example, https://gitlab.com/):
http://gitlab.xxx.com/                 #输入gitlab地址
Enter the registration token:
SsDsdaCNqA8M9                           #输入要注册项目的token
Enter a description for the runner:
[gitlab-runner]: pro                    #输入gitlab-runner的描述
Enter tags for the runner (comma-separated):
pro                                     #输入gitlab-runner的tag
Registering runner... succeeded                     runner=SsDzsjjC
Enter an executor: ssh, docker-ssh+machine, virtualbox, docker+machine, kubernetes, custom, docker, docker-ssh, parallels, shell:
shell                                   #输入触发gitlab-runner后执行的方式
Runner registered successfully. Feel free to start it, but if it's running already the config should be automatically reloaded!
第一个参数输入gitlab地址
第二个参数输入要注册项目的token
第三个参数输入gitlab-runner的描述
第四个参数输入gitlab-runner的tag
第五个参数#输入触发gitlab-runner后执行的方式
注册成功以后gitlab-runner的状态会变成绿色,意为正在运行;
若为红色,意为停止运行
刚注册完,需等待1分钟左右才会变成绿色,变成绿色以后就可以编写触发脚本了
5.编写触发脚本
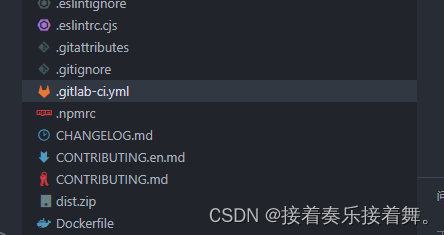
在gitlab项目的根目录添加.gitlab-ci.yml以及shell脚本
- example for .gitlab-ci.yml
stages:
  - master
job 1:
  stage: master
  only:
    - master
  script:
    - whoami
    - ssh -tt www@192.168.1.12 bash /data/www/bin/deploy.sh
  tags:
    - pro
- example for deploy.sh
#!/bin/bash
# script_name : deploy.sh
set -e
# 加载环境变量
source /etc/profile

# 进入目录,更新代码
cd  /data/www/website/
git pull origin master

# 安装依赖
yarn install

# 开始构建
yarn build

# 更新代码
rsync -zcav -e ssh dist/* server01:/data/www/website
6.一些说明
第一次触发前,先手动在192.168.1.12上手动拉取代码
由于gitlab部署在内网,无公网ip,因此这里是将gitlab服务器【192.168.1.12】作为项目代码的中转,通过shell脚本同步代码到目标服务器上。
完整流程:
1.本地push代码到gitlab仓库master分支
2.根据gitlab-ci.yml触发runner执行master分支流水线
3.runner会ssh到代码中转服务器即gitlab服务器【192.168.1.12】执行shell脚本,进行拉取、构建、发布操作。
4.流水线任务结束。
也可将gitlab与gitlab-runner部署到同一台服务器上,这样
gitlab-ci.yml文件中无需ssh命令到中转服务器上,直接进入到指定目录操作即可。