引言
pip命令行工具在平常使用方面确实足够简单,本项目只是作为TinUI多界面开发的示例。
当然,总有人想用GUI版pip,实际上也有。不过现在,我们就来手搓一个基于python和TinUI(tkinter)的pip可视化管理器。
命名为“pip集合功能平台”:Pip Integration Platform(PIP)
没错,我就是故意的。
项目开源地址:Github · Pip Integration Platform。
文件结构
│  gui.py 界面控制
│  main.py 主程序
│  pipmode.py pip功能控制
│  TinUI.py UI支持
│
├─lib
│  ├─gui 三个界面
│  │  │  gui_install.py
│  │  │  gui_list.py
│  │  │  gui_uninstall.py
│  │
│  └─operate pip功能的具体实现
│      │  pip_install.py
│      │  pip_list.py
│      │  pip_uninstall.py
│
├─pages 页面设计
│      main.xml
│      p1_libs.xml
│      p2_install.xml
│      p4_uninstall.xml
结构说明见PIP程序结构。
页面设计
无论最终结果是什么样,先把能够看的搭建起来。本项目的四个界面均使用TinUI库自带的TinUIXml编辑器。
main.xml为简单的标签页控件,这里不展示。
p1_libs.xml
<!--TinUIXml编辑器-->
<tinui>
    <line>
        <listbox width='760' height='460' data='("TinUI",)' command='self.funcs["sel_libs"]'>lsbox</listbox>
    </line>
    <line>
        <button2 text='打开文件位置' command='self.funcs["opendoc"]'></button2>
        <button2 text='打开项目页面' command='self.funcs["pypidoc"]'></button2>
        <button2 text='卸载' command='self.funcs["uninstall"]'></button2>
        <button text='检测全部可更新项目' command='self.funcs["update"]'></button>
    </line>
</tinui>

p2_install.xml
<!--TinUIXml编辑器-->
<tinui>
    <line y='20' anchor='w'>
        <paragraph text='第三方库名:'></paragraph>
        <entry width='300'>entry</entry>
        <checkbutton text='升级' command='self.funcs["update_switch"]'>check</checkbutton>
        <button2 text='开始安装' command='self.funcs["install"]'>button</button2>
    </line>
    <line>
        <textbox width='760' height='480' scrollbar='True'>textbox</textbox>
    </line>
</tinui>

p4_uninstall.xml
<!--TinUIXml编辑器-->
<tinui>
    <line y='20' anchor='w'>
        <paragraph text='要卸载的库:'></paragraph>
        <entry width='300'>entry</entry>
        <button2 text='开始卸载' command='self.funcs["uninstall2"]'>button</button2>
    </line>
    <line>
        <textbox width='760' height='480' scrollbar='True'>textbox</textbox>
    </line>
</tinui>

界面交互
PIP的总界面管理见gui.py。
各项功能界面见PIP的lib.gui.*。
子线程运行pip命令
因为pip命令大多为耗时命令,因此在PIP中,pip命令将被放置在子线程中运行,在运行结束后会调用回调函数并触发窗口事件,结束子线程并在界面线程中展示操作结果。
这种做法不仅不会阻碍界面线程,还能够在界面线程实时显示命令行输出信息。以安装(install)功能为例。
gui_install.py
#...

update=False#是否升级,用于调整pip参数
update_page=False#升级检测页面是否打开
update_page_id=None#升级检测页面对应到TinUI.notebook的页面id
book=None#标签页控件
ui=None#标签页中对应的BasicTinUI

#...
def install():
    #开始下载(执行pip命令,不判断正误)
    name=entry.get()
    entry.disable()
    check.disable()
    button.disable()
    pipmode.install(update,name,add_msg,end)

def add_msg(_msg:str):
    #接受pip_install的信息
    global msg
    msg=_msg
    textbox.event_generate('<<NewMsg>>')
def _add_msg(e):
    #接受pip_install调用add_msg传递的信息
    textbox.config(state='normal')
    textbox.insert('end',msg)
    textbox.see('end')
    textbox.config(state='disabled')

def end():#接受pip_install停止操作
    textbox.event_generate('<<End>>')
def _end(e):#操作结束,按钮恢复
    entry.normal()
    check.active()
    button.active()
    textbox.config(state='normal')
    textbox.insert('end','====================\n\n')
    textbox.config(state='disabled')

#...
pip_install.py
"""
/lib/operate/pip_install.py
升级和安装的第三方库
"""
import subprocess
import threading

def __install(update,name,msgfunc,endfunc):
    if update:#已安装,升级
        cmd="pip install --upgrade "+name
    else:#安装
        cmd="pip install "+name
    msgfunc(cmd+'\n')
    result=subprocess.Popen(cmd,stdout=subprocess.PIPE,stderr=subprocess.STDOUT,shell=True)
    for line in iter(result.stdout.readline, b''):
        msgfunc(line.decode('utf-8'))
    endfunc()

def install(update,name,msgfunc,endfunc):
    thread = threading.Thread(target=__install,args=(update,name,msgfunc,endfunc,))
    thread.setDaemon(True)
    thread.start()
可以看到,界面按钮通过pipmode.py调用了lib.operate.pip_install的install方法,创建了一个名为thread的线程并在其中运行pip命令。
我们注意__install方法中,存在msgfunc(...)和endfunc(...)的回调,再看看gui_install.py中对应的add_msg(...)和end(..)方法。我们着重看add_msg方法,其中只进行了两步,第一步是将返回值变为全局变量,本进程公用;第二步触发界面的虚拟事件<<NewMsg>>,后续步骤脱离子线程,而子线程一直运行,直到回调endfunc(...)。
这个时候,因为虚拟事件被触发,gui_install.py在主线程开始运行_add_msg方法,实现对信息流的GUI展示。
各项pip功能见PIP的lib.operate.*。
子线程回调见PIP的多线程回调方式。
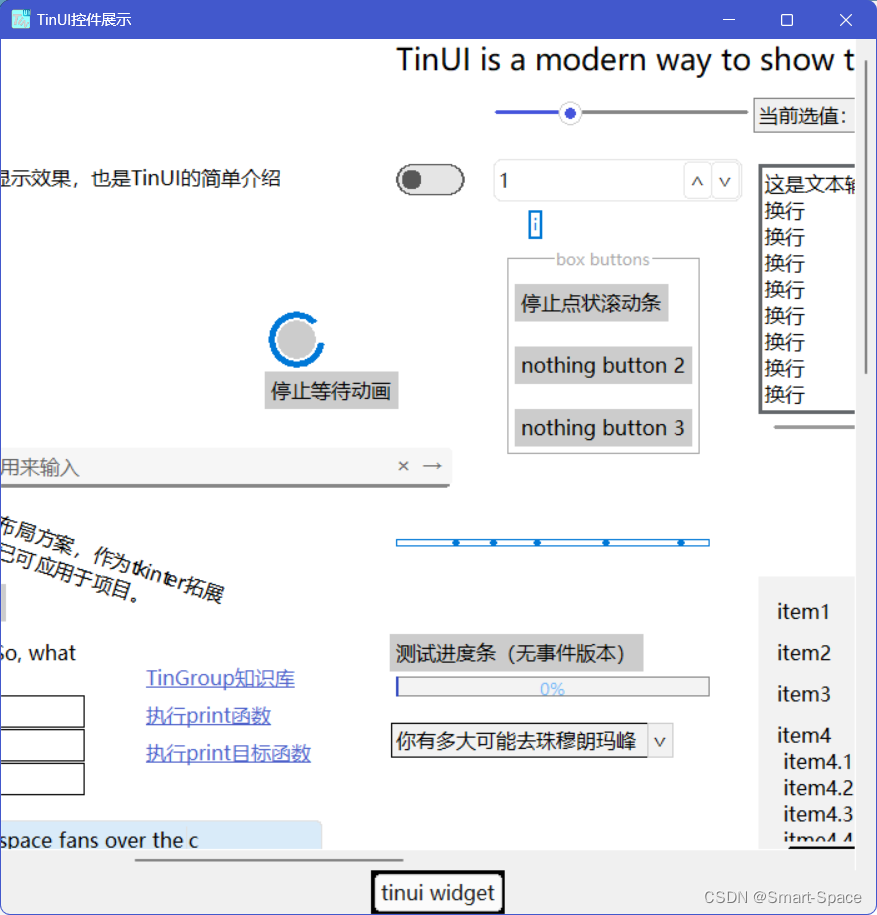
效果
初始化

安装

更新
检测更新是一个漫长的过程。

返回库列表点击按钮只是为了展示界面线程运行正常。

卸载

结语
这就是我们手搓的一个简易pip功能集合平台。
详细内容见开源项目地址:Github · Pip Integration Platform。


![[misc]-流量包-find the pass](https://i-blog.csdnimg.cn/direct/16853d1ec4be45099079a5950058f03f.png)