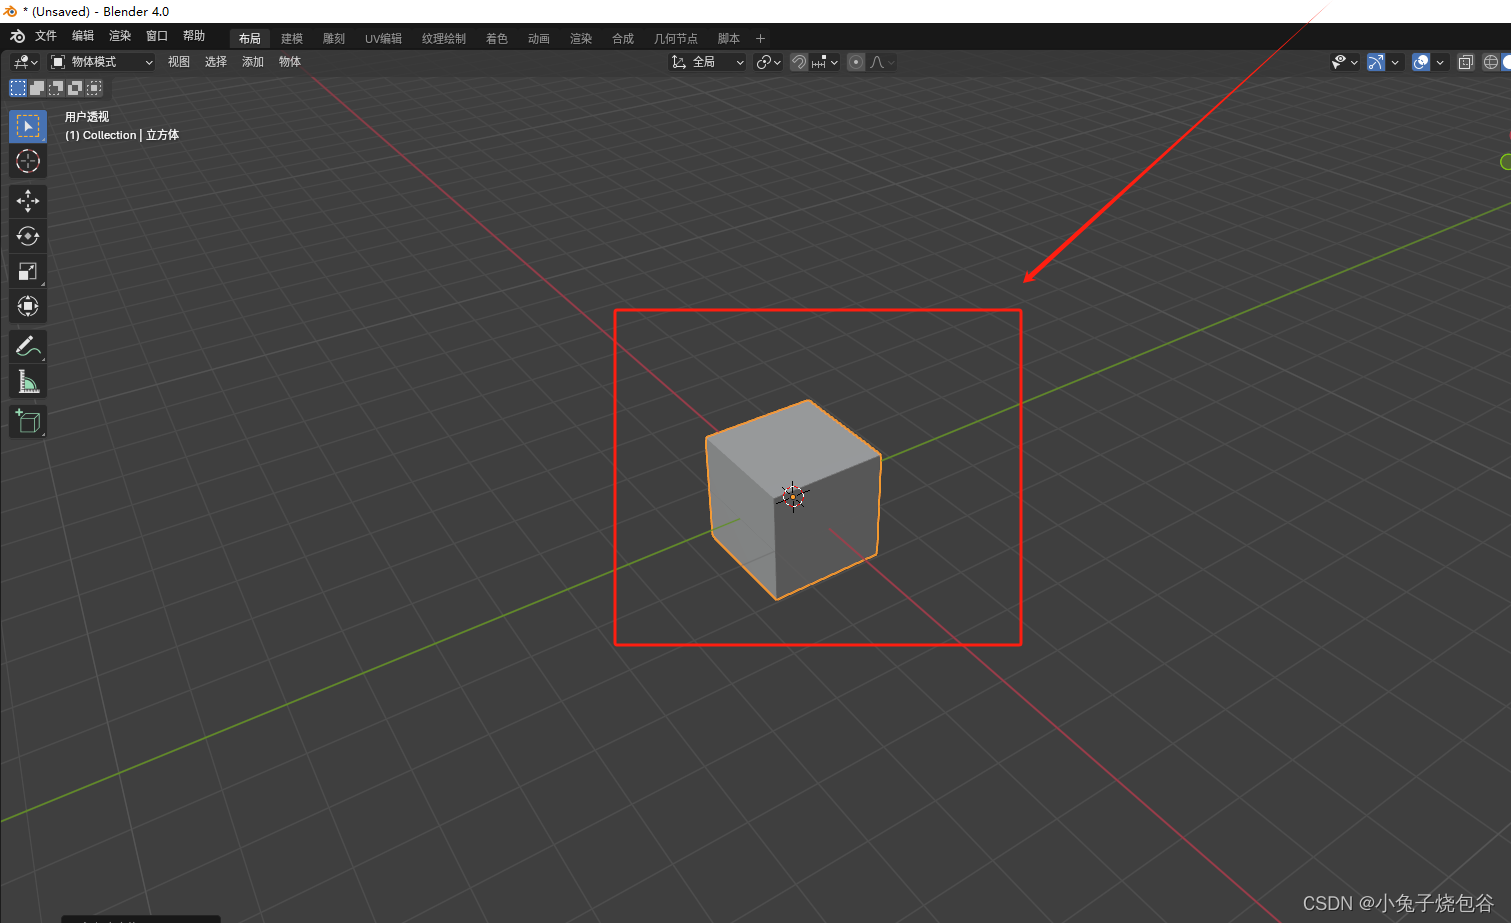
Blender下的Python脚本代码
空对象移动
import bpy

# 删除所有对象,清空场景
bpy.ops.object.select_all(action='SELECT')
bpy.ops.object.delete(use_global=False)

# 创建一个新的骨骼对象
bpy.ops.object.armature_add(enter_editmode=True, align='WORLD', location=(0, 0, 0))
armature = bpy.context.object
# Armature 骨架
armature.name = 'Armature'

# 获取骨架数据
armature_data = armature.data

# 添加骨头
bone1 = armature_data.edit_bones.new('Bone1')
bone1.head = (0, 0, 0)
bone1.tail = (0, 1, 0)

bone2 = armature_data.edit_bones.new('Bone2')
bone2.head = (0, 1, 0)
bone2.tail = (0, 2, 0)
bone2.parent = bone1

# 退出编辑模式
bpy.ops.object.mode_set(mode='OBJECT')

# 创建一个空的平面坐标对象 target
# 实际上是控制的这个空对象的位置,然后其他的mesh或者obj跟随着这个空对象的位置变化
# 所以不存在,骨架的位置变形,mesh或者对象变形之类的问题
# 控制的是骨骼绑定的空对象 target
bpy.ops.object.empty_add(type='PLAIN_AXES', location=(0, 2, 0))
target = bpy.context.object
target.name = 'Target'

# 为 Bone2 添加 IK 约束 并绑定上面的那个空坐标对象
pose_bone2 = armature.pose.bones['Bone2']
ik_constraint = pose_bone2.constraints.new(type='IK')
ik_constraint.target = target
ik_constraint.chain_count = 2

# 设置关键帧动画 从1开始到50结束
bpy.context.scene.frame_start = 1
bpy.context.scene.frame_end = 50

# 在第1帧设置目标位置并插入关键帧
bpy.context.scene.frame_set(1)
# 0,2,0 y=2
target.location = (0, 2, 0)
target.keyframe_insert(data_path="location", index=-1)

# 在第25帧设置目标位置并插入关键帧
bpy.context.scene.frame_set(25)
# 2,2,0 x=2,y=2
target.location = (2, 2, 0)
target.keyframe_insert(data_path="location", index=-1)

# 在第50帧设置目标位置并插入关键帧
bpy.context.scene.frame_set(50)
target.location = (0, -2, 0)
target.keyframe_insert(data_path="location", index=-1)
空对象旋转
import bpy
import math

# 删除所有对象,清空场景
bpy.ops.object.select_all(action='SELECT')
bpy.ops.object.delete(use_global=False)

# 创建一个新的骨骼对象
bpy.ops.object.armature_add(enter_editmode=True, align='WORLD', location=(0, 0, 0))
armature = bpy.context.object
# Armature 骨架
armature.name = 'Armature'

# 获取骨架数据
armature_data = armature.data

# 添加骨头
bone1 = armature_data.edit_bones.new('Bone1')
bone1.head = (0, 0, 0)
bone1.tail = (0, 1, 0)

bone2 = armature_data.edit_bones.new('Bone2')
bone2.head = (0, 1, 0)
bone2.tail = (0, 2, 0)
bone2.parent = bone1

# 退出编辑模式
bpy.ops.object.mode_set(mode='OBJECT')

# 创建一个空的平面坐标对象 target
# 实际上是控制的这个空对象的位置,然后其他的mesh或者obj跟随着这个空对象的位置变化
# 所以不存在,骨架的位置变形,mesh或者对象变形之类的问题
# 控制的是骨骼绑定的空对象 target
bpy.ops.object.empty_add(type='PLAIN_AXES', location=(0, 2, 0))
target = bpy.context.object
target.name = 'Target'

# 为 Bone2 添加 IK 约束 并绑定上面的那个空坐标对象
pose_bone2 = armature.pose.bones['Bone2']
ik_constraint = pose_bone2.constraints.new(type='IK')
ik_constraint.target = target
ik_constraint.chain_count = 2

# 设置关键帧动画 从1开始到50结束
bpy.context.scene.frame_start = 1
bpy.context.scene.frame_end = 50

# 计算旋转动画关键帧
# 计算出每个帧的角度,并算出这个角度下的xyz的具体值,然后在哪个位置插入关键帧
num_frames = 50
radius = 2.0  # 旋转半径
for frame in range(num_frames):
    angle = -2 * math.pi * (frame / num_frames)  # 计算当前帧的角度 负角度实现顺时针旋转
    # angle = 2 * math.pi * (frame / num_frames)  # 计算当前帧的角度 正角度实现逆时针旋转
    x = radius * math.cos(angle)
    y = radius * math.sin(angle)

    bpy.context.scene.frame_set(frame + 1)
    target.location = (x, y, 0)
    target.keyframe_insert(data_path="location", index=-1)

# 恢复到第一帧
bpy.context.scene.frame_set(1)


# # 在第1帧设置目标位置并插入关键帧
# bpy.context.scene.frame_set(1)
# # 0,2,0 y=2
# target.location = (0, 2, 0)
# target.keyframe_insert(data_path="location", index=-1)
#
# # 在第25帧设置目标位置并插入关键帧
# bpy.context.scene.frame_set(25)
# # 2,2,0 x=2,y=2
# target.location = (2, 2, 0)
# target.keyframe_insert(data_path="location", index=-1)
#
# # 在第50帧设置目标位置并插入关键帧
# bpy.context.scene.frame_set(50)
# target.location = (0, -2, 0)
# target.keyframe_insert(data_path="location", index=-1)
手指旋转
import bpy
import math

# 删除所有对象,清空场景
bpy.ops.object.select_all(action='SELECT')
bpy.ops.object.delete(use_global=False)

# 创建一个新的骨骼对象
bpy.ops.object.armature_add(enter_editmode=True, align='WORLD', location=(0, 0, 0))
armature = bpy.context.object
armature.name = 'HandRig'

# 获取骨架数据
armature_data = armature.data

# 创建手指骨骼
bones = []
bone_names = ['Bone_Base', 'Bone_Mid', 'Bone_Tip']
positions = [(0, 0, 0), (0, 0, 1), (0, 0, 2)]
for i in range(len(bone_names)):
    bone = armature_data.edit_bones.new(bone_names[i])
    bone.head = positions[i]
    bone.tail = (positions[i][0], positions[i][1], positions[i][2] + 1)
    if i > 0:
        bone.parent = bones[i - 1]
    bones.append(bone)

# 退出编辑模式
bpy.ops.object.mode_set(mode='OBJECT')


# 设置动画帧范围
bpy.context.scene.frame_start = 1
bpy.context.scene.frame_end = 50

# 获取姿势模式下的骨骼对象
pose_bones = bpy.context.object.pose.bones

# 关键帧动画设置函数
def set_keyframes(pose_bone, start_frame, end_frame, start_angle, end_angle):
    bpy.context.scene.frame_set(start_frame)
    pose_bone.rotation_mode = 'XYZ'
    pose_bone.rotation_euler = (start_angle, 0, 0)
    pose_bone.keyframe_insert(data_path="rotation_euler", index=0)

    bpy.context.scene.frame_set(end_frame)
    pose_bone.rotation_euler = (end_angle, 0, 0)
    pose_bone.keyframe_insert(data_path="rotation_euler", index=0)

# 为每个关节设置动画
set_keyframes(pose_bones['Bone_Base'], 1, 25, 0, math.radians(-45))
set_keyframes(pose_bones['Bone_Base'], 25, 50, math.radians(-45), 0)

set_keyframes(pose_bones['Bone_Mid'], 1, 25, 0, math.radians(-90))
set_keyframes(pose_bones['Bone_Mid'], 25, 50, math.radians(-90), 0)

set_keyframes(pose_bones['Bone_Tip'], 1, 25, 0, math.radians(-90))
set_keyframes(pose_bones['Bone_Tip'], 25, 50, math.radians(-90), 0)

# 恢复到第一帧
bpy.context.scene.frame_set(1)