一、bean的作用域
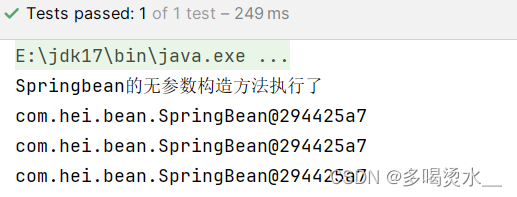
单例

默认化为:单例(singleton)
SpringBean类:
package com.hei.bean;
public class SpringBean {
public SpringBean(){
    System.out.println("Springbean的无参数构造方法执行了");
}
}
spring,xml:
<bean id="sb" class="com.hei.bean.SpringBean"></bean>测试类:
public class Test {
    @org.junit.Test
    public void Test() {
        ApplicationContext applicationContext=new ClassPathXmlApplicationContext("spring.xml");
        SpringBean s1= applicationContext.getBean("sb", SpringBean.class);
        System.out.println(s1);
        SpringBean s2= applicationContext.getBean("sb", SpringBean.class);
        System.out.println(s2);
        SpringBean s3= applicationContext.getBean("sb", SpringBean.class);
        System.out.println(s3);
        }
    }
多例
可以手动的调用多例对象(prototype),在xml中利用 scope:
spring.xml:
<bean id="sb" class="com.hei.bean.SpringBean" scope="prototype"></bean>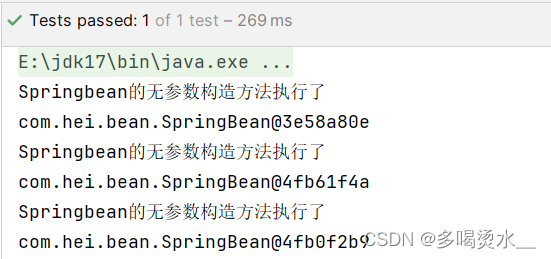
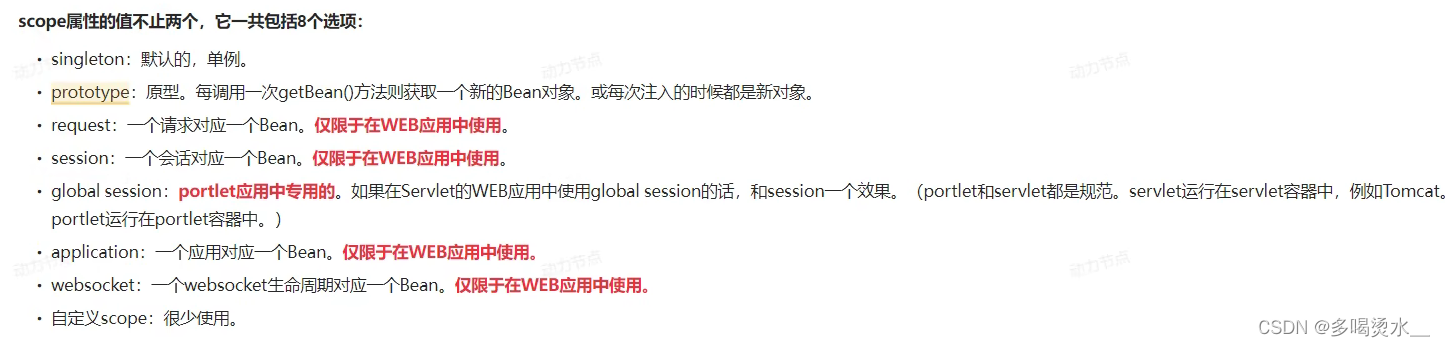
scope
工厂模式的三种形态

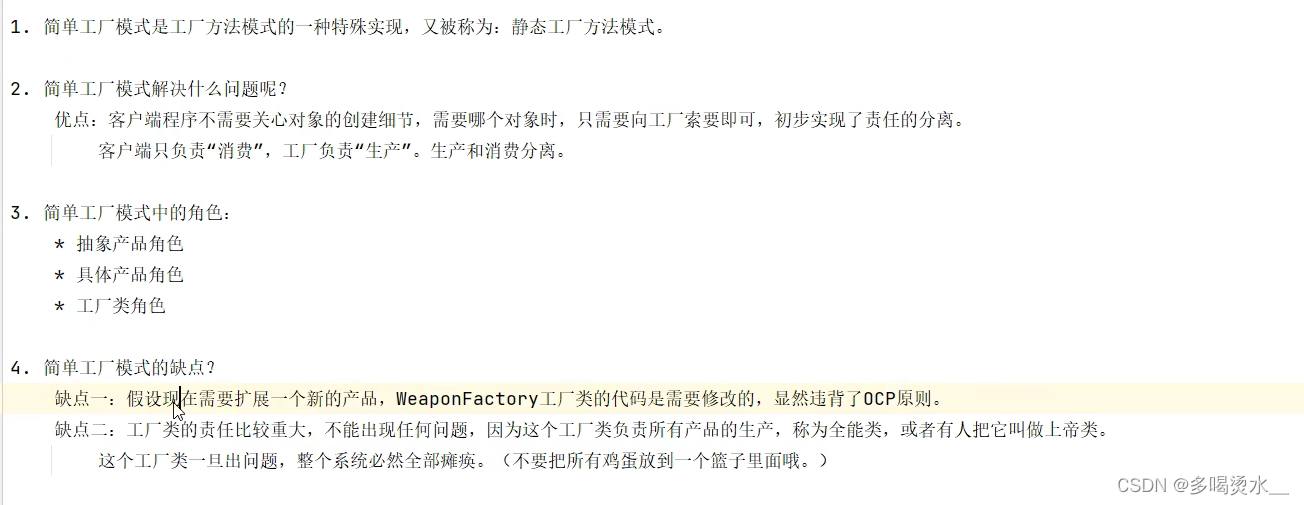
简单工厂模式
 抽象产品类:
package test1;
 public abstract class Weapon {//抽象类
    public abstract void attack();
}
具体产品类:
package test1;
public class Tank extends Weapon{//具体类
    @Override
    public void attack(){
        System.out.println("坦克准备起步...");
    }
}

package test1;
public class Figter extends Weapon{//具体类
    @Override
    public void attack(){
        System.out.println("战斗机准备起飞...");
    }
}

package test1;
public class Dagg extends Weapon{//具体类
    @Override
    public void attack(){
        System.out.println("某某某正在砍敌人");
    }
}
工厂类:
package test1;
public class WeaponFactory {//工厂类
//静态方法:要获取什么产品,就看你传的什么参数
//简单工厂模式中有一个静态方法,被称为静态工厂方法模式
public static Weapon Get(String type){
if("Tank".equals(type)){
return new Tank();
}else if("Figter".equals(type)){
return new Figter();
}else if("Dagg".equals(type)){
return new Dagg();
}
return null;
}
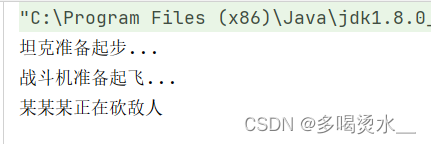
}测试类:
public class test1 {
    public static void main(String[] args)  {
       Weapon t= WeaponFactory.Get("Tank");
       t.attack();
        Weapon f= WeaponFactory.Get("Figter");
        f.attack();
        Weapon d= WeaponFactory.Get("Dagg");
        d.attack();

    }
    }
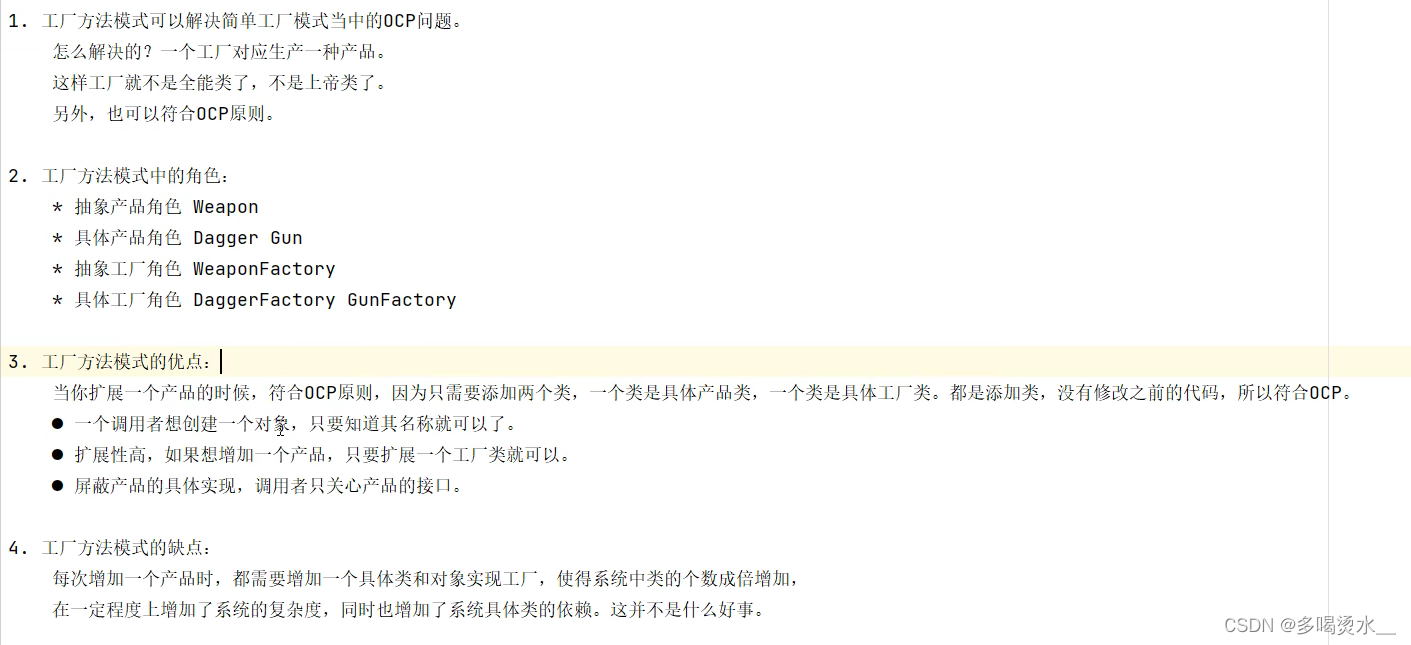
工厂方法模式
抽象产品:
package test1;
 public abstract class Weapon {//抽象类
    public abstract void attack();
}
具体产品:
package test1;
public class Tank extends Weapon{//具体类
    @Override
    public void attack(){
        System.out.println("坦克准备起步...");
    }
}

package test1;
public class Dagg extends Weapon{//具体类
    @Override
    public void attack(){
        System.out.println("某某某正在砍敌人");
    }
}
抽象工厂:
package test1;
public abstract class WeaponFactory {//抽象工厂
    public abstract Weapon Get();
}
具体工厂:
package test1;
public class TankFactory extends WeaponFactory{
    @Override
    public Weapon Get() {
        return new Tank();
    }
}

package test1;
public class DaggFactory extends WeaponFactory{
    @Override
    public Weapon Get() {
        return new Dagg();
    }
}
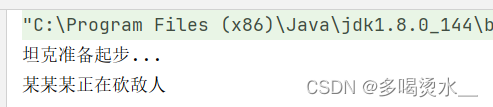
测试类:
public class test1 {
    public static void main(String[] args)  {
        WeaponFactory weaponFactory=new TankFactory();
        Weapon tank=weaponFactory.Get();
        tank.attack();
        WeaponFactory weaponFactory1=new DaggFactory();
        Weapon dagg=weaponFactory1.Get();
        dagg.attack();

    }
    }
Bean的实例化方法
1.通过构造方法实例化
在配置文件(spring.xml)中,进行bean的实例化。
SpringBean类:
package com.hei.bean;
public class SpringBean {
public SpringBean(){
    System.out.println("Springbean的无参数构造方法执行了");
}
}
spring.xml:
<bean id="sb" class="com.hei.bean.SpringBean"></bean>测试类:
public class Test {
    @org.junit.Test
    public void Test() {
        ApplicationContext applicationContext=new ClassPathXmlApplicationContext("spring.xml");
        SpringBean s1= applicationContext.getBean("sb", SpringBean.class);
        System.out.println(s1);
        }
    }
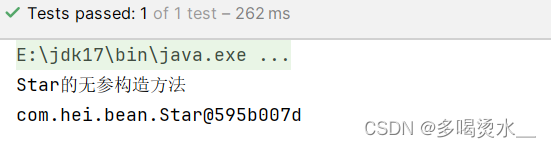
2.通过简单工厂模式实例化
产品类:
package com.hei.bean;
public class Star {
    public Star(){
        System.out.println("Star的无参构造方法");
    }
}
工厂类:
package com.hei.bean;
public class StarFacroty {
    public static Star get(){
        return new Star();
    }
}
spring.xml中:
<!--   在Spring配置文件中告诉Spring框架,调用哪个类哪个方法创建bean-->
    <bean id="star" class="com.hei.bean.StarFacroty" factory-method="get"></bean>
测试类:
public class Test {
    @org.junit.Test
    public void Test() {
        ApplicationContext applicationContext=new ClassPathXmlApplicationContext("spring.xml");
        Star s= applicationContext.getBean("star", Star.class);
        System.out.println(s);
        }
    }
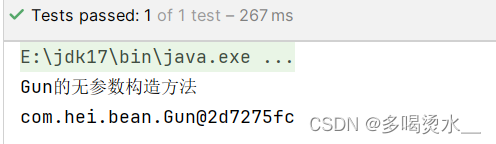
3.通过factory-bean实例化(工厂方法模式)
具体产品类:
package com.hei.bean;
public class Gun {//具体产品
    public Gun(){
        System.out.println("Gun的无参数构造方法");
    }
}
具体工厂类:
package com.hei.bean;
public class GunFactory {//具体工厂
    public Gun get(){
        return new Gun();
    }
}
spring.xml:
<!--通过工厂方法模型,结合factory-bean+factory-method-->
    <bean id="gunfactory" class="com.hei.bean.GunFactory"></bean>
<!-- factory-bean告诉Spring调用哪个对象,factory-method告诉Spring调用该对象的哪个方法-->
   <bean id="gun" factory-bean="gunfactory" factory-method="get"></bean>
测试类:
public class Test {
    @org.junit.Test
    public void Test() {
        ApplicationContext applicationContext=new ClassPathXmlApplicationContext("spring.xml");
        Gun g = applicationContext.getBean("gun", Gun.class);
        System.out.println(g);
        }
    }
4.通过FactoryBean接口实例化

对第三种方式的一种简化:
Person类:
package com.hei.bean;
public class Person {
    public Person(){
        System.out.println("Person的无参构造");
    }
}
PersonFactoryBean类:
package com.hei.bean;
import org.springframework.beans.factory.FactoryBean;
public class PersonFactoryBean implements FactoryBean<Person> {
    @Override
    //最主要的方法
    public Person getObject() throws Exception {
        return new Person();
    }
    @Override
    public Class<?> getObjectType() {
        return null;
    }
    //判断是不是为单例
    @Override
    public boolean isSingleton() {
        return true;
    }
}
spring.xml:
<!--是第三种方式的简化-->
    <bean id="person" class="com.hei.bean.PersonFactoryBean"></bean>
测试类:
public class Test {
    @org.junit.Test
    public void Test() {
        ApplicationContext applicationContext=new ClassPathXmlApplicationContext("spring.xml");
        Person p = applicationContext.getBean("person", Person.class);
        System.out.println(p);
        }
    }
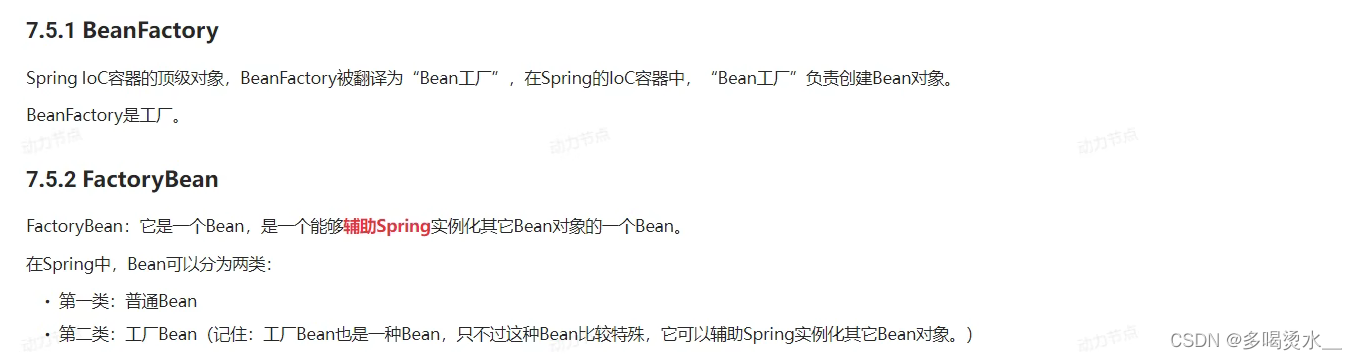
BeanFactory和FactoryBean区别
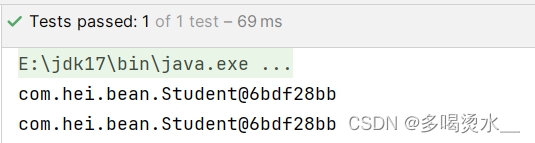
 FactoryBean实际应用注入Date
student类:
定义一个Date类型的日期,通过set方法赋值。
package com.hei.bean;
import java.util.Date;
public class Student {
    private Date brith;
    public void setBrith(Date brith) {
        this.brith = brith;
    }
    @Override
    public String toString() {
        return "Student{" +
                "brith=" + brith +
                '}';
    }
}
StudentFactoryBean类:
要设置一个日期,需要在程序中传一个字符串(代表日期)
package com.hei.bean;
import org.springframework.beans.factory.FactoryBean;
import java.text.SimpleDateFormat;
import java.util.Date;
public class StudentFactoryBean implements FactoryBean<Date> {
    private String strdate;
    public StudentFactoryBean(String strdate) {
        this.strdate = strdate;
    }
    @Override
    public Date getObject() throws Exception {
        //创建日期
        SimpleDateFormat s=new SimpleDateFormat("yyyy-MM-dd");
        Date date=s.parse(strdate);
        return date;
    }
    @Override
    public Class<?> getObjectType() {
        return null;
    }
    @Override
    public boolean isSingleton() {
        return true;
    }
}
spring.xml:
<bean id="date" class="com.hei.bean.StudentFactoryBean">
    <constructor-arg index="0" value="2003-12-15"></constructor-arg>
</bean>
    <bean id="student" class="com.hei.bean.Student">
        <property name="brith" ref="date"></property>
    </bean>
测试类:
package com.hei;
import com.hei.bean.*;
import org.springframework.context.ApplicationContext;
import org.springframework.context.support.ClassPathXmlApplicationContext;
public class Test {
    @org.junit.Test
    public void Test() {
        ApplicationContext applicationContext=new ClassPathXmlApplicationContext("spring.xml");
        Student s = applicationContext.getBean("student",Student.class);
        System.out.println(s);
        }
    }

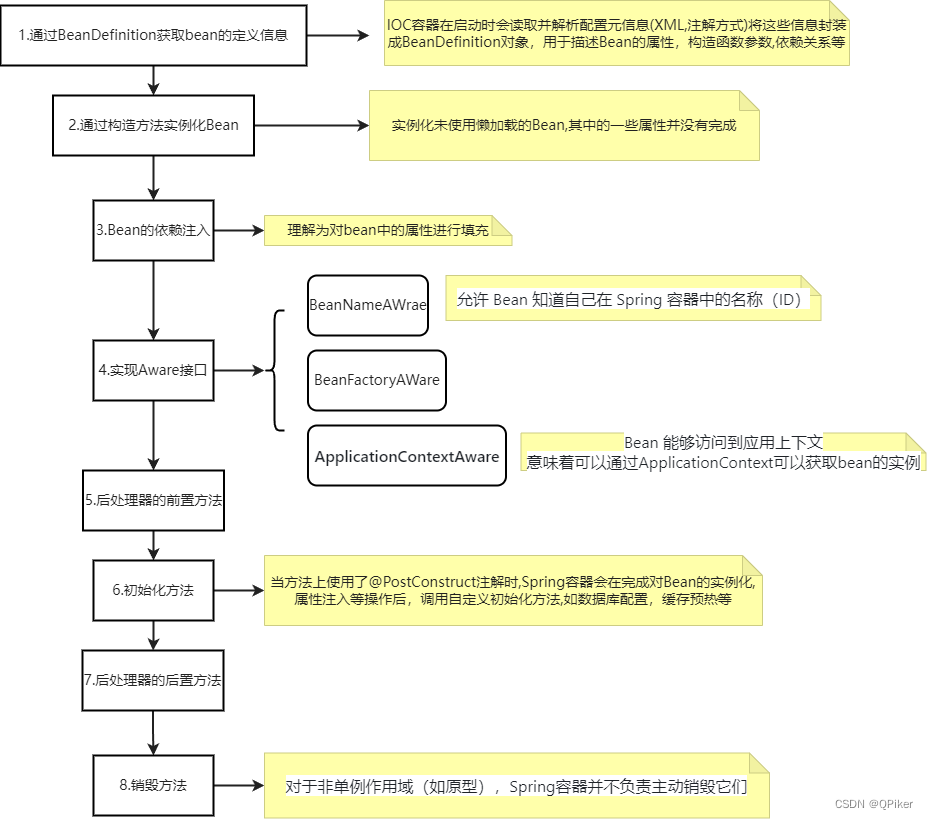
Bean的生命周期

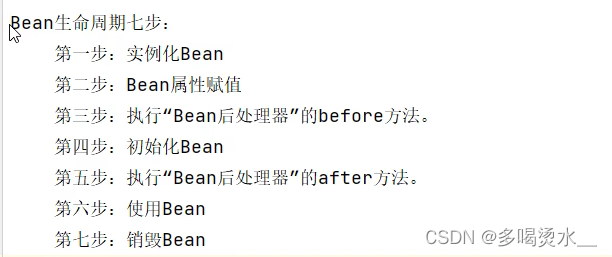
Bean的生命周期之五步
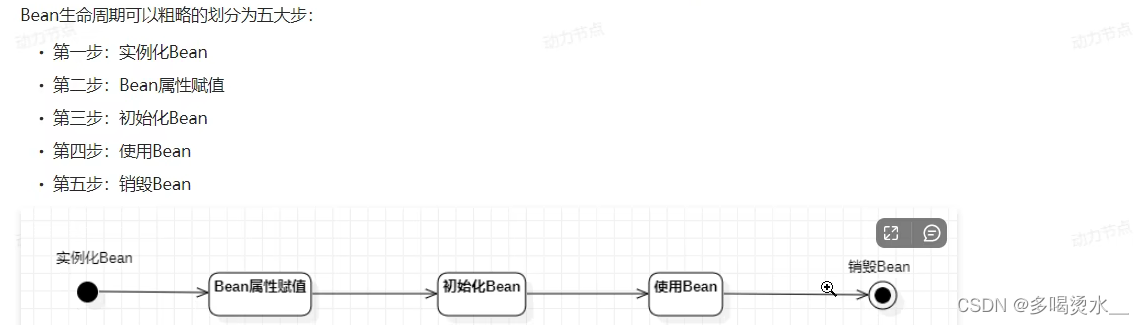
第一步:实例化Bean是调用此方法的无参构造。
第二步:Bean属性赋值,调用Set方法进行。
第三步:初始化Bean,在类中自己定义一个初始化方法。
第四步:使用Bean,要在spring.xml配置文件中,手动指定初始化方法名和销毁方法名,还需给属性赋值。
第五步:销毁Bean, 在类中自己定义一个销毁方法。
注:在测试类中,要想销毁Bean需关闭spring容器,applicationContext是一个抽象类,需要转换类型为ClassPathXmlApplicationContext.
User类:
package com.hei.bean;
public class User {
    private String name;
    public User() {
       System.out.println("第一步 无参数构造方法执行");
    }
    public void setName(String name) {
        System.out.println("第二步 给bean属性赋值");
        this.name = name;
    }
    public void InitaBean(){
        System.out.println("第三步 初始化bean");
    }
    public void destoryBean(){
        System.out.println("第五步 销毁bean");
    }
}
spring.xml:
<!--需要手动指定初始化方法和销毁方法-->
    <bean id="Bean" class="com.hei.bean.User" init-method="InitaBean" destroy-method="destoryBean">
        <property name="name" value="zhangsan"></property>
</bean>
测试类:
public class Test {
    @org.junit.Test
    public void Test() {
        ApplicationContext applicationContext=new ClassPathXmlApplicationContext("spring.xml");
        User user= applicationContext.getBean("Bean",User.class);
        System.out.println("第四步 使用bean "+user);
        //使用完了之后要销毁bean,需关闭Spring容器
        ClassPathXmlApplicationContext context = (ClassPathXmlApplicationContext) applicationContext;
        context.close();
    }
    }

Bean的生命周期之七步

User类:
package com.hei.bean;
public class User {
    private String name;
    public User() {
       System.out.println("第一步 无参数构造方法执行");
    }
    public void setName(String name) {
        System.out.println("第二步 给bean属性赋值");
        this.name = name;
    }
    public void InitaBean(){
        System.out.println("第三步 初始化bean");
    }
    public void destoryBean(){
        System.out.println("第五步 销毁bean");
    }
}
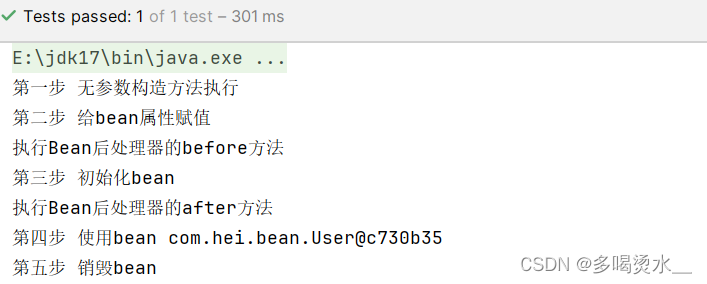
Bean后处理器:BeanPost类:
package com.hei.bean;
import org.springframework.beans.BeansException;
import org.springframework.beans.factory.config.BeanPostProcessor;
public class Beanpost implements BeanPostProcessor {
    @Override
    public Object postProcessBeforeInitialization(Object bean, String beanName) throws BeansException {
       System.out.println("执行Bean后处理器的before方法");
        return BeanPostProcessor.super.postProcessBeforeInitialization(bean, beanName);
    }
    @Override
    public Object postProcessAfterInitialization(Object bean, String beanName) throws BeansException {
        System.out.println("执行Bean后处理器的after方法");
        return BeanPostProcessor.super.postProcessAfterInitialization(bean, beanName);
    }
}
spring.xml:
<!--配置Bean后处理器-->
<!-- Bean后处理器将作用于当前配置文件所有的bean-->
    <bean class="com.hei.bean.Beanpost"></bean>
    <!--需要手动指定初始化方法和销毁方法-->
    <bean id="Bean" class="com.hei.bean.User" init-method="InitaBean" destroy-method="destoryBean">
        <property name="name" value="zhangsan"></property>
</bean>
测试类:
public class Test {
    @org.junit.Test
    public void Test() {
        ApplicationContext applicationContext=new ClassPathXmlApplicationContext("spring.xml");
        User user= applicationContext.getBean("Bean",User.class);
        System.out.println("第四步 使用bean "+user);
        //使用完了之后要销毁bean,需关闭Spring容器
        ClassPathXmlApplicationContext context = (ClassPathXmlApplicationContext) applicationContext;
        context.close();
    }
    }
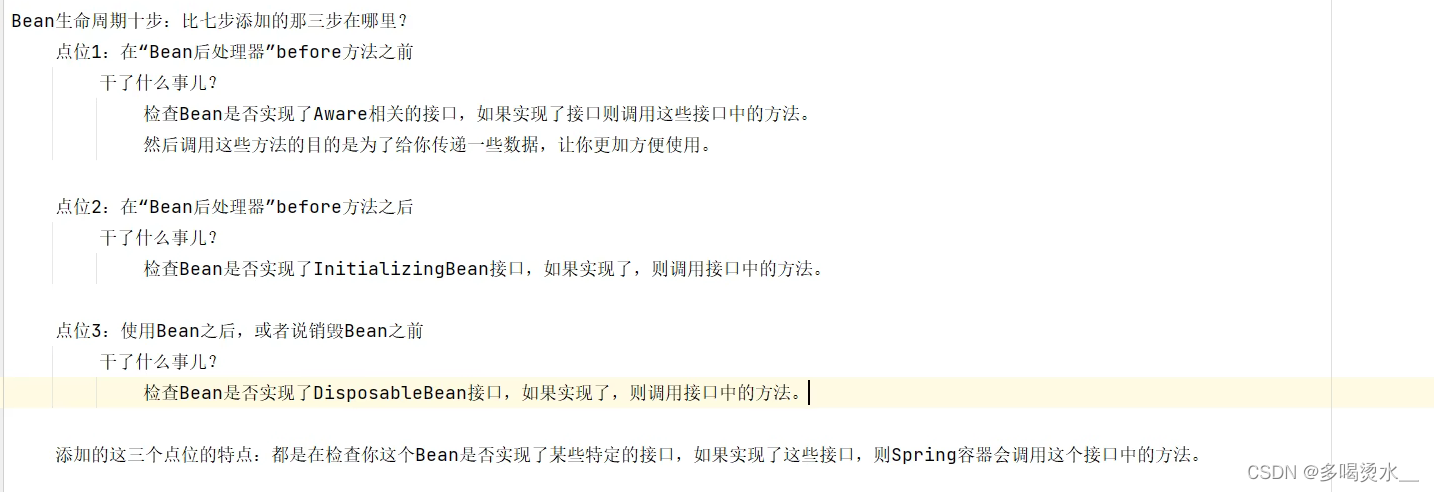
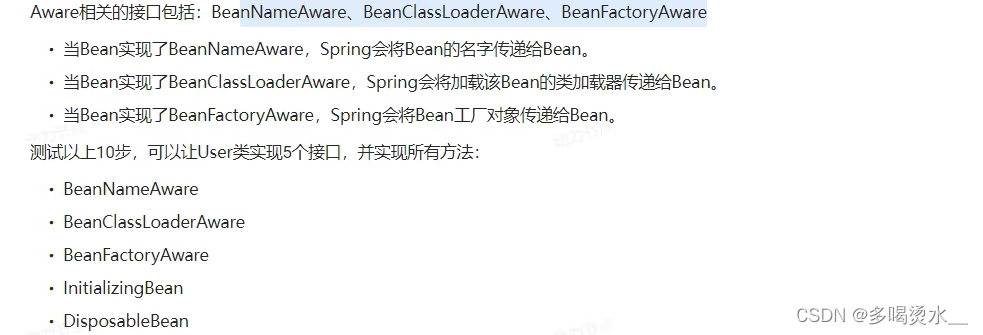
Bean的生命周期之十步
User类:
package com.hei.bean;
import org.springframework.beans.BeansException;
import org.springframework.beans.factory.*;
public class User implements BeanNameAware, BeanClassLoaderAware, BeanFactoryAware, InitializingBean, DisposableBean {
private String name;
public User() {
System.out.println("第一步 无参数构造方法执行");
}
public void setName(String name) {
System.out.println("第二步 给bean属性赋值");
this.name = name;
}
public void InitaBean(){
System.out.println("第四步 初始化bean");
}
public void destoryBean(){
System.out.println("第七步 销毁bean");
}
@Override
public void setBeanClassLoader(ClassLoader classLoader) {
System.out.println("Bean这个类的加载器:"+classLoader);
}
@Override
public void setBeanFactory(BeanFactory beanFactory) throws BeansException {
System.out.println("生产这个Bean的工厂:"+beanFactory);
}
@Override
public void setBeanName(String s) {
System.out.println("这个Bean的名字:"+s);
}
@Override
public void destroy() throws Exception {
System.out.println("DisposableBean's destory的方法执行");
}
@Override
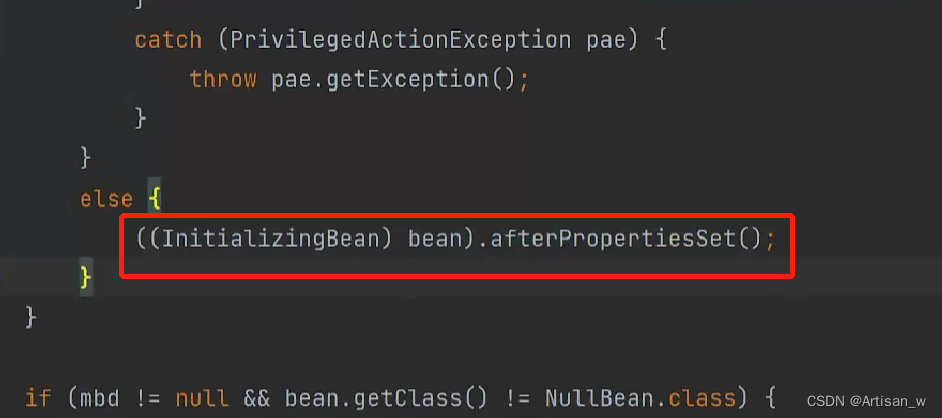
public void afterPropertiesSet() throws Exception {
System.out.println("InitializingBean's afterPropertiesSet的方法执行");
}
}
只需在User类中添加多个接口,其他类和配置文件不变。

Bean生命周期不同作用域
spring容器只对singleton(单例)的Bean进行完整的生命周期管理。
如果是prototype(多例)作用域的Bean,Spring容器只负责将该Bean初始化完毕,等客户端程序一旦获取到该Bean之后,到使用Bean之后,Spring容器就不再管理该对象的生命周期了。
自己new的对象纳入Spring容器管理
Student类:
package com.hei.bean;
public class Student {
}
测试类:
public class Test {
    @org.junit.Test
    public void test() {
        Student s = new Student();
        System.out.println(s);
        //将new的对象交给spring容器管理
        DefaultListableBeanFactory d = new DefaultListableBeanFactory();
        d.registerSingleton("student", s);
        //从spring容器中获取
        Object S= d.getBean("student");
        System.out.println(S);
    }
}
Bean的循环依赖
循环依赖:
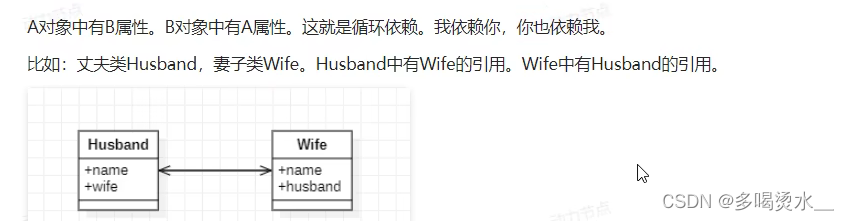
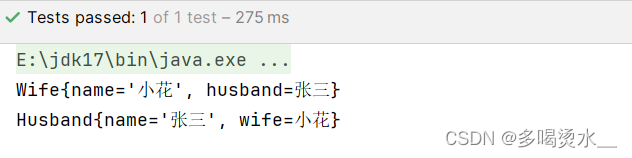
单例和set模式下的循环依赖
 husband类:
package com.hei.bean;
public class Husband {
    private String name;
    private Wife wife;
    public void setName(String name) {
        this.name = name;
    }
    public String getName() {
        return name;
    }
    public void setWife(Wife wife) {
        this.wife = wife;
    }
    @Override
    public String toString() {
        return "Husband{" +
                "name='" + name + '\'' +
                ", wife=" + wife.getName() +
                '}';
    }
}
wife类:
package com.hei.bean;
public class Wife {
    private String name;
    private Husband husband;
    public void setName(String name) {
        this.name = name;
    }
    public void setHusband(Husband husband) {
        this.husband = husband;
    }
    public String getName() {
        return name;
    }
    @Override
    public String toString() {
        return "Wife{" +
                "name='" + name + '\'' +
                ", husband=" + husband.getName() +
                '}';
    }
}
spring.xml:
<bean id="hus" class="com.hei.bean.Husband" scope="singleton">
    <property name="name" value="张三"/>
    <property name="wife" ref="wife"></property>
</bean>
    <bean id="wife" class="com.hei.bean.Wife" scope="singleton">
        <property name="name" value="小花"/>
        <property name="husband" ref="hus"></property>
    </bean>
测试类:
public class Test {
    @org.junit.Test
    public void test(){
        ApplicationContext applicationContext=new ClassPathXmlApplicationContext("spring.xml");
        Wife w= applicationContext.getBean("wife",Wife.class);
        System.out.println(w);
        Husband h= applicationContext.getBean("hus",Husband.class);
        System.out.println(h);
    }
    }
多例和set模式下的循环依赖
当两个bean的scope都是prototype(多例)会出现异常,若其中一个为singleton(单例)就不会出现异常。


![[渗透测试学习] BoardLight-HackTheBox](https://img-blog.csdnimg.cn/direct/aeedd82ba8f04a588bc917bbbc5d998b.png)