SpringCloud整合Seata解决分布式事务(注册中心Nacos)
本案例是在windows中运行的,项目中启动的注册中心为Nacos,分布式事务Seata均在window下进行的。
Seata下载与配置
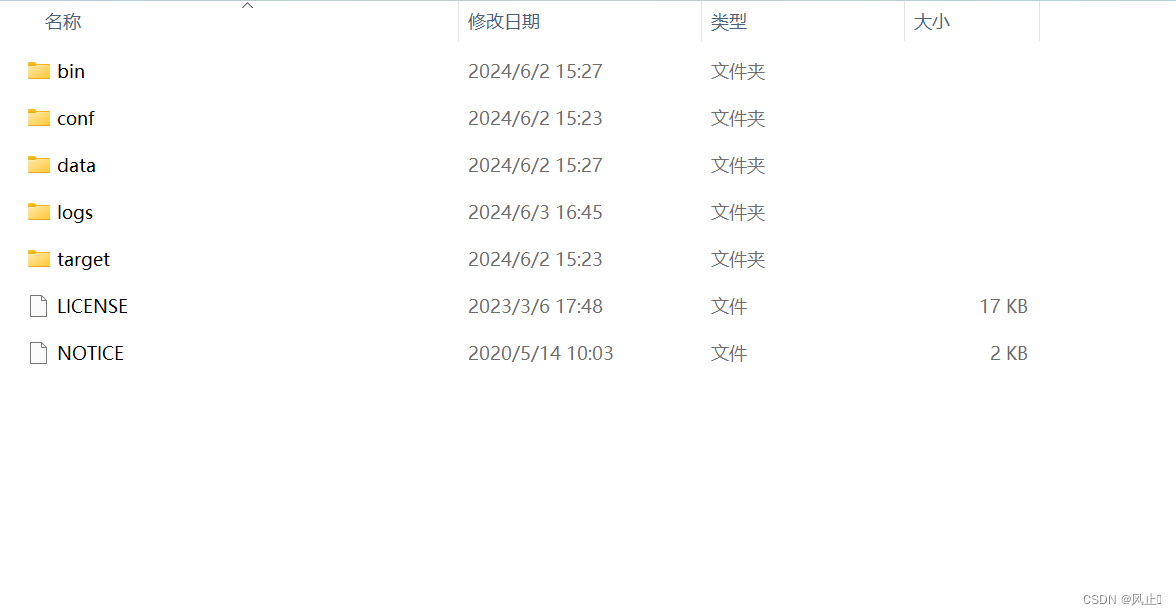
- 下载指定版本seata-server,本案例使用v1.6.1版本。下载地址
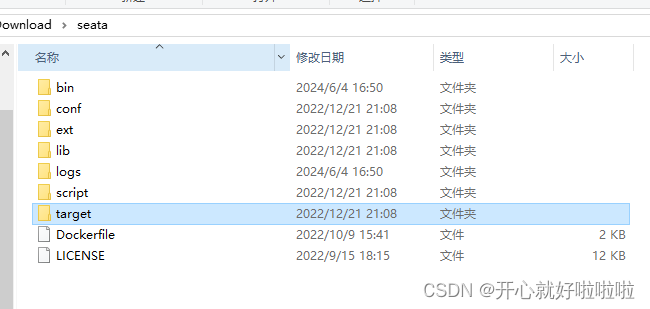
- 修改seata/conf/application.yml配置文件(可直接使用)
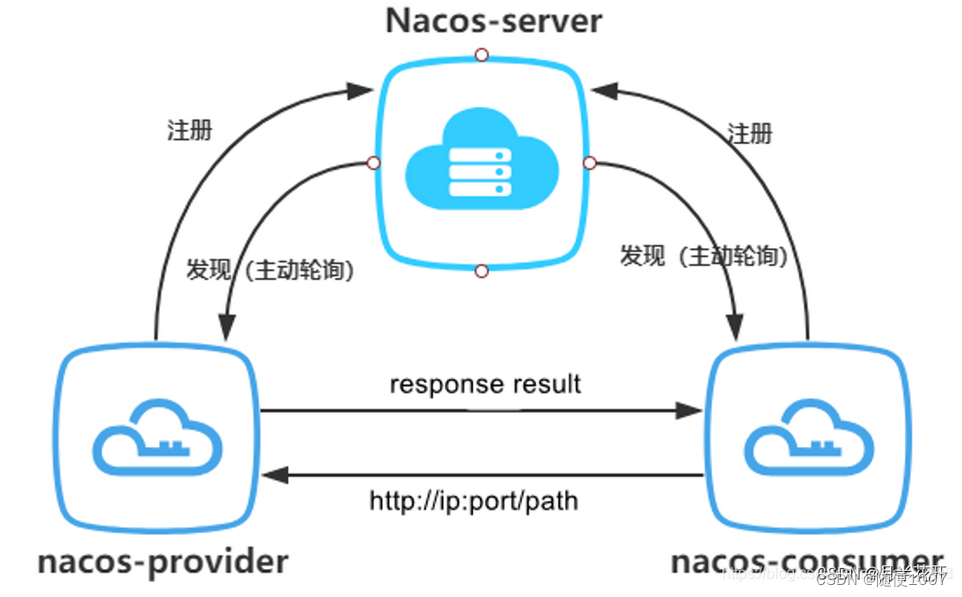
使用的注册中心为Nacos
server:
  port: 7091

spring:
  application:
    name: seata-server  # seata-server服务名
logging:
  config: classpath:logback-spring.xml
  file:
    path: ${user.home}/logs/seata
  # extend:
  #   logstash-appender:
  #     destination: 127.0.0.1:4560
  #   kafka-appender:
  #     bootstrap-servers: 127.0.0.1:9092
  #     topic: logback_to_logstash

console:
  user:
    username: seata
    password: seata

seata:
  # 配置中心-nacos
  config:
    # support: nacos, consul, apollo, zk, etcd3
    type: nacos
    nacos:
      server-addr: 127.0.0.1:8848
      namespace:  #不填就是public
      group: SEATA_GROUP
      username: nacos
      password: nacos
      context-path:
      data-id: seataServer.properties  # nacos中存放seata的配置文件,后面会提该文件的使用方式,相当于seata服务启动的时候需要注册到nacos,并使用nacos中的配置文件
  # 注册中心-nacos
  registry:
    # support: nacos, eureka, redis, zk, consul, etcd3, sofa
    type: nacos
    nacos:
      application: seata-server
      server-addr: 127.0.0.1:8848
      group: SEATA_GROUP
      namespace:   #不填就是public
      # TC 集群名称,下文 Seata 客户端中配置事务分组名和集群名映射使用
      cluster: default
      username: nacos
      password: nacos
  # 数据存储模式-db 数据库
  store:
    # support: file 、 db 、 redis
    mode: db
#  server:
#    service-port: 8091 #If not configured, the default is '${server.port} + 1000'
  security:
    secretKey: SeataSecretKey0c382ef121d778043159209298fd40bf3850a017
    tokenValidityInMilliseconds: 1800000
    ignore:
      urls: /,/**/*.css,/**/*.js,/**/*.html,/**/*.map,/**/*.svg,/**/*.png,/**/*.ico,/console-fe/public/**,/api/v1/auth/login
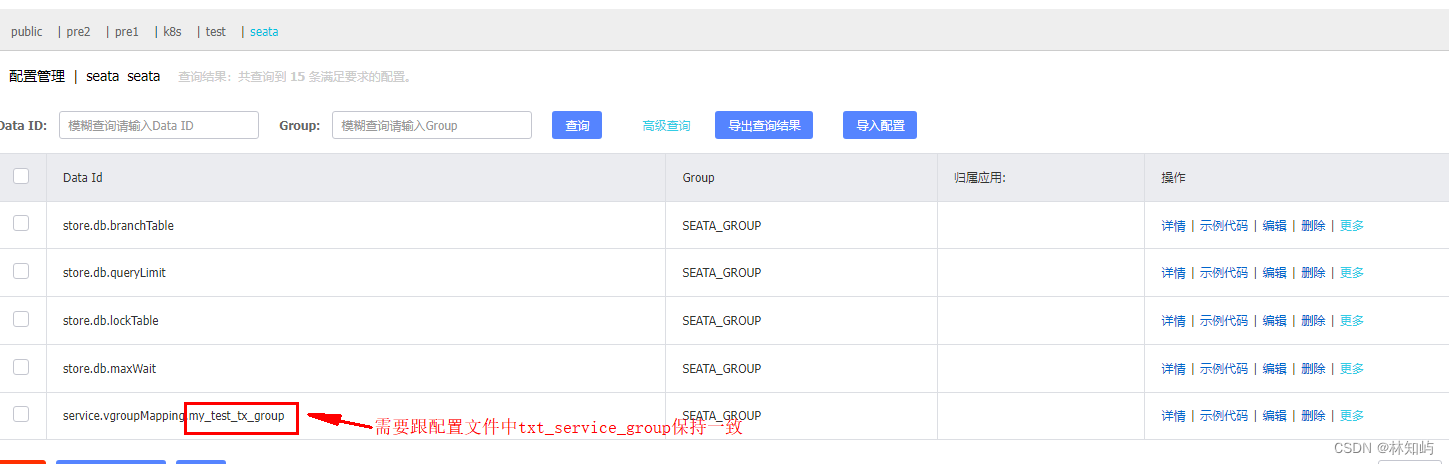
在Nacos中配置seata相关配置
在nacos中新建application.yml中 seata.config.nacos.data-id 提到的配置文件:seataServer.properties
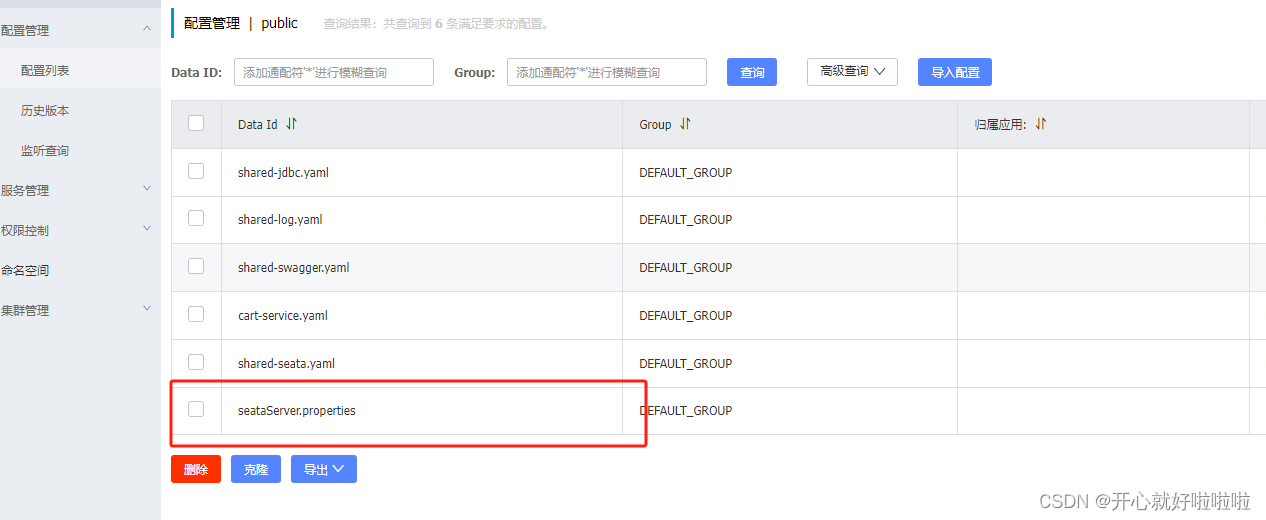
seataServer.properties 已删除无用配置
#For details about configuration items, see https://seata.io/zh-cn/docs/user/configurations.html
#Transport configuration, for client and server
transport.type=TCP
transport.server=NIO
transport.heartbeat=true
transport.enableTmClientBatchSendRequest=false
transport.enableRmClientBatchSendRequest=true
transport.enableTcServerBatchSendResponse=false
transport.rpcRmRequestTimeout=30000
transport.rpcTmRequestTimeout=30000
transport.rpcTcRequestTimeout=30000
transport.threadFactory.bossThreadPrefix=NettyBoss
transport.threadFactory.workerThreadPrefix=NettyServerNIOWorker
transport.threadFactory.serverExecutorThreadPrefix=NettyServerBizHandler
transport.threadFactory.shareBossWorker=false
transport.threadFactory.clientSelectorThreadPrefix=NettyClientSelector
transport.threadFactory.clientSelectorThreadSize=1
transport.threadFactory.clientWorkerThreadPrefix=NettyClientWorkerThread
transport.threadFactory.bossThreadSize=1
transport.threadFactory.workerThreadSize=default
transport.shutdown.wait=3
transport.serialization=seata
transport.compressor=none

#Transaction routing rules configuration, only for the client
# 此处的mygroup名字可以自定义,只修改这个值即可
service.vgroupMapping.mygroup=default
#If you use a registry, you can ignore it
service.default.grouplist=127.0.0.1:8091
service.enableDegrade=false
service.disableGlobalTransaction=false

#Transaction rule configuration, only for the client
client.rm.asyncCommitBufferLimit=10000
client.rm.lock.retryInterval=10
client.rm.lock.retryTimes=30
client.rm.lock.retryPolicyBranchRollbackOnConflict=true
client.rm.reportRetryCount=5
client.rm.tableMetaCheckEnable=true
client.rm.tableMetaCheckerInterval=60000
client.rm.sqlParserType=druid
client.rm.reportSuccessEnable=false
client.rm.sagaBranchRegisterEnable=false
client.rm.sagaJsonParser=fastjson
client.rm.tccActionInterceptorOrder=-2147482648
client.tm.commitRetryCount=5
client.tm.rollbackRetryCount=5
client.tm.defaultGlobalTransactionTimeout=60000
client.tm.degradeCheck=false
client.tm.degradeCheckAllowTimes=10
client.tm.degradeCheckPeriod=2000
client.tm.interceptorOrder=-2147482648
client.undo.dataValidation=true
client.undo.logSerialization=jackson
client.undo.onlyCareUpdateColumns=true
server.undo.logSaveDays=7
server.undo.logDeletePeriod=86400000
client.undo.logTable=undo_log
client.undo.compress.enable=true
client.undo.compress.type=zip
client.undo.compress.threshold=64k
#For TCC transaction mode
tcc.fence.logTableName=tcc_fence_log
tcc.fence.cleanPeriod=1h

#Log rule configuration, for client and server
log.exceptionRate=100

#Transaction storage configuration, only for the server. The file, db, and redis configuration values are optional.
# 默认为file,一定要改为db,我们自己的服务启动会连接不到seata
store.mode=db
store.lock.mode=db
store.session.mode=db
#Used for password encryption

#These configurations are required if the `store mode` is `db`. If `store.mode,store.lock.mode,store.session.mode` are not equal to `db`, you can remove the configuration block.
# 修改mysql的配置
store.db.datasource=druid
store.db.dbType=mysql
store.db.driverClassName=com.mysql.cj.jdbc.Driver
# 指定seata的数据库,下面会提
store.db.url=jdbc:mysql://127.0.0.1:3306/seata?useUnicode=true&rewriteBatchedStatements=true
store.db.user=root
store.db.password=123456
store.db.minConn=5
store.db.maxConn=30
store.db.globalTable=global_table
store.db.branchTable=branch_table
store.db.distributedLockTable=distributed_lock
store.db.queryLimit=100
store.db.lockTable=lock_table
store.db.maxWait=5000


#Transaction rule configuration, only for the server
server.recovery.committingRetryPeriod=1000
server.recovery.asynCommittingRetryPeriod=1000
server.recovery.rollbackingRetryPeriod=1000
server.recovery.timeoutRetryPeriod=1000
server.maxCommitRetryTimeout=-1
server.maxRollbackRetryTimeout=-1
server.rollbackRetryTimeoutUnlockEnable=false
server.distributedLockExpireTime=10000
server.xaerNotaRetryTimeout=60000
server.session.branchAsyncQueueSize=5000
server.session.enableBranchAsyncRemove=false
server.enableParallelRequestHandle=false

#Metrics configuration, only for the server
metrics.enabled=false
metrics.registryType=compact
metrics.exporterList=prometheus
metrics.exporterPrometheusPort=9898
注意:
- 修改store.mode store.lock.mode store.session.mode这三个值为db,才能让seata连接到下面的数据库中。
- 修改store.db配置项下的配置,连接到自己的数据库。
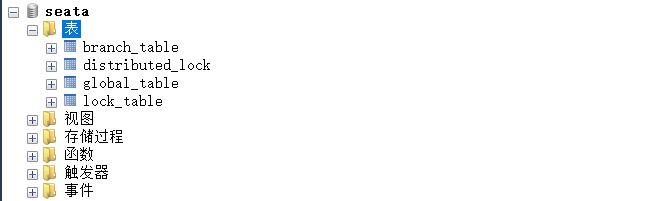
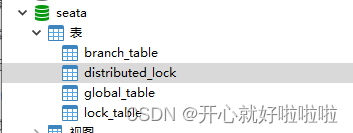
持久化为db时,需要提前在数据库中创建seata数据库,
创建数据库脚本在seata\script\server\db\mysql.sql
5. 在window中启动seata
直接双击seata-server.bat进行启动

启动成功后,界面如下
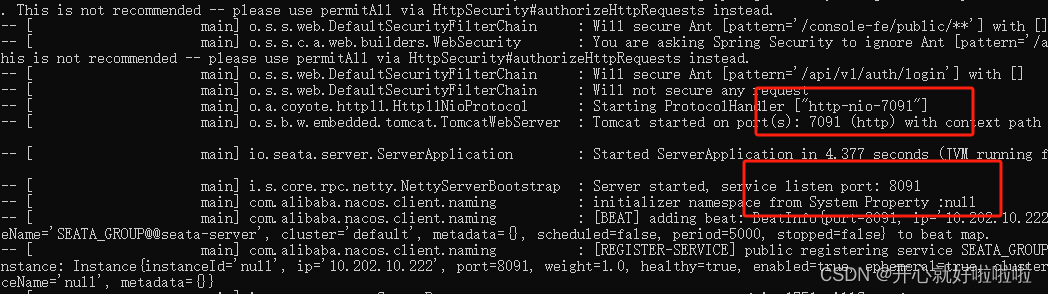
这里有两个端口7091和8091
- 7091端口为打开seata前端界面的端口
- 8091端口为seata与微服务之间交互的端口
如果需要修改,则需要在seata/conf/application.yml配置文件中修改service-port 和 server.port
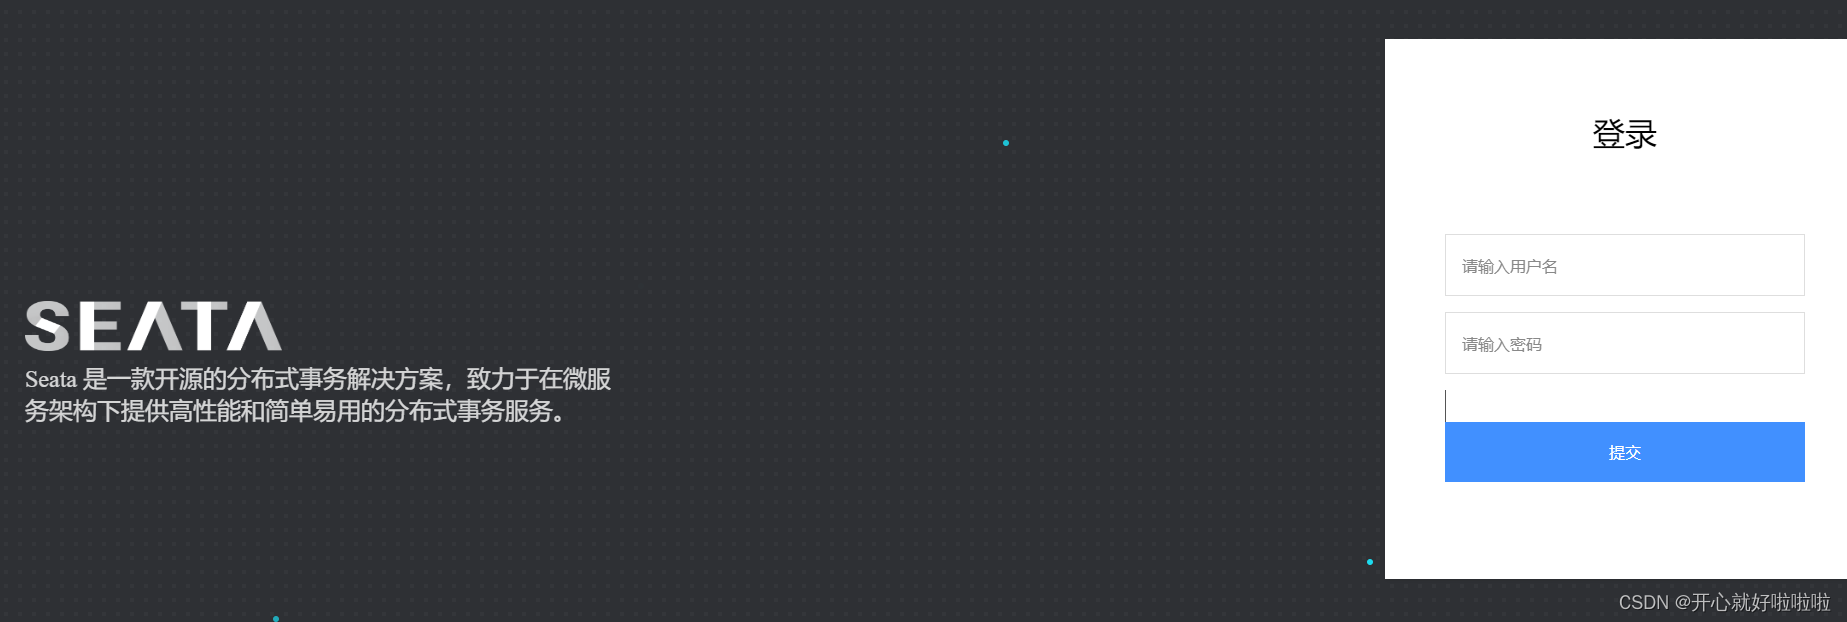
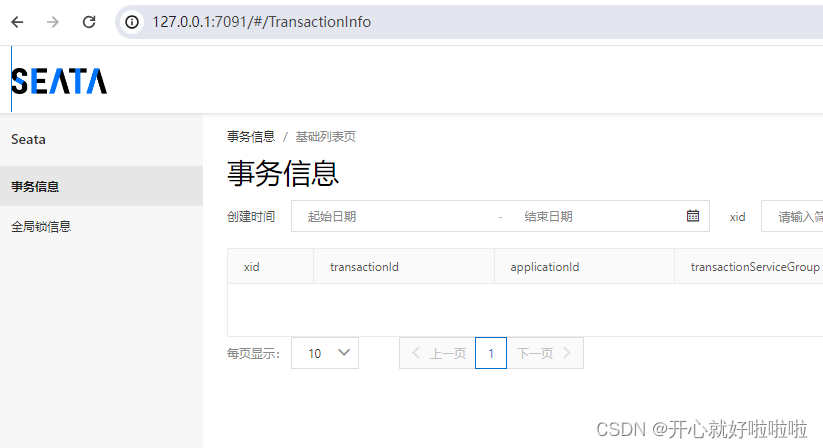
启动成功后,即可访问 http://127.0.0.1:7091/#/login 该地址进入seata的webui,用户名与密码默认为seata,
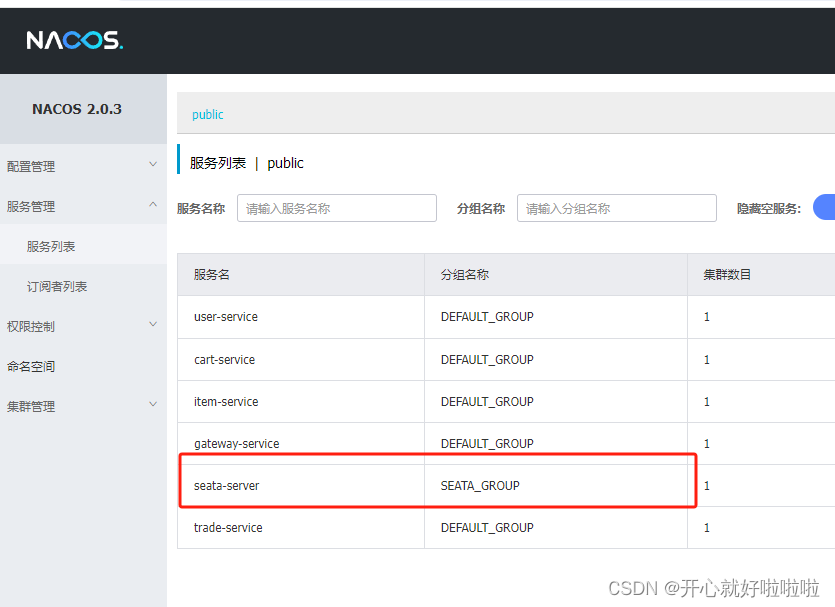
然后Nacos界面也可以看到启动的seata-server服务
SpringCloud整合Seata服务
在涉及分布式事务的服务中引入依赖
		<!--nacos配置管理-->
        <dependency>
            <groupId>com.alibaba.cloud</groupId>
            <artifactId>spring-cloud-starter-alibaba-nacos-config</artifactId>
        </dependency>
        <!--读取bootstrap文件-->
        <dependency>
            <groupId>org.springframework.cloud</groupId>
            <artifactId>spring-cloud-starter-bootstrap</artifactId>
        </dependency>
        <!--seata-->
        <dependency>
            <groupId>com.alibaba.cloud</groupId>
            <artifactId>spring-cloud-starter-alibaba-seata</artifactId>
        </dependency>
然后再yaml中添加seata配置
seata:
  registry: # TC服务注册中心的配置,微服务根据这些信息去注册中心获取tc服务地址
    type: nacos # 注册中心类型 nacos
    nacos:
      server-addr: 127.0.0.1:8848 # nacos地址
      namespace: "" # namespace,默认为空
      group: DEFAULT_GROUP # 分组,默认是DEFAULT_GROUP
      application: seata-server # seata服务名称
      username: nacos
      password: nacos
  tx-service-group: hmall # 事务组名称
  service:
    vgroup-mapping: # 事务组与tc集群的映射关系
      hmall: "default"
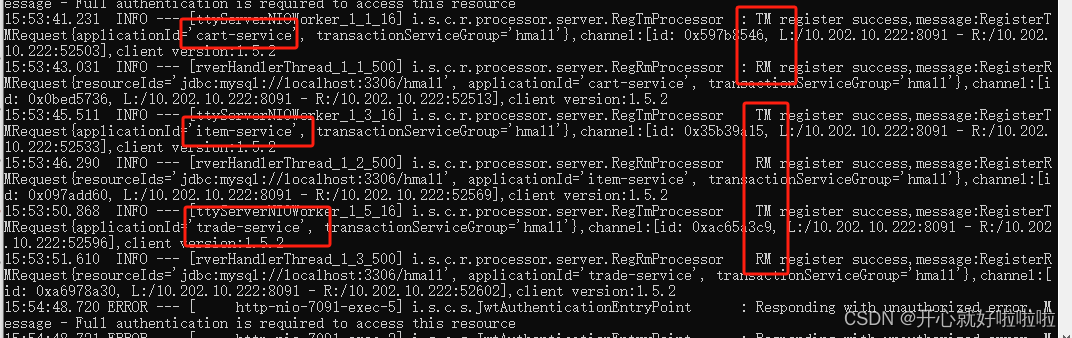
服务启动后,在Seata启动的控制台中可以看到相关日志如下
@GlobalTransactional注解使用
在外层接口上增加@GlobalTransactional注解
@GetMapping("/remoteTest")
@GlobalTransactional
public String remoteTest(){
    orderService.remoteTest();
    return "order success";
}
只需要在最外层方法上添加注解即可,子事务方法上不需要添加@GlobalTransactional与@Transactional注解。