文章目录
🧡🧡实验流程🧡🧡
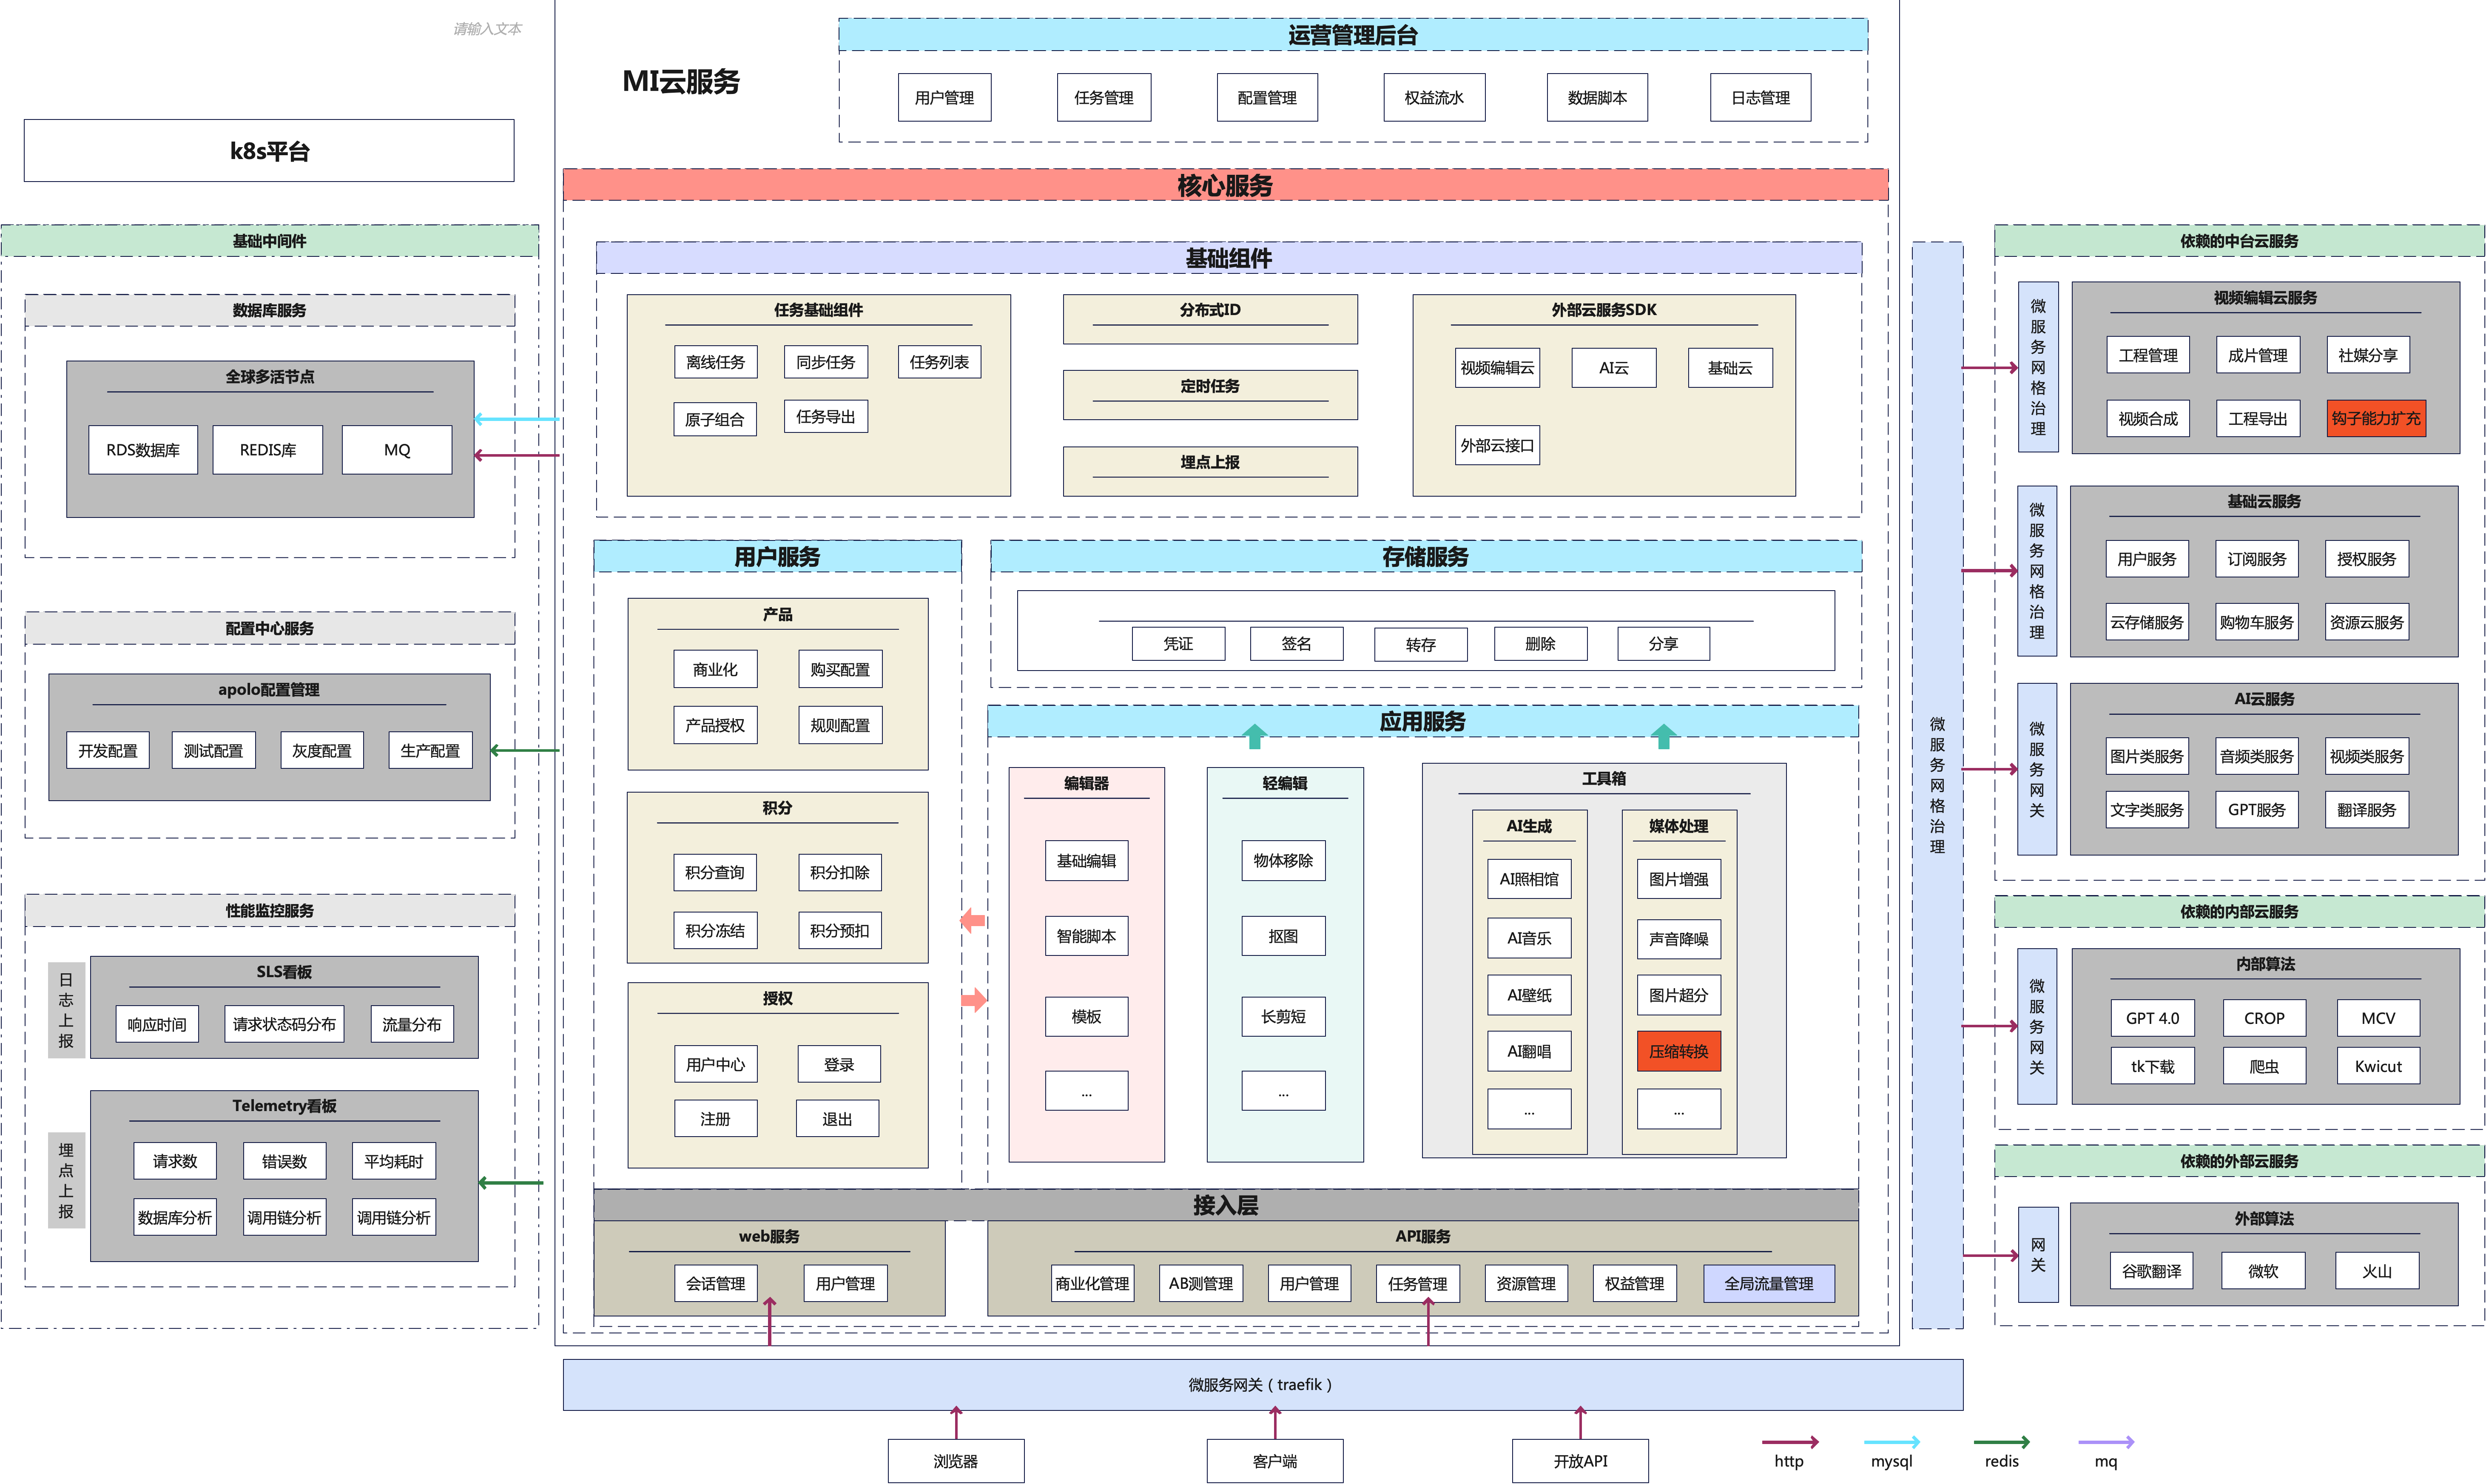
1. 对图像加入椒盐噪声,并用均值滤波进行过滤
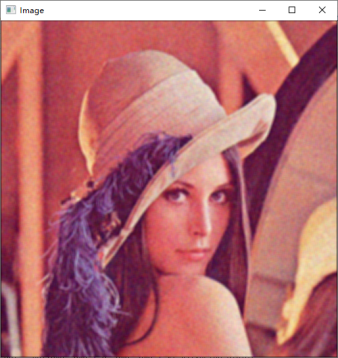
原图、加入椒盐噪声的图
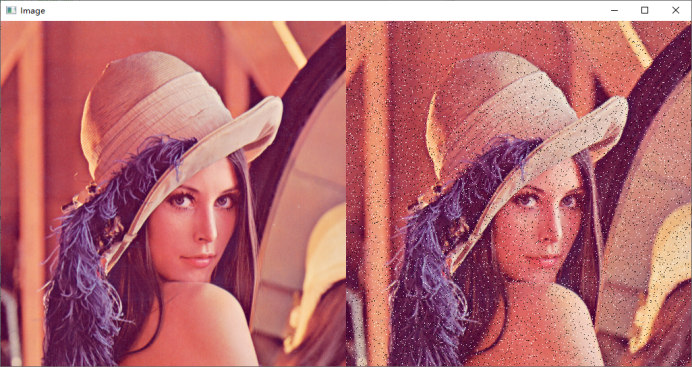
3x3均值滤波、5x5均值滤波
2.对图像加入高斯噪声,并用高斯滤波进行过滤
原图、加入高斯噪声后的图.
高斯滤波
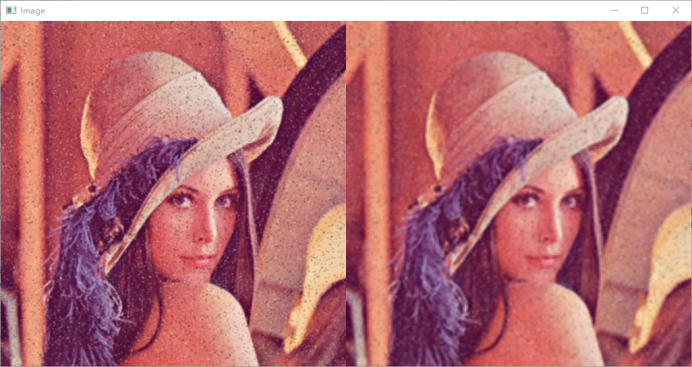
3.对图像加入任意噪声,并用中值滤波进行过滤
原图、加入椒盐噪声的图

中值滤波:对中心像素矩形邻域取中值来替代中心像素

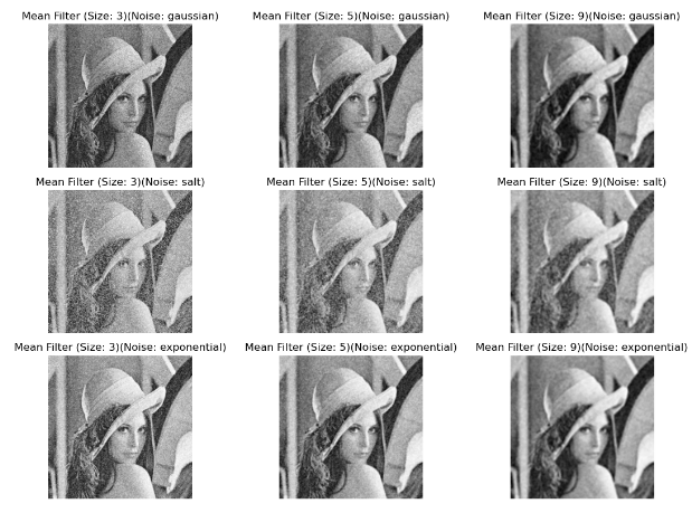
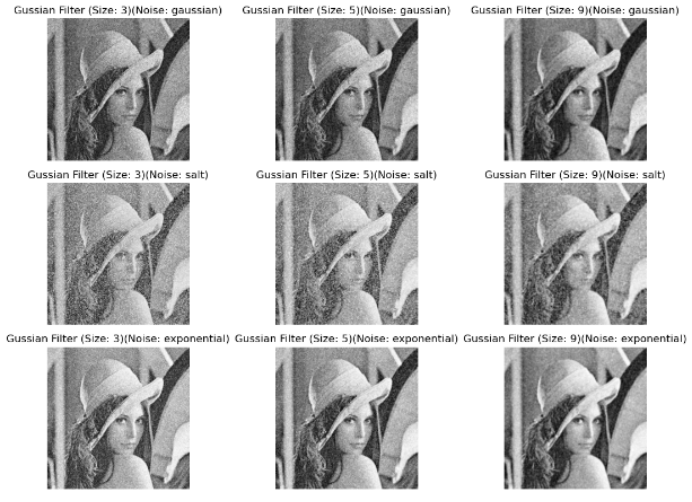
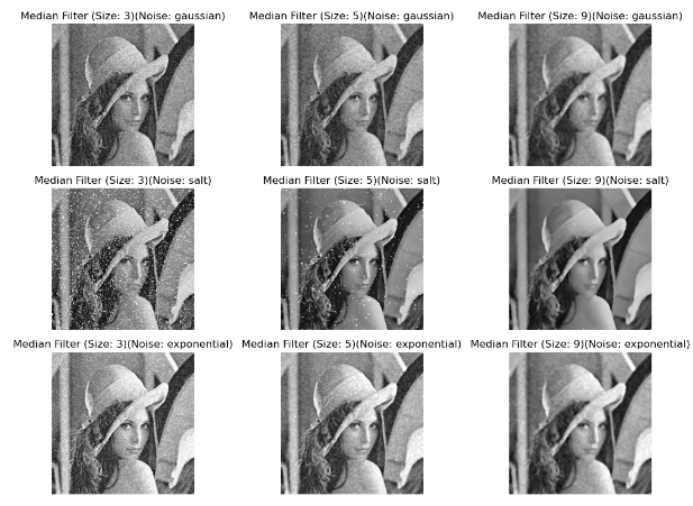
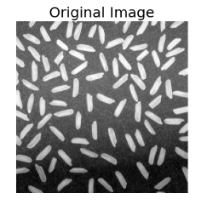
4.读入一张灰度图像,比较不同窗口(模板)大小,分别加入高斯噪声,椒盐噪声 和其它噪声,比较不同模板大小,不同噪声下的使用均值滤波器,高斯滤波器和中值滤波的效果。
均值滤波器: 横轴(模板大小),纵轴(噪声类型)
高斯滤波器: 横轴(模板大小),纵轴(噪声类型)
中值滤波器: 横轴(模板大小),纵轴(噪声类型)
总结:
- 噪声类型相同时,模板大小越大,去除噪声的效果越明显
- 模板大小相同时,对于高斯噪声,高斯滤波器目前来看去噪效果相对好一些;对于椒盐噪声,中值滤波器表现最佳,效果明显;对于指数噪声,三个滤波器效果差不多,感官上均值滤波器略胜一筹。
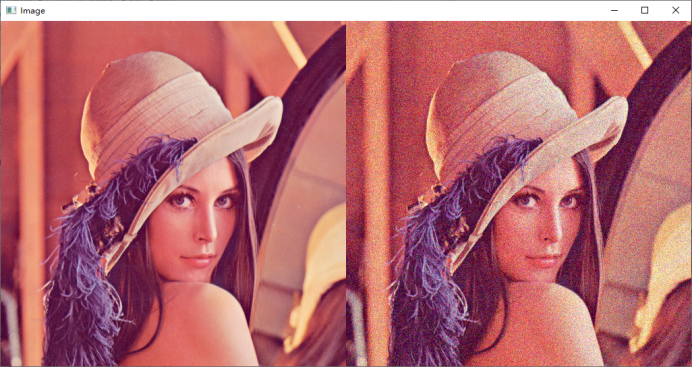
5.实现高斯滤波
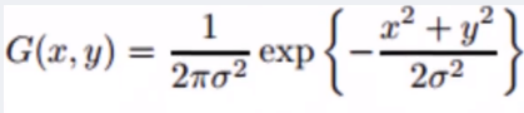
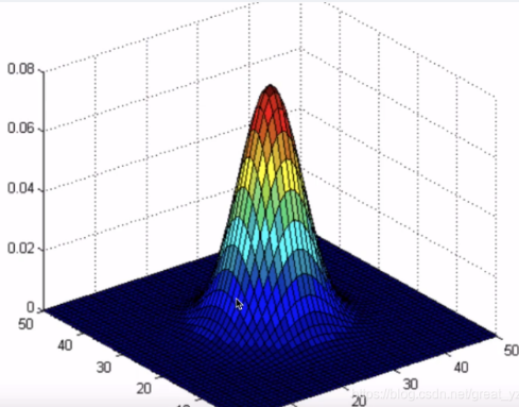
原理:按照如下高斯分布,将中心像素周围的像素按照高斯分布加权平均进行平滑化,越接近中心,取值越大,越远离中心,取值越小。计算平滑结果时,只需要将"中心点"作为原点,其他点按照其在正态曲线上的位置,分配权重,就可以得到一个加权平均值。
添加了高斯噪声的图

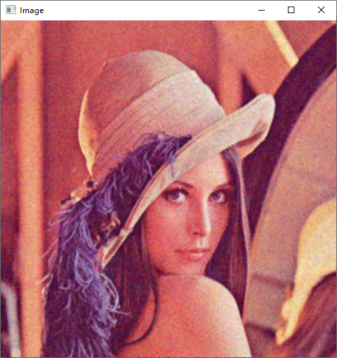
分别手动实现和调库实现结果如下:(模板大小均为5)
分析:手写的代码实现的效果要相对模糊一些,可能与选取的sigma值有关,影响了高斯分布函数的权重,从而导致周围9个像素点权重前后会略有差异。sigma 的值越大,图像就会变得更加模糊。
🧡🧡全部代码🧡🧡
import cv2
import numpy as np
import matplotlib.pyplot as plt

def cv_show(img):
    cv2.imshow('Image', img)
    cv2.waitKey(0)
    cv2.destroyAllWindows()
"""
    3-1 均值滤波
"""
I = cv2.imread('img/test1_LenaRGB.tif')
# 添加椒盐噪声
J = I.copy()
rows, cols, _ = J.shape
amount = 0.05 # 椒盐噪声占总像素的总比例
salt_vs_pepper = 0.5 # 椒与盐的比例
# ===添加盐噪声===
num_salt = np.ceil(amount * salt_vs_pepper * rows * cols) # 盐的数量
coords = [np.random.randint(0, i - 1, int(num_salt)) for i in [rows,cols]] # 随机坐标 (H,W,:)
coords = tuple(coords)  # 将列表转换为元组
J[coords[:]] = (255, 255, 255) # 改变(H,W,C)
# ===添加椒噪声===
num_pepper = np.ceil(amount * (1-salt_vs_pepper) * rows * cols)
coords = [np.random.randint(0,i-1,int(num_pepper)) for i in [rows,cols]] # 随机坐标  (H,W,:)
oords = tuple(coords)
J[coords[:]] = (0,0,0,)

# 显示原图像和加噪图像
res = np.hstack((I, J))
cv_show(res)

# 3x3和5x5 均值滤波
K1 = cv2.blur(J, (3, 3))
K2 = cv2.blur(J, (5, 5))
res = np.hstack((K1, K2))
cv_show(res)
"""
    3-2 高斯滤波
"""
I = cv2.imread('img/test1_LenaRGB.tif')
# 添加高斯噪声
J = I.copy()
gauss = np.random.normal(0, 25, J.shape) # 0表示均值,0.1表示标准差sigma,sigma越大,损坏越厉害
J = J + gauss
J = np.clip(J,a_min=0,a_max=255).astype(np.uint8) # 缩放范围为0-255


# 显示原图像和加噪图像
res = np.hstack((I, J))
cv_show(res)

# 高斯滤波图像
K1 = cv2.GaussianBlur(J, (5, 5), 1)
cv_show(K1)
"""
    3-3 中值滤波
"""
I = cv2.imread('img/test1_LenaRGB.tif')
# 添加椒盐噪声
J = I.copy()
rows, cols, _ = J.shape
amount = 0.05 # 椒盐噪声占总像素的总比例
salt_vs_pepper = 0.5 # 椒与盐的比例
# ===添加盐噪声===
num_salt = np.ceil(amount * salt_vs_pepper * rows * cols) # 盐的数量
coords = [np.random.randint(0, i - 1, int(num_salt)) for i in [rows,cols]] # 随机坐标 (H,W,:)
coords = tuple(coords)  # 将列表转换为元组
J[coords[:]] = (255, 255, 255) # 改变(H,W,C)
# ===添加椒噪声===
num_pepper = np.ceil(amount * (1-salt_vs_pepper) * rows * cols)
coords = [np.random.randint(0,i-1,int(num_pepper)) for i in [rows,cols]] # 随机坐标  (H,W,:)
oords = tuple(coords)
J[coords[:]] = (0,0,0,)

# 显示原图像和加噪图像
res = np.hstack((I, J))
cv_show(res)

# 3x3 中值滤波
K1 = cv2.medianBlur(J, 5)
cv_show(K1)
"""
    3-4 比较不同模板、不同噪声类型、不同滤波器类型的效果
"""
# 生成不同类型的噪声
def generate_noise(image, noise_type):
    if noise_type == 'gaussian':
        noise = np.random.normal(0, 50, image.shape).astype(np.float32)
        noisy_image = cv2.add(image.astype(np.float32), noise)
    elif noise_type == 'salt':
        salt_pepper_ratio = 0.3
        salt = np.where(np.random.random(image.shape) < salt_pepper_ratio, 255, 0).astype(np.uint8)
        noisy_image = cv2.add(image, salt)
    elif noise_type == 'exponential':
        lambd = 50
        noise = np.random.exponential(lambd, image.shape).astype(np.float32)
        noisy_image = cv2.add(image.astype(np.float32), noise)
    else:
        raise ValueError("Unsupported noise type")

    return noisy_image.clip(0, 255).astype(np.uint8)

# 计算滤波器效果
def apply_filter(image, filter_type, kernel_size):
    if filter_type == 'mean':
        filtered_image = cv2.blur(image, (kernel_size, kernel_size))
    elif filter_type == 'gaussian':
        filtered_image = cv2.GaussianBlur(image, (kernel_size, kernel_size), 0)
    elif filter_type == 'median':
        filtered_image = cv2.medianBlur(image, kernel_size)
    else:
        raise ValueError("Unsupported filter type")

    return filtered_image

# 读取灰度图像
image = cv2.imread('img/test1_lena.tif', cv2.IMREAD_GRAYSCALE)

# 定义不同模板大小和不同噪声类型
kernel_sizes = [3, 5, 9]
noise_types = ['gaussian', 'salt', 'exponential']

# 绘制结果
plt.figure(figsize=(12, 8))

for i, noise_type in enumerate(noise_types):
    for j, kernel_size in enumerate(kernel_sizes):
            # 生成噪声图像
            noisy_image = generate_noise(image, noise_type)

            # 应用滤波器
            filtered_mean = apply_filter(noisy_image, 'mean', kernel_size)
            filtered_gaussian = apply_filter(noisy_image, 'gaussian', kernel_size)
            filtered_median = apply_filter(noisy_image, 'median', kernel_size)

            # 绘制结果图
            plt.subplot(len(noise_types), len(kernel_sizes), i * len(kernel_sizes) + j + 1)
            plt.imshow(filtered_median, cmap='gray')
            plt.title(f'Median Filter (Size: {kernel_size})(Noise: {noise_type})')
            plt.axis('off')

plt.tight_layout()
plt.show()
"""
    3-5 实现高斯滤波器
"""
def noise_Gaussian(img,mean,var):
    J = img.copy()
    size = J.shape
    J = J / 255
    gauss = np.random.normal(0, 0.1, size)
    J = J + gauss
    J = np.clip(J, 0, 1)  # 将像素值限制在 [0, 1] 范围内
    J = (J * 255).astype(np.uint8)  # 将像素值重新缩放回 [0, 255] 范围
    return J

ori = cv2.imread('img/test1_LenaRGB.tif')
img = noise_Gaussian(ori,mean=0,var=0.1)
cv_show(img)
# print(img[100,100])

def gaussian_filter(img, K_size=3, sigma=1.0):
    img = np.asarray(np.uint8(img))
    if len(img.shape) == 3:
        H, W, C = img.shape
    else:
        img = np.expand_dims(img, axis=-1)
        H, W, C = img.shape
    ## Zero padding
    pad = K_size // 2
    out = np.zeros((H + pad * 2, W + pad * 2, C), dtype=float)
    out[pad: pad + H, pad: pad + W] = img.copy().astype(float)

    ## prepare Kernel
    K = np.zeros((K_size, K_size), dtype=float)
    for x in range(-pad, -pad + K_size):
        for y in range(-pad, -pad + K_size):
            K[y + pad, x + pad] = np.exp( -(x ** 2 + y ** 2) / (2 * (sigma ** 2)))
    K /= (2 * np.pi * sigma * sigma)
    K /= K.sum()
    tmp = out.copy()

    ## filtering
    for y in range(H):
        for x in range(W):
            for c in range(C):
                out[pad + y, pad + x, c] = np.sum(K * tmp[y: y + K_size, x: x + K_size, c])
    out = np.clip(out, 0, 255)
    out = out[pad: pad + H, pad: pad + W].astype(np.uint8)
    return out

# 手写实现
gs1=gaussian_filter(img,K_size=5,sigma=5)
cv_show(gs1)

# 调库实现
gs2 = cv2.GaussianBlur(img, (5, 5), 1)
cv_show(gs2)


![[数据集][目标检测]医疗防护服检测数据集VOC+YOLO格式649张7类别](https://img-blog.csdnimg.cn/direct/617749741cfa49888816f8e42f443515.png)