原生插件开发
原生插件开发
主要分为两类扩展:
Module: 扩展非 UI 的特定功能
Component: 扩展实现特别功能的 Native 控件
module
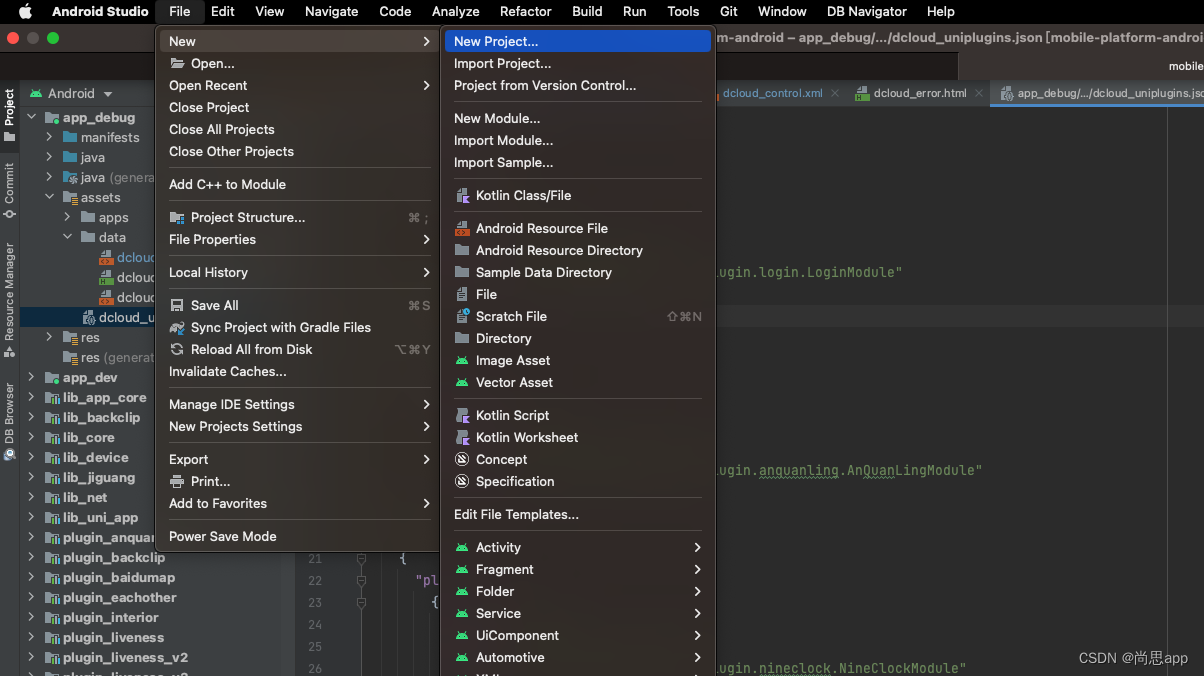
1.创建模块

2.解决报错


3.修改依赖

4.编写插件代码
package com.test.uniplugin_module;

import android.content.Intent;
import android.util.Log;

import com.alibaba.fastjson.JSONObject;

import io.dcloud.feature.uniapp.annotation.UniJSMethod;
import io.dcloud.feature.uniapp.bridge.UniJSCallback;
import io.dcloud.feature.uniapp.common.UniModule;

public class TestModule extends UniModule {
    String TAG = "TestModule";
    public static int REQUEST_CODE = 1000;

    //run ui thread
    @UniJSMethod(uiThread = true)
    public void testAsyncFunc(JSONObject options, UniJSCallback callback) {
        Log.e(TAG, "testAsyncFunc--" + options);
        if (callback != null) {
            JSONObject data = new JSONObject();
            data.put("code", "success");
            callback.invoke(data);
            //callback.invokeAndKeepAlive(data);
        }
    }

    //run JS thread
    @UniJSMethod(uiThread = false)
    public JSONObject testSyncFunc() {
        JSONObject data = new JSONObject();
        data.put("code", "success");
        return data;
    }

    @Override
    public void onActivityResult(int requestCode, int resultCode, Intent data) {
        if (requestCode == REQUEST_CODE && data.hasExtra("respond")) {
            Log.e("TestModule", "原生页面返回----" + data.getStringExtra("respond"));
        } else {
            super.onActivityResult(requestCode, resultCode, data);
        }
    }
}
5.添加插件配置

6.引入模块

7.调用插件代码
<template>
  <view>
    <button type="primary" @click="test()">插件调用</button>
  </view>
</template>

<script>
  export default {
    data() {
      return {};
    },
    onLoad() {},
    methods: {
      test() {
        const testModule = uni.requireNativePlugin("TestModule");
        testModule.testAsyncFunc(
          {
            name: "Lee",
            age: 18,
          },
          (res) => {
            uni.showToast({
              icon: "none",
              title: JSON.stringify(res),
            });
          }
        );
      },
    },
  };
</script>
8.运行

component
1.创建模块

2.解决报错
与上同
3.修改依赖
dependencies {
    compileOnly fileTree(dir: 'libs', include: ['*.jar'])
    compileOnly fileTree(dir: '../simpleDemo/libs', include: ['uniapp-v8-release.aar'])
}
4.编写插件代码
package com.test.uniplugin_component;

import android.content.Context;
import android.graphics.Color;
import android.widget.TextView;

import java.util.HashMap;
import java.util.Map;

import io.dcloud.feature.uniapp.UniSDKInstance;
import io.dcloud.feature.uniapp.annotation.UniJSMethod;
import io.dcloud.feature.uniapp.ui.action.AbsComponentData;
import io.dcloud.feature.uniapp.ui.component.AbsVContainer;
import io.dcloud.feature.uniapp.ui.component.UniComponent;
import io.dcloud.feature.uniapp.ui.component.UniComponentProp;

public class TestComponent extends UniComponent<TextView> {

    public TestComponent(UniSDKInstance instance, AbsVContainer parent, AbsComponentData basicComponentData) {
        super(instance, parent, basicComponentData);
    }

    @Override
    protected TextView initComponentHostView(Context context) {
        TextView textView = new TextView(context);
        textView.setTextSize(20);
        textView.setTextColor(Color.BLACK);
        return textView;
    }

    @UniComponentProp(name = "tel")
    public void setTel(String telNumber) {
        getHostView().setText("tel: " + telNumber);
        Map<String, Object> params = new HashMap<>();
        Map<String, Object> number = new HashMap<>();
        number.put("tel", telNumber);
        //目前uni限制 参数需要放入到"detail"中 否则会被清理
        params.put("detail", number);
        fireEvent("onTel", params);
    }

    @UniJSMethod
    public void clearTel() {
        getHostView().setText("");
    }

    @Override
    public void onActivityResume() {
        super.onActivityResume();
    }

    @Override
    public void onActivityPause() {
        super.onActivityPause();
    }

    @Override
    public void onActivityDestroy() {
        super.onActivityDestroy();
    }
}
5.添加插件配置

6.引入模块

7.调用插件代码
注意:需要将.vue文件修改为.nvue文件
<template>
	<view>
		<TestComponent ref="telText" tel="12305" style="width:200px;height:100px;" @onTel="onTel" @click="myTextClick"></TestComponent>
	</view>
</template>

<script>
	export default {
		data() {
			return {}
		},
		onLoad() {

		},
		methods: {
			onTel(e) {
				console.log("onTel=" + e.detail.tel);
			},
			myTextClick(e) {
				this.$refs.telText.clearTel();
			},
		},
	}
</script>
8.运行