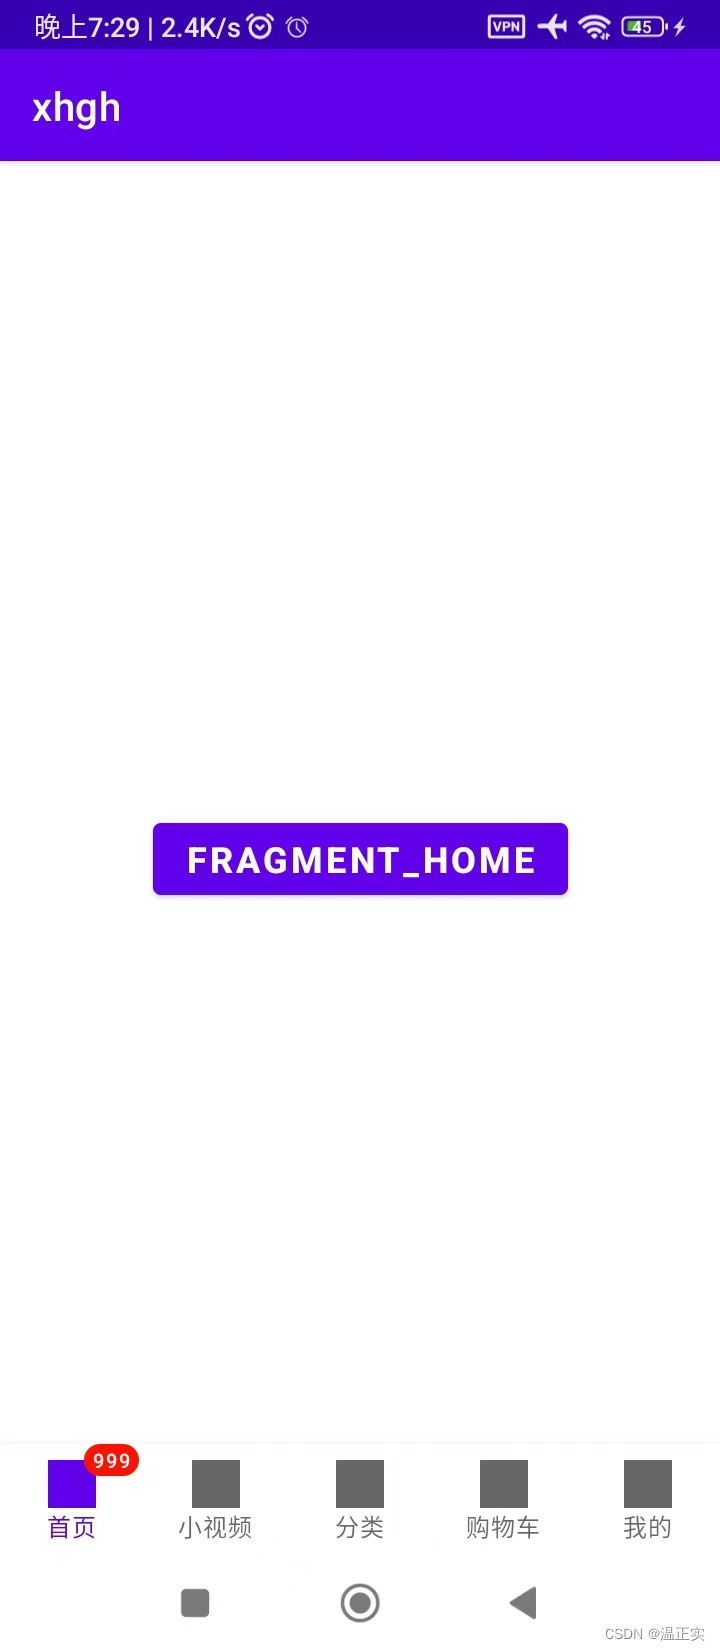
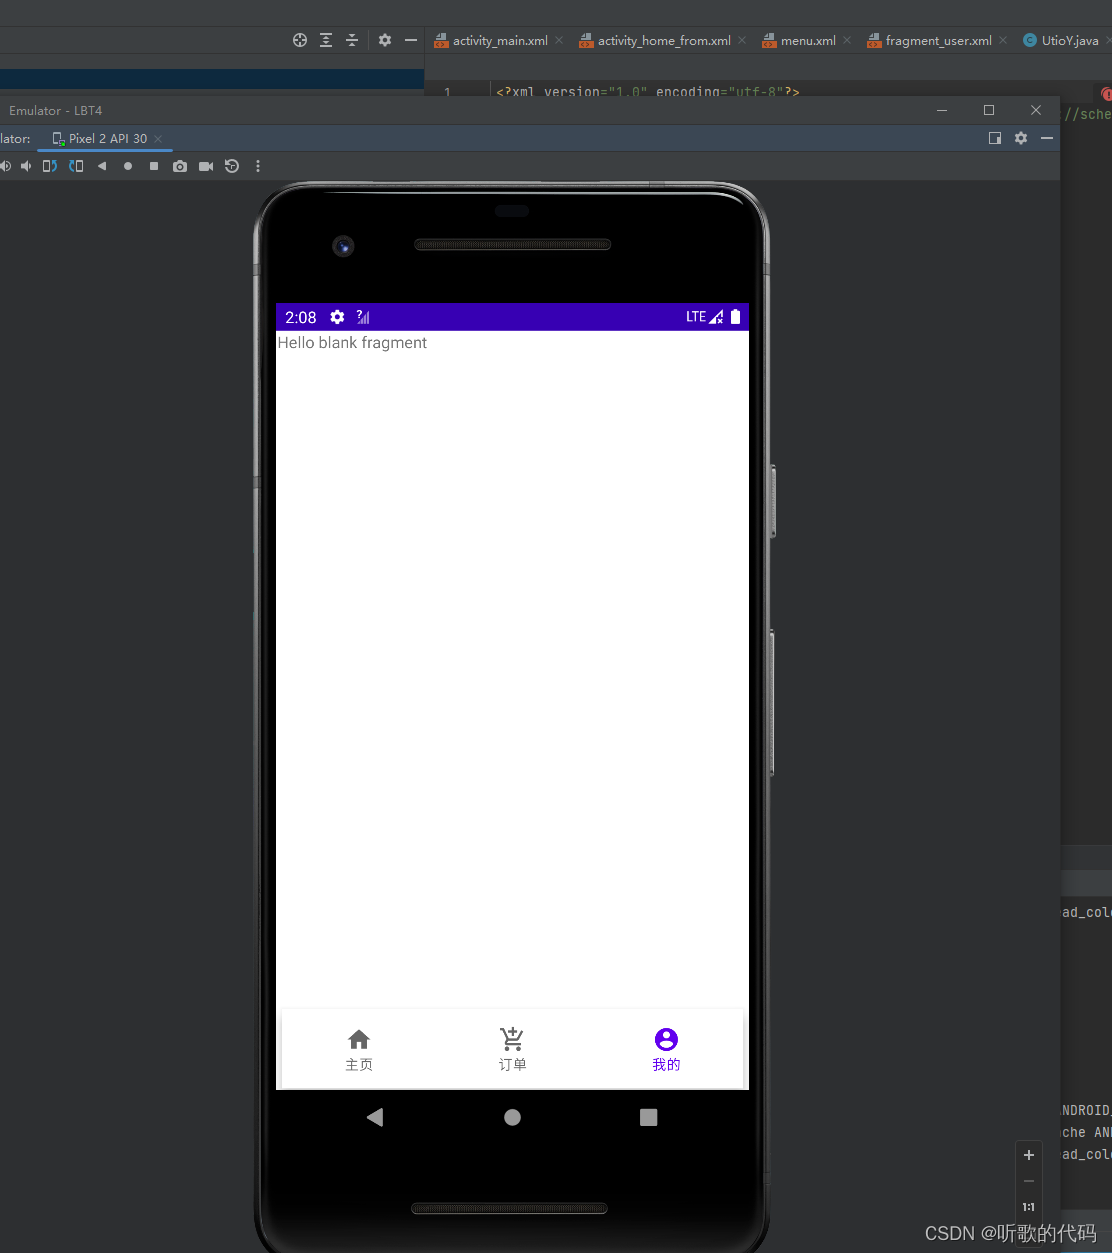
2024最新最简单的安卓底部菜单栏教程
大界面跳转
public class MainActivity extends AppCompatActivity {

    @Override
    protected void onCreate(Bundle savedInstanceState) {
        super.onCreate(savedInstanceState);
        setContentView(R.layout.activity_main);


        BottomNavigationView bot = findViewById(R.id.bottomNavigationView);


       getSupportFragmentManager().beginTransaction().replace(R.id.linearLayout,new IndexFragment()).commit();
//       getSupportFragmentManager().beginTransaction().replace(R.id.linearLayout,new ShoppyFragment()).commit();

        bot.setOnNavigationItemSelectedListener(new BottomNavigationView.OnNavigationItemSelectedListener() {
            @Override
            public boolean onNavigationItemSelected(@NonNull MenuItem item) {
                Fragment f1=null;
                switch (item.getItemId()){
                    case R.id.index:
                        f1=new IndexFragment();
                        break;
                    case R.id.shoppy:
                        f1=new ShoppyFragment();
                        break;
                    case R.id.user:
                        f1=new UserFragment();
                        break;
                }
                getSupportFragmentManager().beginTransaction().replace(R.id.linearLayout,f1).commit();

                return true;
            }
        });

    }
}
她的xml代码
/
<?xml version="1.0" encoding="utf-8"?>
<androidx.constraintlayout.widget.ConstraintLayout xmlns:android="http://schemas.android.com/apk/res/android"
    xmlns:app="http://schemas.android.com/apk/res-auto"
    xmlns:tools="http://schemas.android.com/tools"
    android:layout_width="match_parent"
    android:layout_height="match_parent"
    tools:context=".MainActivity"

    >


    <LinearLayout
        android:id="@+id/linearLayout"
        android:layout_width="0dp"
        android:layout_height="0dp"
        android:layout_marginStart="1dp"
        android:layout_marginEnd="1dp"
        android:layout_marginBottom="14dp"
        android:orientation="horizontal"
        app:layout_constraintBottom_toTopOf="@+id/bottomNavigationView"
        app:layout_constraintEnd_toEndOf="parent"
        app:layout_constraintStart_toStartOf="parent"
        app:layout_constraintTop_toTopOf="parent">

    </LinearLayout>

    <com.google.android.material.bottomnavigation.BottomNavigationView
        android:id="@+id/bottomNavigationView"
        android:layout_width="401dp"
        android:layout_height="69dp"
        android:layout_marginStart="6dp"
        android:layout_marginEnd="6dp"
        android:layout_marginBottom="1dp"
        app:layout_constraintBottom_toBottomOf="parent"
        app:layout_constraintEnd_toEndOf="parent"
        app:layout_constraintStart_toStartOf="parent"
        app:layout_constraintTop_toBottomOf="@+id/linearLayout"
        app:menu="@menu/menu">

    </com.google.android.material.bottomnavigation.BottomNavigationView>

</androidx.constraintlayout.widget.ConstraintLayout>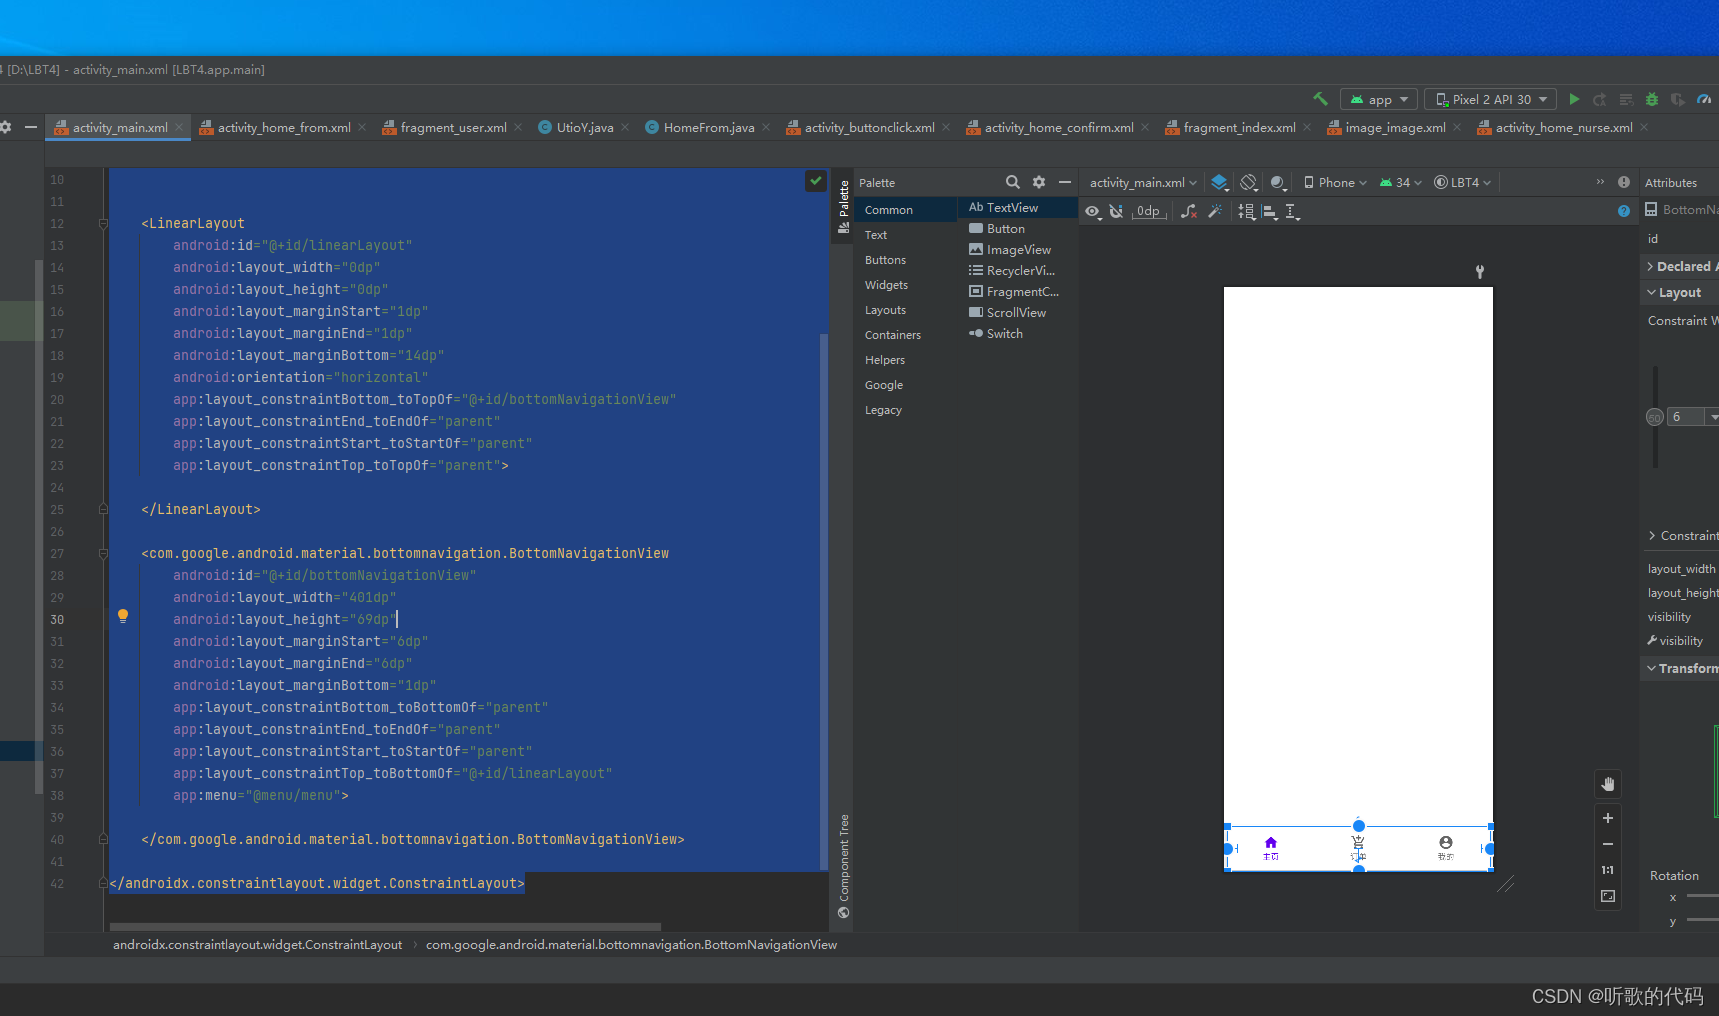
菜单界面 注意菜单界面必须创建路径叫menu的文件夹
android:icon="@drawable/home" 表示下面的图标
<?xml version="1.0" encoding="utf-8"?>
<menu xmlns:android="http://schemas.android.com/apk/res/android">
    <item
        android:icon="@drawable/home"
            android:title="主页"
        android:id="@+id/index"/>


    <item
        android:icon="@drawable/shoppy"
        android:title="订单"
        android:id="@+id/shoppy"/>


    <item
        android:icon="@drawable/user"
        android:title="我的"
        android:id="@+id/user"/>

</menu>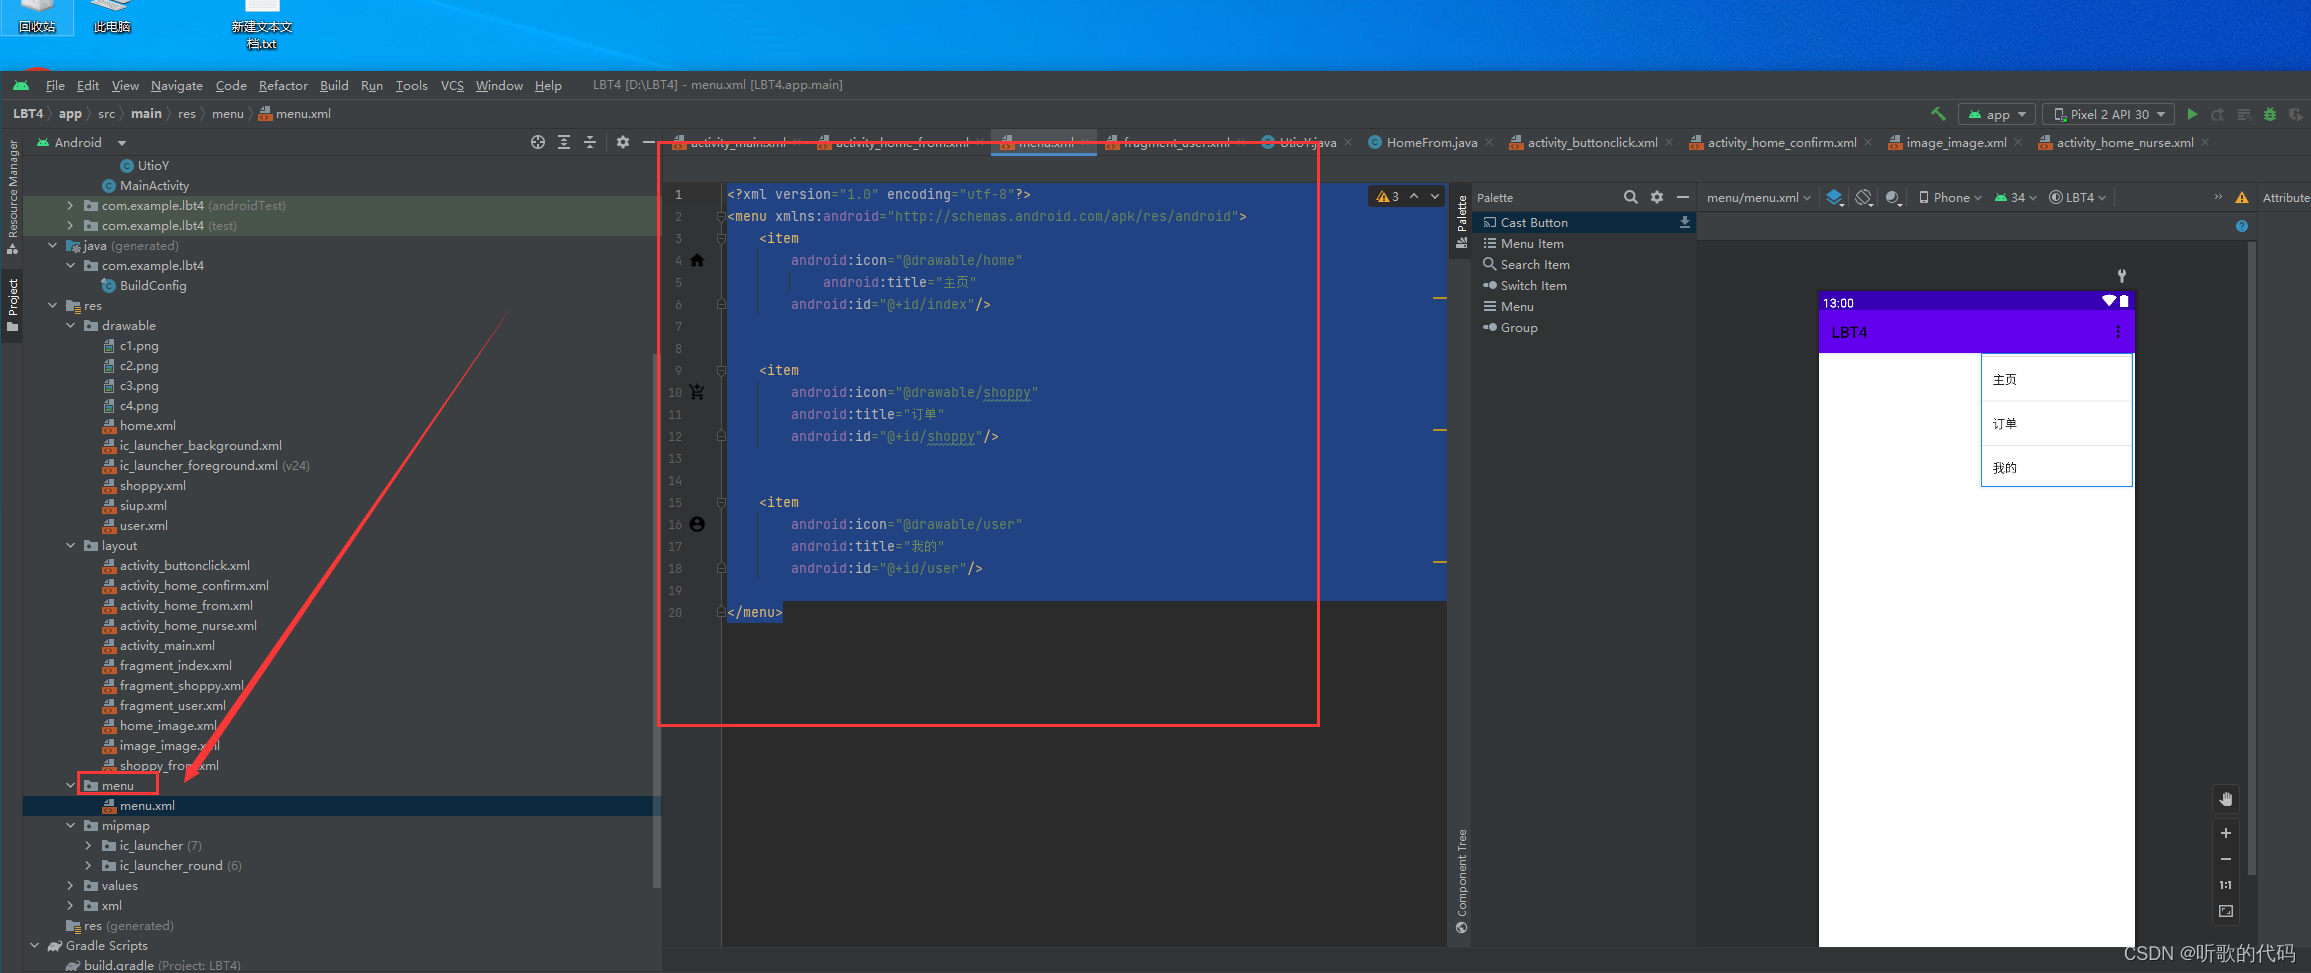
三个子界面(都是这样子的界面除了 中的R.layout.fragment_user需要改成自己的布局)所以复制了一个自己复制就可以或者创建的时候选择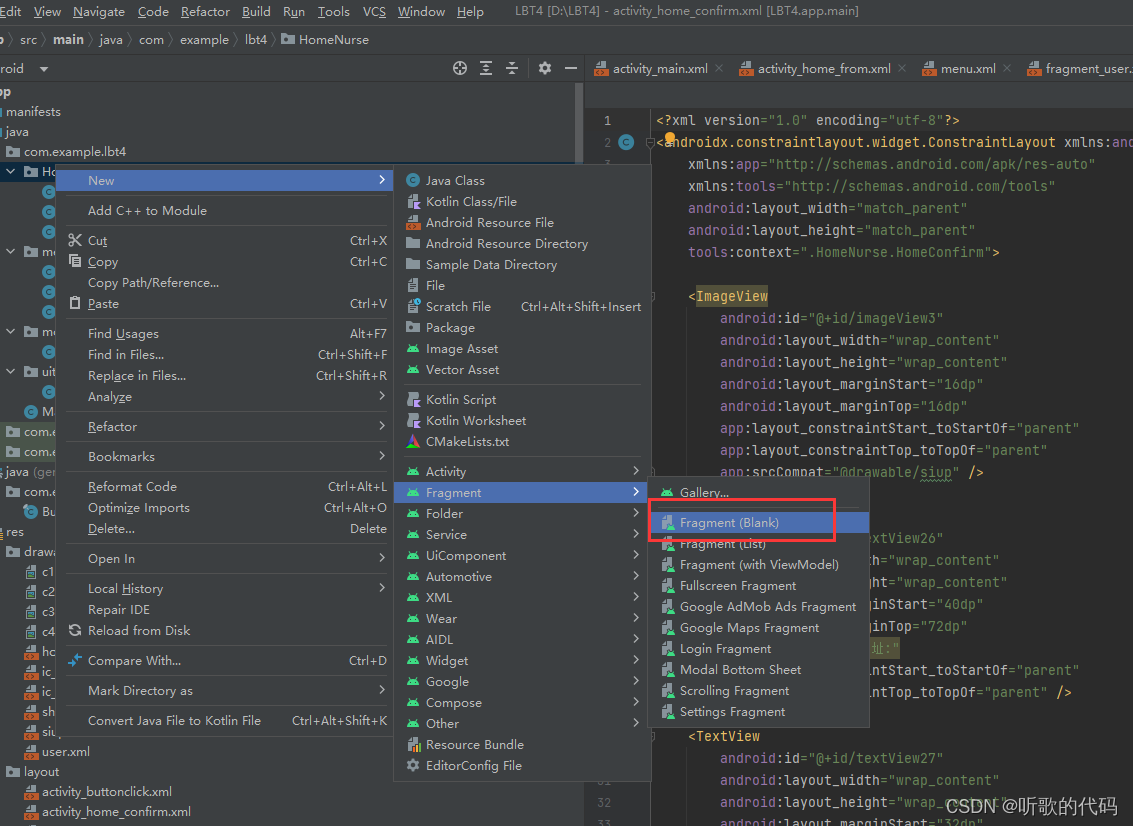
return inflater.inflate(R.layout.fragment_user, container, false);
public class UserFragment extends Fragment {


    @Override
    public View onCreateView(LayoutInflater inflater, ViewGroup container,
                             Bundle savedInstanceState) {
        // Inflate the layout for this fragment
        return inflater.inflate(R.layout.fragment_user, container, false);
    }
}
她的xml文件
<?xml version="1.0" encoding="utf-8"?>
<FrameLayout xmlns:android="http://schemas.android.com/apk/res/android"
    xmlns:tools="http://schemas.android.com/tools"
    android:layout_width="match_parent"
    android:layout_height="match_parent"
    tools:context=".menu.UserFragment">

    <!-- TODO: Update blank fragment layout -->
    <TextView
        android:layout_width="match_parent"
        android:layout_height="match_parent"
        android:text="@string/hello_blank_fragment" />

</FrameLayout>
主要的代码结构