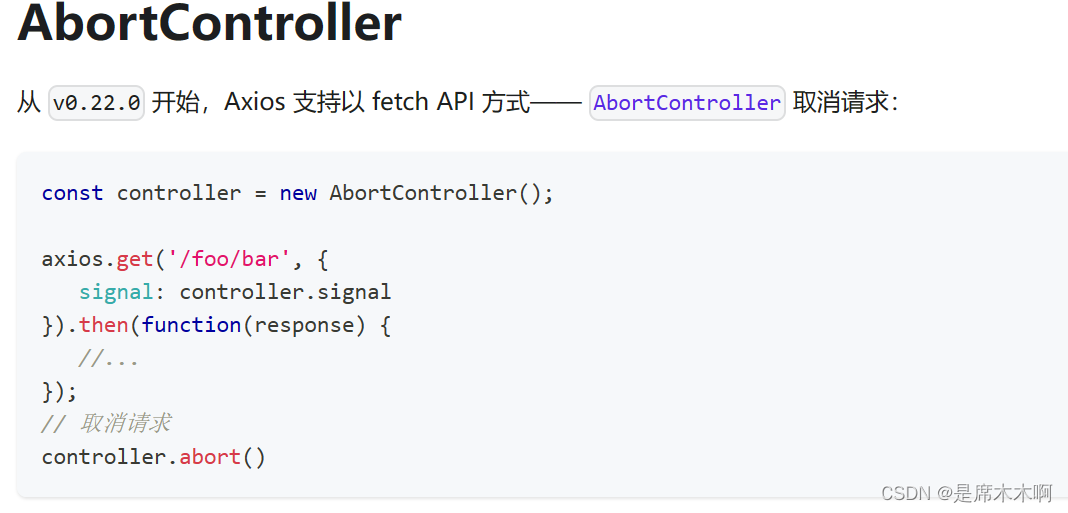
关于前端取消请求,大多数文章都是new AbortController() 然后将signal放到请求中,然后执行abort取消,这种文章怎么好意思拿出来啊,mmmmini版的官方文档罢了。
首先要明确我们想要的效果是什么,可以对比一下toast.showloading(),当我们发起一个请求打开loading时,什么时候关闭是由我们随时随地决定的。随时就不解释了,随地就是我在组件中打开了loading,我可以其他任何组件中关闭这个loading。
话不多说,看我操作
首先封装一个全局公共类
export default class CancelManager {
  cancelMap
  static instance

  constructor() {
    this.cancelMap = new Map()
    this.cancelKey = []
  }

  static getInstance() {
    if (!CancelManager.instance) {
      CancelManager.instance = new CancelManager()
    }
    return CancelManager.instance
  }

  has(key) {
    return this.cancelMap.has(key)
  }

  hasCancel(key) {
    return this.cancelKey.includes(key)
  }

  getSignal(key) {
    if (!key) {
      console.log('getSignal的key不能为空')
      return
    }

    const controller = new AbortController()
    const { signal } = controller

    this.cancelMap.set(key, controller)

    return signal
  }

  cancel(key) {
    const task = this.cancelMap.get(key)

    if (!task) {
      console.log(key + '控制器不存在')
      return
    }

    task.abort()
    this.delete(key)
    this.cancelKey.push(key)
    console.log(key, '请求已取消,cancelKey=>>', this.cancelKey)
  }

  cancelAll() {
    this.cancelMap.forEach((task) => {
      task.abort()
    })
    this.cancelKey = []
    this.cancelMap.clear()
  }

  delCancelKey(key) {
    this.cancelKey = this.cancelKey.filter((v) => v !== key)
  }

  delete(key) {
    this.cancelMap.delete(key)
  }

  clear() {
    this.cancelMap.clear()
  }
}
使用
 //这里的id也可是是这个函数,因为里面是用的Map存储,保证唯一性即可,以及方便在其他地方能拿到这个id
 const controller = CancelManager.getInstance()//单例模式随处get都行
 const signal = controller.getSignal(id)

 //此处只需将signal传给axios等请求库就行了
 const res = await getData(params, { signal })
取消
 const controller = CancelManager.getInstance()
 controller.cancel(id)