在本篇博客中,我们将探讨如何在 Vue.js 项目中实现一个可拖拽的侧边栏。此功能可以通过修改 HTML 和 Vue 组件的脚本来实现。
首先,我们需要在 HTML 文件中定义侧边栏的容器和用于拖拽的元素。在 Vue 组件中,我们将使用 Vue 的响应式系统来追踪侧边栏的宽度,并添加事件处理程序来响应鼠标拖拽事件。
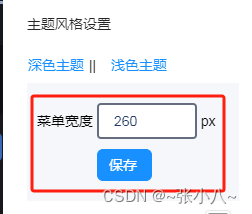
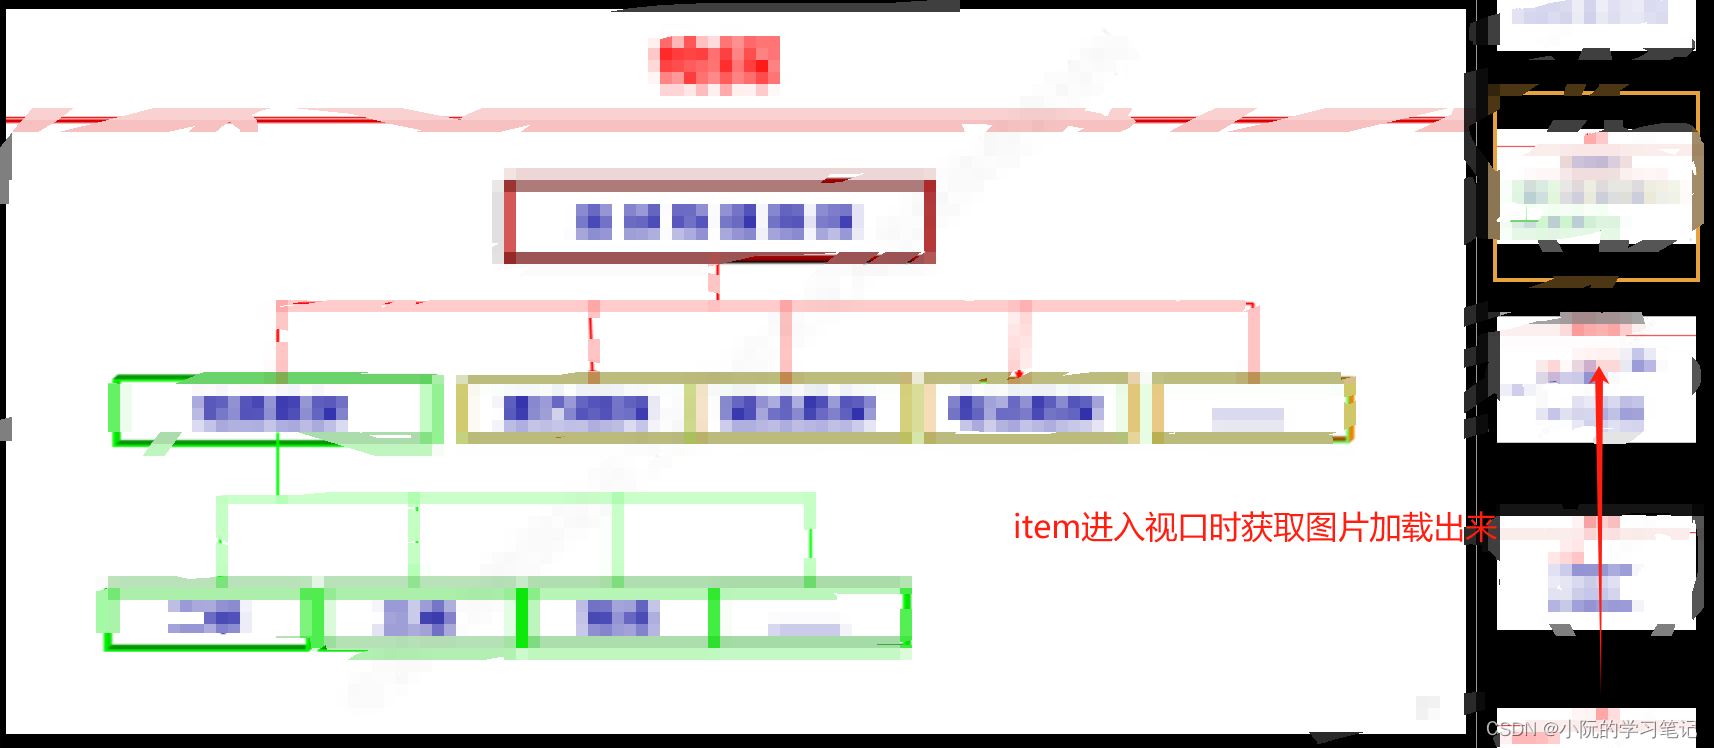
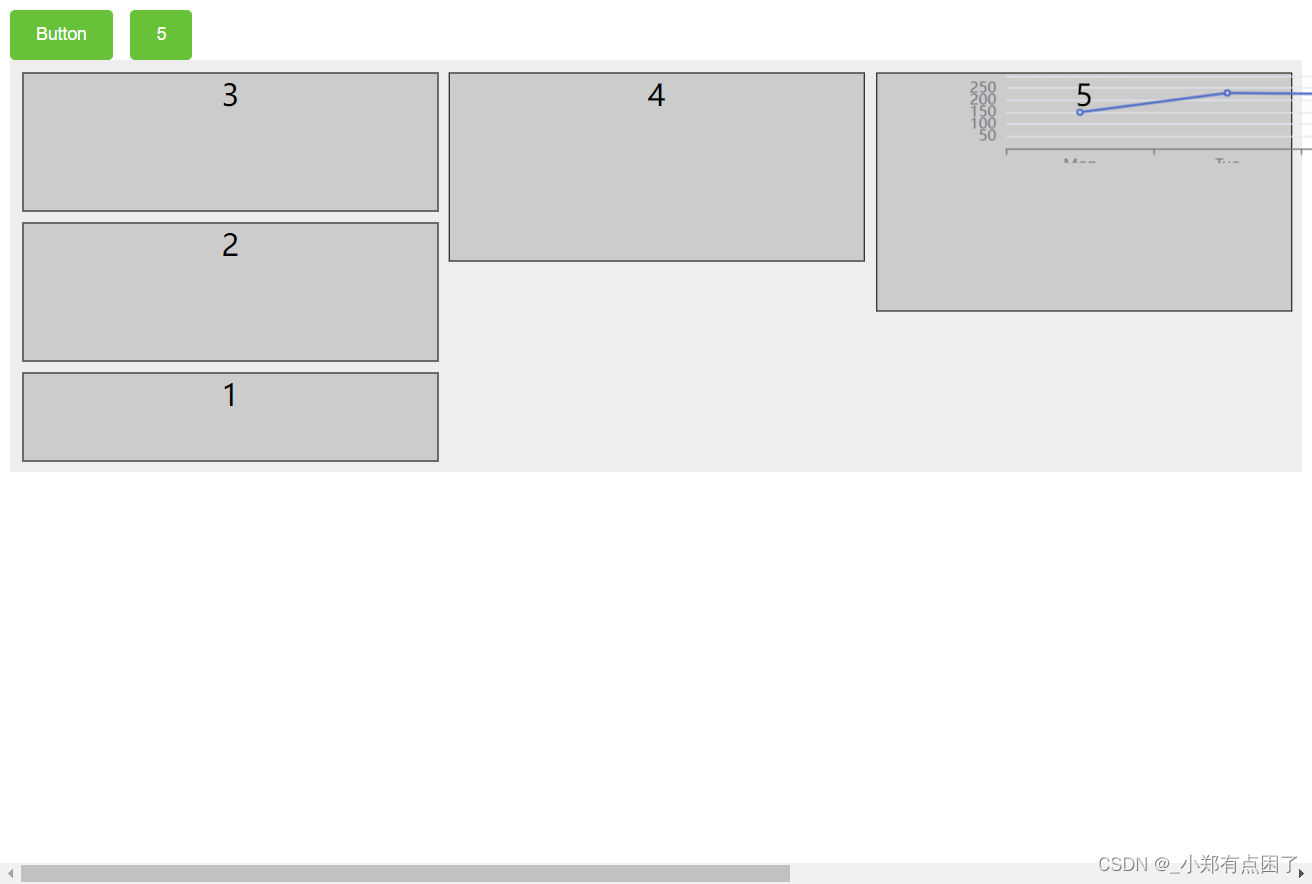
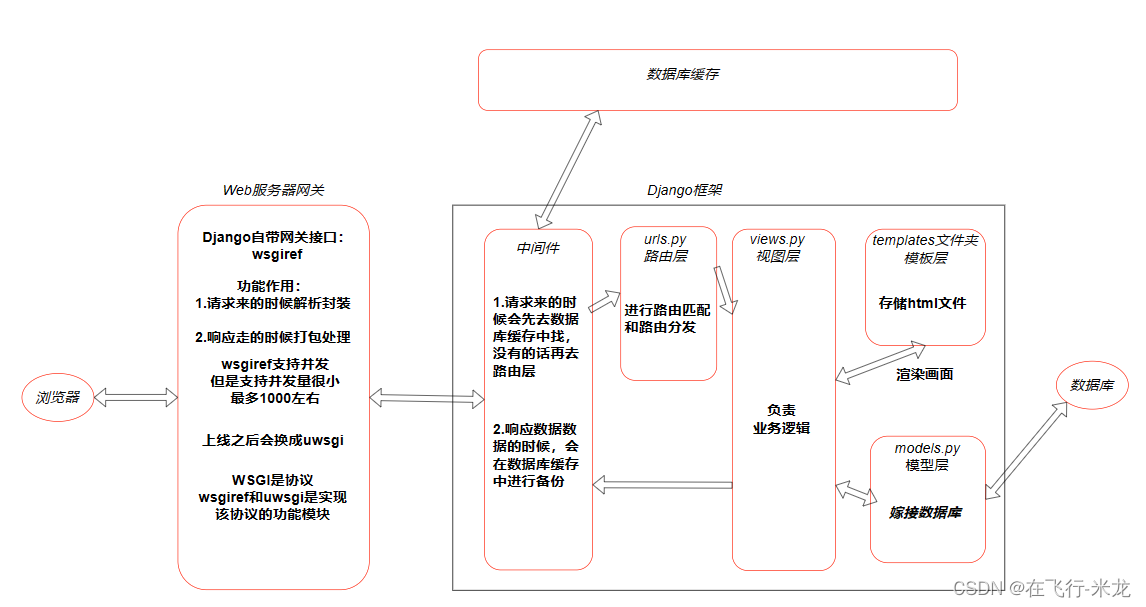
效果如下:
以下是实现拖拽侧边栏的步骤和代码:
定义侧边栏容器和拖拽元素
在 HTML 文件中,我们需要一个包含侧边栏内容的容器和一个可以拖拽的元素。<template> <div class="app-container"> <div class="app-card"> <el-container style="height: 100%"> <el-header>标题</el-header> <el-container> <el-aside :width="widthData + 'px'" style="overflow: auto; min-width: 150px; max-width: 600px" > <div style="overflow: auto; height: 100%; width: 100%; display: flex" > <el-tree :data="treeData" :props="defaultProps" :expand-on-click-node="false" default-expand-all :disabled="true" @node-click="handleNodeClick" /> </div> </el-aside> <div id="asideBar" style=" height: 100%; width: 7px; padding: 0 3px; cursor: col-resize; display: flex; " > <div :class="barClass" style=" height: 100%; width: 1px; border-radius: 1px; " ></div> </div> <el-main style="min-width: 300px"> <div>内容</div> </el-main> </el-container> </el-container> </div> </div> </template>添加 Vue 组件的脚本
在 Vue 组件的脚本部分,我们将使用 Vue 的响应式系统来追踪侧边栏的宽度,并添加事件处理程序来响应鼠标拖拽事件。<script lang="ts" setup> // ... 省略其他代码 ... const barClass = ref("normal"); // 正常样式 const updateWidth = () => { let resize = document.getElementById("asideBar"); if (!resize) { return; } resize.onmousedown = function (e) { if (e.button != 0) { return; } barClass.value = "pressed"; // 按下时的样式 let startX = e.clientX; document.onmousemove = function (e) { let endX = e.clientX; let moveLen = endX - startX; startX = endX; widthData.value+= moveLen; if (widthData.value < 150) { widthData.value= 150; } if (widthData.value> 600) { widthData.value= 600; } }; document.onmouseup = function () { barClass.value = "normal"; // 恢复正常样式 document.onmousemove = null; document.onmouseup = null; }; return false; }; }; // ... 省略其他代码 ... </script>