概述
本系列将做一个专题,主要关于介绍如何在代码上运行并使用SAM模型以及如何用自己的数据集微调SAM模型,也是本人的毕设内容,这是一个持续更新系列,欢迎大家关注~
SAM(Segment Anything Model)
SAM基于visual transformer架构,希望通过这个大一统的框架建立起在图像分割领域的高性能模型,由于在图像分割领域可用的训练数据较为缺乏,团队在数据的获取训练这一块任务也专门设计的对应的流程。在SAM的论文中,主要把SAM模型的构建分成了三个部分,分别是任务、模型和数据。
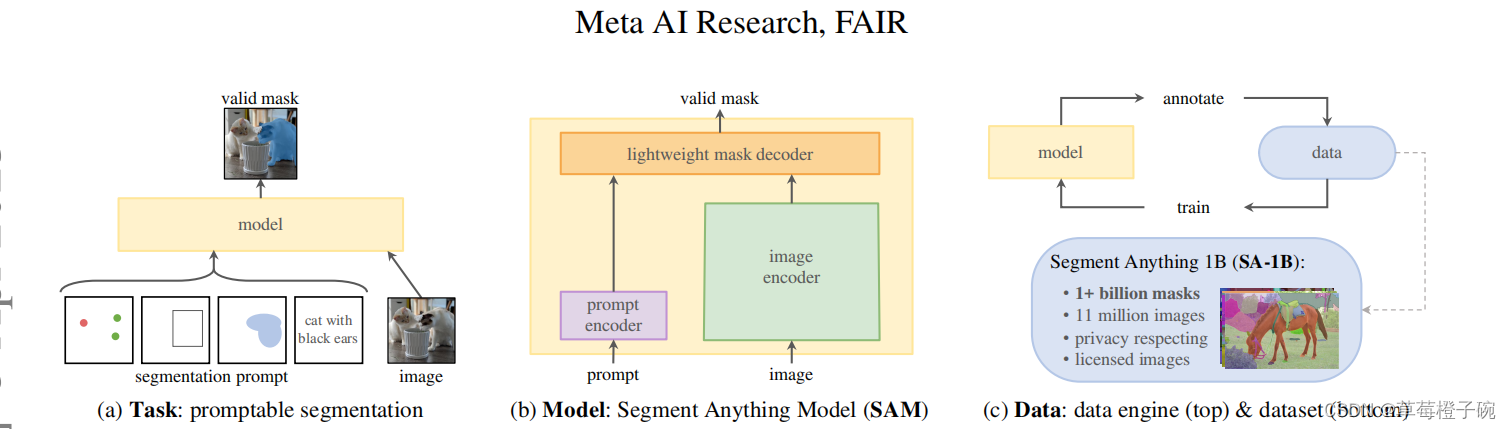
任务的模块主要定义SAM这个模型是怎么样进行图像分割的,这里是参照了NLP语言模型的prompt提出来对应的segmentation prompt,即可以对应进行输入点、框、掩膜和语言提示来让模型对应分割出操作者想要获得的分割部分,具体来说,就是给模型输入将要进行分割的图片以及对应的分割提示,模型就可以输出操作者想要的分割结果。
模型模块主要是对visual transformer架构的优化,为了适应任务定义中的segmentation prompt模块,对transformer中的encoder和decoder作出了相应的优化调整,即设计出对输入的图像和segmentation prompt进行处理的image encoder与prompt encoder,对输出进行处理的mask decoder。在具体的模型结构中,一张图片的输入会通过image encoder转换成对应的image embedding,如果输入的segmentation prompt是mask类型,则通过卷积层加入到编码中一起输入mask decoder,如果有其他的segmentation prompt,则通过prompt encoder的转换再输出到mask decoder中,最后再通过mask decoder输出模型生成的掩码。
数据模块普遍认为是SAM取得如此好效果的重要流程,考虑到在图像分割领域的数据集比较缺少,Meta团队为了训练好这个图像分割的大模型花了非常大的精力去构建训练数据集SA-1B数据集,里面包含了1100多万张图片和十亿多张掩码,同时对于数据集的构建项目团队还专门设计了三个阶段:全人工标注、半人工半自动化标注和全自动化标注,最后的十亿多张掩码都是在前两个阶段的基础上全自动化生成的,并且为了保证图片掩码的质量,Meta团队还使用IoU评估指标限定阈值保证生成图片掩码的可靠性。
模型使用
有一个Meta发布了一个网站demo,感兴趣的朋友可以根据网站的指导进行使用,对SAM的效果有一个直观的感受Segment Anything | Meta AI (segment-anything.com)
本篇博客主要介绍使用hugging face中封装好的函数对SAM进行point prompt的分割任务,对比github上SAM的源码使用,hugging face的函数更加方便使用
依赖的环境库
import torch
import numpy as np
from PIL import Image
import matplotlib.pyplot as plt
from transformers import SamModel, SamProcessor
从transfomers库上下载预训练好的SAM模型,一般保存在C盘下用户的.cache文件下
device = torch.device("cuda" if torch.cuda.is_available() else "cpu")
model = SamModel.from_pretrained("facebook/sam-vit-base").to(device)
processor = SamProcessor.from_pretrained("facebook/sam-vit-base")
这里的sam-vit-base是比较小的权重,有300多M,还有facebook/sam-vit-huge有1G多,这里使用前者进行使用的演示
定义可视化的函数
def show_mask(mask, ax, random_color=False):
    if random_color:
        color = np.concatenate([np.random.random(3), np.array([0.6])], axis=0)
    else:
        color = np.array([30/255, 144/255, 255/255, 0.6])
    h, w = mask.shape[-2:]
    mask_image = mask.reshape(h, w, 1) * color.reshape(1, 1, -1)
    ax.imshow(mask_image)

def show_points_on_image(raw_image, input_points, input_labels=None):
    plt.figure(figsize=(10,10))
    plt.imshow(raw_image)
    input_points = np.array(input_points)
    if input_labels is None:
      labels = np.ones_like(input_points[:, 0])
    else:
      labels = np.array(input_labels)
    show_points(input_points, labels, plt.gca())
    plt.axis('on')
    plt.show()

def show_points(coords, labels, ax, marker_size=375):
    pos_points = coords[labels==1]
    neg_points = coords[labels==0]
    ax.scatter(pos_points[:, 0], pos_points[:, 1], color='green', marker='*', s=marker_size, edgecolor='white', linewidth=1.25)
    ax.scatter(neg_points[:, 0], neg_points[:, 1], color='red', marker='*', s=marker_size, edgecolor='white', linewidth=1.25)

def show_masks_on_image(raw_image, masks, scores):
    if len(masks.shape) == 4:
      masks = masks.squeeze()
    if scores.shape[0] == 1:
      scores = scores.squeeze()

    nb_predictions = scores.shape[-1]
    fig, axes = plt.subplots(1, nb_predictions, figsize=(15, 15))

    for i, (mask, score) in enumerate(zip(masks, scores)):
      mask = mask.cpu().detach()
      axes[i].imshow(np.array(raw_image))
      show_mask(mask, axes[i])
      axes[i].title.set_text(f"Mask {i+1}, Score: {score.item():.3f}")
      axes[i].axis("off")
我们使用下面这张图像来进行演示
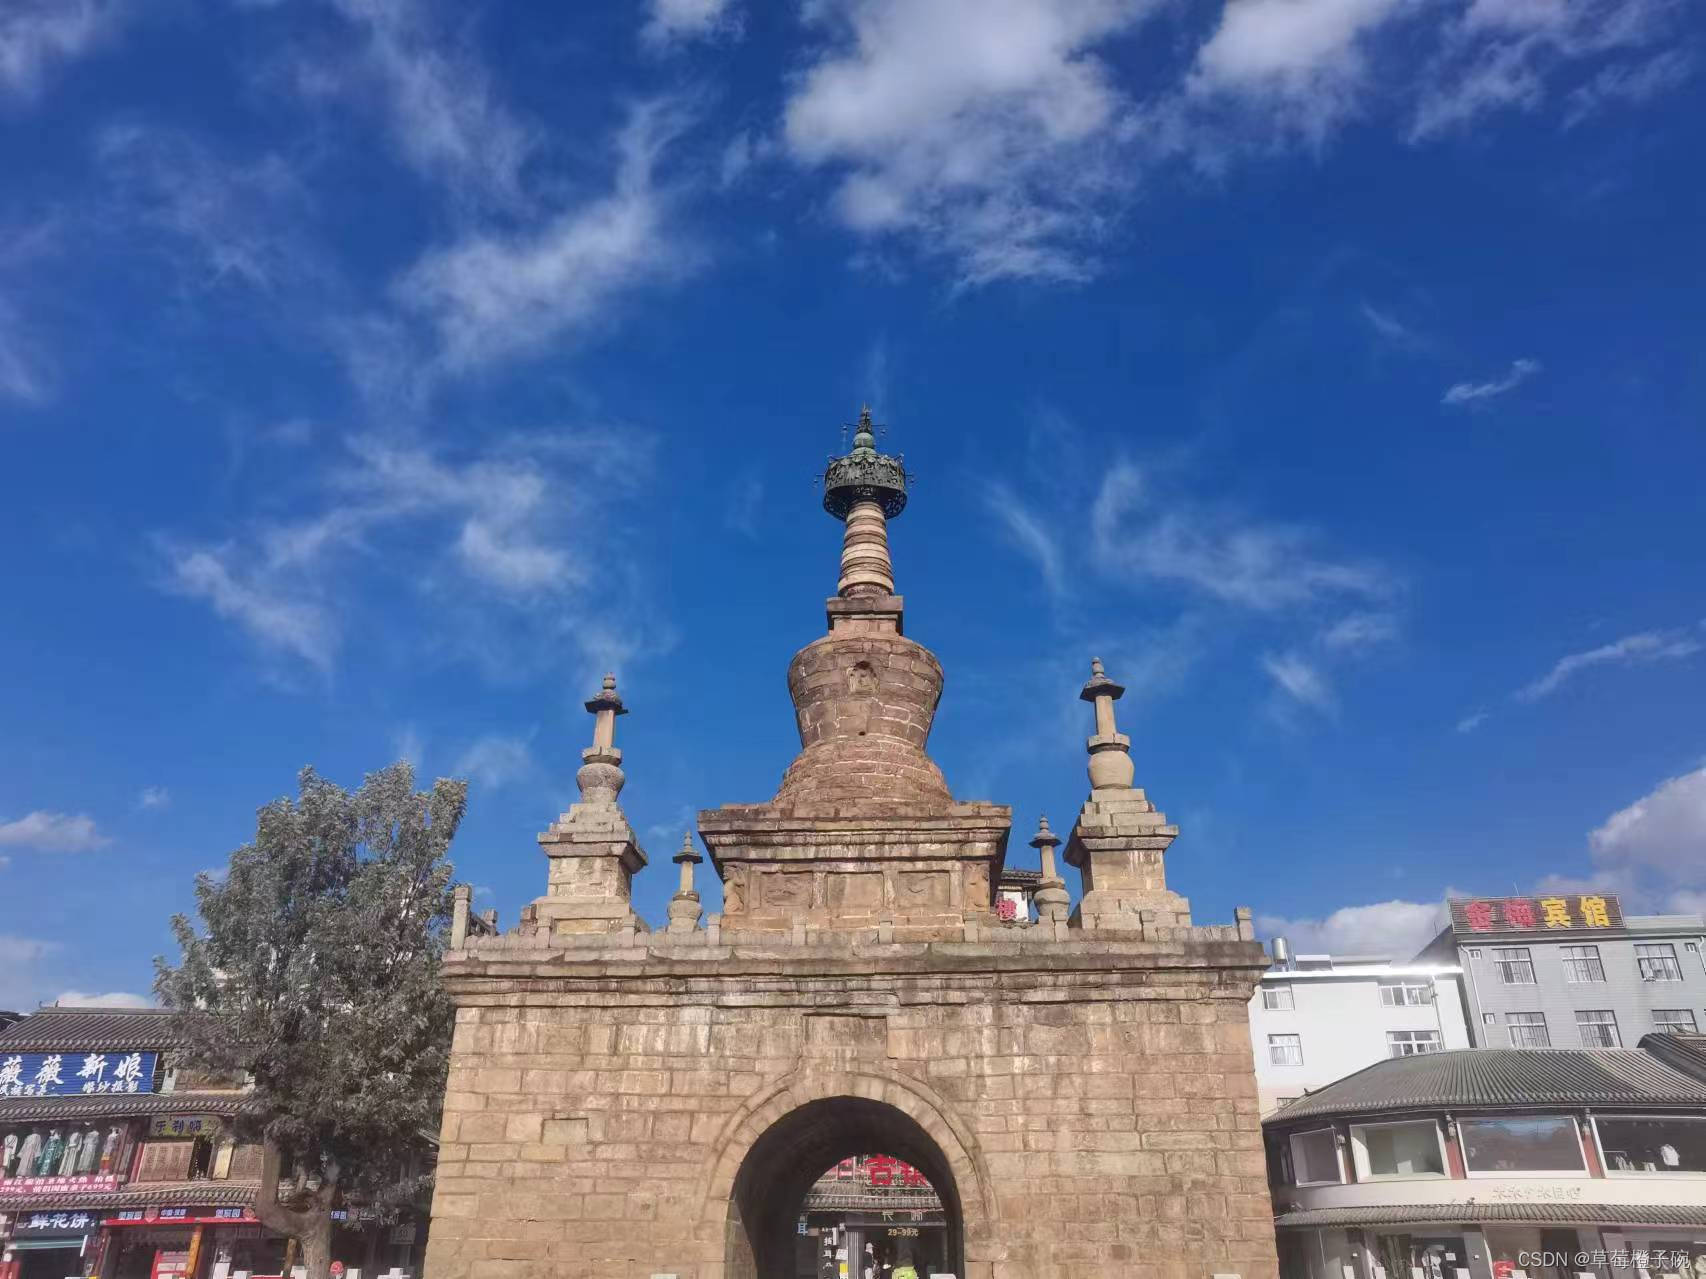
可视化一个我们的图像和point prompt的位置
raw_image = Image.open(r'D:\CSDN_point\3_11_model\yunnan.jpg')

input_points = [[[900, 1050]]]
show_points_on_image(raw_image, input_points[0])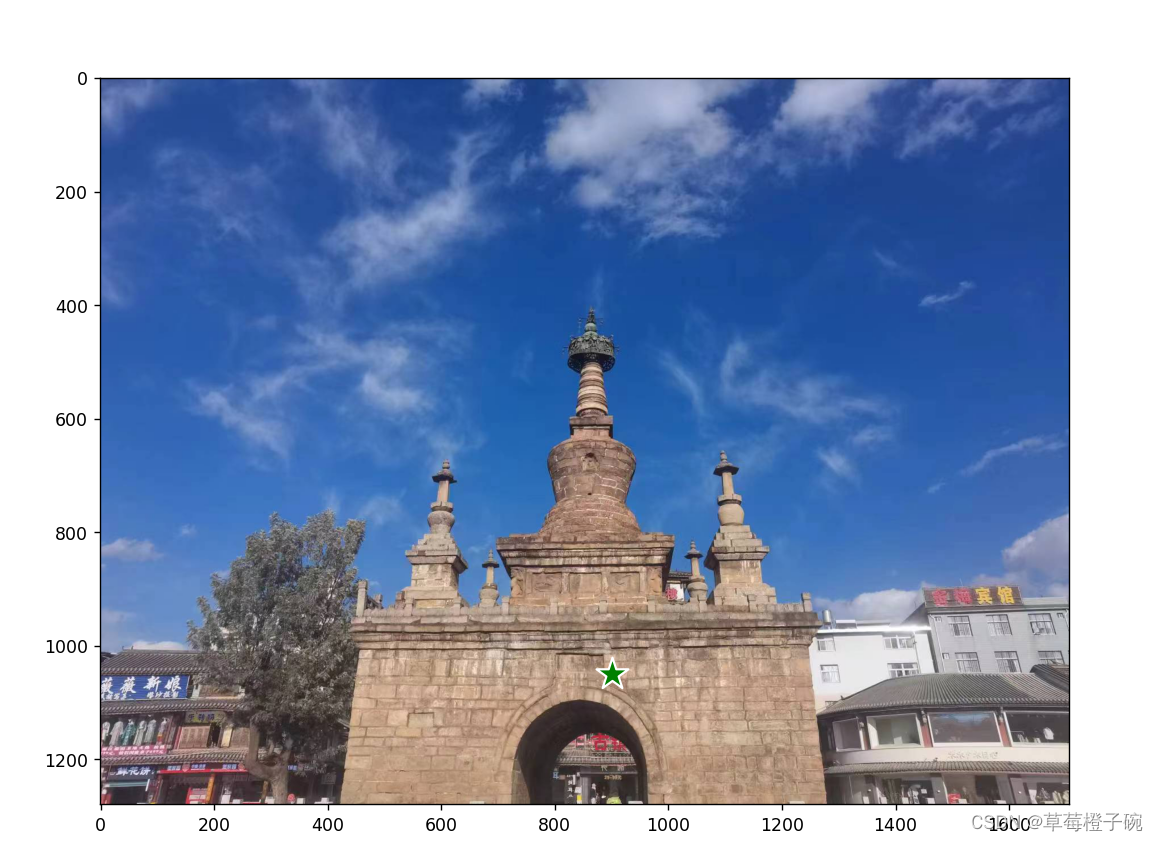
进行mask的预测,没有进行参数限制的话输出的图片为3张,并且对应有iou的预测得分
inputs = processor(raw_image, input_points=input_points, return_tensors="pt").to(device)


with torch.no_grad():
    outputs = model(**inputs)

masks = processor.image_processor.post_process_masks(outputs.pred_masks.cpu(), inputs["original_sizes"].cpu(), inputs["reshaped_input_sizes"].cpu())
scores = outputs.iou_scores

show_masks_on_image(raw_image, masks[0], scores)
总结
下面就是简单地使用点提示在代码上进行SAM模型的使用,在微调的任务中,普遍认为框提示的效果会比点提示好,所以下一节我们来介绍一下使用框提示的内容
欢迎大家讨论交流~
![[LLM]<span style='color:red;'>大</span><span style='color:red;'>模型</span>训练(二)--DeepSpeed<span style='color:red;'>使用</span>](https://img-blog.csdnimg.cn/direct/3a2eb20e83564017be815a9cb730fa13.png)