前言
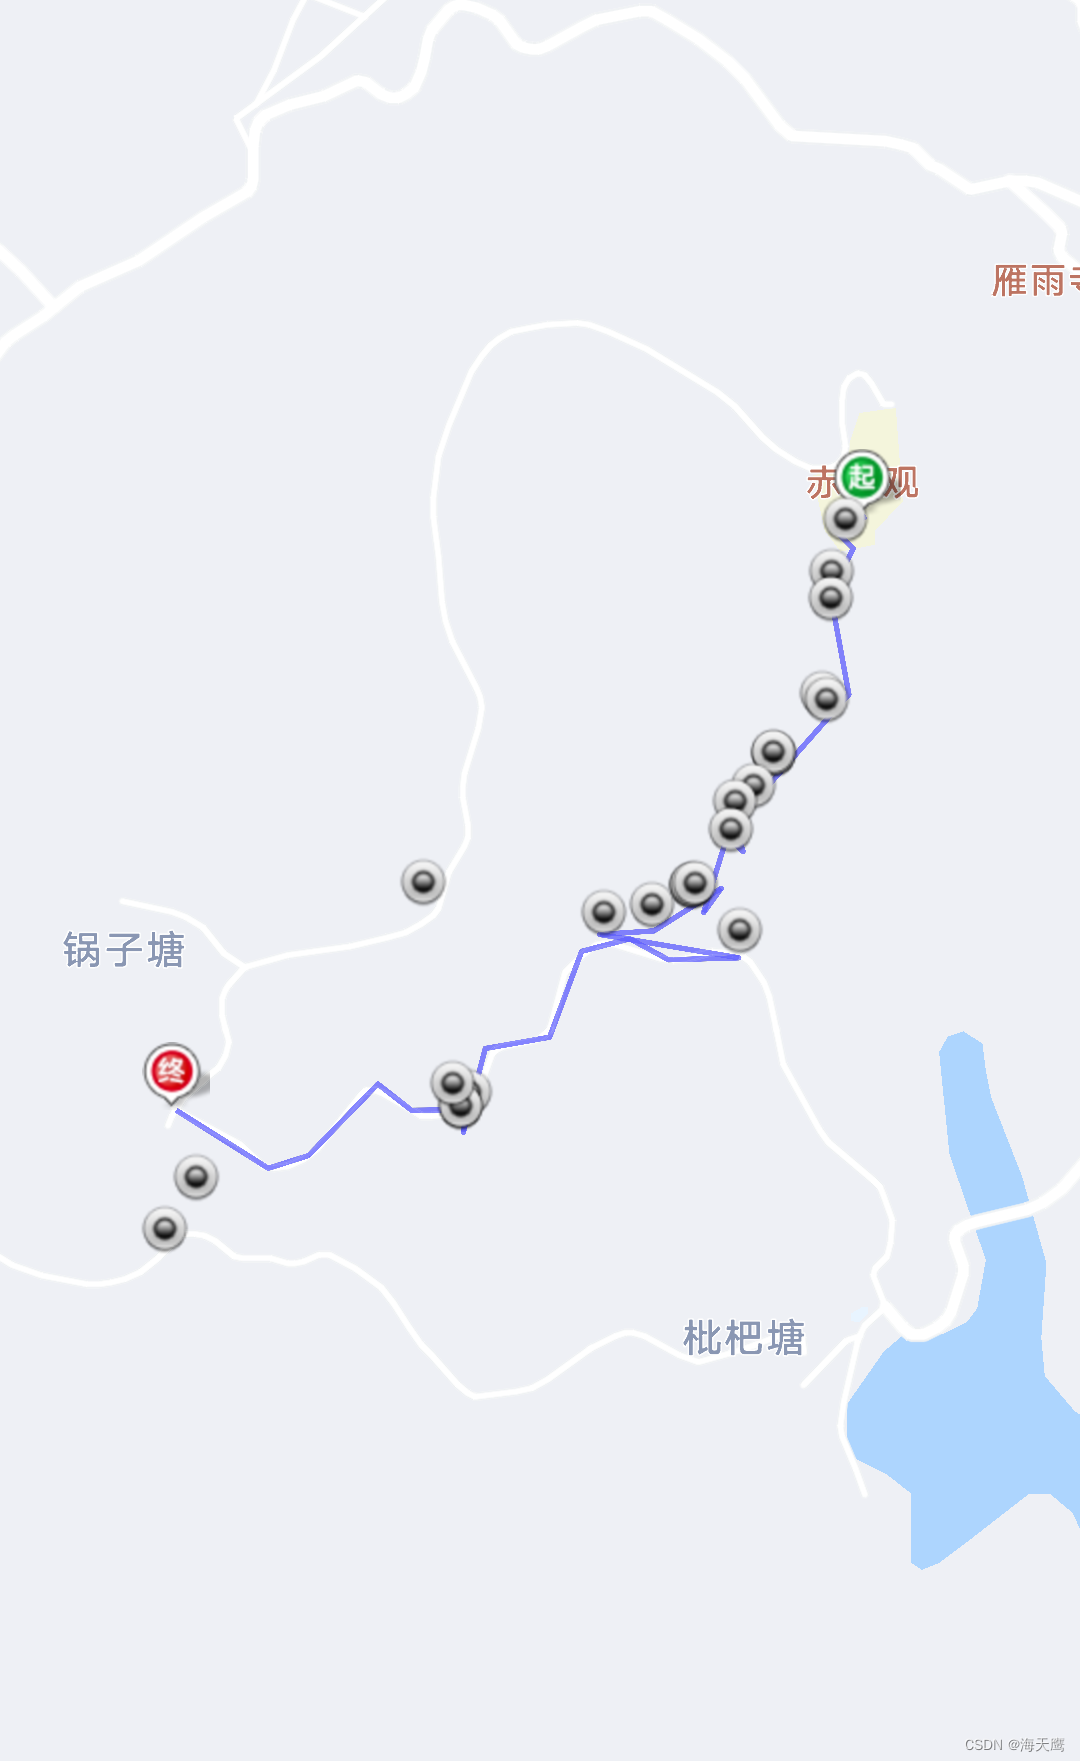
使用Uni-app 实现封装一个Canvas渲染的子组件,实现通过传入两点绘制一条完整的路程
具体逻辑看我发的后端和数据库设计
C# 根据两点名称,寻找两短路程的最优解,【有数据库设计,完整代码】
即使不了解具体逻辑,该文章同样可以帮助想要实现使用Canvas当子组件,以及点点绘制图形问题的疑惑
注意事项
问题一:在使用canvas开发时为什么图形没有渲染
1.注意画布的尺寸canvas 标签默认宽度300px、高度150px
2.同一页面中的 canvas-id 不可重复,如果使用一个已经出现过的 canvas-id,该 canvas 标签对应的画布将被隐藏并不再正常工作
问题二:为什么当子组件时Canvas渲染不出来
1.没有写canvas-id
2.uni.createCanvasContext方法没有传入组件实例(单独作为组件引入时,vue2为this,vue3为getCurrentInstance())
3.canvas标签上写了type=“2d”(单独作为组件引入时)
4.没有在onReady或者onMounted生命周期里实列话canvas
Uni-app代码
子组件
<template>
	<view class="countStyle">
		<scroll-view scroll-x scroll-y>
			<view class="bgimg" :style="{ 'background-image': 'url(' + imager + ')' }">
				<canvas canvas-id="firstCanvas" id="firstCanvas" class="cansStyle" />
			</view>
		</scroll-view>
	</view>
</template>

<script setup>
	import { ref, onMounted, getCurrentInstance } from 'vue';
	import config from '@/config';
	import { VerifyPilot } from './canvasConfig.js';

	const imager = ref(config.config.baseUrl + '/wximages/menu/unloadWork.png');
	const points = ref([]);

	const instance = getCurrentInstance()

	const props = defineProps({
		PtName: "",
	});


	// 在组件加载后获取数据并绘制
	onMounted(() => {
		VerifyPilot({ PtName: props.PtName }).then((val) => {
			for (let i = 0; i < val.data.length; i++) {
				const { xAxis, yAxis } = val.data[i];
				points.value.push({ x: xAxis, y: yAxis });
			}
			drawPolyline();
		});
	});

	function drawPolyline() {
		const canvas = uni.createCanvasContext('firstCanvas', instance);
		canvas.setStrokeStyle("#ffff00");
		canvas.setLineWidth(5);

		canvas.moveTo(points.value[0].x, points.value[0].y);

		for (let i = 1; i < points.value.length; i++) {
			canvas.lineTo(points.value[i].x, points.value[i].y);
		}

		canvas.stroke();
		canvas.draw();
	}
</script>

<style lang="scss" scoped>
	.countStyle {
		overflow: auto;
	}

	.bgimg {
		height: 600px;
		width: 450px;
		background-size: cover;
		background-repeat: no-repeat;
		background-position: center;
	}

	.cansStyle {
		height: 600px;
		width: 450px;
	}
</style>
父组件
<template>
	<div class="my-img-div">
		<dotBitmap :PtName='PtName' />
	</div>
</template>

<script setup>
	import dotBitmap from "@/pages/driver/dotBitmap/index"
	import { ref } from 'vue'
	const PtName = ref('GM3,K8F')
</script>

<style lang="scss" scoped>
	.my-img-div {
		width: 100%;
	}
</style>
手机尺寸兼容
上述代码,通过scroll-view,我们可以对图片进行上下滑动,但有些需求是图片要自适应手机宽度,可以参考该连接uni-app使用canvas适配手机宽高进行渲染