说明:Sentinel是阿里巴巴开发的微服务治理中间件,可用于微服之间请求的流量管控、权限控制、熔断降级等场景。本文介绍如何在Spring Cloud项目中整合Sentinel,以及Sentinel的简单使用。
环境
首先搭建一个简单的微服务环境,有以下两个服务:
订单服务:查询订单,并调用用户服务查询用户信息;
用户服务:查询用户信息;
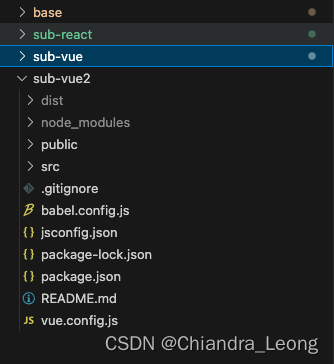
创建以下三个模块,分别对应订单服务、用户服务和公共模块,存储POJO对象;
Common模块
Order类
import lombok.AllArgsConstructor;
import lombok.Data;
import lombok.NoArgsConstructor;

@Data
@AllArgsConstructor
@NoArgsConstructor
public class Order implements java.io.Serializable {

    /**
     * 订单ID
     */
    private String id;

    /**
     * 订单名称
     */
    private String name;

    /**
     * 用户ID
     */
    private String userId;
}
User类
import lombok.AllArgsConstructor;
import lombok.Data;
import lombok.NoArgsConstructor;

@Data
@AllArgsConstructor
@NoArgsConstructor
public class User implements java.io.Serializable {

    /**
     * 用户ID
     */
    private String id;

    /**
     * 用户名
     */
    private String username;

    /**
     * 密码
     */
    private String password;
}
pom.xml文件
<?xml version="1.0" encoding="UTF-8"?>
<project xmlns="http://maven.apache.org/POM/4.0.0"
         xmlns:xsi="http://www.w3.org/2001/XMLSchema-instance"
         xsi:schemaLocation="http://maven.apache.org/POM/4.0.0 http://maven.apache.org/xsd/maven-4.0.0.xsd">
    <modelVersion>4.0.0</modelVersion>
    <parent>
        <groupId>com.hezy</groupId>
        <artifactId>sentinel_demo</artifactId>
        <version>1.0-SNAPSHOT</version>
    </parent>

    <artifactId>common</artifactId>

    <properties>
        <maven.compiler.source>11</maven.compiler.source>
        <maven.compiler.target>11</maven.compiler.target>
        <project.build.sourceEncoding>UTF-8</project.build.sourceEncoding>
    </properties>

</project>
UserService模块
UserController类
import com.hezy.pojo.User;
import com.hezy.service.UserService;
import org.springframework.beans.factory.annotation.Autowired;
import org.springframework.web.bind.annotation.GetMapping;
import org.springframework.web.bind.annotation.PathVariable;
import org.springframework.web.bind.annotation.RequestMapping;
import org.springframework.web.bind.annotation.RestController;

@RestController
@RequestMapping("/user")
public class UserController {

    @Autowired
    private UserService userService;

    @GetMapping("/getUser/{id}")
    public User getUser(@PathVariable String id) {
        return userService.getUserById(id);
    }
}
UserService类
import com.hezy.pojo.User;

public interface UserService {

    User getUserById(String id);
}
UserService实现类
import com.hezy.mapper.UserMapper;
import com.hezy.pojo.User;
import com.hezy.service.UserService;
import org.springframework.beans.factory.annotation.Autowired;
import org.springframework.stereotype.Service;

@Service
public class UserServiceImpl implements UserService {

    @Autowired
    private UserMapper userMapper;

    @Override
    public User getUserById(String id) {
        return userMapper.getUserById(id);
    }
}
UserMapper
import com.hezy.pojo.User;
import org.apache.ibatis.annotations.Mapper;
import org.apache.ibatis.annotations.Select;

@Mapper
public interface UserMapper {

    @Select("select * from tb_user where id = #{id}")
    User getUserById(String id);
}
启动类
import org.mybatis.spring.annotation.MapperScan;
import org.springframework.boot.SpringApplication;
import org.springframework.boot.autoconfigure.SpringBootApplication;

@SpringBootApplication
@MapperScan("com.hezy.mapper")
public class Start {
    public static void main(String[] args) {
        SpringApplication.run(Start.class, args);
    }
}
application.yml配置文件
server:
  port: 8081

# 1.数据源的配置
spring:
  # 设置微服务名称
  application:
    name: userservice
  # 数据库配置
  datasource:
    driver-class-name: com.mysql.jdbc.Driver
    url: jdbc:mysql://localhost:3306/sentinel_demo?useUnicode=true&characterEncoding=utf-8&useSSL=false&serverTimezone=GMT%2B8
    username: root
    password: 123456
  cloud:
    nacos:
      server-addr: localhost:8848

# 2.mybatis配置
mybatis:
  configuration:
    # 显示SQL日志配置
    log-impl: org.apache.ibatis.logging.stdout.StdOutImpl
    # 驼峰命名配置
    map-underscore-to-camel-case: true
  # 设置mapper.xml文件所在的路径
  mapper-locations: classpath:mapper/*.xml
说明:有些配置可能并不需要,如Mybatis日志相关配置,而有些配置需要自适应修改,如nacos服务器地址,mysql数据库地址;
pom.xml
<?xml version="1.0" encoding="UTF-8"?>
<project xmlns="http://maven.apache.org/POM/4.0.0"
         xmlns:xsi="http://www.w3.org/2001/XMLSchema-instance"
         xsi:schemaLocation="http://maven.apache.org/POM/4.0.0 http://maven.apache.org/xsd/maven-4.0.0.xsd">
    <modelVersion>4.0.0</modelVersion>
    <parent>
        <groupId>com.hezy</groupId>
        <artifactId>sentinel_demo</artifactId>
        <version>1.0-SNAPSHOT</version>
    </parent>

    <artifactId>userservice</artifactId>

    <properties>
        <maven.compiler.source>11</maven.compiler.source>
        <maven.compiler.target>11</maven.compiler.target>
        <project.build.sourceEncoding>UTF-8</project.build.sourceEncoding>
    </properties>

    <dependencies>
        <!--web依赖-->
        <dependency>
            <groupId>org.springframework.boot</groupId>
            <artifactId>spring-boot-starter-web</artifactId>
        </dependency>

        <!--druid连接池依赖-->
        <dependency>
            <groupId>com.alibaba</groupId>
            <artifactId>druid-spring-boot-starter</artifactId>
            <version>1.2.8</version>
        </dependency>

        <!--mysql驱动-->
        <dependency>
            <groupId>mysql</groupId>
            <artifactId>mysql-connector-java</artifactId>
        </dependency>

        <!--mybatis依赖-->
        <dependency>
            <groupId>org.mybatis.spring.boot</groupId>
            <artifactId>mybatis-spring-boot-starter</artifactId>
            <version>2.2.2</version>
        </dependency>

        <!-- nacos客户端依赖包 -->
        <dependency>
            <groupId>com.alibaba.cloud</groupId>
            <artifactId>spring-cloud-starter-alibaba-nacos-discovery</artifactId>
        </dependency>

        <!--公共模块-->
        <dependency>
            <groupId>com.hezy</groupId>
            <artifactId>common</artifactId>
            <version>1.0-SNAPSHOT</version>
        </dependency>
    </dependencies>

</project>
OrderService模块
OrderController类
import com.hezy.service.OrderService;
import org.springframework.beans.factory.annotation.Autowired;
import org.springframework.web.bind.annotation.*;

@RestController
@RequestMapping("/order")
public class OrderController {

    @Autowired
    private OrderService orderService;

    @GetMapping("/getOrder/{id}")
    public String getOrder(@PathVariable String id) {
        return orderService.getOrderById(id).toString();
    }
}
OrderService类
public interface OrderService {
    String getOrderById(String id);
}
OrderService实现类
import com.hezy.feignclients.UserServiceClient;
import com.hezy.mapper.OrderMapper;
import com.hezy.pojo.Order;
import com.hezy.pojo.User;
import com.hezy.service.OrderService;
import org.springframework.beans.factory.annotation.Autowired;
import org.springframework.stereotype.Service;

@Service
public class OrderServiceImpl implements OrderService {

    @Autowired
    private OrderMapper orderMapper;

    @Autowired
    private UserServiceClient userServiceClient;

    @Override
    public String getOrderById(String id) {

        // 查询用户信息
        User userById = userServiceClient.getUserById("1");

        // 查询订单信息
        Order orderById = orderMapper.getOrderById(id);

        return "用户信息:" + userById + ",订单信息:" + orderById;
    }
}
OrderMapper
import com.hezy.pojo.Order;
import org.apache.ibatis.annotations.Mapper;
import org.apache.ibatis.annotations.Select;

@Mapper
public interface OrderMapper {

    @Select("select * from tb_order where id = #{id}")
    Order getOrderById(String id);
}
UserServiceClient类
import com.hezy.pojo.User;
import org.springframework.cloud.openfeign.FeignClient;
import org.springframework.web.bind.annotation.GetMapping;
import org.springframework.web.bind.annotation.RequestParam;

@FeignClient(name = "userservice")
public interface UserServiceClient {

    @GetMapping("/user/getUser/{id}")
    User getUserById(@RequestParam String id);
}
启动类
import org.mybatis.spring.annotation.MapperScan;
import org.springframework.boot.SpringApplication;
import org.springframework.boot.autoconfigure.SpringBootApplication;
import org.springframework.cloud.openfeign.EnableFeignClients;

@SpringBootApplication
@MapperScan("com.hezy.mapper")
@EnableFeignClients("com.hezy.feignclients")
public class Start {
    public static void main(String[] args) {
        SpringApplication.run(Start.class, args);
    }
}
说明:注意@EnableFeignClients()中的配置的是feignclient所在的包路径,即UserServiceClient所在的包;
application.yml
server:
  port: 8082

# 1.数据源的配置
spring:
  # 设置微服务名称
  application:
    name: orderservice

  # 数据库配置
  datasource:
    driver-class-name: com.mysql.jdbc.Driver
    url: jdbc:mysql://localhost:3306/sentinel_demo?useUnicode=true&characterEncoding=utf-8&useSSL=false&serverTimezone=GMT%2B8
    username: root
    password: 123456

  cloud:
    # nacos配置
    nacos:
      server-addr: localhost:8848

# 2.mybatis配置
mybatis:
  configuration:
    # 显示SQL日志配置
    log-impl: org.apache.ibatis.logging.stdout.StdOutImpl
    # 驼峰命名配置
    map-underscore-to-camel-case: true
  # 设置mapper.xml文件所在的路径
  mapper-locations: classpath:mapper/*.xml
pom.xml
<?xml version="1.0" encoding="UTF-8"?>
<project xmlns="http://maven.apache.org/POM/4.0.0"
         xmlns:xsi="http://www.w3.org/2001/XMLSchema-instance"
         xsi:schemaLocation="http://maven.apache.org/POM/4.0.0 http://maven.apache.org/xsd/maven-4.0.0.xsd">
    <modelVersion>4.0.0</modelVersion>
    <parent>
        <groupId>com.hezy</groupId>
        <artifactId>sentinel_demo</artifactId>
        <version>1.0-SNAPSHOT</version>
    </parent>

    <artifactId>orderservice</artifactId>

    <properties>
        <maven.compiler.source>11</maven.compiler.source>
        <maven.compiler.target>11</maven.compiler.target>
        <project.build.sourceEncoding>UTF-8</project.build.sourceEncoding>
    </properties>

    <dependencies>
        <!--web依赖-->
        <dependency>
            <groupId>org.springframework.boot</groupId>
            <artifactId>spring-boot-starter-web</artifactId>
        </dependency>

        <!--druid连接池依赖-->
        <dependency>
            <groupId>com.alibaba</groupId>
            <artifactId>druid-spring-boot-starter</artifactId>
            <version>1.2.8</version>
        </dependency>

        <!--mysql驱动-->
        <dependency>
            <groupId>mysql</groupId>
            <artifactId>mysql-connector-java</artifactId>
        </dependency>

        <!--mybatis依赖-->
        <dependency>
            <groupId>org.mybatis.spring.boot</groupId>
            <artifactId>mybatis-spring-boot-starter</artifactId>
            <version>2.2.2</version>
        </dependency>

        <!--公共模块-->
        <dependency>
            <groupId>com.hezy</groupId>
            <artifactId>common</artifactId>
            <version>1.0-SNAPSHOT</version>
        </dependency>

        <!-- nacos客户端依赖包 -->
        <dependency>
            <groupId>com.alibaba.cloud</groupId>
            <artifactId>spring-cloud-starter-alibaba-nacos-discovery</artifactId>
        </dependency>

        <!--feign客户端依赖-->
        <dependency>
            <groupId>org.springframework.cloud</groupId>
            <artifactId>spring-cloud-starter-openfeign</artifactId>
        </dependency>
    </dependencies>
</project>
sentinel-demo父模块
pom.xml
<?xml version="1.0" encoding="UTF-8"?>
<project xmlns="http://maven.apache.org/POM/4.0.0"
         xmlns:xsi="http://www.w3.org/2001/XMLSchema-instance"
         xsi:schemaLocation="http://maven.apache.org/POM/4.0.0 http://maven.apache.org/xsd/maven-4.0.0.xsd">
    <modelVersion>4.0.0</modelVersion>

    <parent>
        <groupId>org.springframework.boot</groupId>
        <artifactId>spring-boot-starter-parent</artifactId>
        <version>2.3.9.RELEASE</version>
        <relativePath/>
    </parent>

    <groupId>com.hezy</groupId>
    <artifactId>sentinel_demo</artifactId>
    <version>1.0-SNAPSHOT</version>
    <packaging>pom</packaging>

    <modules>
        <module>userservice</module>
        <module>orderservice</module>
        <module>common</module>
    </modules>

    <properties>
        <project.build.sourceEncoding>UTF-8</project.build.sourceEncoding>
        <project.reporting.outputEncoding>UTF-8</project.reporting.outputEncoding>
        <java.version>11</java.version>
        <spring-cloud.version>Hoxton.SR8</spring-cloud.version>
        <mysql.version>5.1.47</mysql.version>
        <mybatis.version>2.1.1</mybatis.version>
    </properties>

    <dependencyManagement>
        <dependencies>
            <!-- springCloud -->
            <dependency>
                <groupId>org.springframework.cloud</groupId>
                <artifactId>spring-cloud-dependencies</artifactId>
                <version>${spring-cloud.version}</version>
                <type>pom</type>
                <scope>import</scope>
            </dependency>
            <!--nacos的管理依赖-->
            <dependency>
                <groupId>com.alibaba.cloud</groupId>
                <artifactId>spring-cloud-alibaba-dependencies</artifactId>
                <version>2.2.5.RELEASE</version>
                <type>pom</type>
                <scope>import</scope>
            </dependency>
            <!-- mysql驱动 -->
            <dependency>
                <groupId>mysql</groupId>
                <artifactId>mysql-connector-java</artifactId>
                <version>${mysql.version}</version>
            </dependency>
            <!--mybatis-->
            <dependency>
                <groupId>org.mybatis.spring.boot</groupId>
                <artifactId>mybatis-spring-boot-starter</artifactId>
                <version>${mybatis.version}</version>
            </dependency>
        </dependencies>
    </dependencyManagement>

    <dependencies>
        <dependency>
            <groupId>org.projectlombok</groupId>
            <artifactId>lombok</artifactId>
        </dependency>
    </dependencies>

</project>
说明:注意版本控制(dependencyManagement标签)中的内容,不加子模块中的sentinel依赖可能不生效;
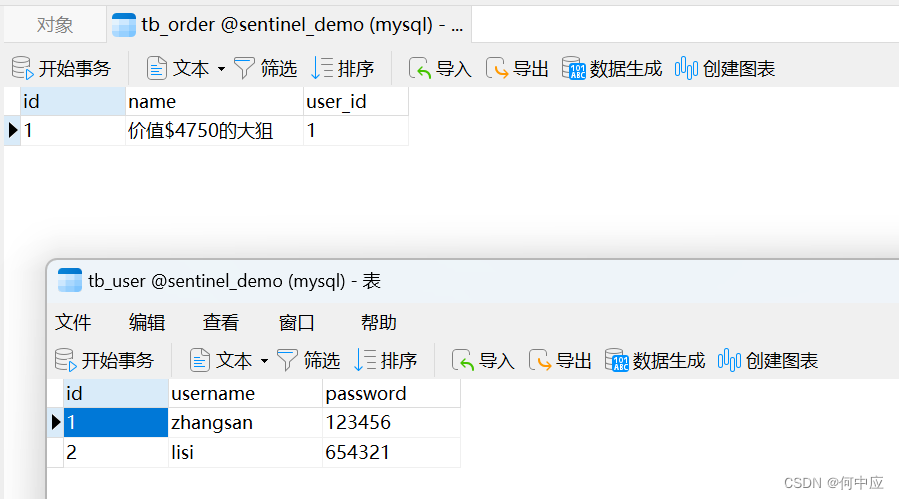
数据库
数据库中对应的表数据如下:
运行
启动正常
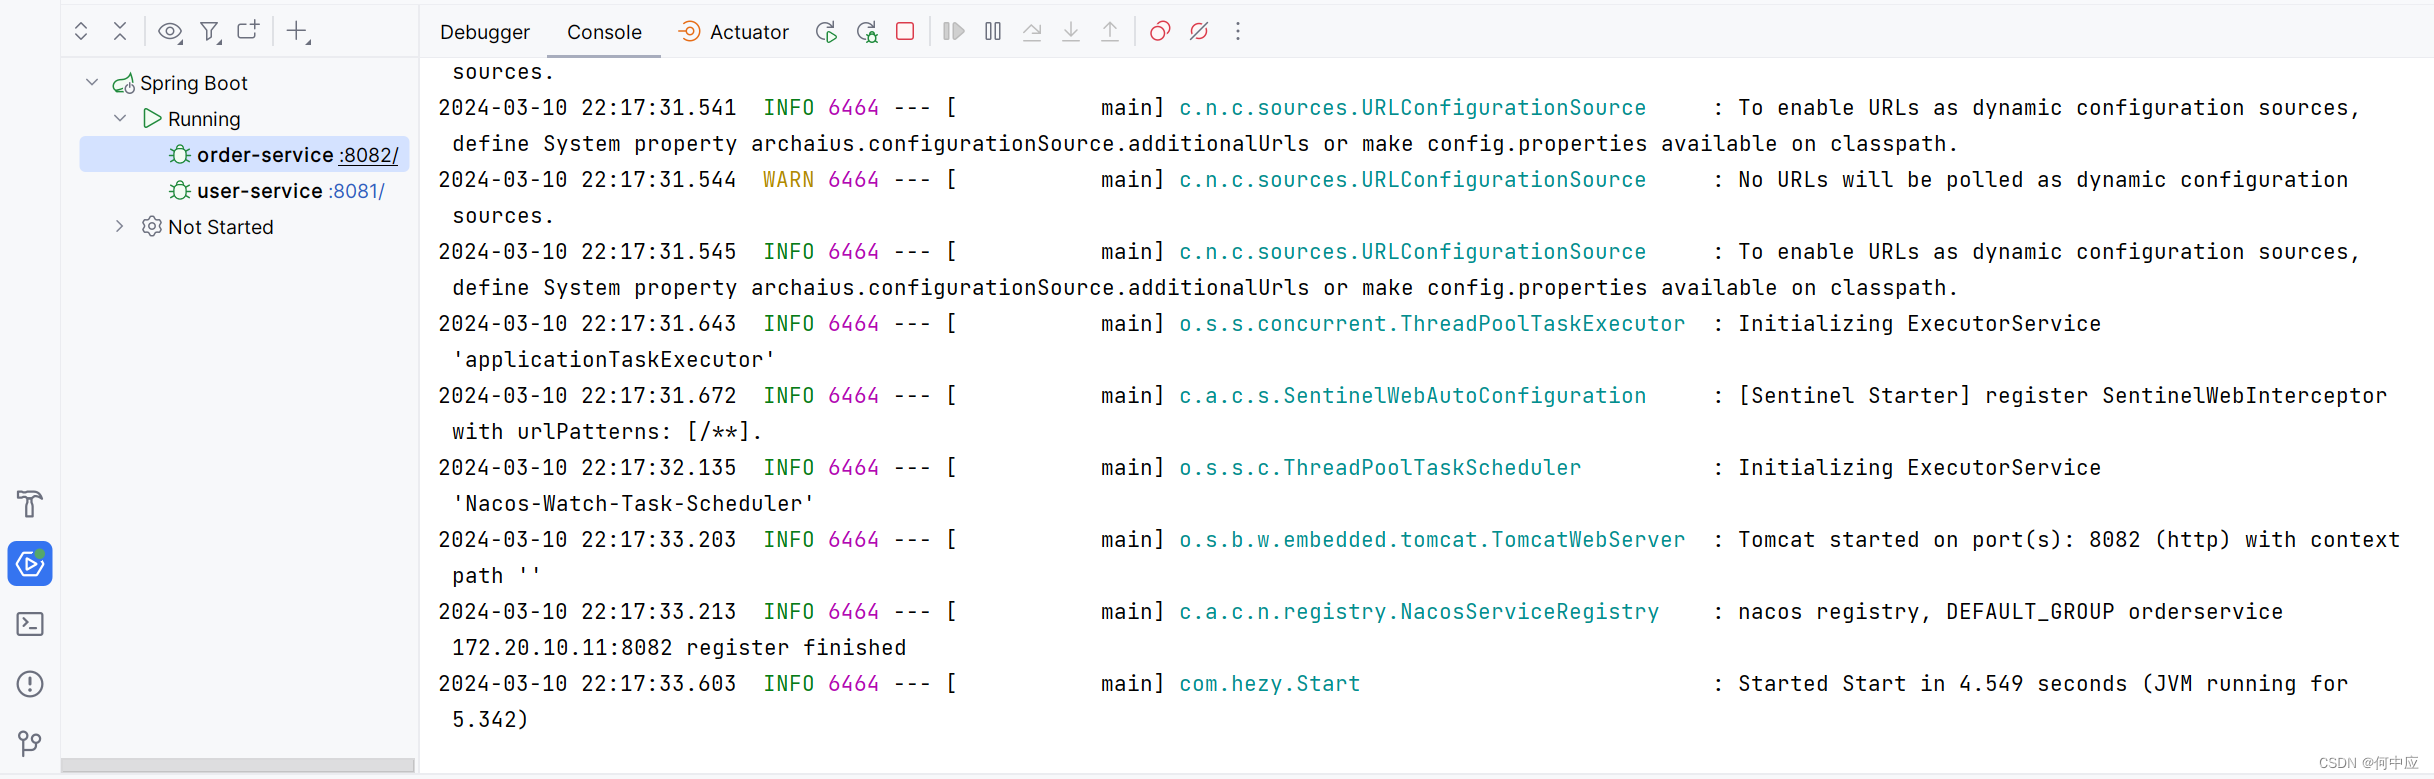
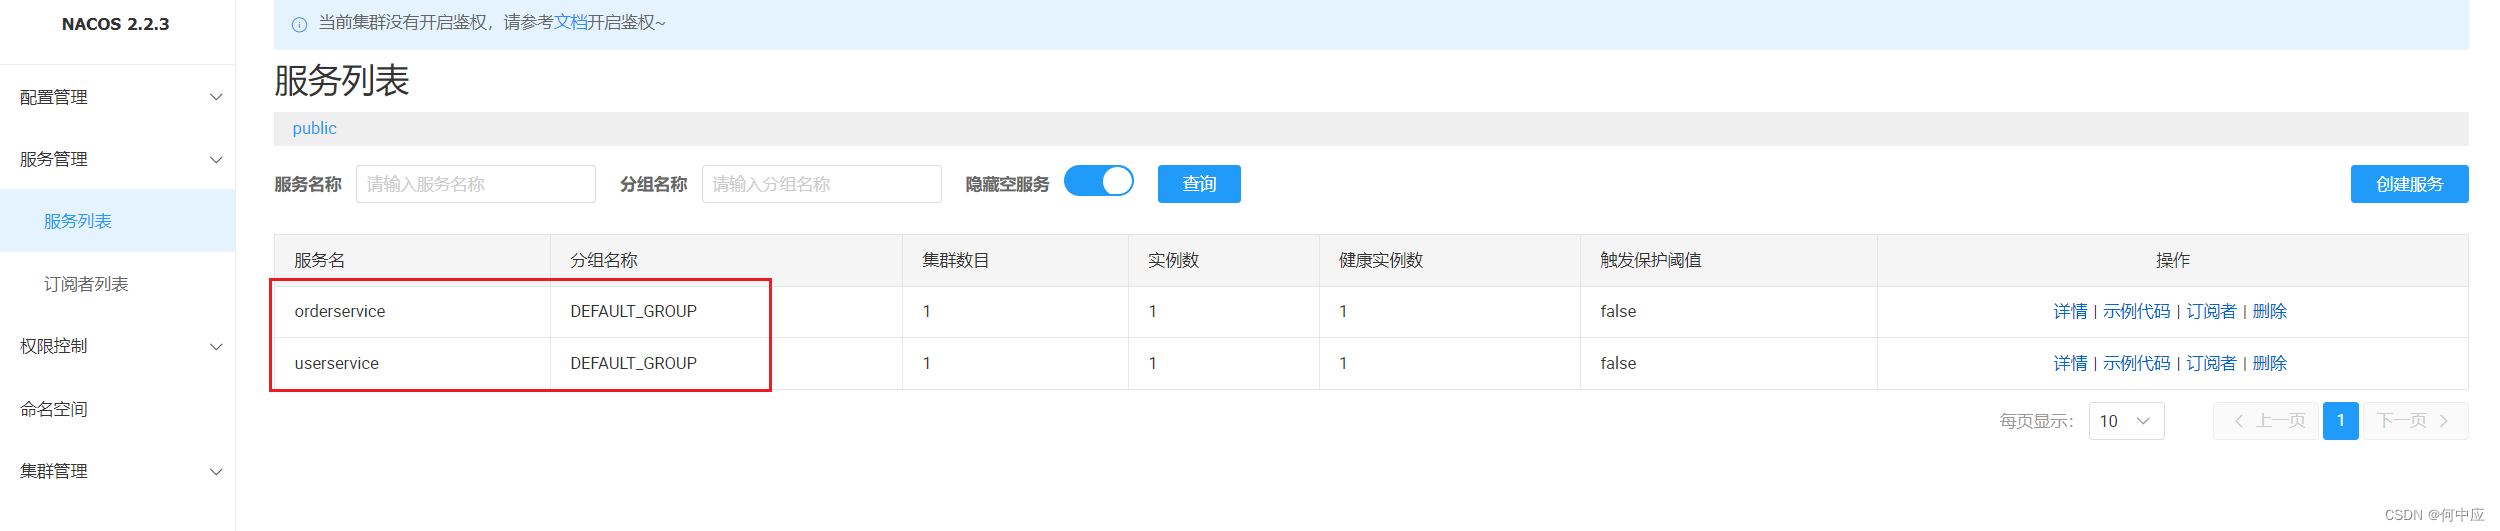
nacos注册正常
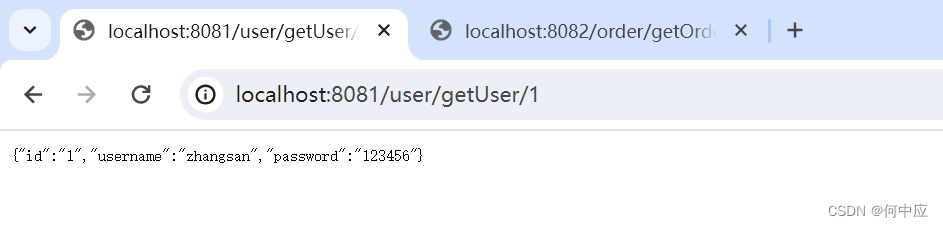
访问正常

整合Sentinel
项目
在此之上,在调用方订单服务(orderservice)加入下面的依赖,
<!--sentinel-->
<dependency>
    <groupId>com.alibaba.cloud</groupId>
    <artifactId>spring-cloud-starter-alibaba-sentinel</artifactId>
</dependency>
配置文件中添加sentinel控制台地址,暂时为本地,下面我们在本地启动sentinel服务;
spring:
  cloud:
    sentinel:
      transport:
        dashboard: localhost:8080
说明:注意层级结构;
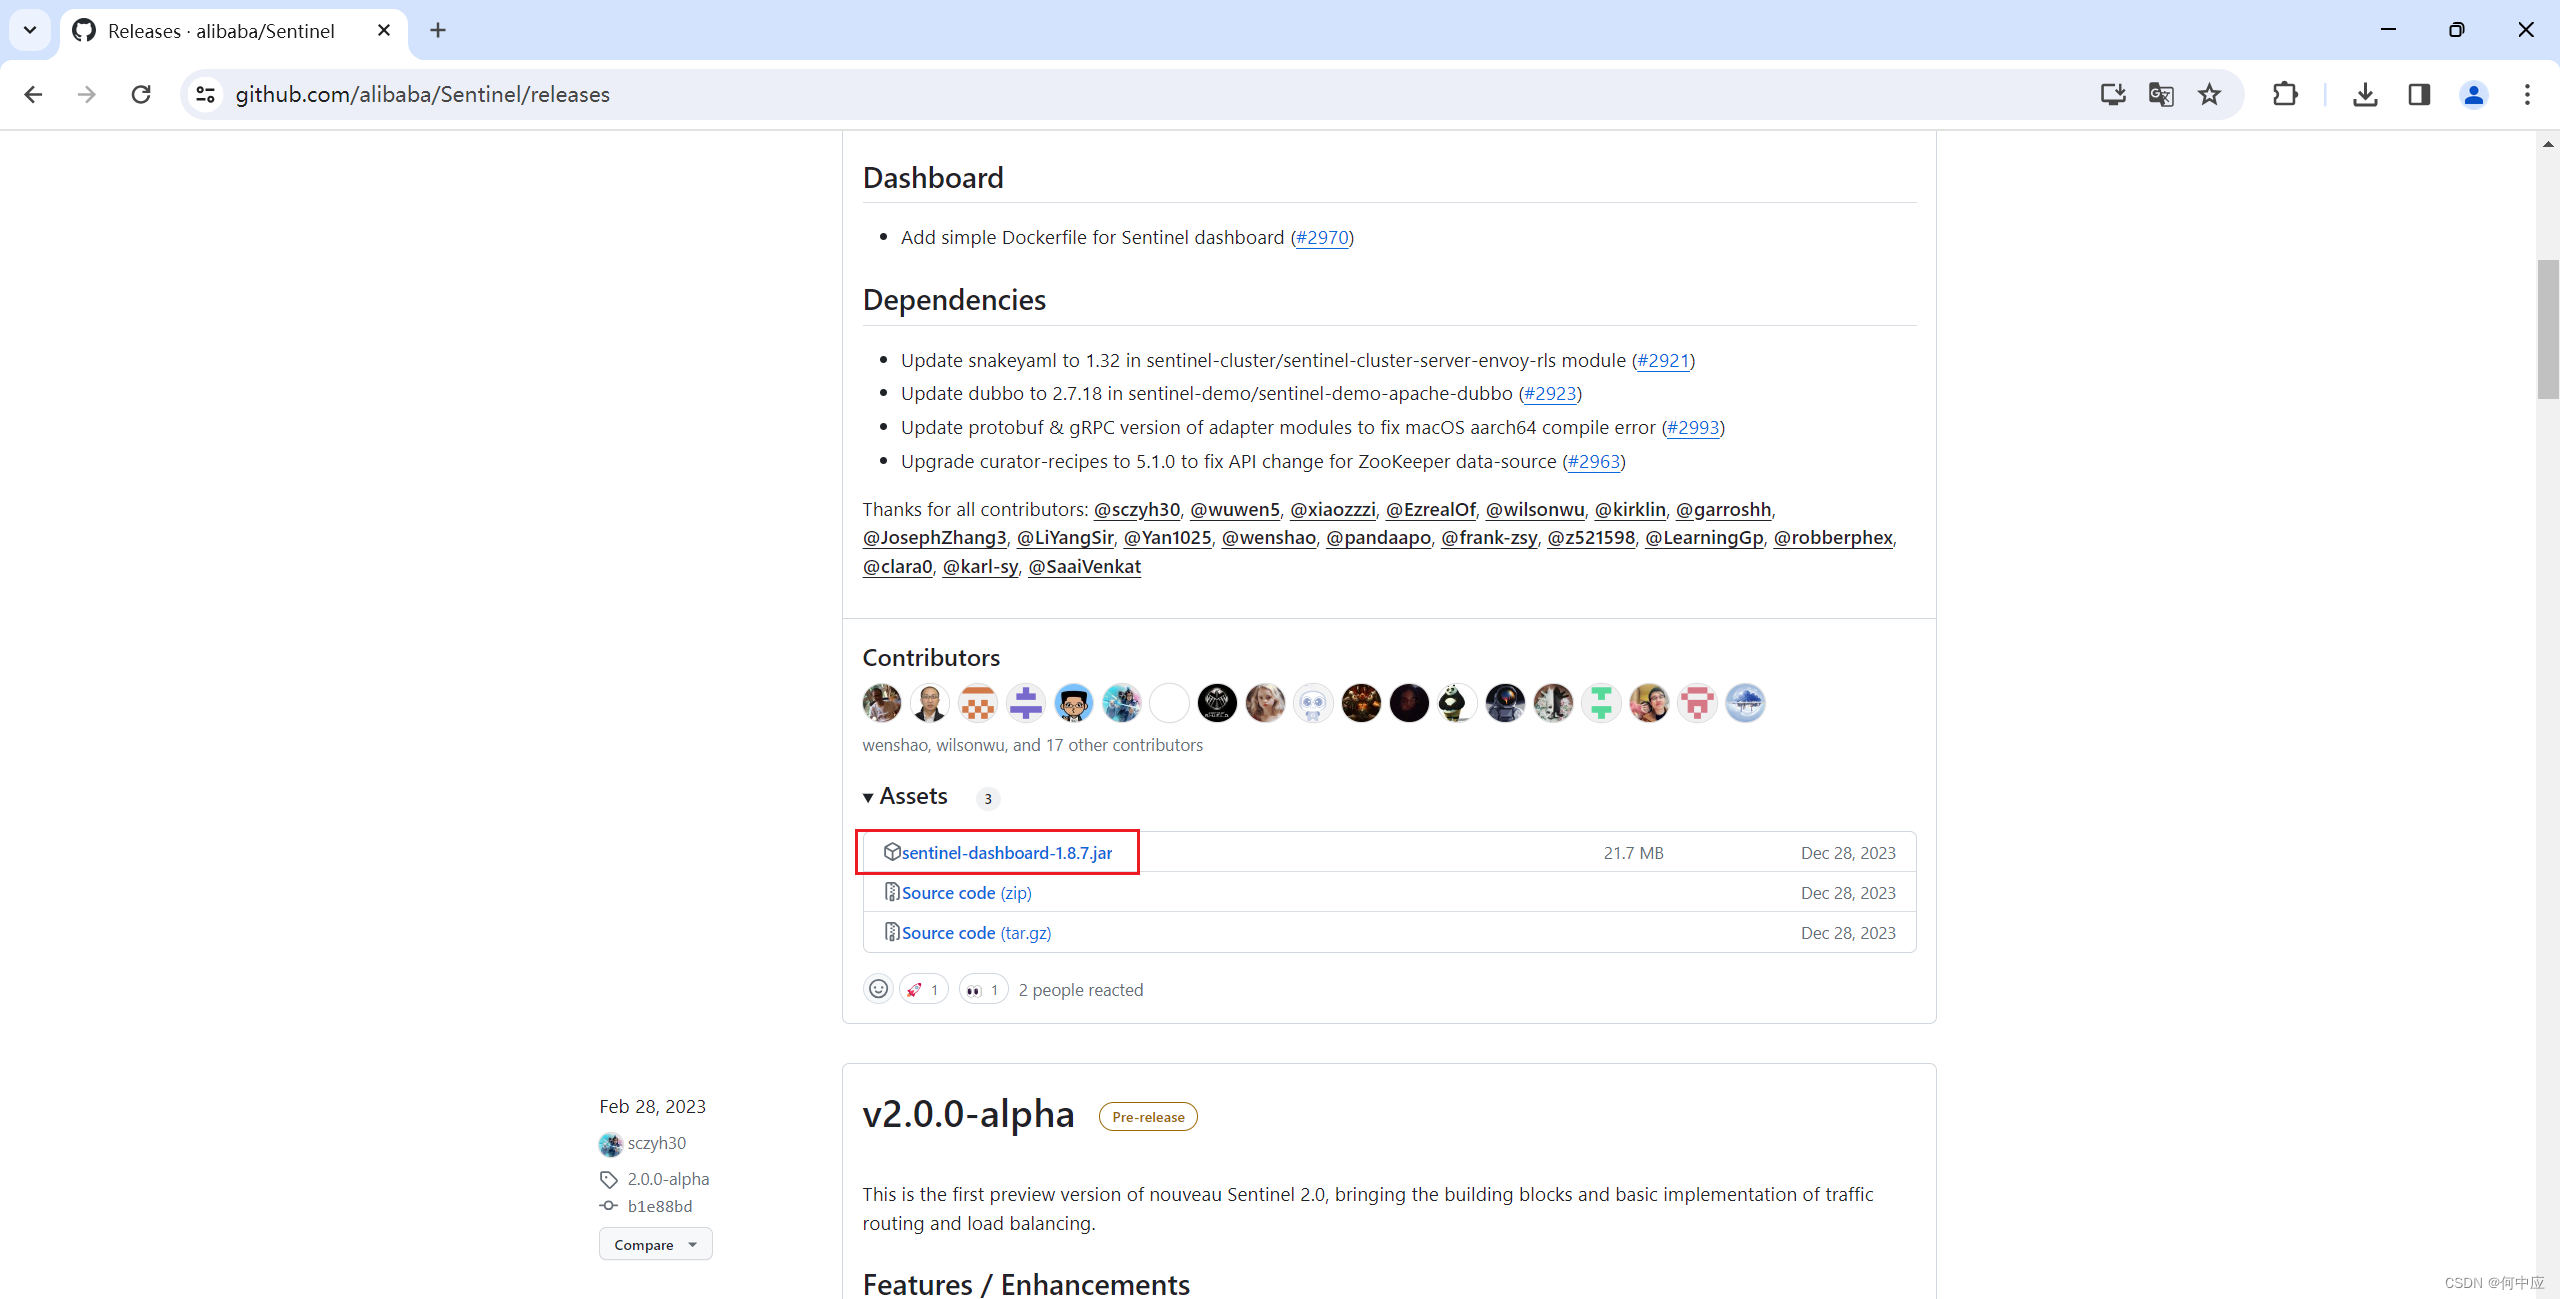
sentinel服务
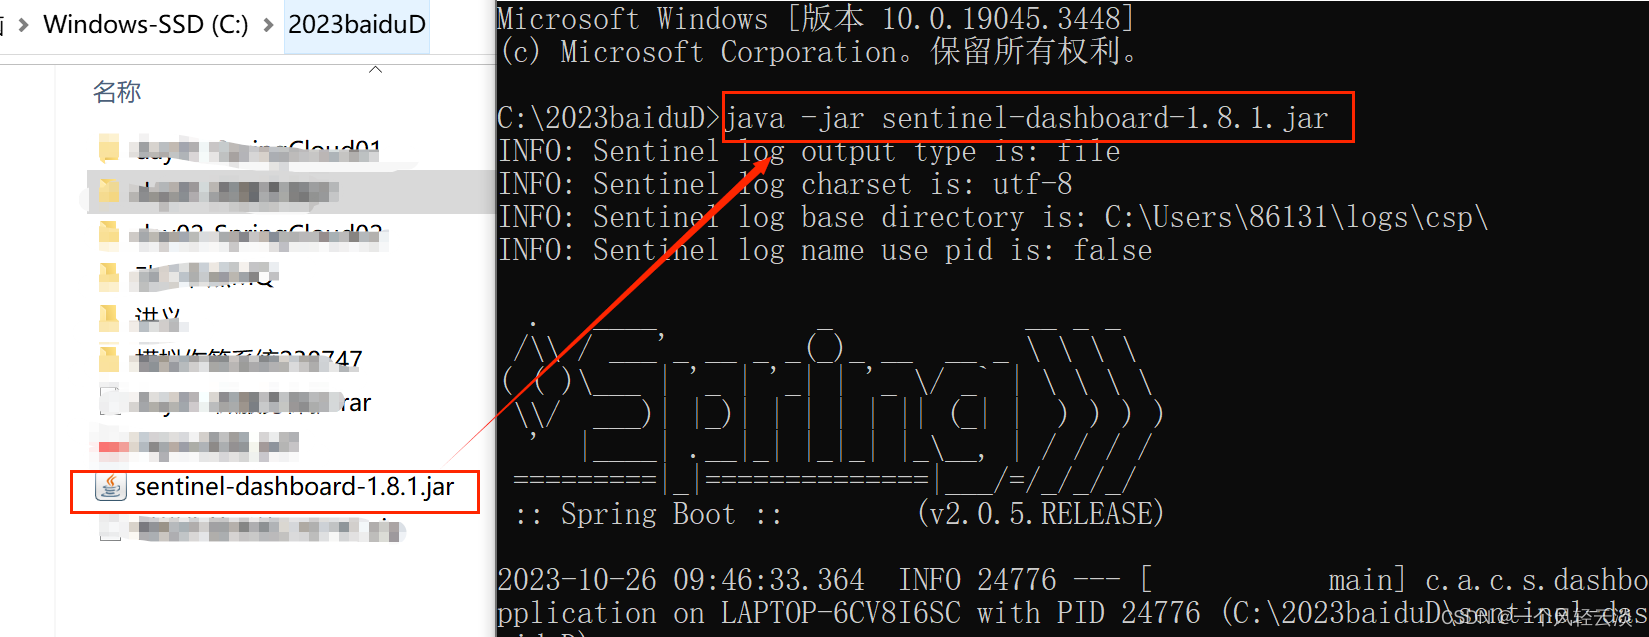
可在 Github中将sentinel的jar包下载下来,通过运行jar包的方式来启动sentinel服务器;
在jar包所在的目录,打开命令窗口,使用jar -jar 的方式启动,如下:
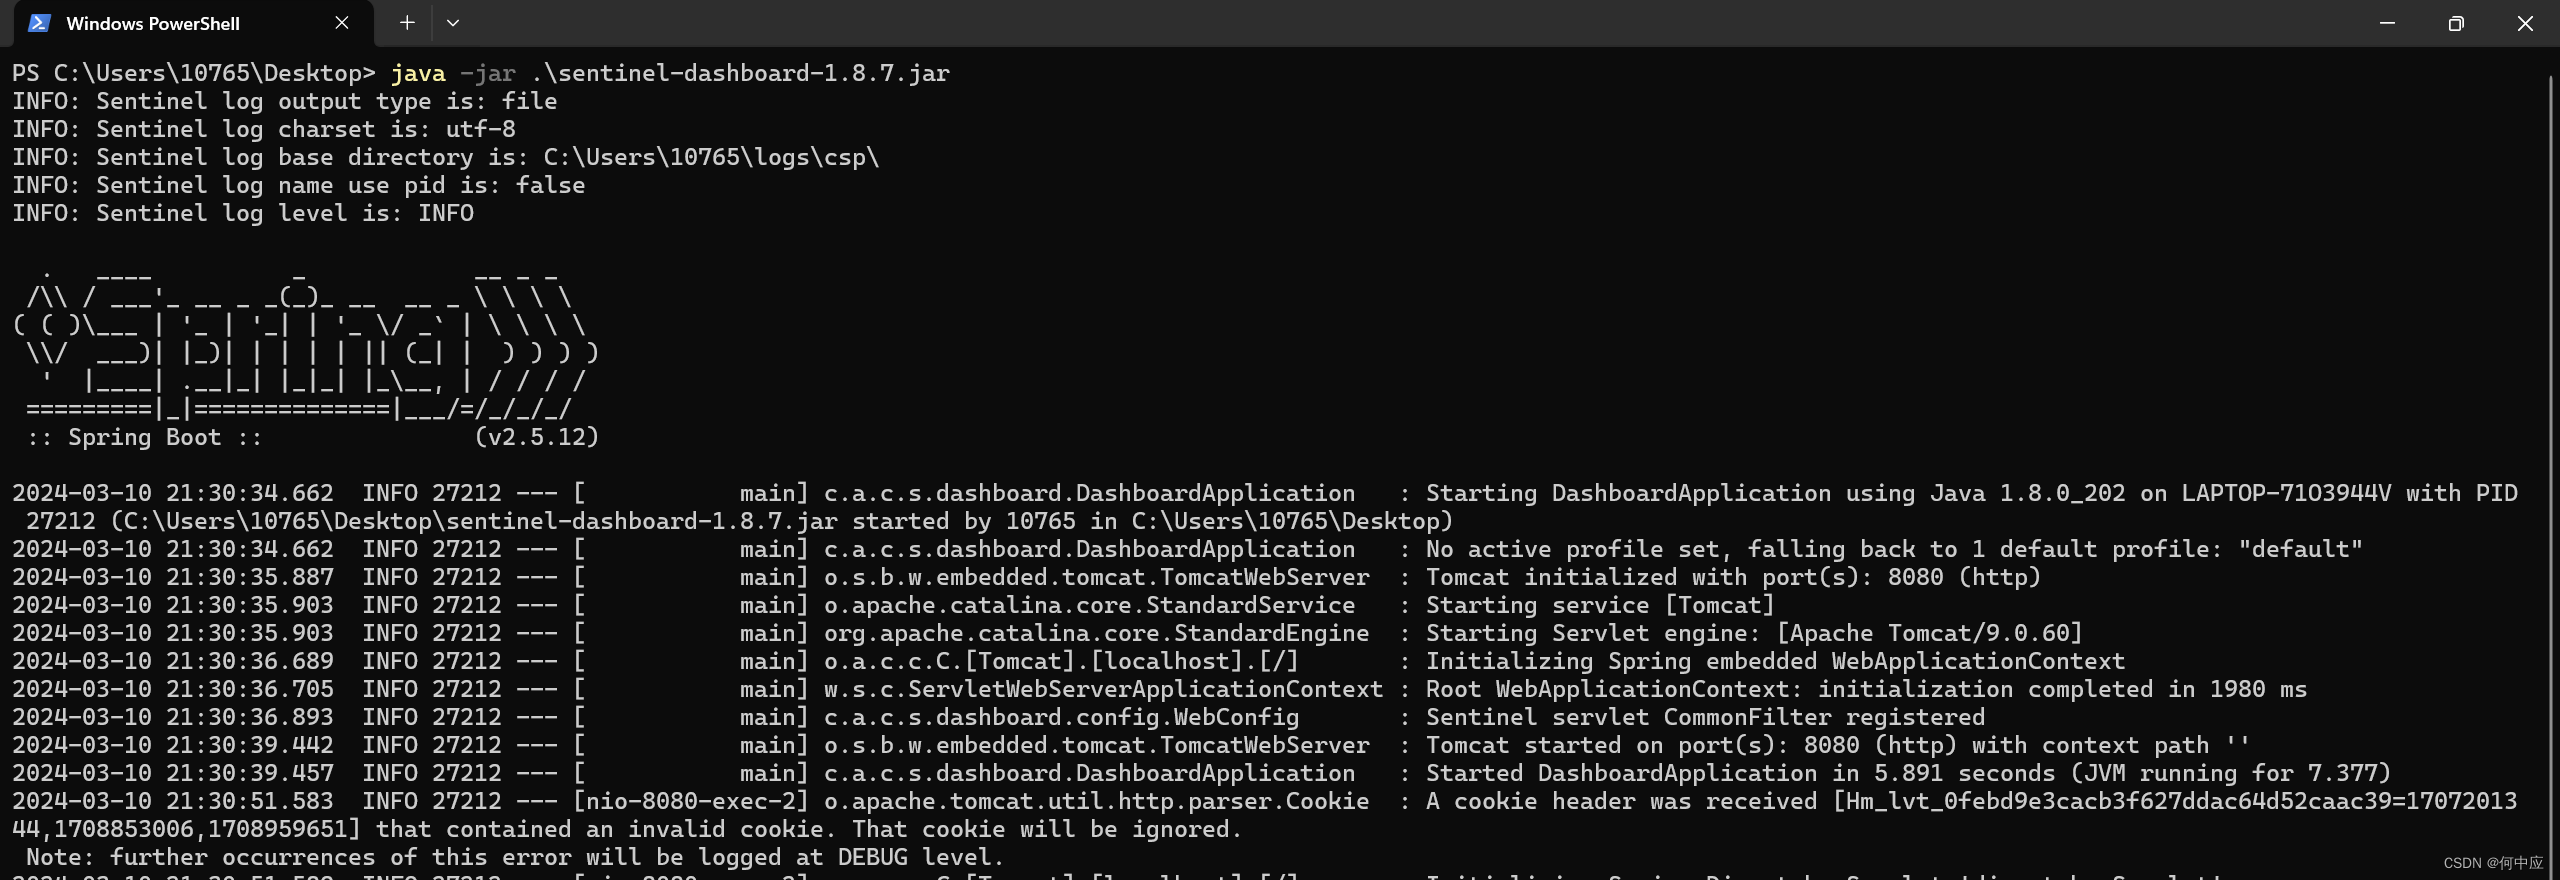
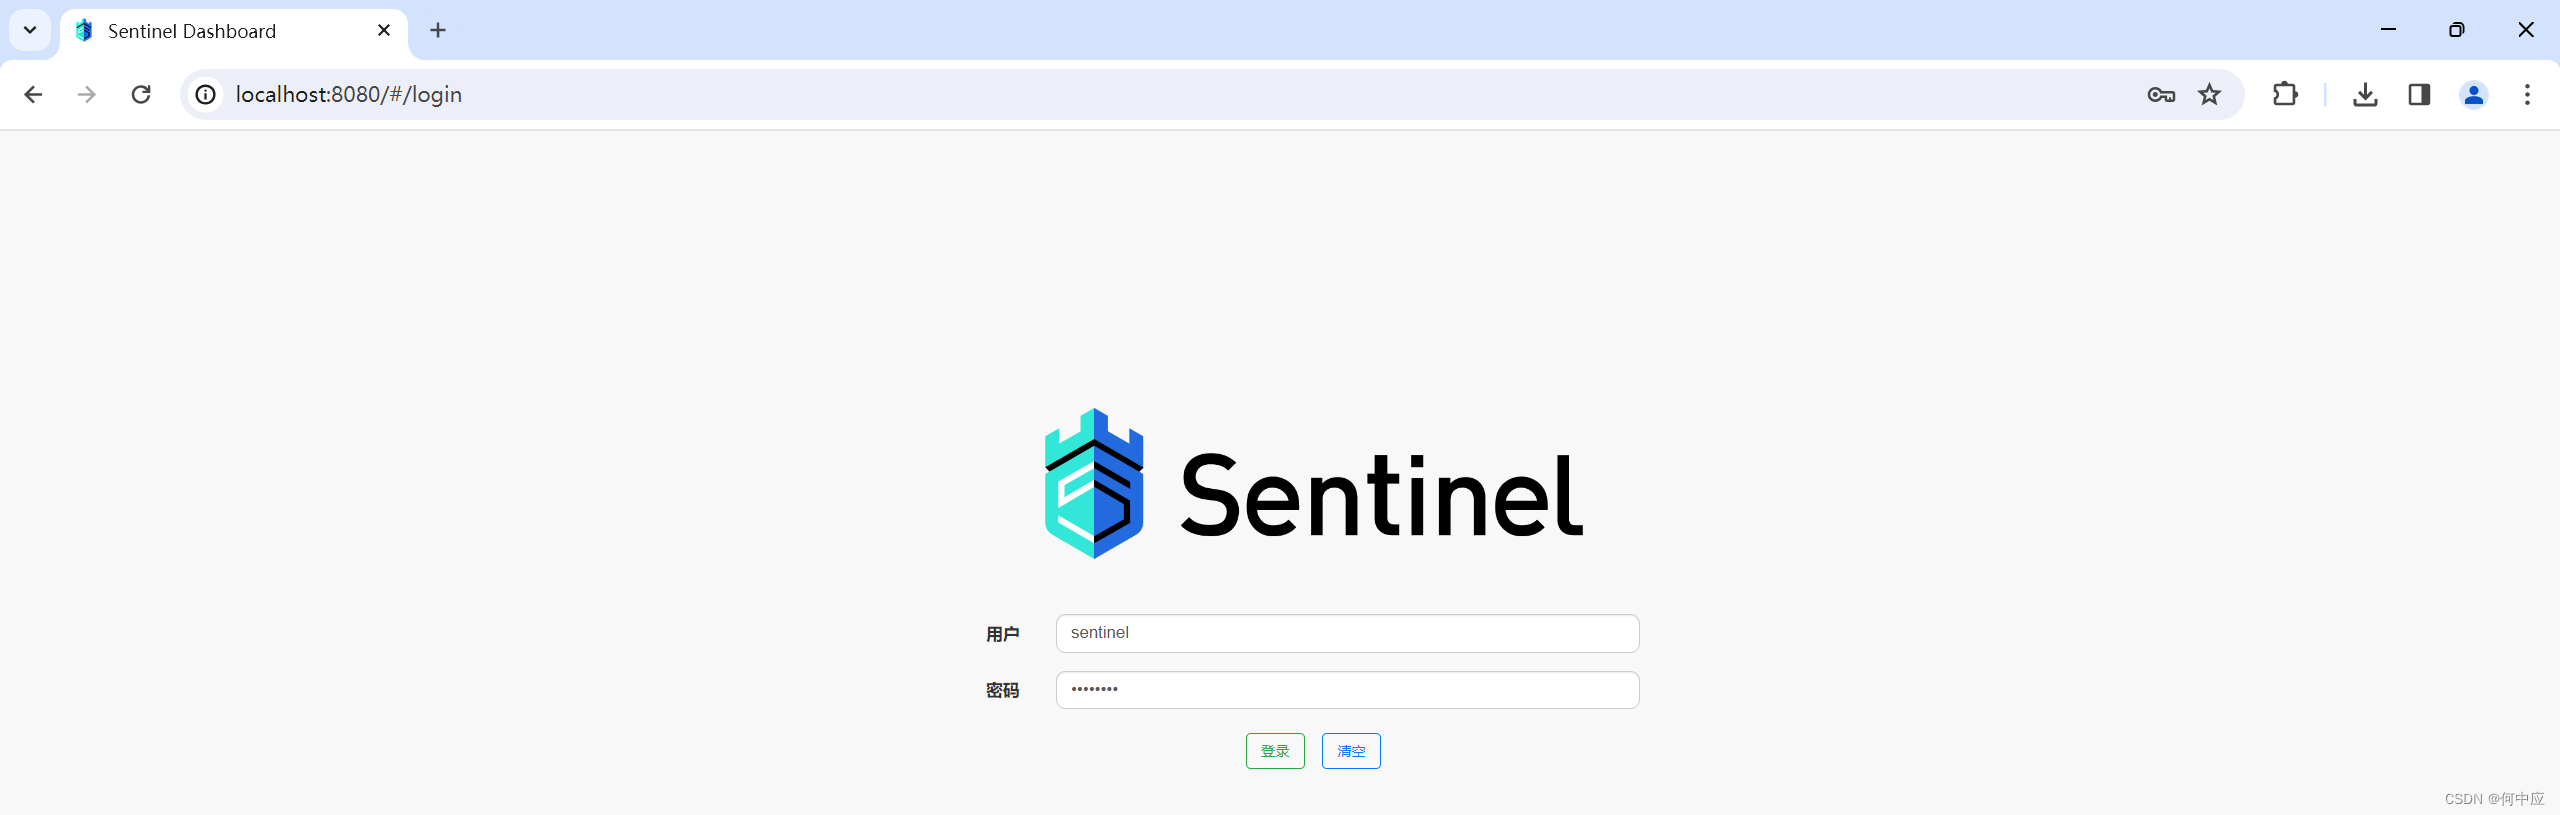
启动完成后,在浏览器中输入http://localhost:8080/可进入sentinel控制台,初始账号密码:sentinel/sentinel;
使用
登录进去后,接着我们重启前面的两个服务,再次访问查询订单的接口,触发一次由订单服务向用户服务的请求,即可在sentinel控制台左侧看到订单服务的菜单栏;
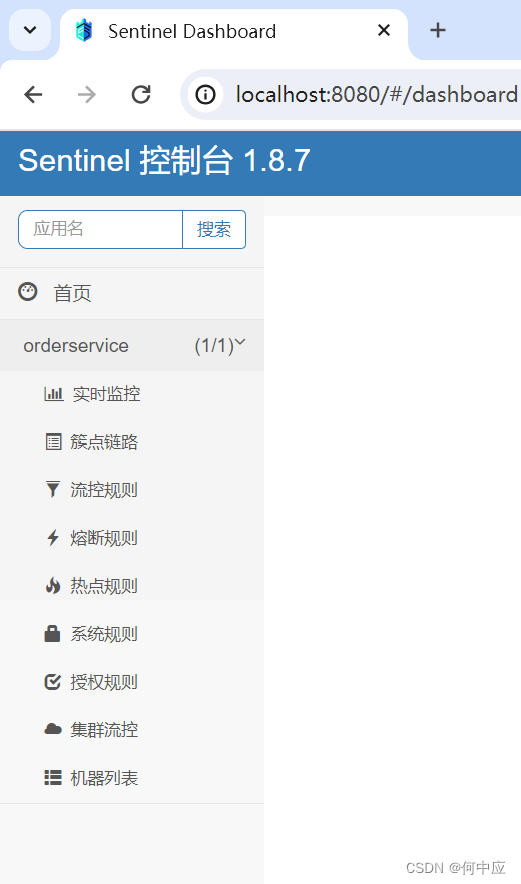
上面就是针对订单服务的一系列功能,比如我们想对订单服务进行流量控制,可通过下面的操作实现:
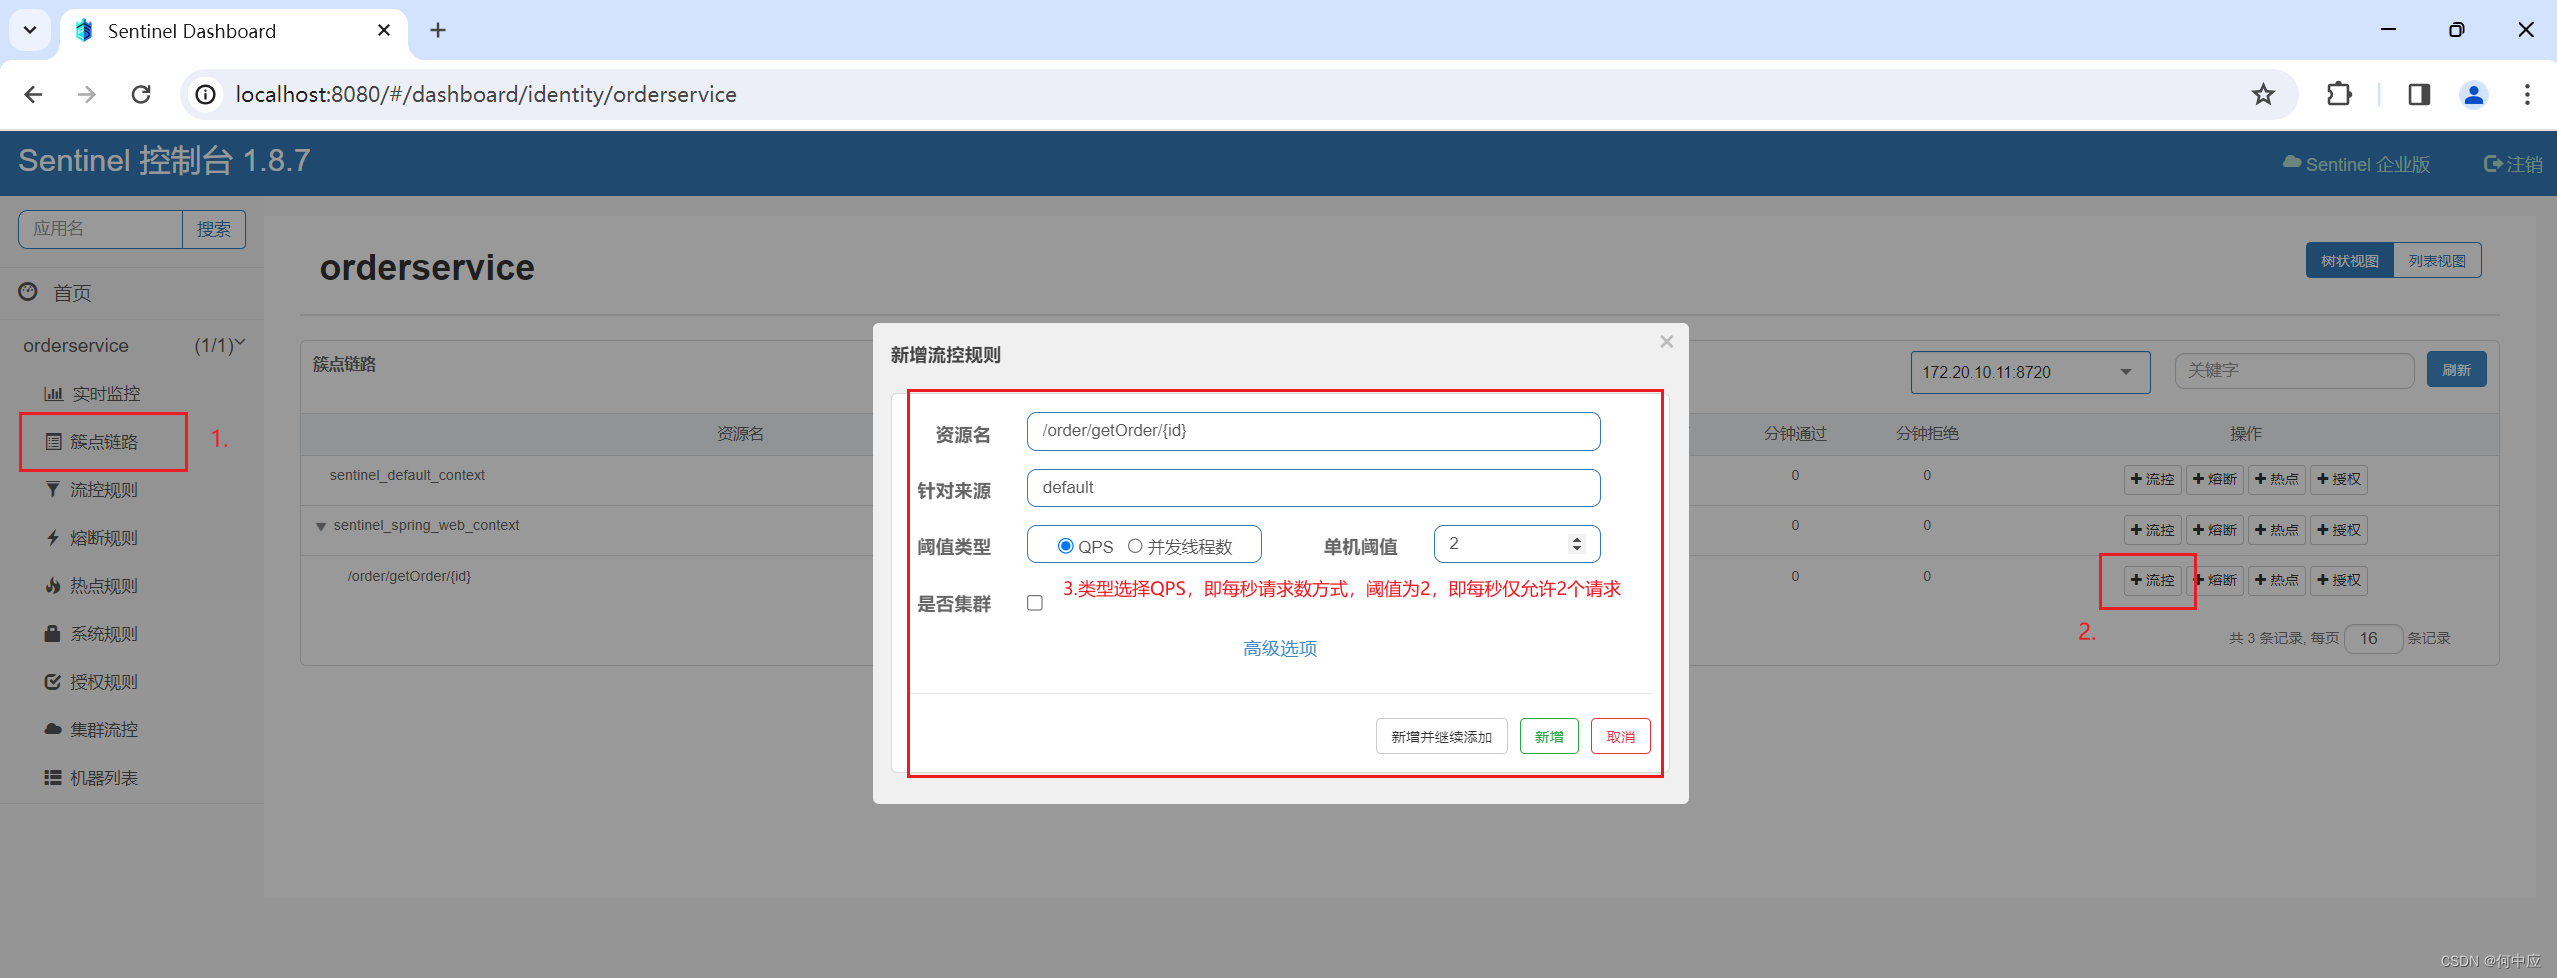
可在 流控规则 中查看到我们新增的这条规则;

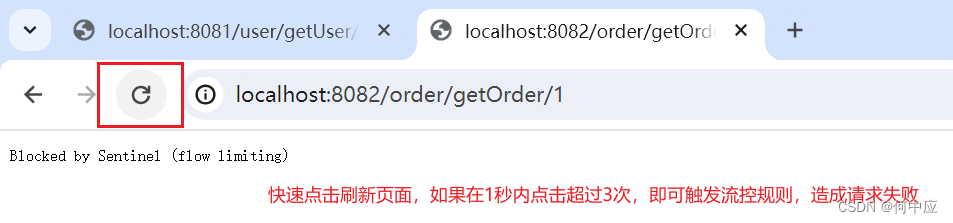
这个时候,我们快速点击刷新页面,可以观察到请求失败的情况,但需要注意,失败不是持久的,而是1秒内超过2次请求才会失败,如果1秒点两次,1秒点两次,则不会失败。
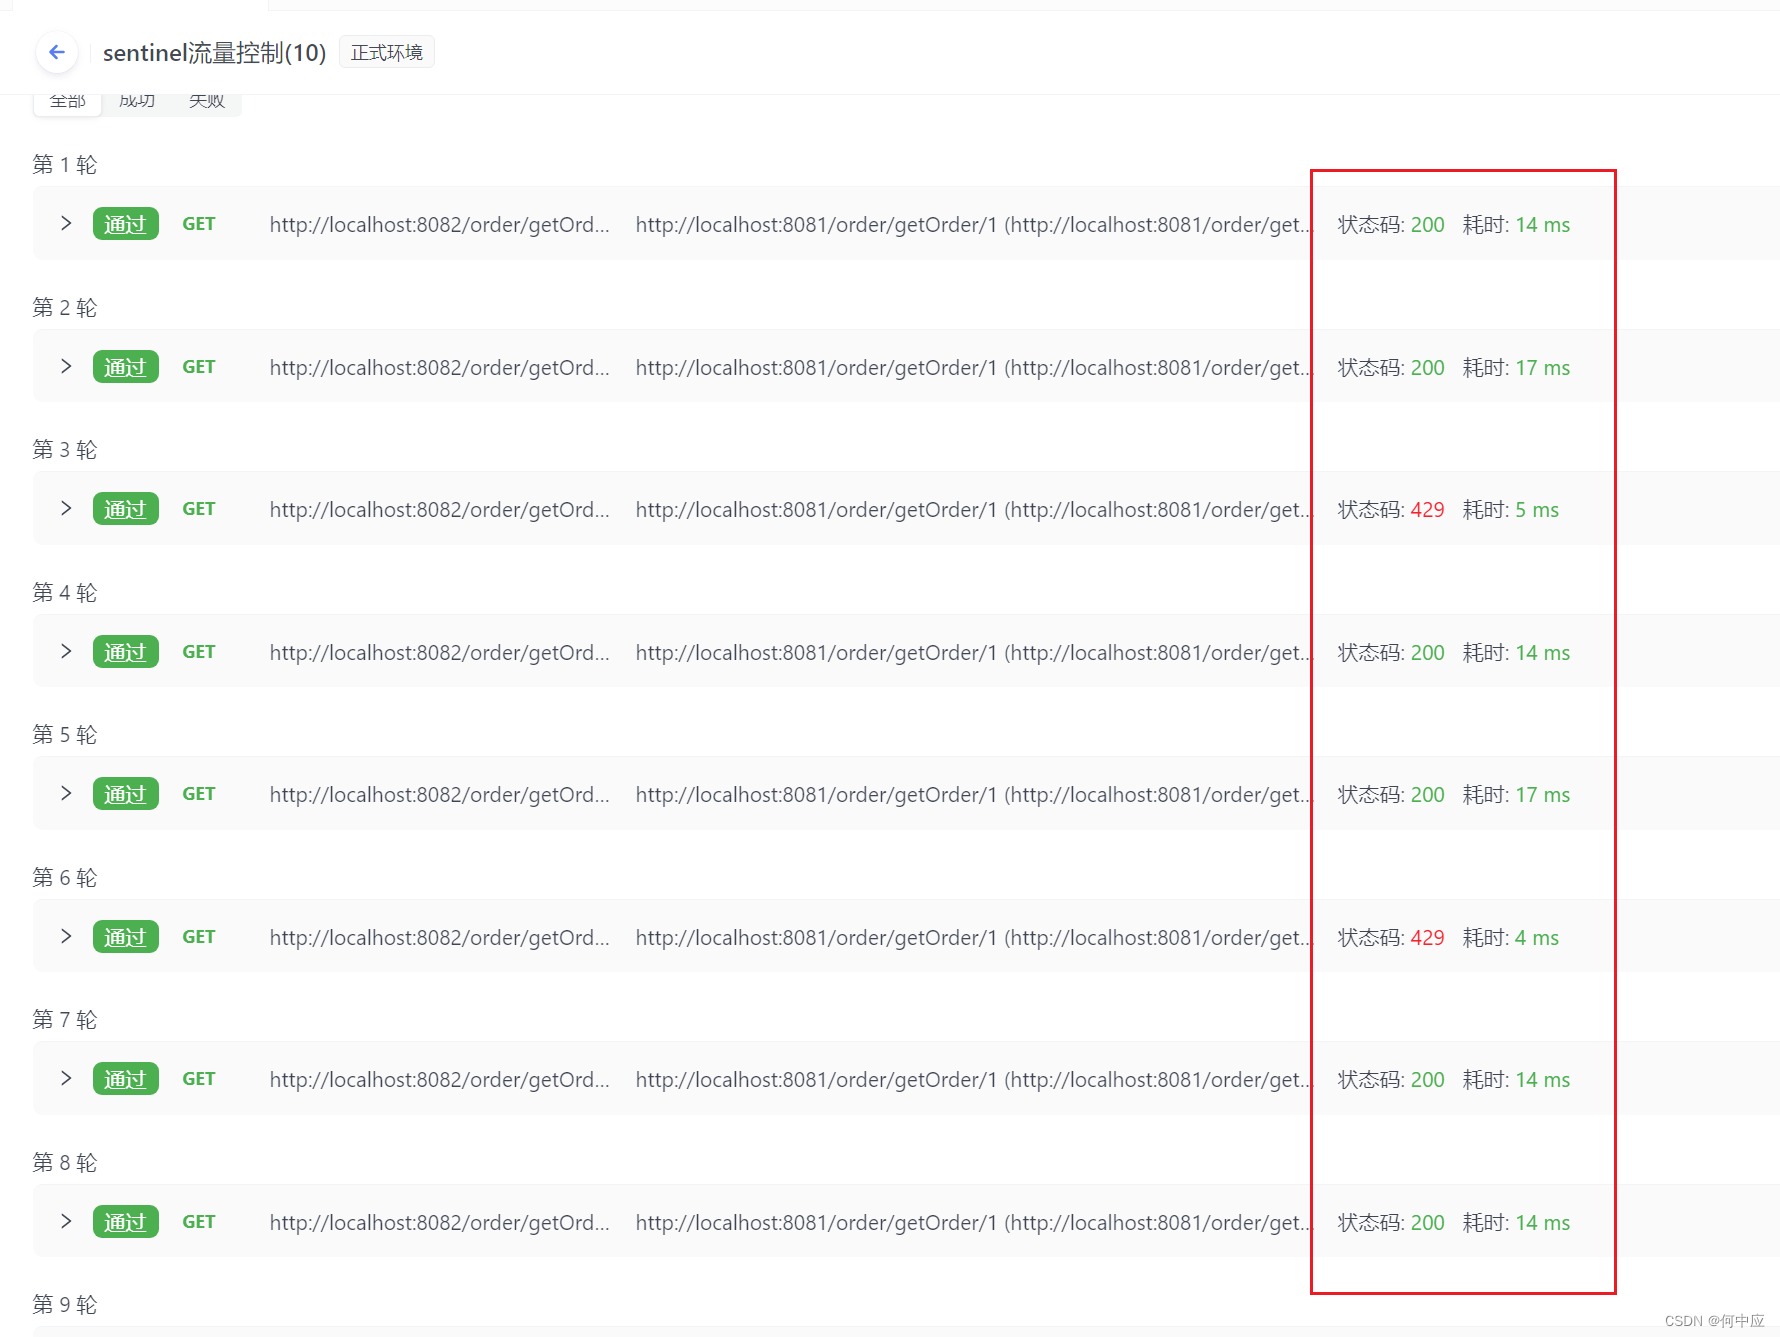
我们可以使用Apifox进行自动化测试,如下,我们设置10次请求,每次请求后停顿200ms;

运行,查看结果。状态码:200是正常的,状态码:429是失败的。可以看到有周期性失败的请求,这些就是请求过于频繁(即触发了流控规)导致失败的请求。
说明
本文介绍了Sentinel在微服务项目中的整合及简单使用