项目完整的源代码
QT中使用定时器,有两种方式:
- 定时器类:QTimer
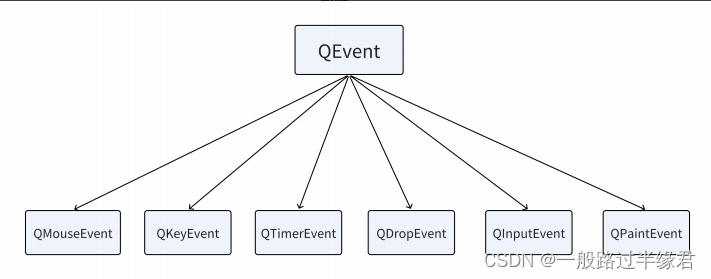
- 定时器事件:QEvent::Timer,对应的子类是QTimerEvent
1 定时器事件
1.1 界面布局
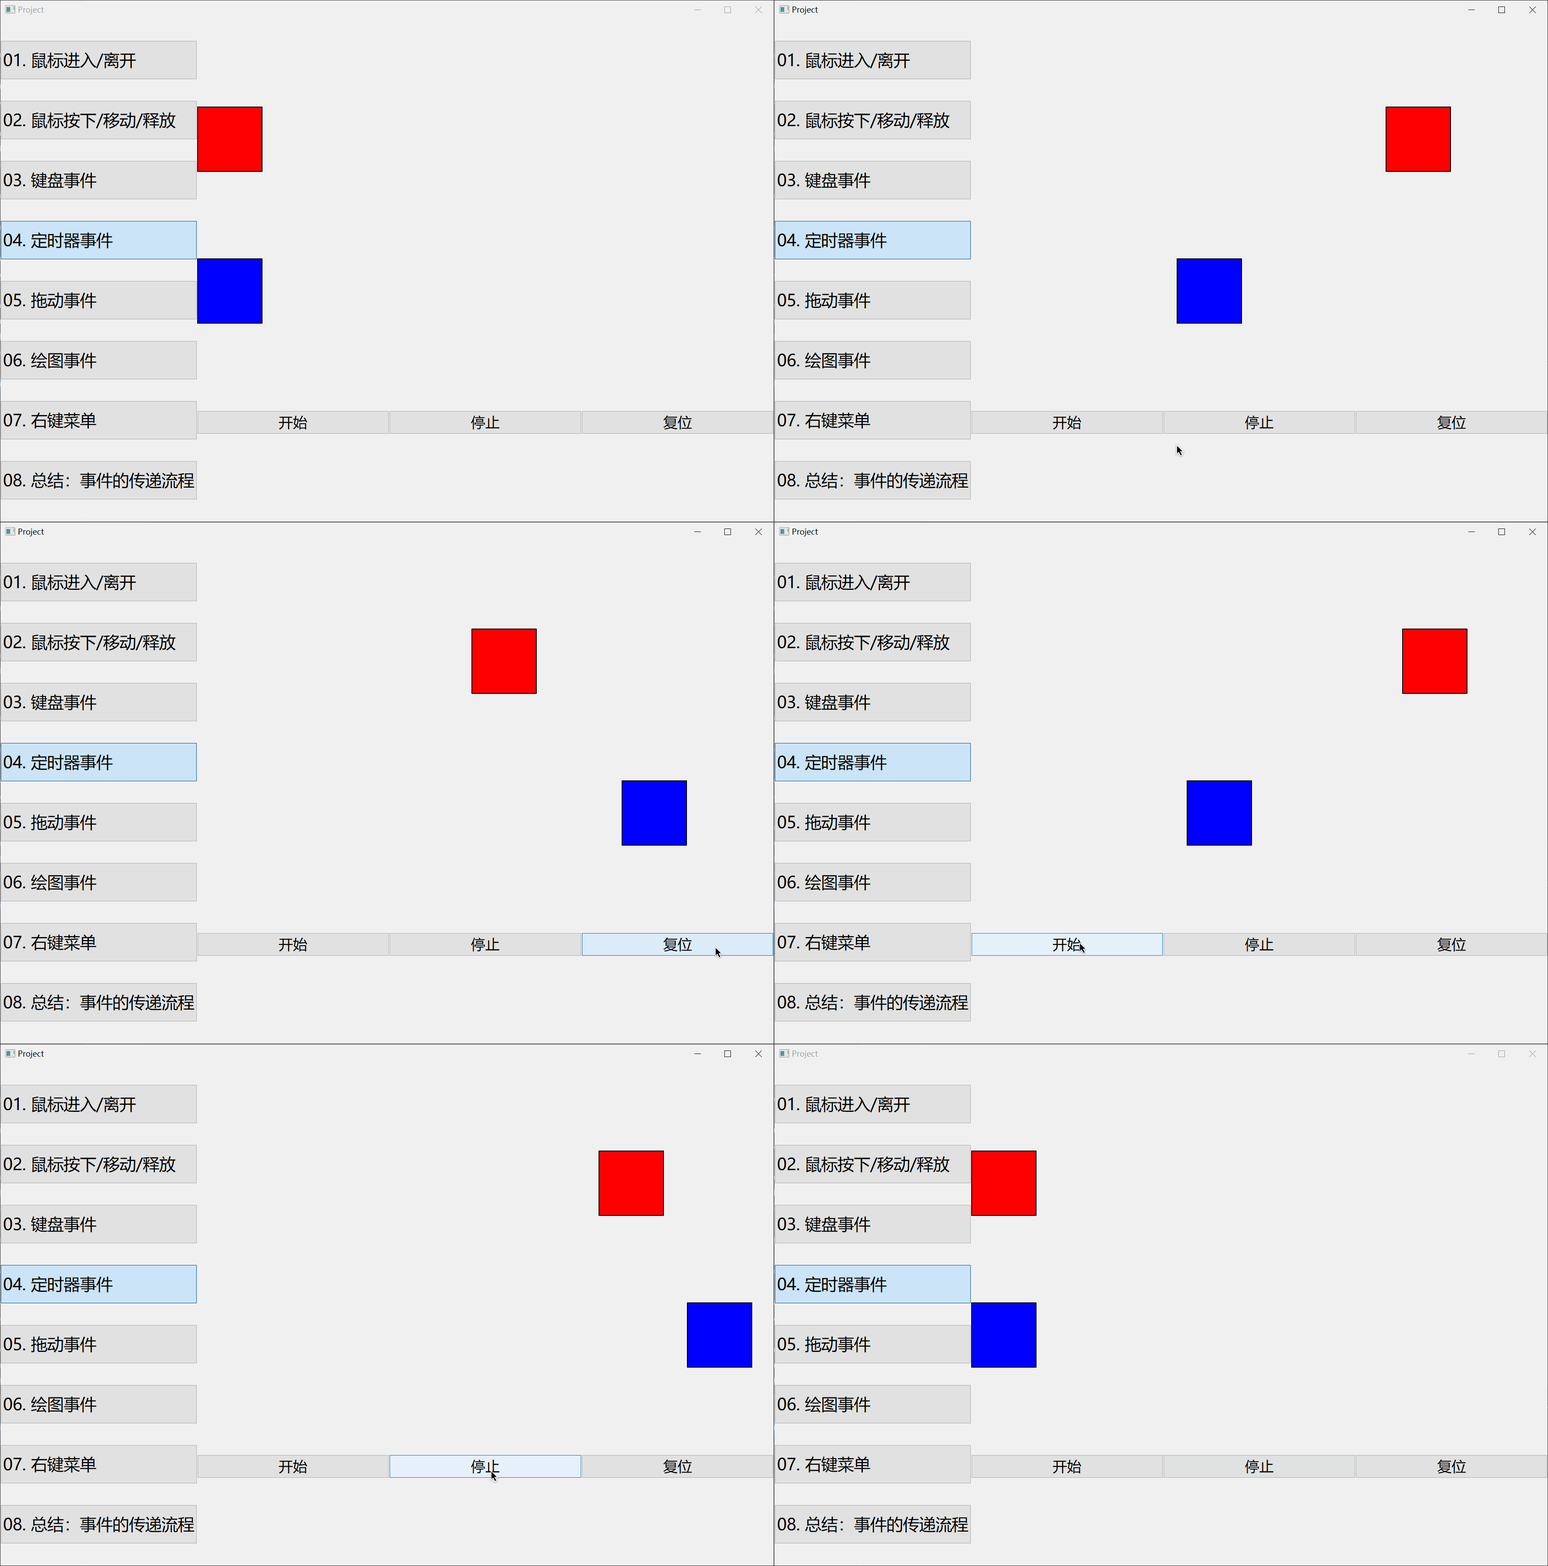
把两个标签以及“启动”、“停止"、“复位”三个按钮布局在界面上。
首先,来到timer_widget.h,声明两个标签:
// timer_widget.h
private:
    QLabel *lbl1;
    QLabel *lbl2;
在timer_widget.cpp 中 实现布局
// timer_widget.cpp

TimerWidget::TimerWidget(QWidget* parent) : QWidget{parent} {
    QVBoxLayout* verticalLayout = new QVBoxLayout(this);
    verticalLayout->setSpacing(0);
    verticalLayout->setContentsMargins(0, 0, 0, 0);

    // 第一个标签控件
    lbl1 = new QLabel(this);
    lbl1->setFrameShape(QFrame::Box);
    lbl1->setFixedSize(100, 100);
    lbl1->setStyleSheet("background-color: red;");
    verticalLayout->addWidget(lbl1);

    // 第二个标签控件
    lbl2 = new QLabel(this);
    lbl2->setFrameShape(QFrame::Box);
    lbl2->setFixedSize(100, 100);
    lbl2->setStyleSheet("background-color: blue;");
    verticalLayout->addWidget(lbl2);

    // 添加水平布局 - 三个按钮
    QHBoxLayout* horizontalLayout = new QHBoxLayout(this);
    horizontalLayout->setSpacing(0);
    horizontalLayout->setContentsMargins(0, 0, 0, 0);
    verticalLayout->addLayout(horizontalLayout);

    QPushButton* btnStart = new QPushButton(this);
    QPushButton* btnStop = new QPushButton(this);
    QPushButton* btnReset = new QPushButton(this);
    btnStart->setText("开始");
    btnStop->setText("停止");
    btnReset->setText("复位");
    horizontalLayout->addWidget(btnStart);
    horizontalLayout->addWidget(btnStop);
    horizontalLayout->addWidget(btnReset);

    this->setStyleSheet(R"(
        QPushButton {
            font-Size: 22px;
        }
    )");

    connect(btnStart, &QPushButton::clicked, this,
            &TimerWidget::onStartClicked);
    connect(btnStop, &QPushButton::clicked, this, &TimerWidget::onStopClicked);
    connect(btnReset, &QPushButton::clicked, this,
            &TimerWidget::onResetClicked);
}
1.2 关联信号槽
关联按钮与槽函数
// 点击按钮触发开启定时器函数
connect(btnStart, &QPushButton::clicked, this,
            &TimerWidget::onStartClicked);
// 点击按钮触发关闭定时器函数
    connect(btnStop, &QPushButton::clicked, this, &TimerWidget::onStopClicked);
// 点击按钮触发标签复位
    connect(btnReset, &QPushButton::clicked, this,
            &TimerWidget::onResetClicked);
1.3 重写timerEvent
在timer_widget.cpp 文件中重写timerEvent函数
// timer_widget.cpp

void TimerWidget::timerEvent(QTimerEvent* event) {
    // id1 的时间为 10ms 时间到了 做这件事
    if (event->timerId() == id1) {
        lbl1->move(lbl1->x() + 5, lbl1->y());
        if (lbl1->x() > this->width()) {
            lbl1->move(0, lbl1->y());
        }
        // id2 的时间为 20ms 时间到了 做这件事
    } else if (event->timerId() == id2) {
        lbl2->move(lbl2->x() + 5, lbl2->y());
        if (lbl2->x() > this->width()) {
            lbl2->move(0, lbl2->y());
        }
    }
}
1.4 实现槽函数 启动定时器
在 timer_widget.cpp
void TimerWidget::onStartClicked() {
    // 启动定时器 - timerEvent
    // 时间到了自动执行timerEvent函数
    id1 = startTimer(10);  // 10ms
    id2 = startTimer(20);
}

void TimerWidget::onStopClicked() {
    killTimer(id1);
    killTimer(id2);
}

void TimerWidget::onResetClicked() {
    lbl1->move(0, lbl1->y());
    lbl2->move(0, lbl2->y());
}
2 定时器类
接下来,使用定时器类QTimer来实现以上同样的效果
首先,在timer_widget.h声明两个定时器类的对象,以及定时超时的槽函数:
// timer_widget.h
private slots:
    void onTimerout1();
    void onTimerout2();

private:
    QTimer *timer1;
    QTimer *timer2;
然后,在timer_widget.cpp中实现两个定时超时槽函数:
// timer_widget.cpp
void TimerWidget::onTimerout1() {
    lbl1->move(lbl1->x() + 5, lbl1->y());
    if (lbl1->x() > this->width()) {
        lbl1->move(0, lbl1->y());
    }
}

void TimerWidget::onTimerout2() {
    lbl2->move(lbl2->x() + 5, lbl2->y());
    if (lbl2->x() > this->width()) {
        lbl2->move(0, lbl2->y());
    }
}
关联结束时间信号触发槽
// timer_widget.cpp
    timer1 = new QTimer(this);
    timer2 = new QTimer(this);
    connect(timer1, &QTimer::timeout, this, &TimerWidget::onTimerout1);
    connect(timer2, &QTimer::timeout, this, &TimerWidget::onTimerout2);
实现槽函数 启动定时器
void TimerWidget::onStartClicked() {
    timer1->start(10);
    timer2->start(20);
}

void TimerWidget::onStopClicked() {
    timer1->stop();
    timer2->stop();
}

