1.为openlab搭建网站
要求:
给该公司创建三个子界面分别显示学生信息,教学资料和缴费网站,基于www.openlab.com/student网站访问学生信息,www.openlab.com/data网站访问教学资料,www.openlab.com/money网站访问缴费。
要求:
(1)学生信息网站只有song和tian两人可以访问,其他用户不能访问。
(2)访问缴费网站实现数据加密基于https访问。
准备工作
[root@server ~]# systemctl stop firewalld#关闭防火墙
[root@server ~]# setenforce 0#关闭安全软件selinux
[root@server ~]# yum install nginx -y
[root@server ~]# yum install httpd -y#安装相关包
步骤1: 启动
# 启动Nginx服务
systemctl start nginx
# 设置Nginx开机自启动
systemctl enable nginx
步骤2: 配置Nginx网站
# 创建并编辑Nginx配置文件
vim /etc/nginx/conf.d/openlab.conf
在打开的文件中添加以下内容:
server {
listen 80;
server_name www.openlab.com;
location /student {
auth_basic "Restricted Access";
auth_basic_user_file /etc/nginx/.htpasswd;
root /var/www/student;
index index.html;
}
location /data {
root /var/www/data;
index index.html;
}
}
server {
server_name www.openlab.com;
listen 443 ssl;
root /var/www/money;
ssl_certificate /etc/pki/tls/certs/openlab.crt;
ssl_certificate_key /etc/pki/tls/private/openlab.key;
location / {
}
}
保存并退出编辑器。
步骤3:创建网站目录和文件
mkdir -p /www/openlab/student
mkdir -p /www/openlab/data
mkdir -p /www/openlab/money
echo "Welcome to www.openlab.com" > /www/openlab/index.html
echo "This is the student page" > /www/openlab/student/index.html
echo "This is the data page" > /www/openlab/data/index.html
echo "This is the money page" > /www/openlab/money/index.html
步骤:4: 创建用户
# 创建用户song useradd song passwd song 更改用户 song 的密码 。 新的密码: 无效的密码: 密码少于 8 个字符 重新输入新的密码: passwd:所有的身份验证令牌已经成功更新。 # 创建用户tian useradd tian passwd tian 更改用户 tian 的密码 。 新的密码: 无效的密码: 密码少于 8 个字符 重新输入新的密码: passwd:所有的身份验证令牌已经成功更新。
步骤5: 设置用户访问控制
#创建文件夹 mkdir -p /var/www/openlab #设置文件夹权限 chown -R nginx:nginx /var/www/openlab # 创建.htpasswd文件并添加用户song和tian htpasswd -c /var/www/openlab/.htpasswd song New password: Re-type new password: Adding password for user song htpasswd /var/www/openlab/.htpasswd tian New password: Re-type new password: Adding password for user tian
步骤6: 重启Nginx服务(查看语法错误: nginx -t)
# 重启Nginx服务
systemctl restart nginx
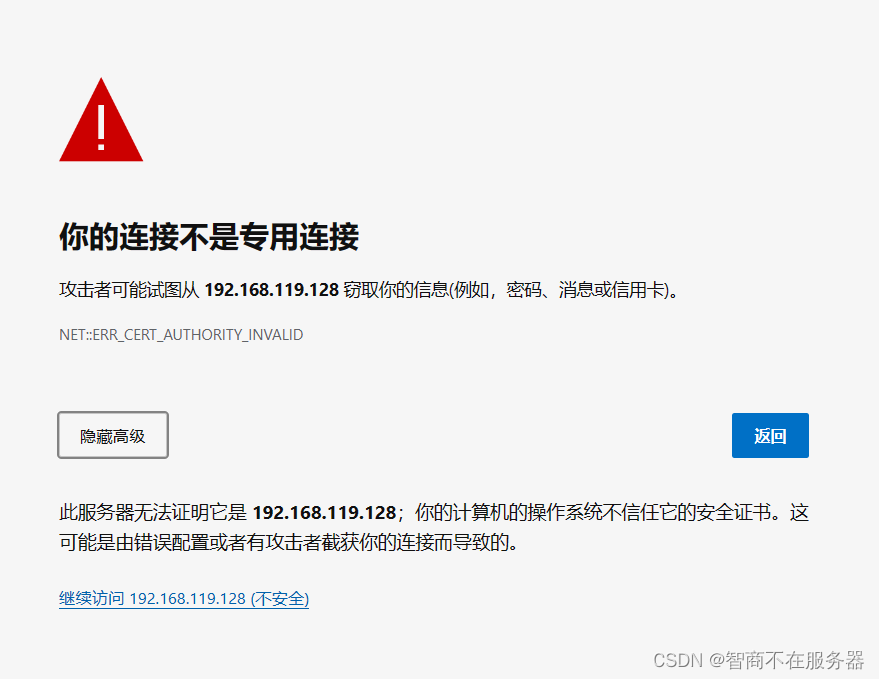
选择继续访问即可
2.实验任务: 架设一台NFS服务器,并按照以下要求配置
1、开放/nfs/shared目录,供所有用户查询资料;
2、开放/nfs/upload目录,该目录为172.24.8.0/24网段的主机的数据上传目录,并将所有该网段主机上传文件的所属者和所属组映射为nfs-upload,其UID和GID为2001;
3、将/home/tom(该目录为uid=1111,gid=1111的tom用户的家目录)目录仅共享给172.24.8.129这台主机上的jerry用户,jerry对该目录具有访问、新建和删除文件的权限。
实验步骤:
1.安装对应NFS和RPC的软件包,关闭防火墙
[root@localhost nfs]# yum install nfs-utils -y
[root@localhost nfs]# yum install rpcbind -y
[root@localhost nfs]# systemctl stop firewalld.service
[root@localhost nfs]# setenforce 0
1、开放/nfs/shared目录,供所有用户查询资料; 进入exports文件中配置文件传输的权限
[root@localhost tom]# vim /etc/exports /nfs/shared (ro) #号代表可以给所以主机共享
2、开放/nfs/upload目录,该目录为172.24.8.0/24网段的主机的数据上传目录,并将所有该网段主机上传文件的所属者和所属组映射为nfs-upload,其UID和GID为2001; 进入exports配置目录文件传输信息
[root@localhost tom]# vim /etc/exports /nfs/upload 192.168.175.0/24(rw,all_squash,anonuid=2001,anongid=2001)
创建用户和设置UID和GID
[root@localhost nfs]# useradd -u 2001 nfs-upload [root@localhost nfs]# id nfs-upload uid=2001(nfs-upload) gid=2001(nfs-upload) groups=2001(nfs-upload)
3、将/home/tom(该目录为uid=1111,gid=1111的tom用户的家目录)目录仅共享给192.168.175.133这台主机上的jerry用户,jerry对该目录具有访问、新建和删除文件的权限。 进入exports配置目录文件传输信息
[root@localhost tom]# vim /etc/exports /home/tom 192.168.175.133(rw)
添加tom用户查看用户信息
[root@localhost nfs]# useradd -u 1111 tom
[root@localhost nfs]# ll /home/ total 4
drwx------. 3 nfs-upload nfs-upload 78 Aug 11 15:48 nfs-upload
drwx------. 15 redhat redhat 4096 Jul 15 14:29 redhat
drwx------. 3 tom tom 78 Aug 11 16:17 tom
drwx------. 3 nfs-upload nfs-upload 78 Aug 11 15:46 ufs-upload
重启服务即可
[root@localhost nfs]# systemctl restart rpcbind
[root@localhost nfs]# systemctl restart nfs-server.service
在另外用户上创建jerry用户并且UID和GID同为1111,挂载到本地
[root@localhost upload]# useradd jerry -u 1111
[root@localhost nfs]# mount 192.168.175.129:/home/tom tom/
[root@localhost nfs]# ll total 0
drwxr-xr-x. 2 root root 20 Aug 11 15:40 shared
drwx------. 3 jerry jerry 78 Aug 11 16:17 tom
drwxr-xrwx. 2 root root 32 Aug 11 16:10 upload
最后在客户机上测试Jerry用户进入tom目录增删改查
[root@localhost nfs]# su - jerry
[jerry@localhost ~]$ cd /nfs/
[jerry@localhost nfs]$ ll
total 0
drwxr-xr-x. 2 root root 20 Aug 11 15:40 shared
drwx------. 3 jerry jerry 78 Aug 11 16:17 tom
drwxr-xrwx. 2 root root 32 Aug 11 16:10 upload
[jerry@localhost nfs]$ cd tom/
[jerry@localhost tom]$ touch file
[jerry@localhost tom]$ ll
total 0
-rw-rw-r--. 1 jerry jerry 0 Aug 11 16:33 file
-rw-r--r--. 1 root root 0 Aug 11 16:44 server