Raspbian安装摄像头
1. 源由
家里闲置两块树莓派,打算做个WiFi视频流RTSP/RTP:
- Raspberry Pi Zero W
- Raspberry Pi 3B+
注:后续打算上天,帮我在模拟航模上拍点高清视频。
2. 摄像头
2.1 选型
本来想上一个热成像摄像头,看看夜景,奈何并非这么简单,而且价格也高。就不整那个玩意了。
大白天,我们选了两款:
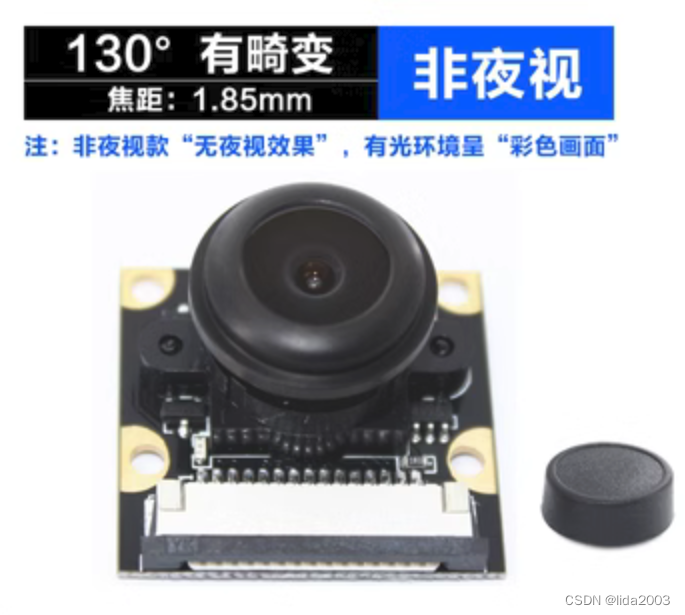
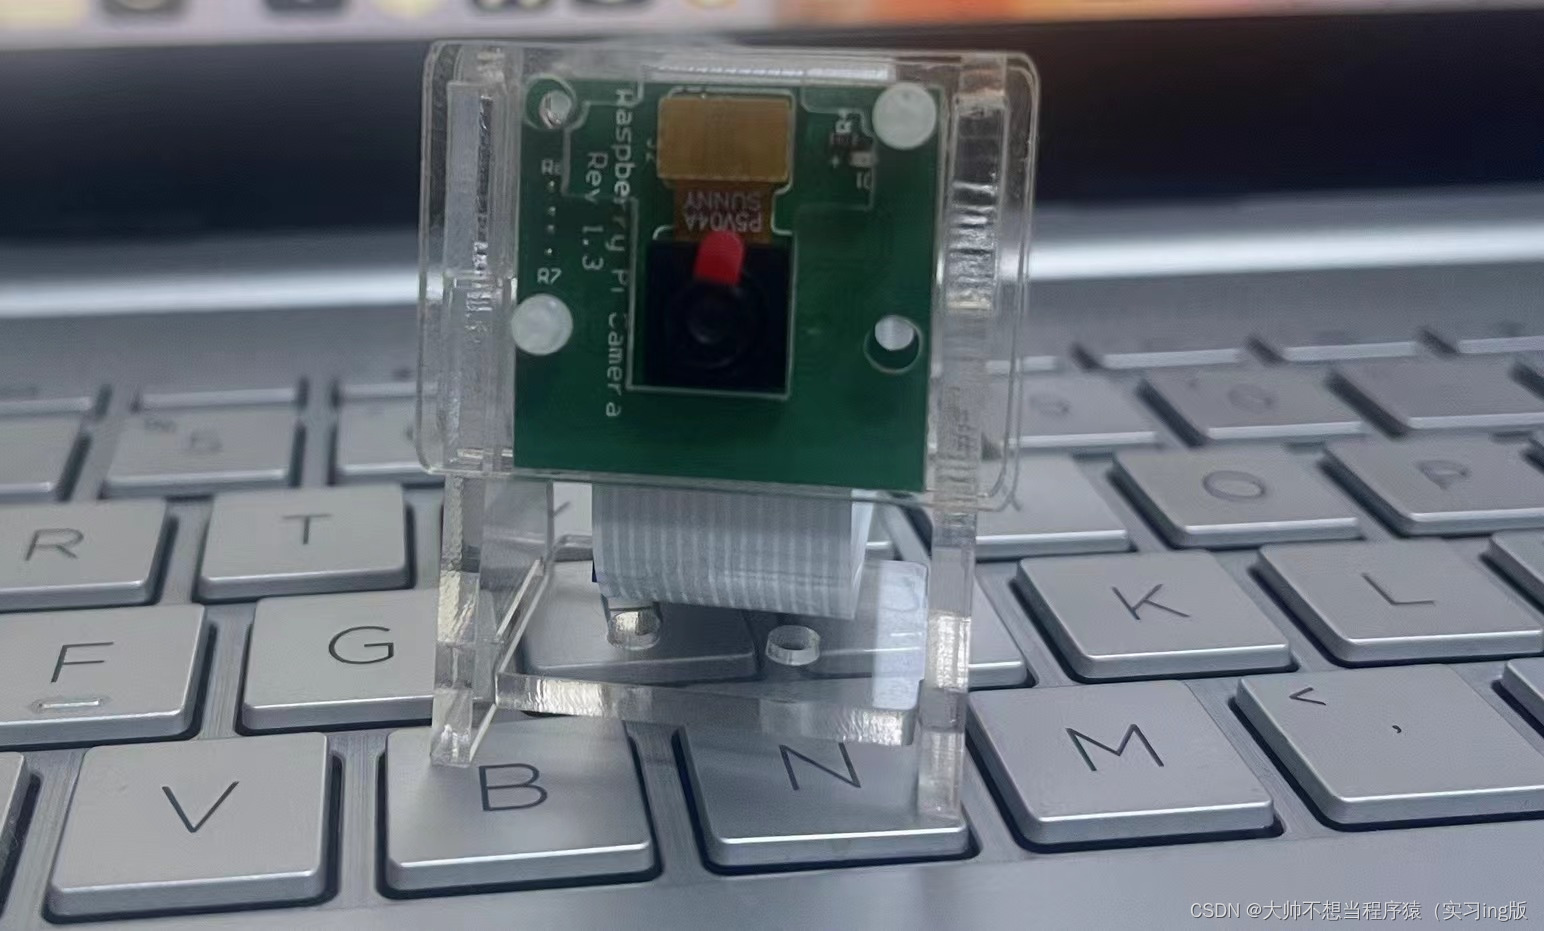
鱼眼 OV5647 130° 1.85mm 非夜视
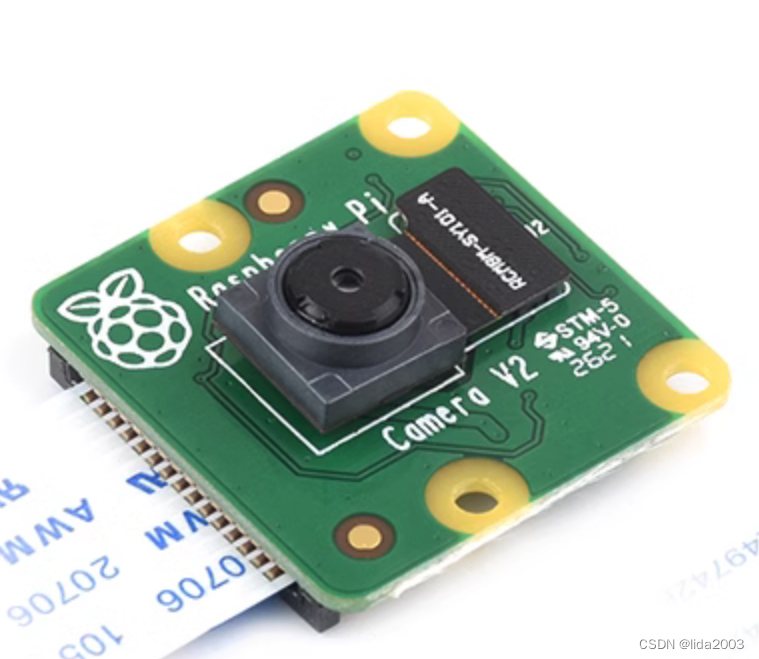
树莓派原装 V2 IMX219 NoIR
2.2 系统
妥妥的原生态系统bullseye,目前来说,兼容性是比较好的。系统安装参考:Raspbian镜像无头烧录
注:如果想使用其他系统,可以访问:raspios_lite_arm64
2.3 安装
Raspberry Pi Zero W
Raspberry Pi 3B+
3. 配置&命令
3.1 命令
新系统已经不支持raspistill和raspivid了,更多用的是libcamera。
$ libcamera-
libcamera-hello  libcamera-jpeg   libcamera-raw    libcamera-still  libcamera-vid
- libcamera-hello: 一个简单的“ Hello World”应用程序,该应用程序启动了相机预览流并在屏幕上显示。
- libcamera-jpeg: 一个简单的应用程序来运行预览窗口,然后捕获高分辨率静止图像。
- libcamera-still: 更复杂的静止图像捕获应用程序,该应用程序模拟了Raspistill的更多特征。
- libcamera-vid: 视频捕获应用程序。
- libcamera-raw: 直接从传感器捕获原始(未加工的拜耳)框架的基本应用程序。
注:以前raspistill: command not found命令已经被逐渐淘汰,详见:raspios_armhf/release_notes.txt。
2021-10-30:
- New default camera subsystem based on libcamera
- New camera demo applications (libcamera-still and libcamera-vid) have replaced raspistill and raspivid
- Legacy camera subsystem removed from 64-bit RPi OS (still available on 32-bit)
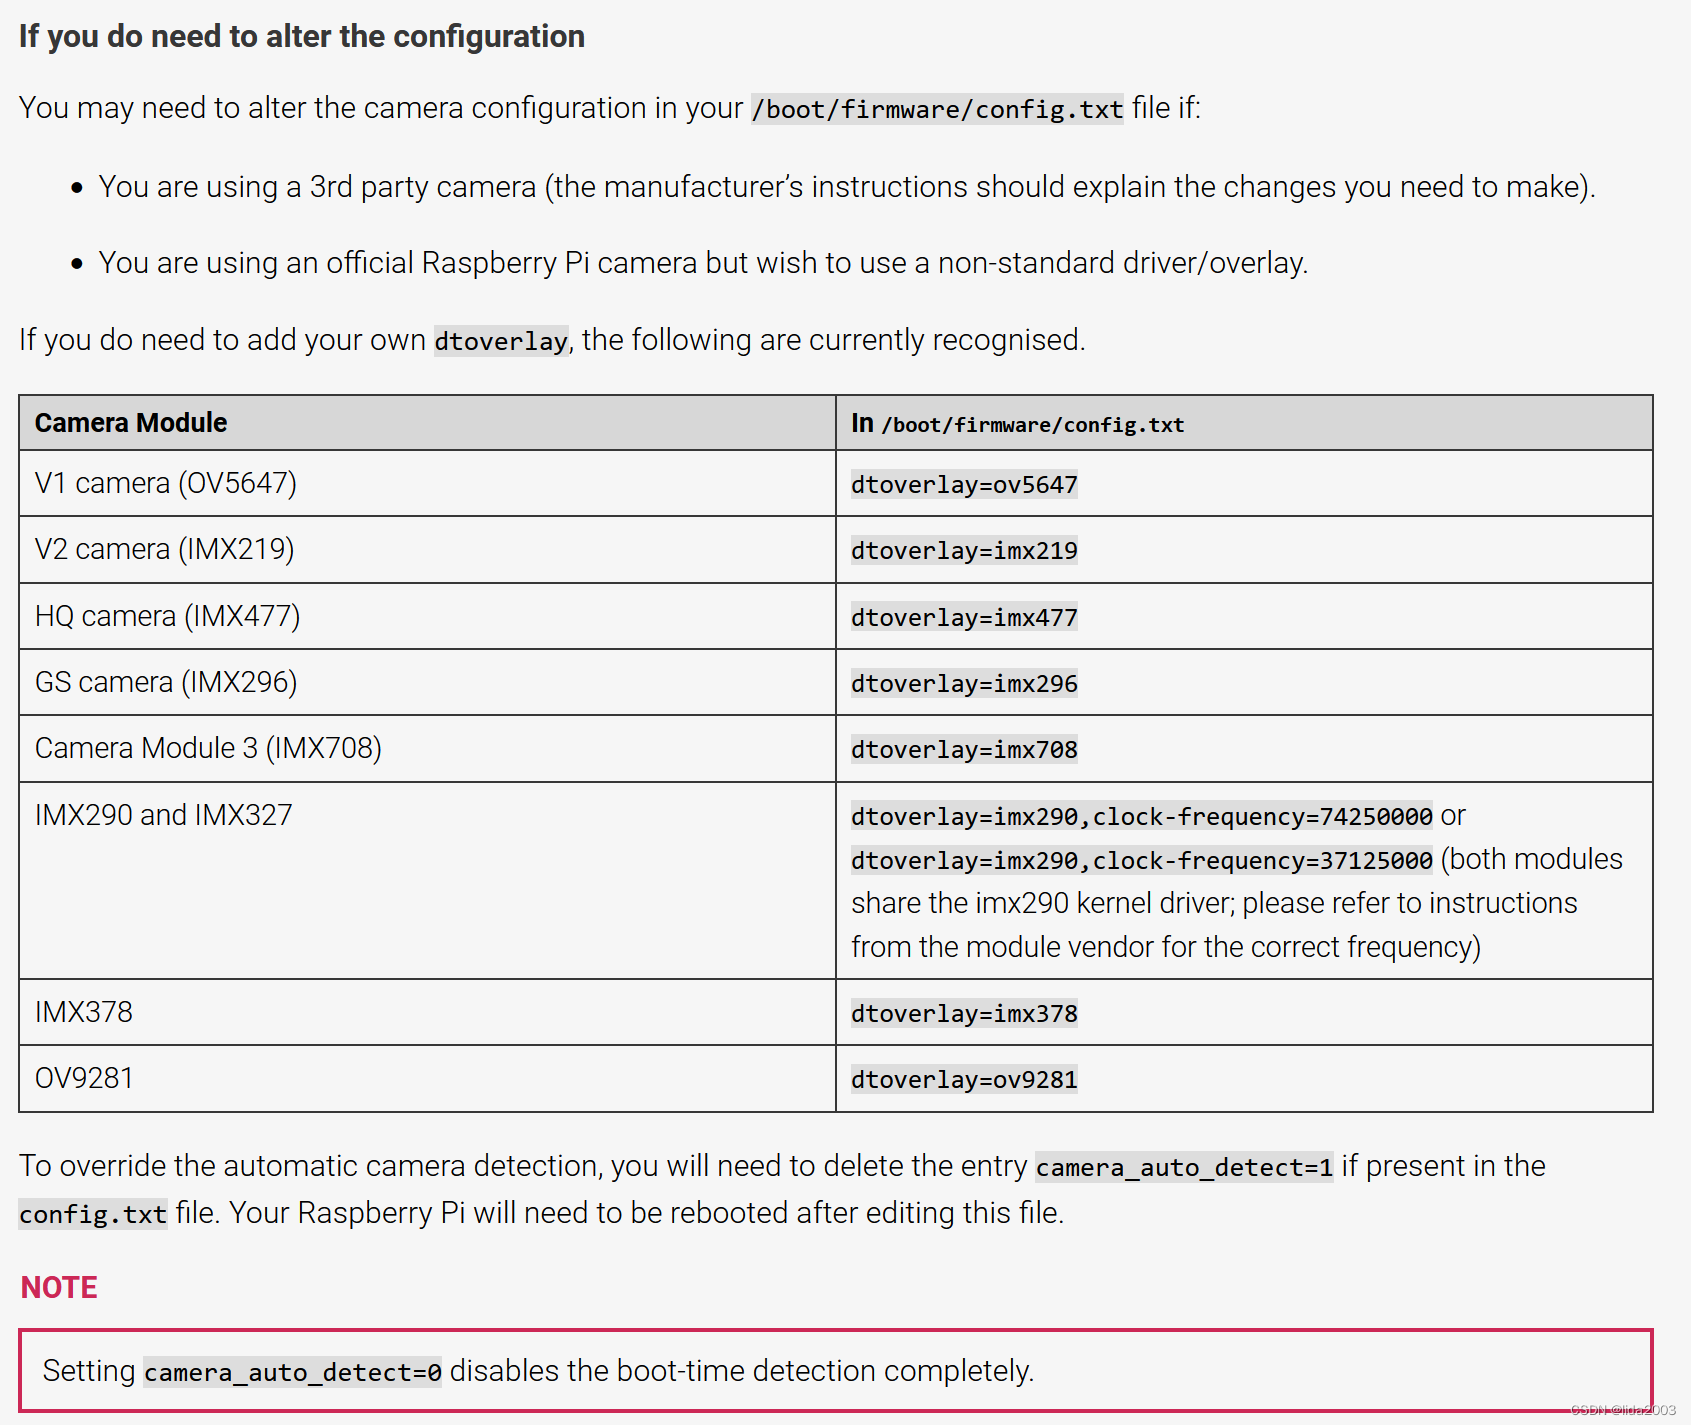
3.2 配置
$ sudo nano /boot/config.txt
Step 1:将
camera-auto-detect=1修改camera_auto_detect=0Step 2:根据摄像头不同型号,添加
dtoverlay驱动设置到/boot/config.txt文件中。
鱼眼 OV5647 130° 1.85mm 非夜视:
dtoverlay=ov5647
树莓派原装 V2 IMX219 NoIR:dtoverlay=imx219
4. 测试
4.1 拍照
拍照正常,基本驱动应该就正常了,详细的指令可以参考:Pi5-IMX219, www.waveshare.com
4.1.1 libcamera-jpeg
- 全像素JPEG拍照:
$ libcamera-jpeg -o test.jpg
- 指定宽度高度拍照:
$ libcamera-jpeg -o test.jpg -t 2000 --width 640 --height 480
- 指定曝光和增益拍照:// exposure 20ms, gain 1.5x
$ libcamera-jpeg -o test.jpg -t 2000 --shutter 20000 --gain 1.5
- 指定EV补偿拍照:
$ libcamera-jpeg --ev -0.5 -o darker.jpg
$ libcamera-jpeg --ev 0 -o normal.jpg
$ libcamera-jpeg --ev 0.5 -o brighter.jpg
4.1.2 libcamera-still
- 测试命令:
$ libcamera-still -o test.jpg
- 不同编码格式拍照:
$ libcamera-still -e png -o test.png
$ libcamera-still -e bmp -o test.bmp
$ libcamera-still -e rgb -o test.data
$ libcamera-still -e yuv420 -o test.data
- 原始数据保存:
$ libcamera-still -r -o test.jpg
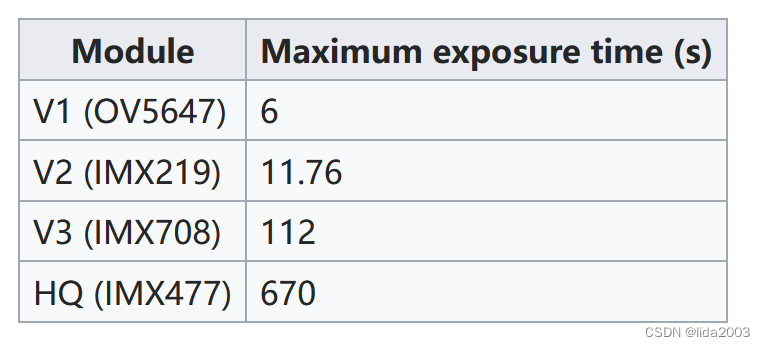
- 长时间曝光拍照:
$ libcamera-still -o long_exposure.jpg --shutter 100000000 --gain 1 --awbgains 1,1 --immediate
4.2 视频流
- Step 1:安装vlc组件
$ sudo apt-get install vlc
4.2.1 RTSP流
- Step 2:启动rtsp服务端
$ libcamera-vid -t 0 --inline -o - | cvlc stream:///dev/stdin --sout '#rtp{sdp=rtsp://:8554/stream1}' :demux=h264
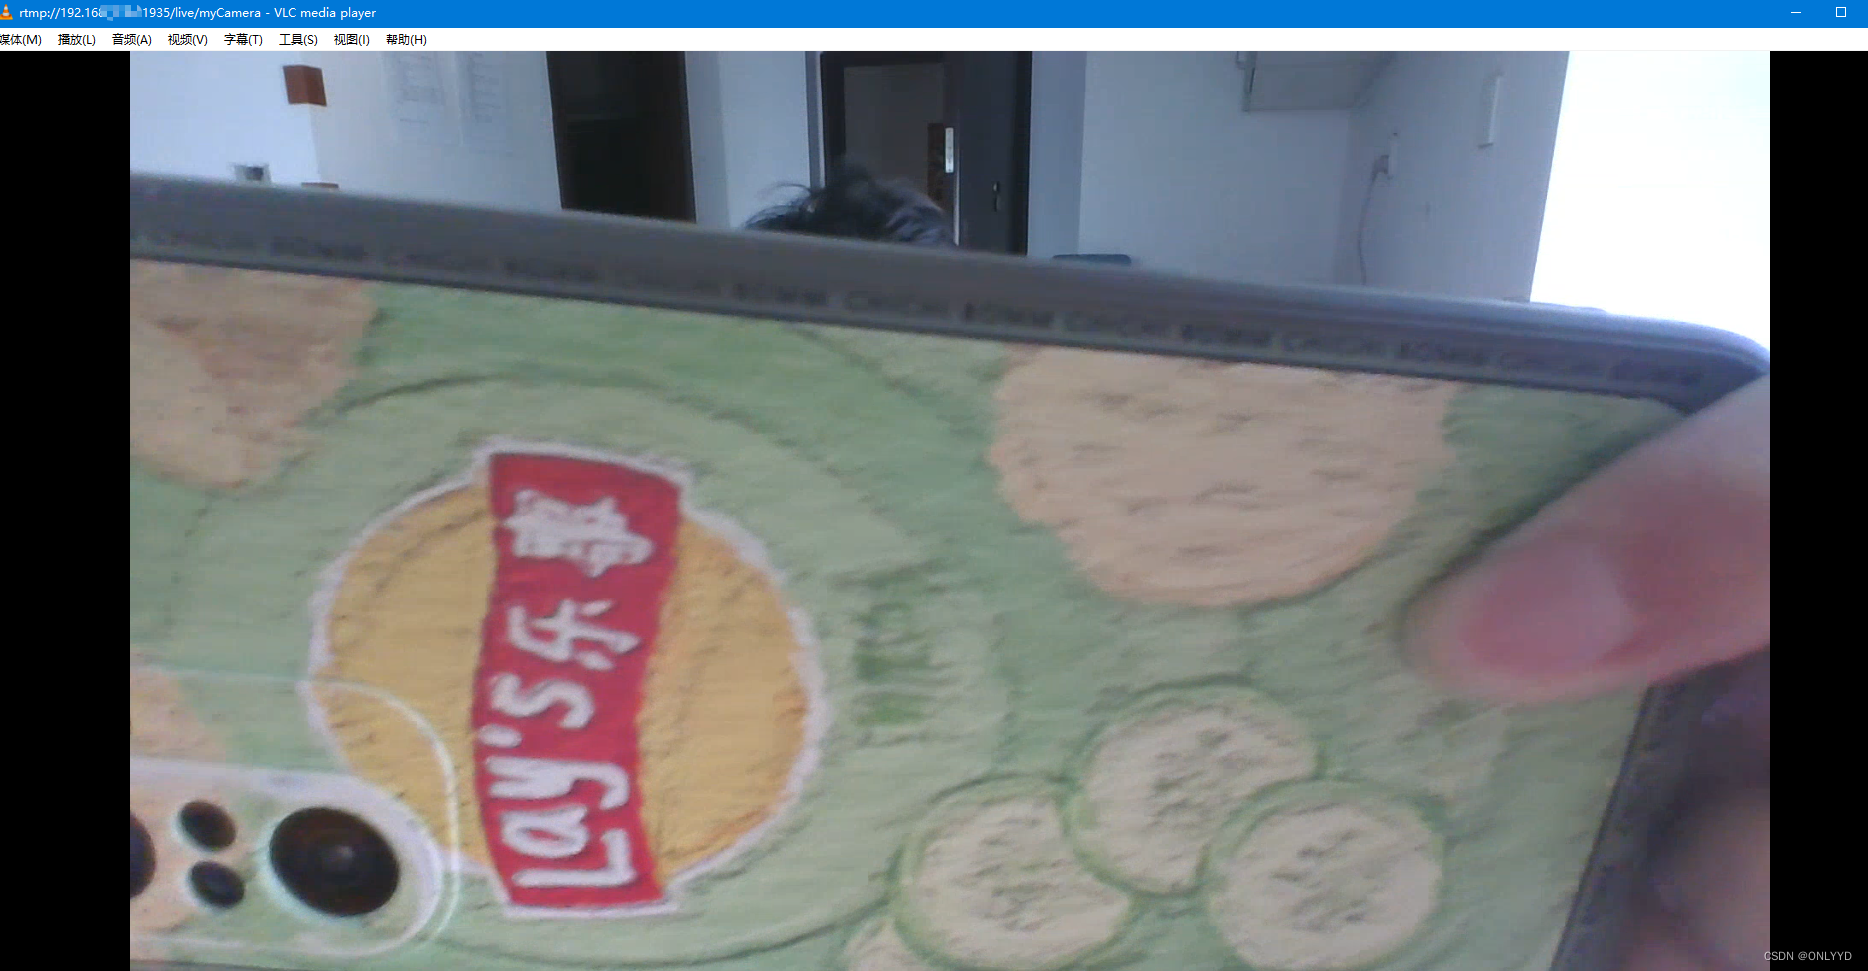
- Step 3:启动VLC播放器
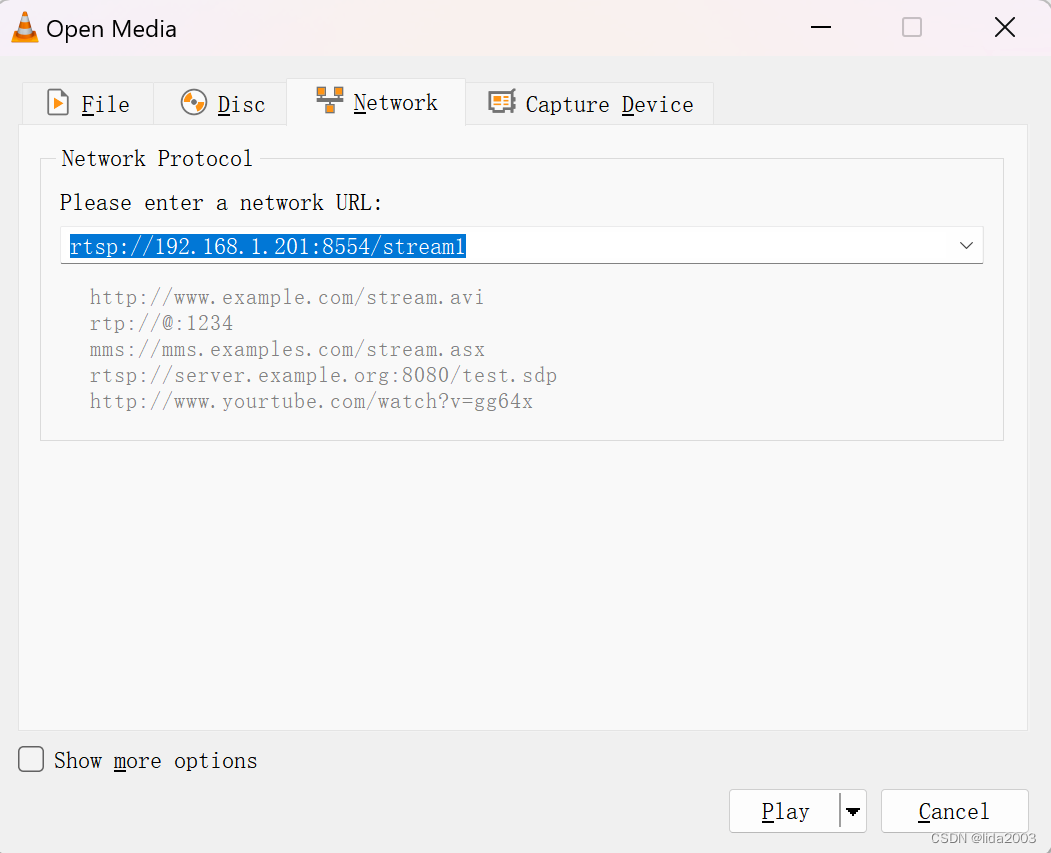
rtsp://192.168.1.201:8554/stream1
- Step 4:确认结果
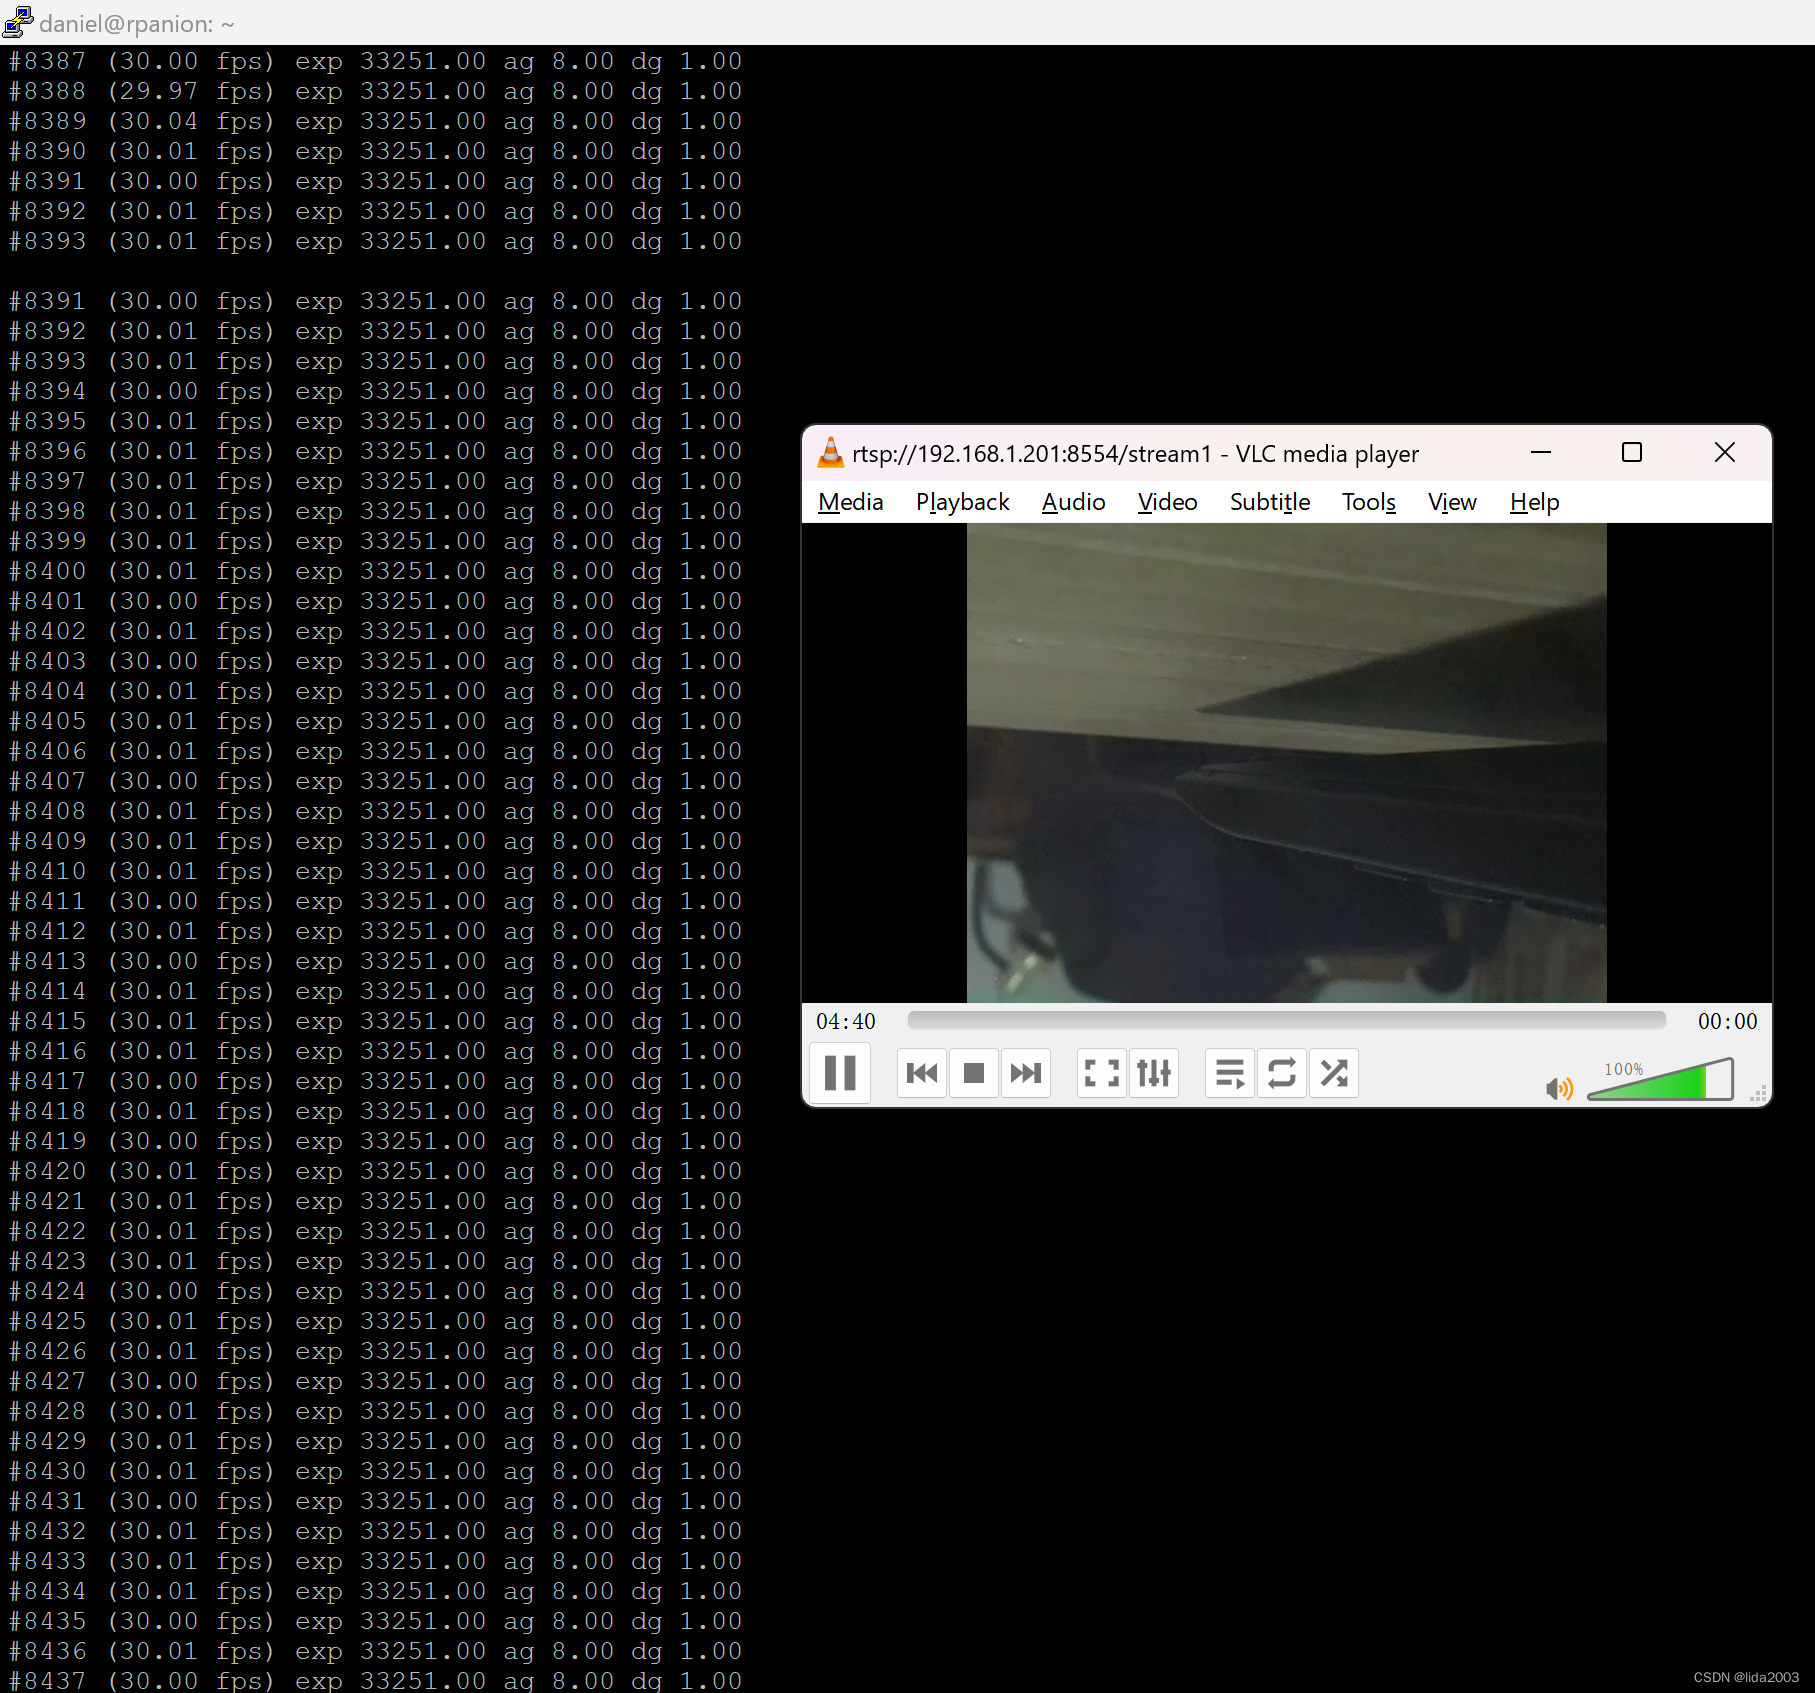
4.2.2 TCP流
- Step 2:启动TCP服务端
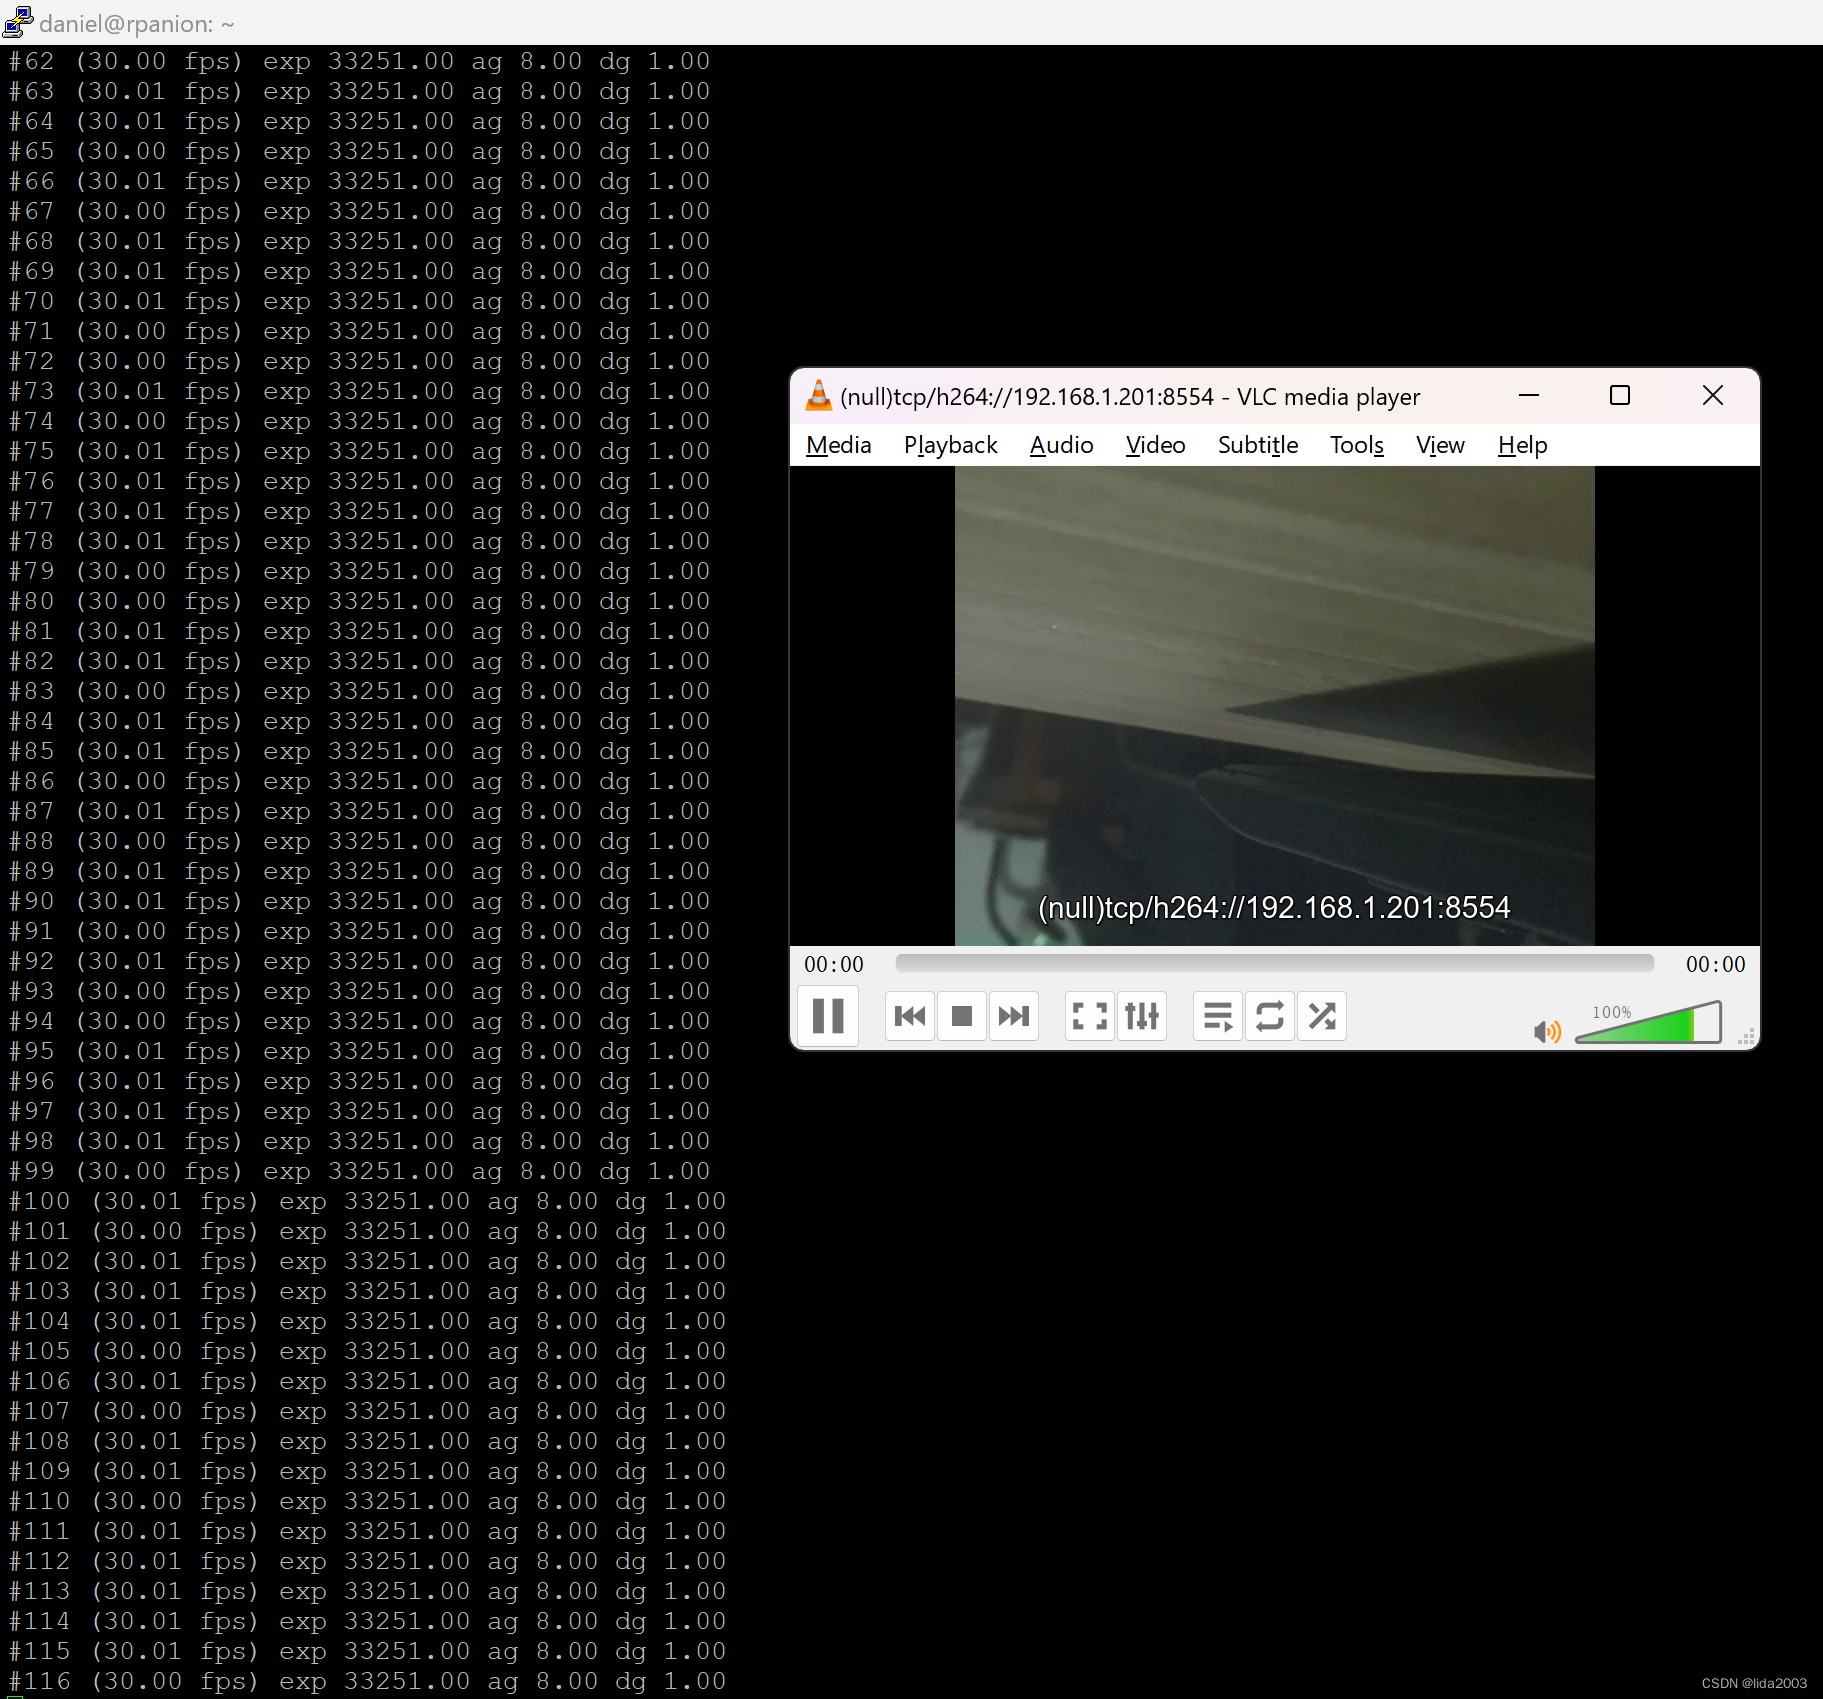
$ libcamera-vid -t 0 --inline --listen -o tcp://0.0.0.0:8554
- Step 3:启动VLC播放器
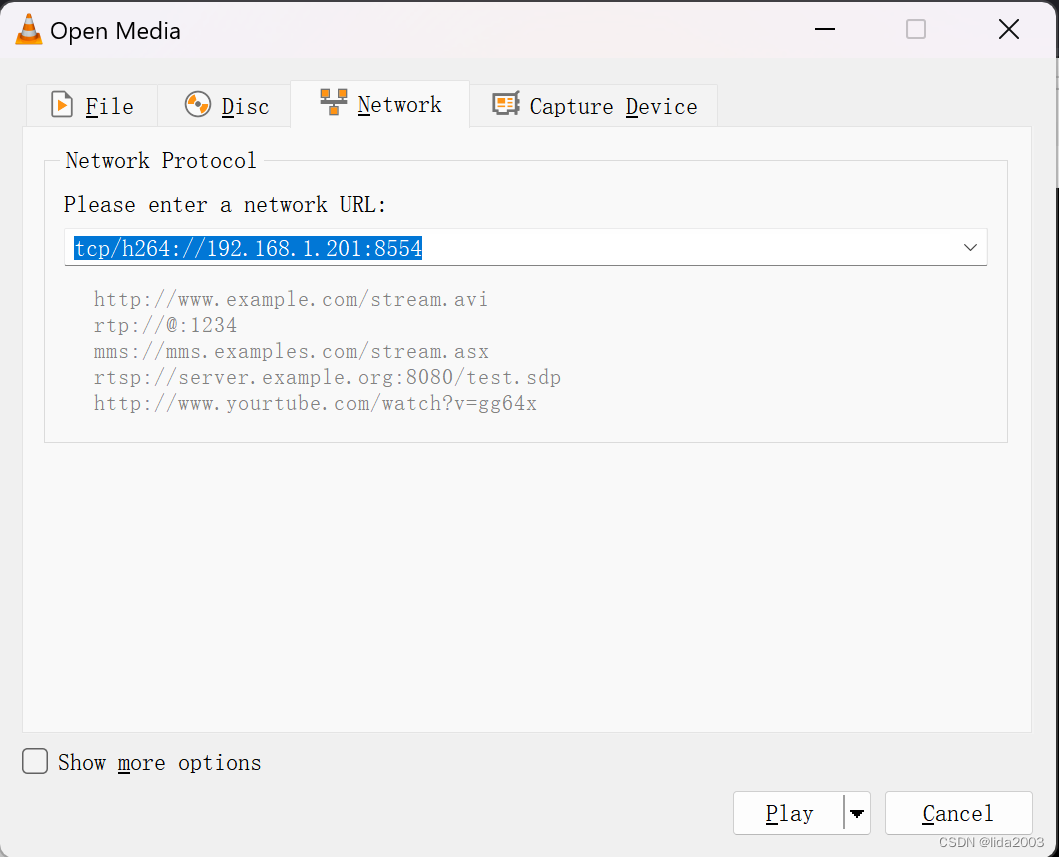
tcp/h264://192.168.1.201:8554
- Step 4:确认结果
5. 参考资料
【1】Raspbian镜像无头烧录
【2】Pi5-IMX219, www.waveshare.com
【3】Introducing the Raspberry Pi Cameras


![【算法每日一练]-dfs (保姆级教程 篇9) #俄罗斯方块 #ABC Puzzle #lnc的工资](https://img-blog.csdnimg.cn/direct/0e3ae1e671d14e869e4992f7a669e609.png)