一:SpringBoot集成
1.1:pom.xml
因camunda集成SpringBoot对SpringBoot的版本和JDK的版本都有一定的要求,所以这里贴个完整的依赖。可以去官网找每个SpringBoot的版本对应的camunda版本。
<?xml version="1.0" encoding="UTF-8"?>
<project xmlns="http://maven.apache.org/POM/4.0.0" xmlns:xsi="http://www.w3.org/2001/XMLSchema-instance"
         xsi:schemaLocation="http://maven.apache.org/POM/4.0.0 https://maven.apache.org/xsd/maven-4.0.0.xsd">
    <modelVersion>4.0.0</modelVersion>
    <parent>
        <groupId>org.springframework.boot</groupId>
        <artifactId>spring-boot-starter-parent</artifactId>
        <version>2.6.4</version>
        <relativePath/> <!-- lookup parent from repository -->
    </parent>
    <groupId>com.example</groupId>
    <artifactId>springboot-camunda</artifactId>
    <version>0.0.1-SNAPSHOT</version>
    <name>springboot-camunda</name>
    <description>springboot-camunda</description>

    <properties>
        <camunda.spring-boot.version>7.17.0</camunda.spring-boot.version>
        <maven.compiler.source>1.8</maven.compiler.source>
        <maven.compiler.target>1.8</maven.compiler.target>
    </properties>

    <dependencies>
        <dependency>
            <groupId>org.springframework.boot</groupId>
            <artifactId>spring-boot-starter</artifactId>
        </dependency>

        <dependency>
            <groupId>org.camunda.bpm.springboot</groupId>
            <artifactId>camunda-bpm-spring-boot-starter</artifactId>
            <version>${camunda.spring-boot.version}</version>
        </dependency>
        <dependency>
            <groupId>org.camunda.bpm.springboot</groupId>
            <artifactId>camunda-bpm-spring-boot-starter-webapp</artifactId>
            <version>${camunda.spring-boot.version}</version>
        </dependency>
        <dependency>
            <groupId>org.camunda.bpm.springboot</groupId>
            <artifactId>camunda-bpm-spring-boot-starter-rest</artifactId>
            <version>${camunda.spring-boot.version}</version>
        </dependency>
        <dependency>
            <groupId>org.camunda.bpm.springboot</groupId>
            <artifactId>camunda-bpm-spring-boot-starter-external-task-client</artifactId>
            <version>${camunda.spring-boot.version}</version>
        </dependency>


        <dependency>
            <groupId>org.mybatis.spring.boot</groupId>
            <artifactId>mybatis-spring-boot-starter</artifactId>
            <version>2.2.0</version>
        </dependency>
        <dependency>
            <groupId>mysql</groupId>
            <artifactId>mysql-connector-java</artifactId>
            <version>8.0.32</version>
        </dependency>
        <dependency>
            <groupId>org.springframework.boot</groupId>
            <artifactId>spring-boot-starter-test</artifactId>
            <scope>test</scope>
        </dependency>
    </dependencies>


    <build>
        <plugins>
            <plugin>
                <groupId>org.springframework.boot</groupId>
                <artifactId>spring-boot-maven-plugin</artifactId>
            </plugin>
        </plugins>
    </build>

</project>
1.2:application.yml
server:
  port: 8080

spring:
  datasource:
    url: jdbc:mysql://localhost:3306/camunda?useUnicode=true&characterEncoding=utf8&serverTimezone=Asia/Shanghai&&nullCatalogMeansCurrent=true
    username: root
    password: root123
    driver-class-name: com.mysql.cj.jdbc.Driver

camunda.bpm:
  admin-user:
    id: admin
    password: 123456
  filter:
    create: All tasks
camunda:
  bpm:
    database:
      type: mysql
      schema-update: true
    auto-deployment-enabled: false
    history-level: full

logging:
  level:
    org.camunda.bpm.engine.impl.persistence.entity: trace
1.3:src/main/resources/META-INF/processes.xml
<?xml version="1.0" encoding="UTF-8"?>
<process-application
        xmlns="http://www.camunda.org/schema/1.0/ProcessApplication"
        xmlns:xsi="http://www.w3.org/2001/XMLSchema-instance">

    <process-archive>
        <process-engine>default</process-engine>
        <properties>
            <property name="isDeleteUponUndeploy">false</property>
            <property name="isScanForProcessDefinitions">true</property>
        </properties>
    </process-archive>

</process-application>
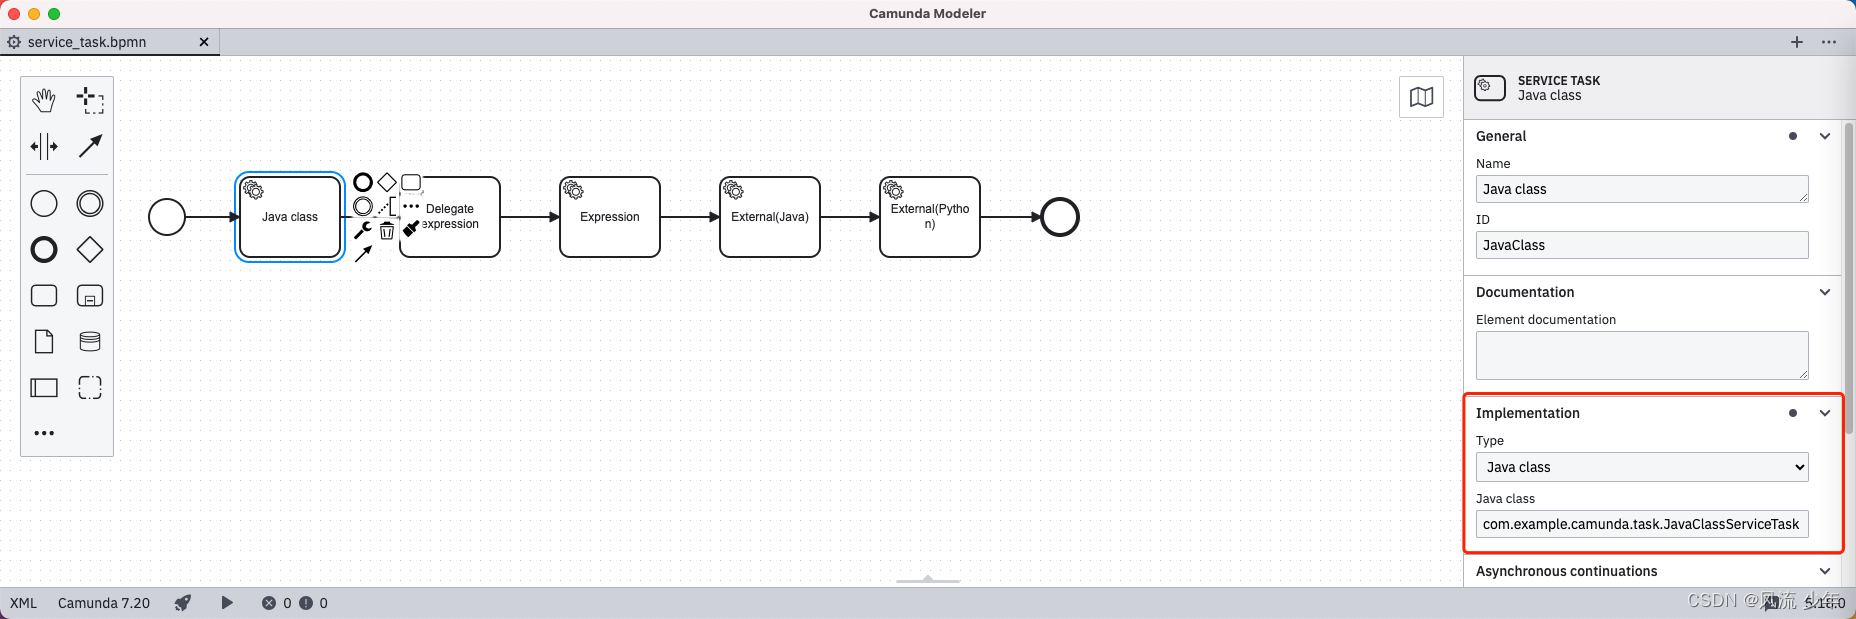
1.4:bpmn
将bpmn文件放到src/main/resources/bpmn目录下。

1.5:部署启动
启动项目时会自动生成表结构,数据库先创建好。
Deployment deploy = repositoryService.createDeployment()
.name("请假流程")
.addClasspathResource("bpmn/diagram_1.bpmn")
.deploy();
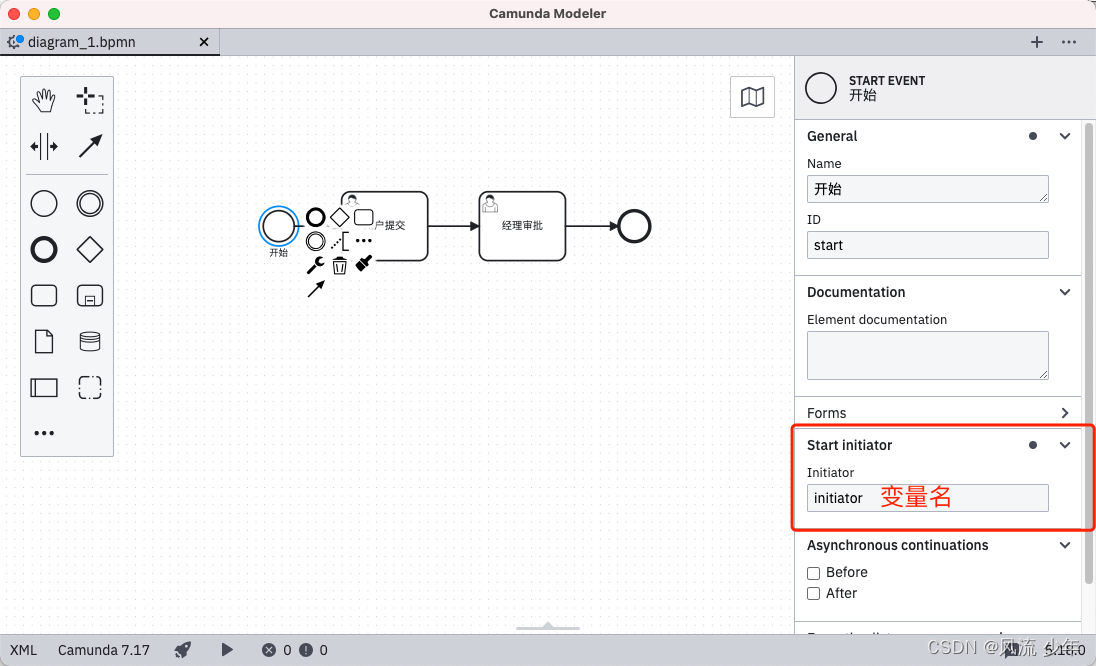
// 赋值给StartEvent中的Initiator变量中的值。
identityService.setAuthenticatedUserId("huihui");
ProcessInstance processInstance = runtimeService.startProcessInstanceByKey("HelloWordProcess");
Task task = taskService.createTaskQuery().processInstanceId(processInstance.getId())
.singleResult();
taskService.complete(task.getId());
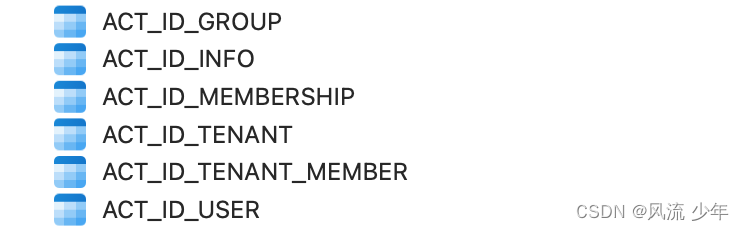
可以看到表结构比activiti6多了很多。


二:用户-组-租户
// 1.创建用户
User user = identityService.newUser("huihui");
user.setId("1");
user.setFirstName("hui");
user.setLastName("hui");
user.setEmail("huihui@163.com");
user.setPassword("123456");
identityService.saveUser(user);

// 2.创建组
Group group1 = identityService.newGroup("group1");
group1.setName("人力资源部");
group1.setType("1");
identityService.saveGroup(group1);

// 3.绑定用户和组的关联关系
identityService.createMembership(user.getId(), group1.getId());

// 4.创建租户
Tenant tenant = identityService.newTenant("app1");
tenant.setName("应用程序1");
identityService.saveTenant(tenant);

// 5.绑定用户ID和租户ID关联关系
identityService.createTenantUserMembership(tenant.getId(), user.getId());
// 6.绑定组ID和租户ID关联关系
identityService.createTenantGroupMembership(tenant.getId(), group1.getId());


![XCTF:我们的秘密是绿色的[WriteUP]](https://img-blog.csdnimg.cn/direct/d9576db560004fdcb6b36b3555421a08.jpeg)