【Android】高端的UI,往往只需要最朴素的控件组成
Android 作为全球最流行的移动操作系统之一,提供了一套丰富的 UI 控件,使开发者能够构建功能强大、交互性强的应用。本博客系列将探讨 Android UI 控件的功能,介绍最常见的六种控件。
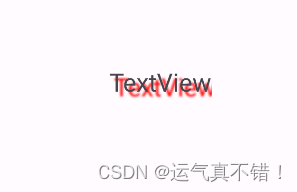
TextView
<TextView
    android:id="@+id/text_view"
    android:layout_width="match_parent"
    android:layout_height="wrap_content"
    android:gravity="center"
    android:textSize="24sp"
    android:textColor="@color/white"
    android:text="Hello World!" />
基本属性
android:id: 控件的唯一标识符。android:layout_width和android:layout_height: 控件的宽度和高度,可以是wrap_content、具体数值或match_parent。
文本显示属性
android:text: 要显示的文本内容。android:textSize: 文本的字体大小。android:textColor: 文本的颜色。android:textStyle: 文本的风格,如加粗 (bold)、斜体 (italic)。android:typeface: 设置字体类型,如正常 (normal)、粗体 (sans)、等宽 (monospace)。
文本对齐和布局
android:gravity: 文本在TextView中的对齐方式,如left、center、right。android:lines: 指定TextView可以显示的行数。android:maxLines: 指定TextView可以显示的最大行数。android:minLines: 指定TextView可以显示的最小行数。
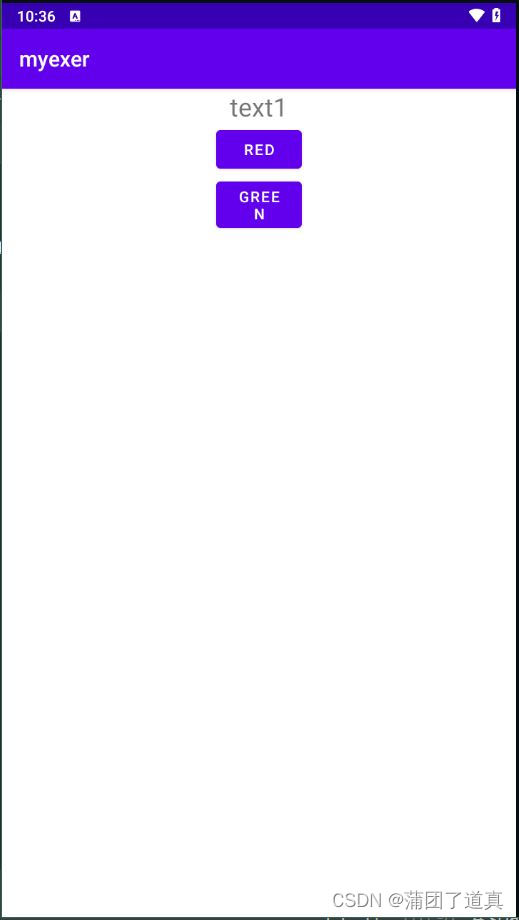
Button
<Button
    android:id="@+id/button"
    android:layout_width="match_parent"
    android:layout_height="wrap_content"
    android:text="Button"/>
可以写一个事件监听器来设置点击事件的逻辑
findViewById(R.id.button).setOnClickListener(new View.OnClickListener() {
    @Override
    public void onClick(View v) {
        //添加逻辑
    }
});
基本属性
android:id: 控件的唯一标识符,在代码中通过这个ID来引用控件。android:layout_width: 控件的宽度,可以是固定值(如wrap_content或具体数值如100dp),也可以是match_parent(填充父容器的宽度)。android:layout_height: 控件的高度,与宽度类似,可以是固定值或match_parent。android:text: 按钮上显示的文本。android:onClick: 点击按钮时触发的方法名,在 Java 或 Kotlin 代码中定义。
样式和外观
android:background: 控件的背景,可以是颜色或图形。android:textColor: 文本颜色。android:textSize: 文本大小。android:textStyle: 文本风格,如加粗(bold)、斜体(italic)等。android:padding: 控件内边距,影响文本与按钮边缘的距离。android:enabled: 控件是否可用,不可用的按钮通常显示为灰色。
事件处理
在 Android 中,按钮的点击事件通常通过两种方式处理:
XML 中指定 android:onClick 属性:
<Button
    android:id="@+id/myButton"
    android:layout_width="wrap_content"
    android:layout_height="wrap_content"
    android:text="Click Me"
    android:onClick="onMyButtonClick" />
在这种方式中,android:onClick 属性的值是按钮点击时将要调用的 Activity 中的方法名称。
- 方法签名:
- 方法必须在绑定该按钮的
Activity或Fragment中定义。 - 方法名必须与
android:onClick属性中指定的名称完全匹配。 - 方法应该公开(
public)可见性,以便Android系统可以调用它。 - 方法必须接受一个参数,通常是
View类型的。这个参数代表被点击的视图。
- 方法必须在绑定该按钮的
- 参数类型:
- 该方法的唯一参数应该是
View类型(在Java中是View view,在Kotlin中是view: View)。 - 这个参数是触发事件的视图的引用,允许你在事件处理器中访问和操作该视图。
- 该方法的唯一参数应该是
- 返回类型:
- 事件处理器方法的返回类型必须是
void。
- 事件处理器方法的返回类型必须是
在 Java 代码中设置监听器:
Button myButton = findViewById(R.id.myButton);
myButton.setOnClickListener(new View.OnClickListener() {
    @Override
    public void onClick(View v) {
        // 处理点击事件
    }
});
在这种方式中,通过调用 setOnClickListener 方法并传入一个新的 OnClickListener 实现来处理点击事件。
EditText
<EditText
    android:id="@+id/editText"
    android:layout_width="match_parent"
    android:layout_height="wrap_content"
    android:hint="Enter text here"
    android:textSize="16sp"
    android:inputType="text"
    android:maxLength="50" />
基本属性
android:hint: 显示在EditText中的提示文本,当没有文本输入时显示。android:text:EditText的初始文本内容。
文本相关属性
android:inputType: 定义文本输入类型,例如文本、数字、密码等。android:maxLength: 输入文本的最大长度限制。android:ems: 控件的宽度以“行”为单位,一行文本的宽度。android:selectAllOnFocus: 当EditText获得焦点时是否全选已有文本。
相关操作
EditText editText = findViewById(R.id.editText);
editText.setText("Hello World"); // 设置文本
String text = editText.getText().toString(); // 获取文本
editText.setHint("Type something..."); // 设置提示文本
editText.setInputType(InputType.TYPE_CLASS_TEXT); // 设置输入类型为文本
ImageView
<ImageView
    android:id="@+id/imageView"
    android:layout_width="wrap_content"
    android:layout_height="wrap_content"
    android:src="@drawable/image_name"
    android:scaleType="centerCrop" />
Java 代码操作 ImageView
ImageView imageView = findViewById(R.id.imageView);
imageView.setImageResource(R.drawable.another_image); // 设置图像资源
imageView.setScaleType(ImageView.ScaleType.FIT_CENTER); // 设置缩放类型
imageView.setContentDescription("Description of image"); // 设置辅助功能描述
imageView.setOnClickListener(new View.OnClickListener() {
    @Override
    public void onClick(View v) {
        // 处理点击事件
    }
});
图像资源
android:src: 要显示的图像资源。这可以是引用应用程序资源(如@drawable/ic_launcher)的字符串。
缩放和对齐
android:scaleType: 控件如何缩放和对齐图像。常见的值有:center: 居中显示图像,不缩放。fitCenter: 居中显示图像,按比例缩放以适应ImageView。matrix: 使用Matrix对象来缩放和旋转图像。
交互特性
android:contentDescription: 为辅助功能提供图像的描述,提高应用的可访问性。android:focusable: 控件是否可以获取焦点。android:clickable: 控件是否可点击。
样式和外观
android:background:ImageView的背景。android:padding: 控件的内边距。
ProgressBar
<ProgressBar
    android:id="@+id/progressBar"
    android:layout_width="wrap_content"
    android:layout_height="wrap_content"
    android:indeterminate="false"
    android:progress="0"
    android:max="100" />
java代码操作
ProgressBar progressBar = findViewById(R.id.progressBar);

// 设置进度
progressBar.setProgress(50);

// 以动画形式更新进度
progressBar.setProgress(75, true);

// 设置最大值
progressBar.setMax(200);

// 启用不确定模式
progressBar.setIndeterminate(true);

// 停止不确定动画
progressBar.setIndeterminate(false);
基本属性
android:id: 控件的唯一标识符。android:layout_width和android:layout_height: 控件的宽度和高度。通常宽度可以是wrap_content或者具体数值,高度较小,以适应进度条的显示。
进度条样式
android:indeterminate: 布尔值,设置为true时进度条会显示不确定的进度(例如,一个无限旋转的圆圈)。android:progress: 当进度条是确定性的时候,这个属性表示当前的进度值。android:max: 进度条的最大值,默认为 100。
进度条类型
android:progressDrawable: 定义进度条的外观,可以是自定义的 drawable 资源。android:indeterminateDrawable: 定义不确定进度时的动画 drawable。android:animationResolution: 控制不确定进度动画的帧率。
交互特性
android:visibility: 控件的可见性,可以是visible、invisible或gone。
AlertDialog
// 创建 AlertDialog.Builder 实例
AlertDialog.Builder builder = new AlertDialog.Builder(this); // 'this' 是 Activity 或者 Context
builder.setTitle("提示");
builder.setMessage("你确定要执行这个操作吗?");
// 添加“是”和“否”按钮
builder.setPositiveButton("Yes", new DialogInterface.OnClickListener() {
    public void onClick(DialogInterface dialog, int id) {
        // 点击“是”时的操作
    }
});
builder.setNegativeButton("No", new DialogInterface.OnClickListener() {
    public void onClick(DialogInterface dialog, int id) {
        // 点击“否”时的操作
    }
});
// 创建 AlertDialog 对话框
AlertDialog dialog = builder.create();
// 显示对话框
dialog.show();
AlertDialog.Builder 方法
setTitle(CharSequence title): 设置对话框标题。setMessage(CharSequence message): 设置对话框显示的消息。setIcon(int iconResId): 设置对话框的图标。setPositiveButton(CharSequence text, DialogInterface.OnClickListener listener): 添加一个“确定”按钮,并设置点击时的事件监听器。setNegativeButton(CharSequence text, DialogInterface.OnClickListener listener): 添加一个“取消”按钮,并设置点击时的事件监听器。setNeutralButton(CharSequence text, DialogInterface.OnClickListener listener): 添加一个中间按钮,通常用于提供额外选项。setCancelable(boolean flag): 设置对话框是否可以通过点击外部区域或按返回键取消。setOnKeyListener(DialogInterface.OnKeyListener onKeyListener): 设置键盘监听器。
按钮点击事件
- 当按钮被点击时,
DialogInterface.OnClickListener的onClick方法会被触发,参数id通常用来区分按钮。
自定义视图
setView(int layoutResId): 设置对话框的自定义视图。setView(View view): 直接设置一个视图实例。
注意事项
AlertDialog应该在用户需要做出决定时使用,而不是作为常规的 UI 元素。- 避免滥用模态对话框,因为这会中断用户的正常操作流程。
ProgressDialog的替代方案
- 创建自定义布局:首先,在
res/layout目录下创建一个新的 XML 文件,例如progress_dialog.xml。这个文件定义了对话框的布局,包括一个ConstraintLayout作为根布局和一个ProgressBar控件。
<?xml version="1.0" encoding="utf-8"?>
<androidx.constraintlayout.widget.ConstraintLayout xmlns:android="http://schemas.android.com/apk/res/android"
    xmlns:app="http://schemas.android.com/apk/res-auto"
    android:layout_width="match_parent"
    android:layout_height="match_parent">

    <ProgressBar
        android:id="@+id/progressBar"
        android:layout_width="match_parent"
        android:layout_height="wrap_content"
        app:layout_constraintBottom_toBottomOf="parent"
        app:layout_constraintStart_toStartOf="parent"
        app:layout_constraintTop_toTopOf="parent" />

</androidx.constraintlayout.widget.ConstraintLayout>
- 定义 ProgressBar 属性:
android:id="@+id/progressBar": 为ProgressBar设置一个 ID,以便在代码中引用。android:layout_width="match_parent"和android:layout_height="wrap_content": 设置ProgressBar的宽度填充父布局,高度根据内容自动调整。app:layout_constraint...: 使用约束布局属性将ProgressBar居中显示。
- 在 Activity 中创建 AlertDialog:
- 使用
AlertDialog.Builder构建一个新的对话框。 setTitle方法设置对话框的标题。setView方法加载自定义的进度对话框布局(R.layout.progress_dialog)。setMessage方法设置对话框显示的消息。show方法显示对话框。
- 使用
- 示例代码:
@Override
protected void onCreate(@Nullable Bundle savedInstanceState) {
    super.onCreate(savedInstanceState);
    // 创建 AlertDialog.Builder 实例
    AlertDialog.Builder builder = new AlertDialog.Builder(this);
    // 创建 AlertDialog 实例并设置其属性
    AlertDialog dialog = builder.create();
    dialog.setTitle("This is dialog");  // 设置标题
    dialog.setView(R.layout.progress_dialog);  // 加载自定义布局
    dialog.setMessage("Something important");  // 设置消息内容
    // 显示对话框
    dialog.show();
}
结语
参考文档:
Android Studio | 布局文件中使用onClick属性_android studio onclick和clickable一样吗-CSDN博客