1、轻松识别视频人物并做出标记
需安装face_recongnition与dlib,过程有点困难,还请网上查找方法
import face_recognition
import cv2
#镜像源 -i https://pypi.mirrors.ustc.edu.cn/simple
# 加载视频
video_file = 'E:\\videos\\1.mp4'
video_capture = cv2.VideoCapture(video_file)
width = int(video_capture.get(cv2.CAP_PROP_FRAME_WIDTH))
height = int(video_capture.get(cv2.CAP_PROP_FRAME_HEIGHT))
fps = int(video_capture.get(cv2.CAP_PROP_FPS))
frame_count = int(video_capture.get(cv2.CAP_PROP_FRAME_COUNT))
# 设置视频格式
fourcc = cv2.VideoWriter_fourcc(*'XVID')
# 调用VideoWrite()函数
size = (int(video_capture.get(cv2.CAP_PROP_FRAME_WIDTH)), int(video_capture.get(cv2.CAP_PROP_FRAME_HEIGHT)))
video_writer = cv2.VideoWriter('output1.avi', fourcc, fps, size)
count = 0
# 通过循环读取视频的每一帧
while True and count < 200:
ret, frame = video_capture.read()
# 如果正确读取帧,ret为True
if not ret:
break
# 将帧转换为灰度图像,因为人脸识别对颜色不敏感
gray_frame = cv2.cvtColor(frame, cv2.COLOR_BGR2GRAY)
# 使用face_recognition库的API进行人脸定位
face_locations = face_recognition.face_locations(gray_frame)
# 遍历所有找到的人脸
for top, right, bottom, left in face_locations:
# 画出人脸框
cv2.rectangle(frame, (left, top), (right, bottom), (0, 255, 0), 2)
# 显示帧
#cv2.imshow('Video', frame)
if not video_writer is False:
video_writer.write(frame)
count = count + 1
# 按'q'退出循环
if cv2.waitKey(1) & 0xFF == ord('q'):
break
# 释放视频捕获对象
video_capture.release()
# 关闭所有OpenCV窗口
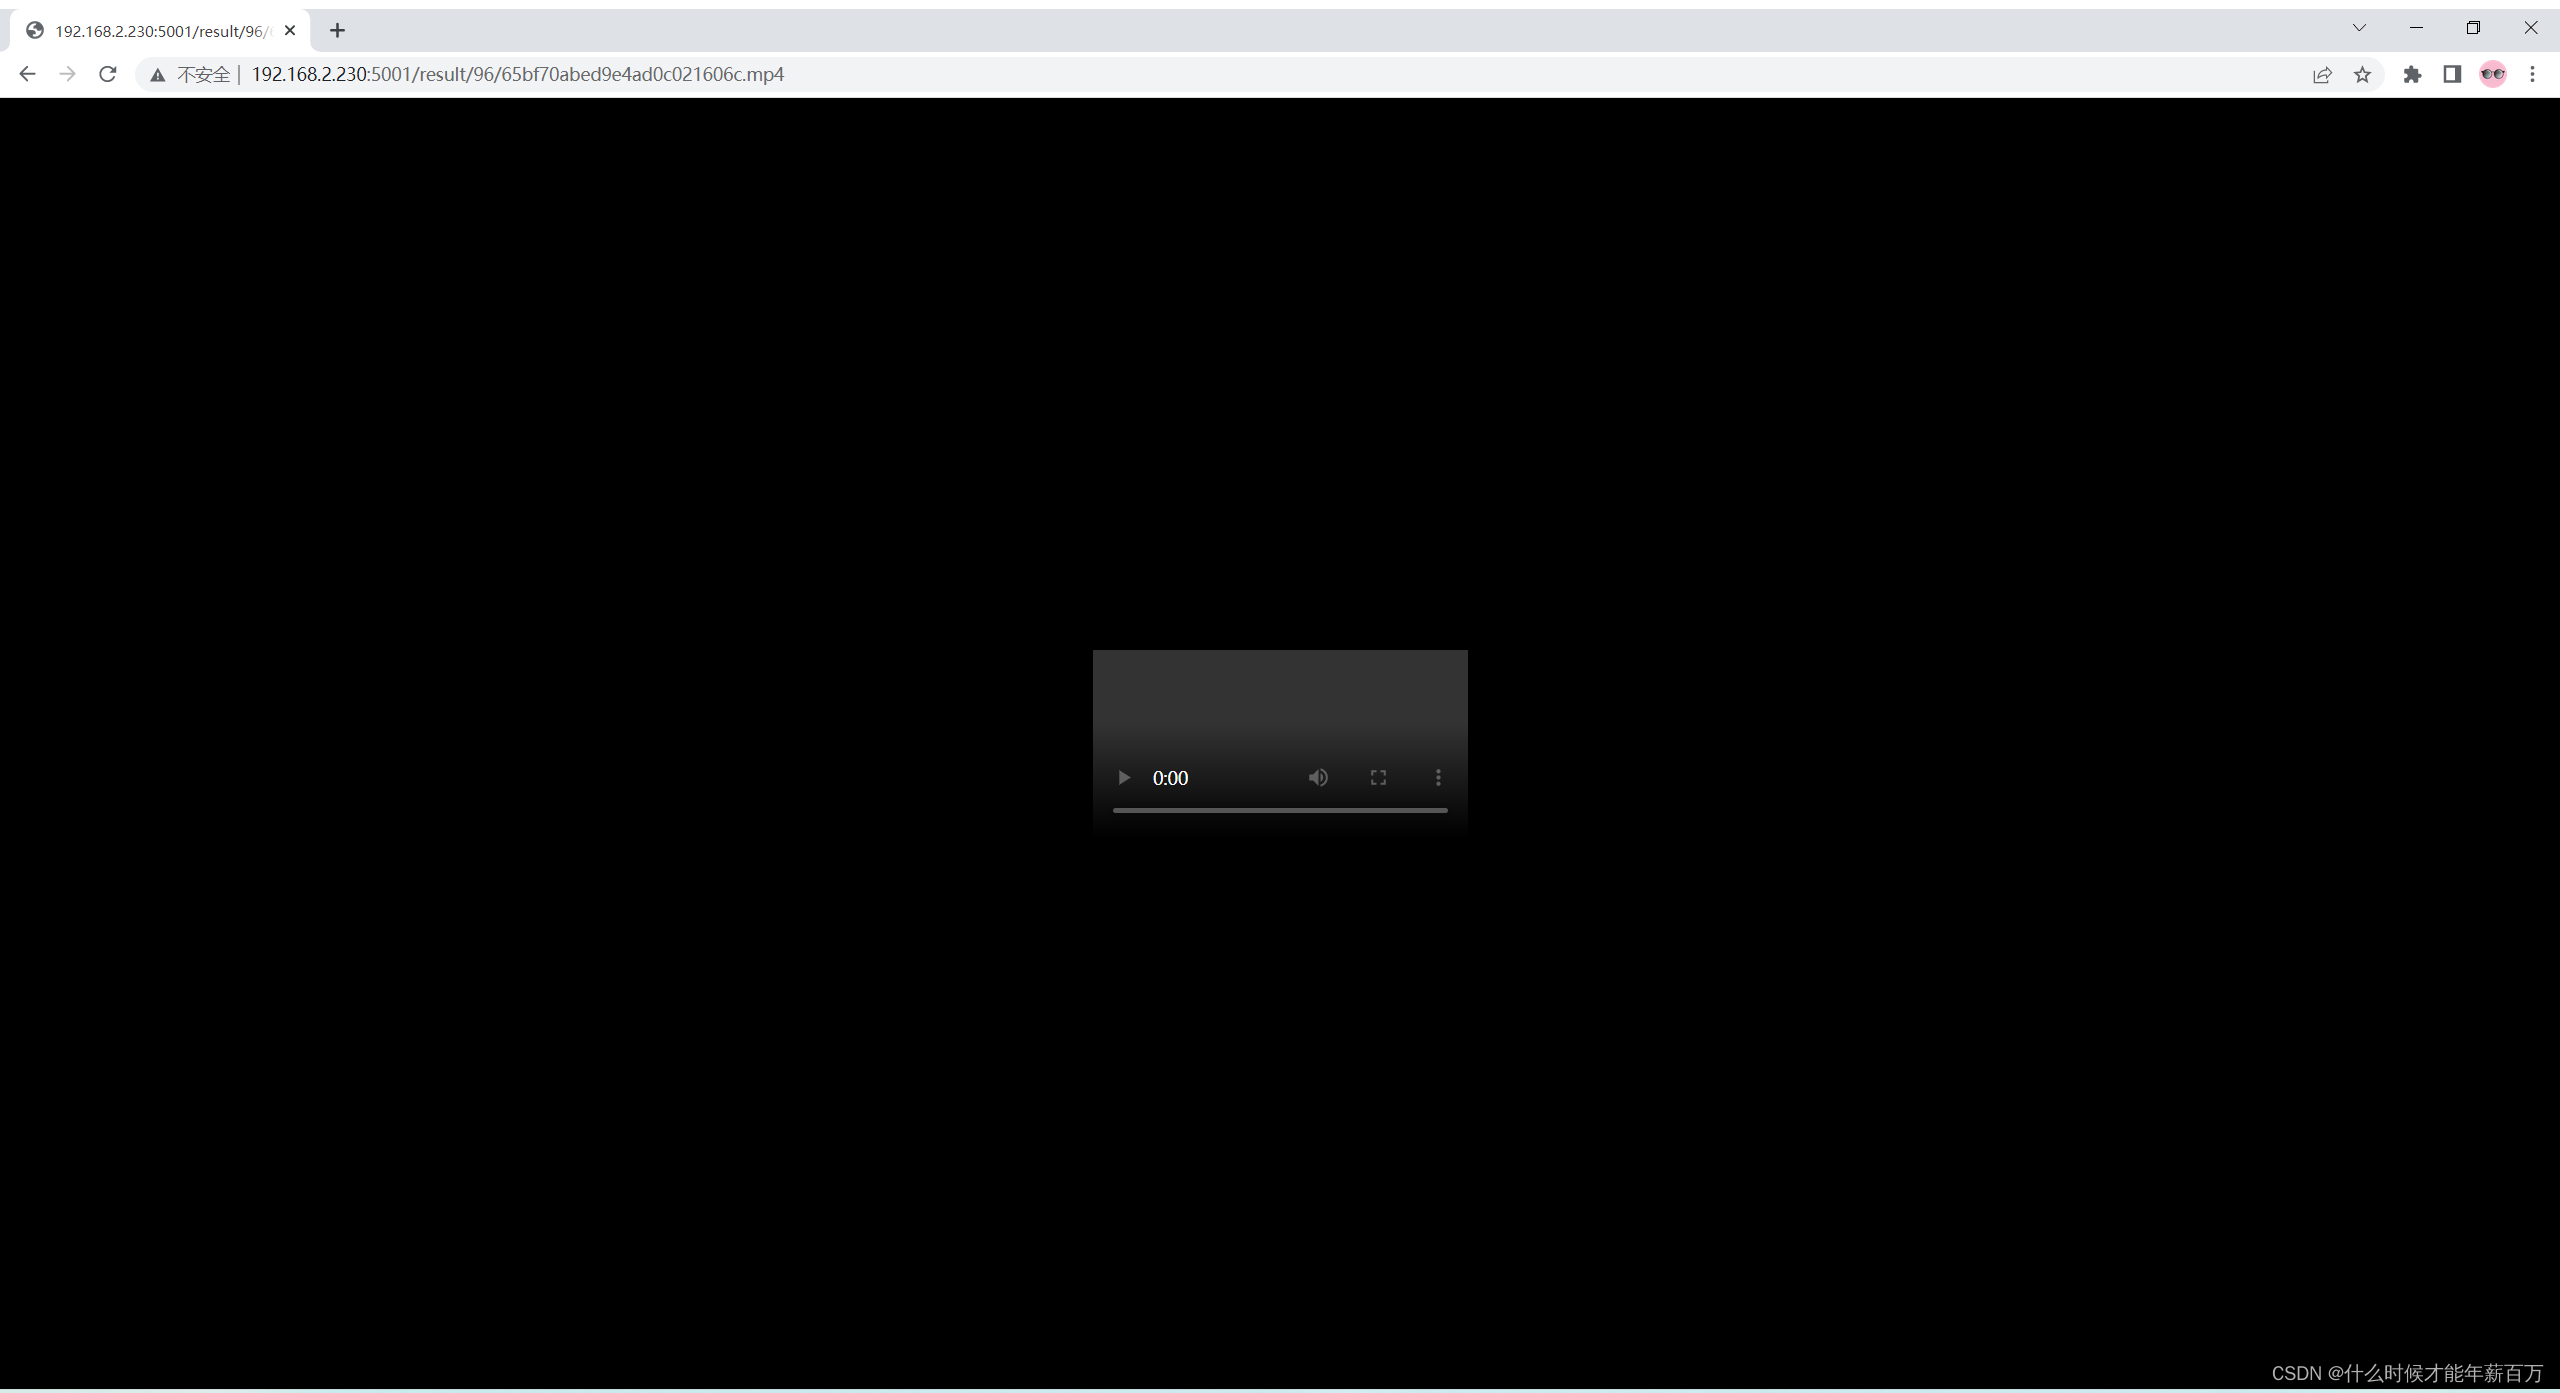
cv2.destroyAllWindows()实现效果

2、实现视频人物加图,代码如下
import cv2
import numpy as np
import face_recognition
from PIL import Image
# 加载视频
cap = cv2.VideoCapture('E:\\videos\\1.mp4')
# 图片加密马赛克
def apply_mosaic(frame, mosaic_image, x, y, w, h):
#print(mosaic_image.shape)
mosaic_image = cv2.resize(mosaic_image, (w, h))
#print(mosaic_image.shape)
#cv2.imwrite('1.png',mosaic_image)
#roi = frame[y:y+h, x:x+w]
image_np = np.array(mosaic_image)
#print(mosaic_image.shape)
#print(frame.shape)
#frame[y:y+h, x:x+w] = image_np#cv2.addWeighted(mosaic_image, 0, roi, 1, 0)
for i in range(h):
for j in range(w):
#if(y+i<frame_height and x+j<frame_width):
frame[x+i, y+j] = image_np[i, j]
# 加载图片
mosaic_image = cv2.imread('masaike.png')
# 读取视频的宽度和高度
frame_width = int(cap.get(cv2.CAP_PROP_FRAME_WIDTH))
frame_height = int(cap.get(cv2.CAP_PROP_FRAME_HEIGHT))
# 设置马赛克的位置和大小
x, y, w, h = 50, 50, 100, 100
# 写入视频
#out = cv2.VideoWriter('output_video.avi', cv2.VideoWriter_fourcc(*'XVID'), 20.0, (frame_width, frame_height))
width = int(cap.get(cv2.CAP_PROP_FRAME_WIDTH))
height = int(cap.get(cv2.CAP_PROP_FRAME_HEIGHT))
fps = int(cap.get(cv2.CAP_PROP_FPS))
frame_count = int(cap.get(cv2.CAP_PROP_FRAME_COUNT))
# 设置视频格式
fourcc = cv2.VideoWriter_fourcc(*'XVID')
# 调用VideoWrite()函数
size = (int(cap.get(cv2.CAP_PROP_FRAME_WIDTH)), int(cap.get(cv2.CAP_PROP_FRAME_HEIGHT)))
video_writer = cv2.VideoWriter('output2.avi', fourcc, fps, size)
count = 0
while cap.isOpened() and count < 250:
ret, frame = cap.read()
if ret and count > 50:
# 将帧转换为灰度图像,因为人脸识别对颜色不敏感
gray_frame = cv2.cvtColor(frame, cv2.COLOR_BGR2GRAY)
# 使用face_recognition库的API进行人脸定位
face_locations = face_recognition.face_locations(gray_frame)
# 遍历所有找到的人脸
for top, right, bottom, left in face_locations:
# 画出人脸框
#cv2.rectangle(frame, (left, top), (right, bottom), (0, 255, 0), 2)
# 应用马赛克
apply_mosaic(frame, mosaic_image, top, left, abs(top-bottom), abs(right-left))
# 输出帧
video_writer.write(frame)
count = count + 1
# 显示帧
#cv2.imshow('Video', frame)
# 按 'q' 退出循环
if cv2.waitKey(1) & 0xFF == ord('q'):
break
elif count >= 250:
break
count = count + 1
# 释放资源
cap.release()
video_writer.release()
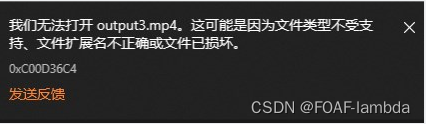
cv2.destroyAllWindows()实现效果如下

至此完成,谢谢阅读