一、目标
编译安装最新版的redis
二、安装步骤
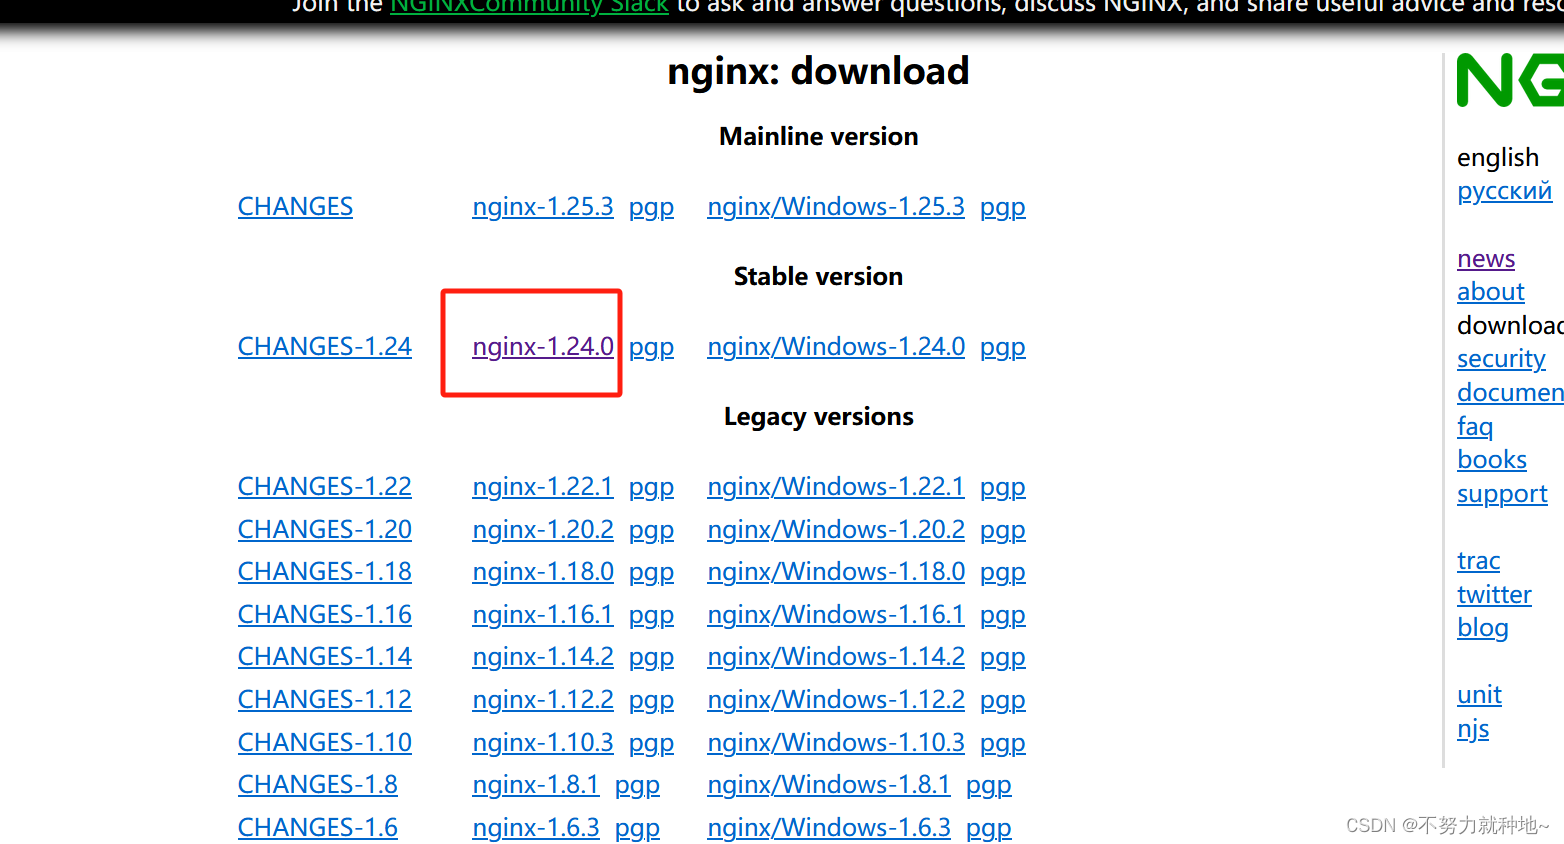
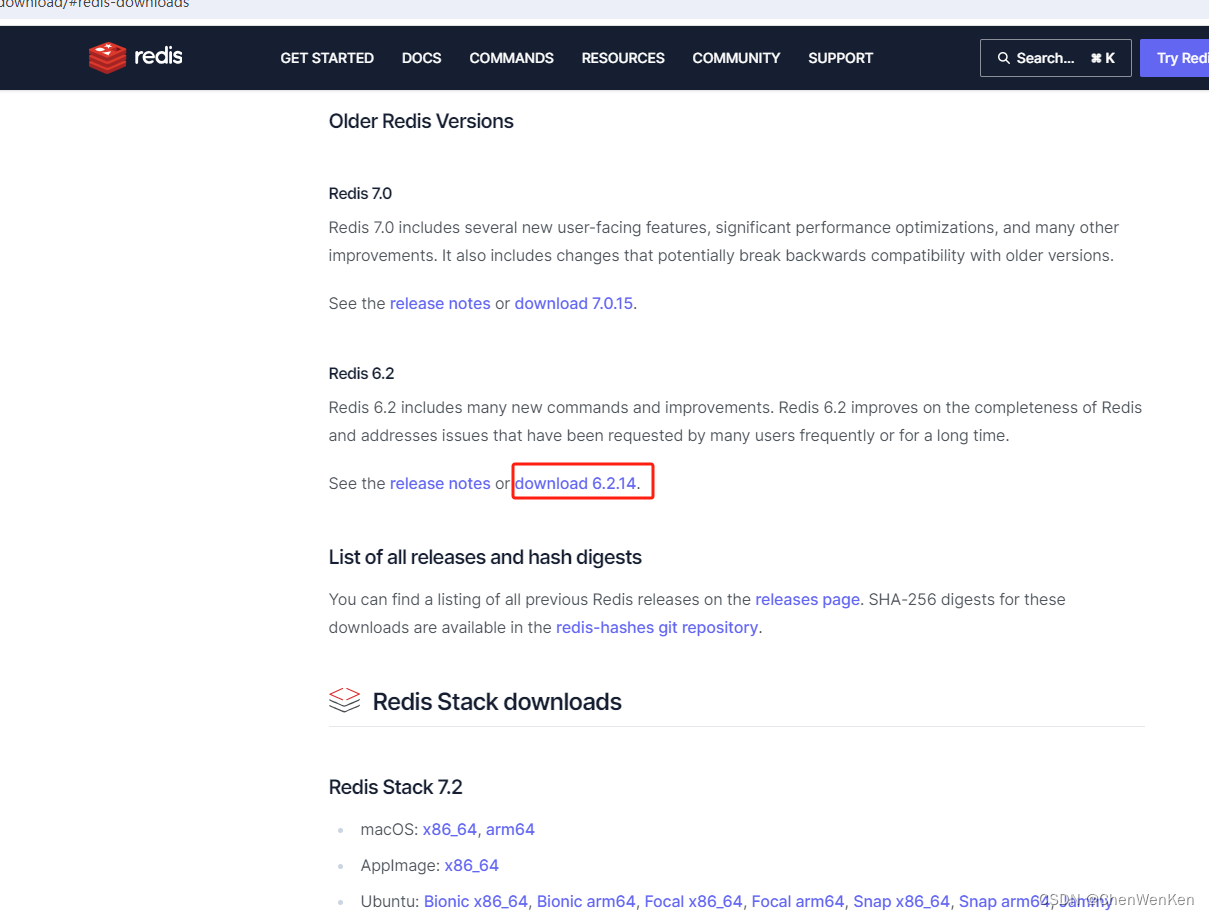
1、redis官方下载页面
2、下载最新版的redis源码包
注:此时的最新稳定版是 redis 7.2.5
wget https://download.redis.io/redis-stable.tar.gz3、安装编译环境
yum install -y gcc gcc-c++4、解压并编译安装
tar -zxf redis-stable.tar.gz
cd redis-stable
make PREFIX=/usr/local/redis install
mkdir /usr/local/redis/etc
cp redis.conf /usr/local/redis/etc/redis.conf
注:PREFIX=/usr/local/redis 指定redis安装目录
5、设置环境变量
vi /etc/profile

# 追加如下内容
export PATH=$PATH:/usr/local/redis/bin

# 保存退出

# 使生效
source /etc/profile
6、修改系统参数
vi /etc/security/limits.conf

# 追加如下两行
	*	soft	nofile	102400
	*	hard	nofile	102400
echo -e "net.core.somaxconn = 511\nvm.overcommit_memory = 1" >> /etc/sysctl.conf
sysctl -p注:不做这一步的话,会报错如下:
7127:C 05 Jul 2024 14:04:36.683 # WARNING Memory overcommit must be enabled! Without it, a background save or replication may fail under low memory condition. Being disabled, it can also cause failures without low memory condition, see https://github.com/jemalloc/jemalloc/issues/1328. To fix this issue add 'vm.overcommit_memory = 1' to /etc/sysctl.conf and then reboot or run the command 'sysctl vm.overcommit_memory=1' for this to take effect.
7127:M 05 Jul 2024 14:04:36.683 # WARNING: The TCP backlog setting of 511 cannot be enforced because /proc/sys/net/core/somaxconn is set to the lower value of 128.

7、手动启动和停止redis
redis-server /usr/local/redis/etc/redis.conf注:这样会在前台启动。
如果想后台启动,需要修改配置文件。然后重启redis即可直接跑到后台运行了
vi /usr/local/redis/etc/redis.conf
将【daemonize no】改为【daemonize yes】
redis-cli shutdown
或
pkill redis-server
8、将redis启动交给systemd托管
vi /etc/systemd/system/redis.service

# 写上如下内容
[Unit]
Description=redis
Documentation=https://redis.io
After=network.target

[Service]
User=redis
Group=redis
ExecStart=/usr/local/redis/bin/redis-server /usr/local/redis/etc/redis.conf
ExecStop=/usr/local/redis/bin/redis-cli shutdown
Restart=on-failure

[Install]
WantedBy=multi-user.target
9、创建redis系统账号
注:由于systemd启动脚本里指定了启动redis的用户为redis,所以必须创建相应的账号,并赋予权限。
groupadd redis && useradd -r -g redis -s /sbin/nologin redis
chown -R redis.redis /usr/local/redis
10、将redis加入开机自启
注:如果交给systemd托管了,那么就可以用下面这个方法,让其开机自启
systemctl enable redis11、(附)部分配置介绍
【daemonize no】改为【daemonize yes】
# 启动redis后不进入后台,想让其进入后台就改为yes。但如果托管给systemd的话这里不用改


【# requirepass foobared】 更改为【requirepass serena0129】
#开启redis认证,设备密码为serena0129


【logfile ""】改为【logfile "/var/log/redis.log"】
#将redis路径设定为/var/log/redis.log