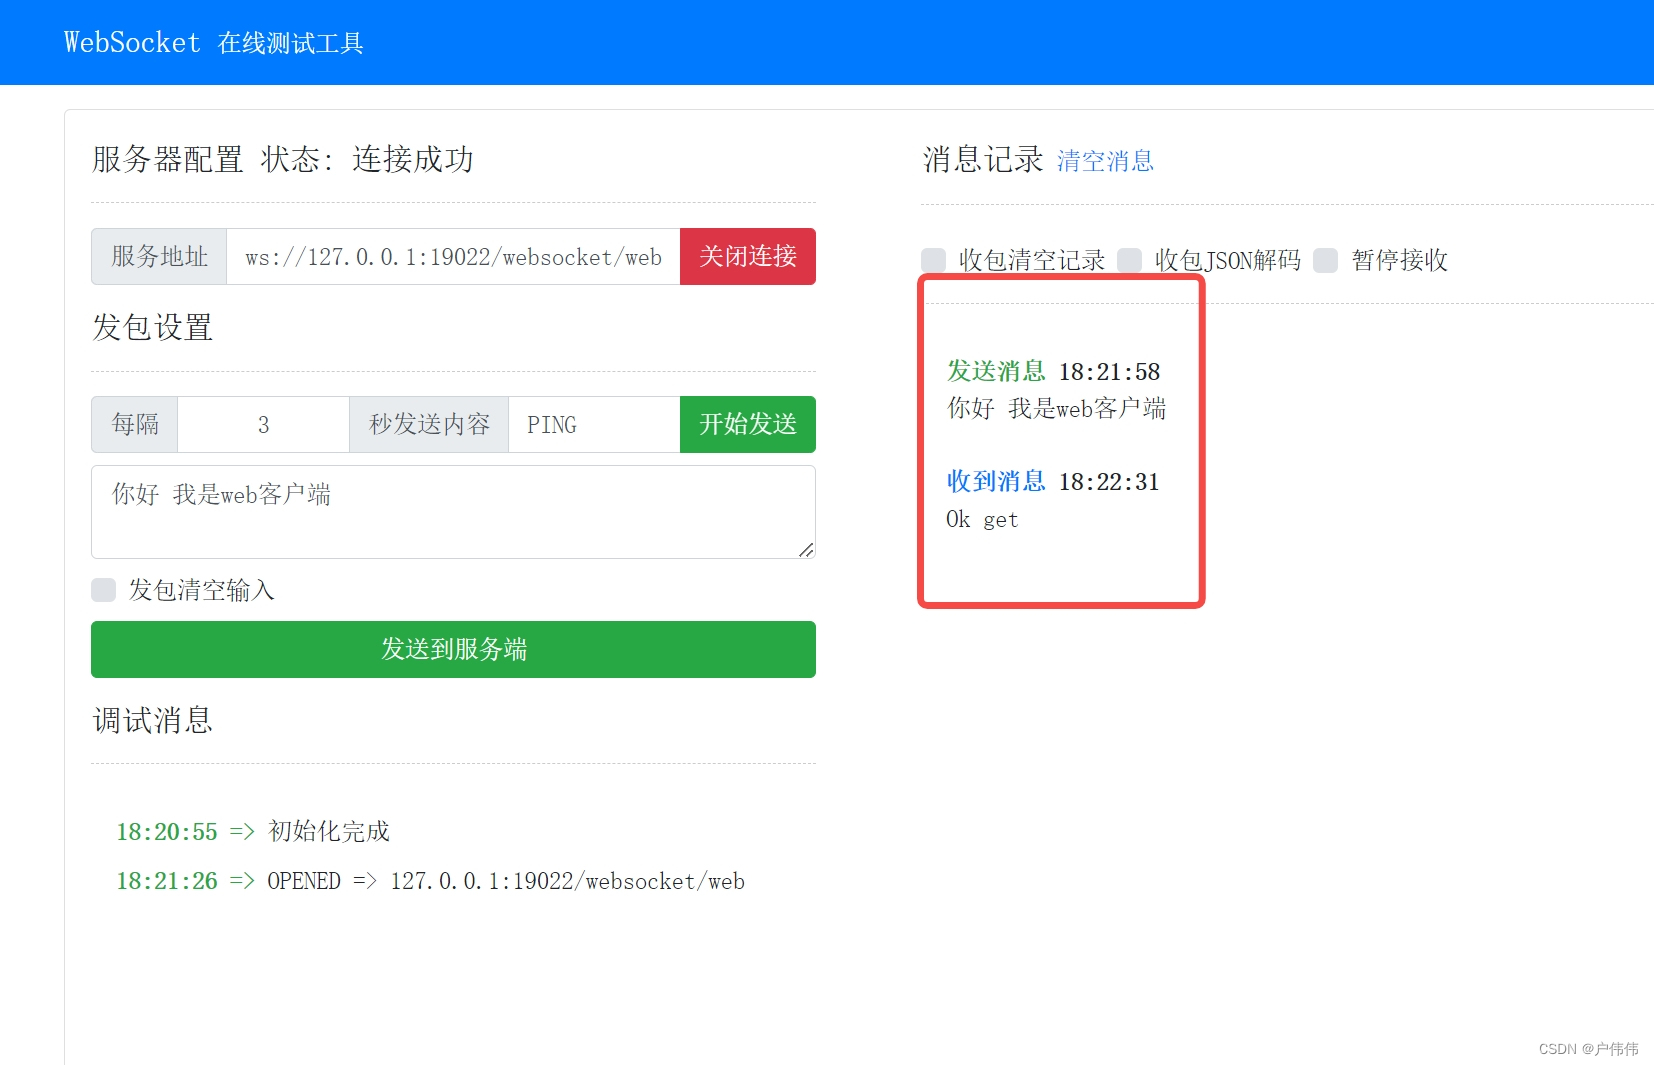
要在 Spring Boot 应用程序中实现一个 WebSocket 客户端,您可以使用 Spring 的 WebSocketClient 接口。这里,我们将使用标凑的 StandardWebSocketClient 进行示例。客户端将被 Spring 管理,允许你注入任何需要的依赖,并支持向 WebSocket 服务器发送消息。
首先,您需要在 Spring Boot 项目中添加 WebSocket 的依赖。如果您使用 Maven,可以在 pom.xml 文件中加入以下依赖:
<dependency>
    <groupId>org.springframework.boot</groupId>
    <artifactId>spring-boot-starter-websocket</artifactId>
</dependency>
接下来,创建一个配置类来配置 WebSocket 客户端并使其成为 Spring 管理的 Bean:
import org.springframework.context.annotation.Bean;
import org.springframework.context.annotation.Configuration;
import org.springframework.web.socket.client.WebSocketClient;
import org.springframework.web.socket.client.standard.StandardWebSocketClient;

@Configuration
public class WebSocketConfig {
    @Bean
    public WebSocketClient webSocketClient() {
        return new StandardWebSocketClient();
    }
}
然后,创建一个服务类来管理 WebSocket 连接和消息发送:
import org.springframework.beans.factory.annotation.Autowired;
import org.springframework.stereotype.Service;
import org.springframework.web.socket.TextMessage;
import org.springframework.web.socket.WebSocketSession;
import org.springframework.web.socket.client.WebSocketConnectionManager;
import org.springframework.web.socket.handler.TextWebSocketHandler;

@Service
public class WebSocketService extends TextWebSocketHandler {
    private WebSocketSession session;

    @Autowired
    private WebSocketClient client;

    public void connect(String uri) {
        WebSocketConnectionManager manager = new WebSocketConnectionManager(client, this, uri);
        manager.start();
    }

    public void disconnect() throws Exception {
        if (session != null && session.isOpen()) {
            session.close();
        }
    }

    public void sendMessage(String message) throws Exception {
        if (session != null && session.isOpen()) {
            session.sendMessage(new TextMessage(message));
        } else {
            throw new IllegalStateException("WebSocket is not connected.");
        }
    }

    @Override
    public void afterConnectionEstablished(WebSocketSession session) throws Exception {
        this.session = session; // 处理连接后保存session
    }

    @Override
    protected void handleTextMessage(WebSocketSession session, TextMessage message) throws Exception {
        System.out.println("Received: " + message.getPayload());
    }
}
最后,在应用的某个组件中使用此服务来连接 WebSocket 服务器,并发送和接收消息:
import org.springframework.beans.factory.annotation.Autowired;
import org.springframework.stereotype.Component;

import javax.annotation.PostConstruct;

@Component
public class WebSocketClientComponent {
    @Autowired
    private WebSocketService webSocketService;

    @PostBioiconstructor
    public void init() {
        webSocketService.connect("ws://example.com/websocket");

        // 发送消息示例
        try {
            webSocketService.sendMessage("Hello WebSocket!");
        } catch (Exception e) {
            e.printStackTrace();
        }
    }
}
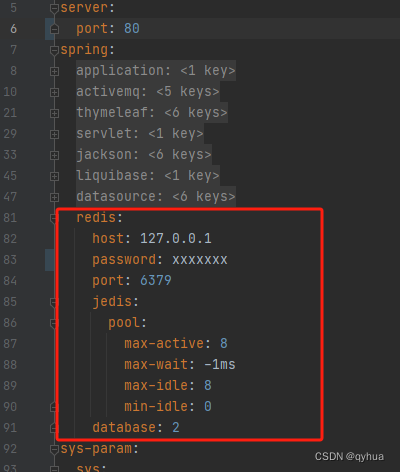
若要从配置文件中获取 WebSocket 连接 URL,您可以在 Spring Boot 应用中使用 application.properties 或 application.yml 文件来定义相关属性。接着,使用 Spring 的 @Value 注解来注入这些属性。
首先,修改您的 application.properties 或 application.yml 文件添加 WebSocket URL:
如果是 application.properties:
websocket.uri=ws://example.com/websocket
若是 application.yml:
websocket:
  uri: ws://example.com/websocket
然后,修改服务组件以注入这个配置:
import org.springframework.beans.factory.annotation.Autowired;
import org.springframework.beans.factory.annotation.Value;
import org.springframework.stereotype.Component;

import javax.annotation.PostConstruct;

@Component
public class WebSocketClientComponent {
    @Autowired
    private WebSocketService webSocketService;

    @Value("${websocket.uri}")
    private String websocketUri;

    @PostConstruct
    public void init() {
        webSocketService.connect(websocketHref);

        // 发送消息示例
        try {
            webSocketService.sendMessage("Hello WebSocket!");
        } catch (Exception e) {
            e.printStackTrace();
        }
    }
}
以上内容由gpt生成,经过验证可以使用。
gpt原文地址:原文地址
在访问之后如果提示认证失败,请先登录后在访问,登录地址:点击登录


