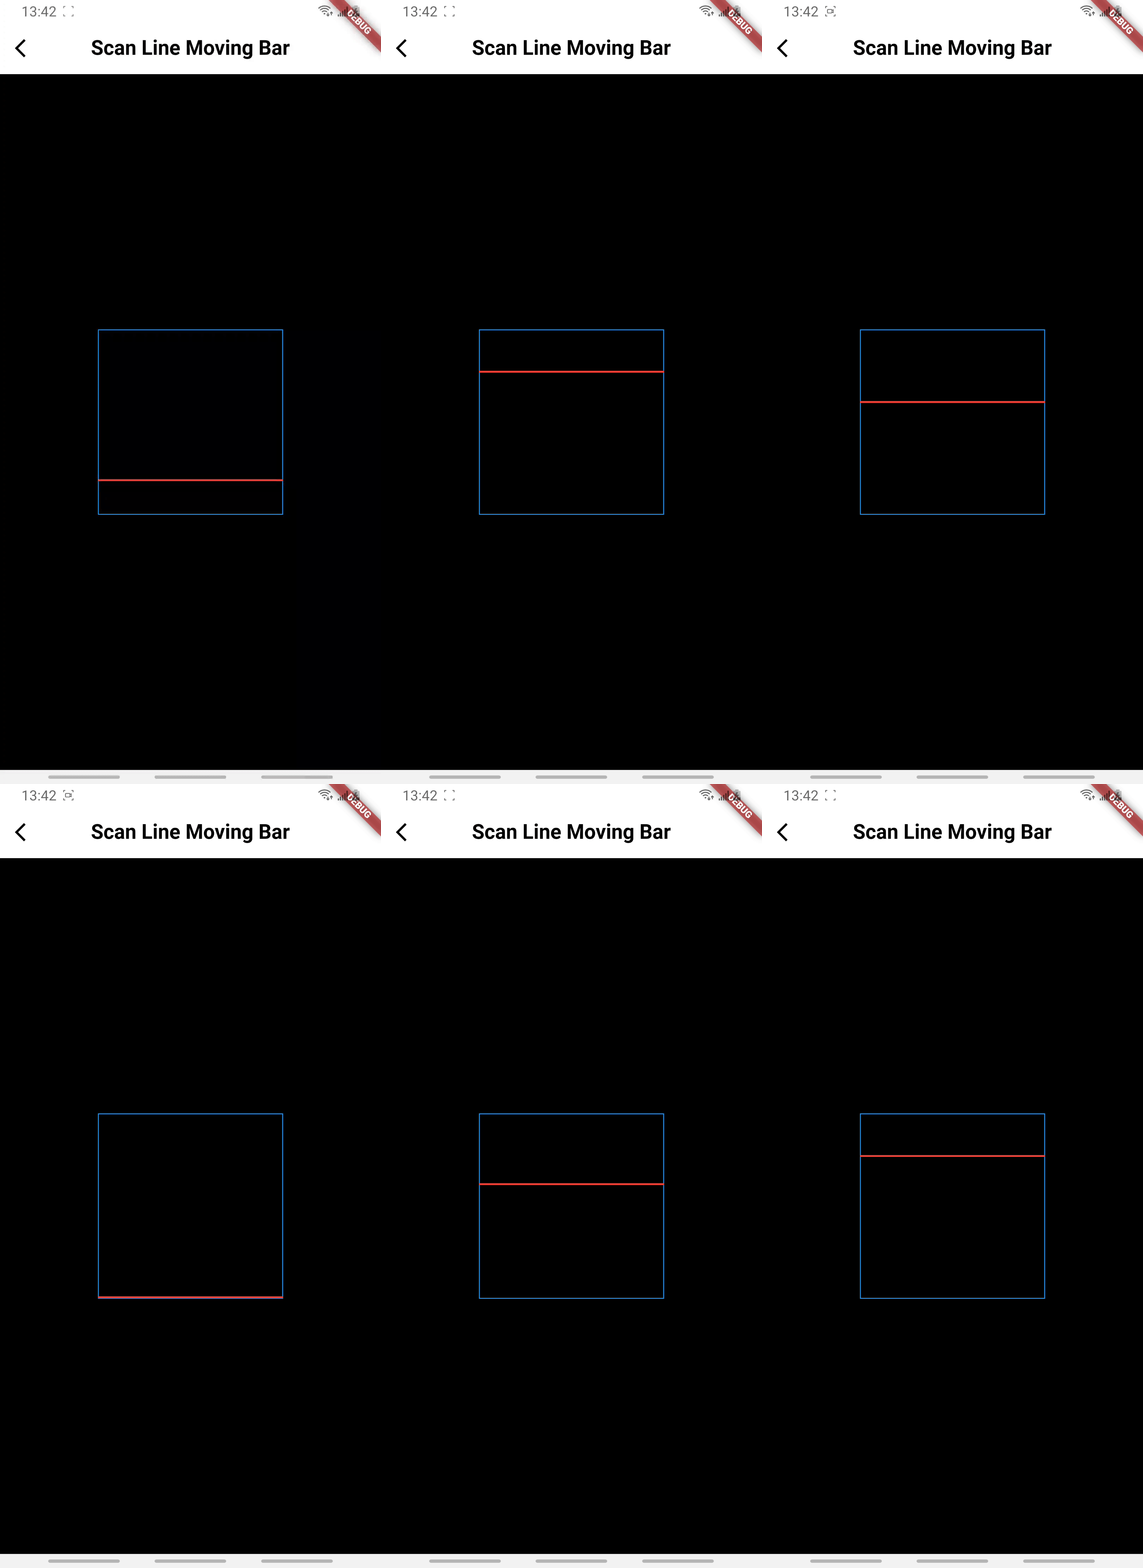
先来看看效果:

接下来说明下实现步骤:
1.定义个背景
 <Grid  Background="#ffffff">
     <Border Background="#7f8b99" />

</Grid>
2.定义平行四边形
定义一个 宽40 高21的 四边形。然后定义四个点的起始位置 Points
Points的定义要跟你设计的宽高相关
   <Polygon
       Width="40"
       Height="21"
       Margin="30,0,0,0"
       Fill="#fbffff"
       Points="40,0 15,0 0,21 25,21" />
3.把多个平行四边形添加到容器中 StackPanel
我这边加了10个,容器是放在Grid里边
  <StackPanel
      x:Name="sp_slide"
      Grid.Row="2"
      Margin="-800,0,0,0"
      HorizontalAlignment="Center"
      VerticalAlignment="Center"
      Orientation="Horizontal">
      <Polygon
          Width="40"
          Height="21"
          Margin="0,0,0,0"
          Fill="#fbffff"
          Points="40,0 15,0 0,21 25,21" />
      <Polygon
          Width="40"
          Height="21"
          Margin="30,0,0,0"
          Fill="#fbffff"
          Points="40,0 15,0 0,21 25,21" />
      <Polygon
          Width="40"
          Height="21"
          Margin="30,0,0,0"
          Fill="#fbffff"
          Points="40,0 15,0 0,21 25,21" />
      <Polygon
          Width="40"
          Height="21"
          Margin="30,0,0,0"
          Fill="#fbffff"
          Points="40,0 15,0 0,21 25,21" />
      <Polygon
          Width="40"
          Height="21"
          Margin="30,0,0,0"
          Fill="#fbffff"
          Points="40,0 15,0 0,21 25,21" />
      <Polygon
          Width="40"
          Height="21"
          Margin="30,0,0,0"
          Fill="#fbffff"
          Points="40,0 15,0 0,21 25,21" />
      <Polygon
          Width="40"
          Height="21"
          Margin="30,0,0,0"
          Fill="#fbffff"
          Points="40,0 15,0 0,21 25,21" />
      <Polygon
          Width="40"
          Height="21"
          Margin="30,0,0,0"
          Fill="#fbffff"
          Points="40,0 15,0 0,21 25,21" />
      <Polygon
          Width="40"
          Height="21"
          Margin="30,0,0,0"
          Fill="#fbffff"
          Points="40,0 15,0 0,21 25,21" />
      <Polygon
          Width="40"
          Height="21"
          Margin="30,0,0,0"
          Fill="#fbffff"
          Points="40,0 15,0 0,21 25,21" />
      <Polygon
          Width="40"
          Height="21"
          Margin="30,0,0,0"
          Fill="#fbffff"
          Points="40,0 15,0 0,21 25,21" />
      <Polygon
          Width="40"
          Height="21"
          Margin="30,0,0,0"
          Fill="#fbffff"
          Points="40,0 15,0 0,21 25,21" />
      <Polygon
          Width="40"
          Height="21"
          Margin="30,0,0,0"
          Fill="#fbffff"
          Points="40,0 15,0 0,21 25,21" />
      <Polygon
          Width="40"
          Height="21"
          Margin="30,0,0,0"
          Fill="#fbffff"
          Points="40,0 15,0 0,21 25,21" />
      <Polygon
          Width="40"
          Height="21"
          Margin="30,0,0,0"
          Fill="#fbffff"
          Points="40,0 15,0 0,21 25,21" />
      <Polygon
          Width="40"
          Height="21"
          Margin="30,0,0,0"
          Fill="#fbffff"
          Points="40,0 15,0 0,21 25,21" />
      <Polygon
          Width="40"
          Height="21"
          Margin="30,0,0,0"
          Fill="#fbffff"
          Points="40,0 15,0 0,21 25,21" />
      <Polygon
          Width="40"
          Height="21"
          Margin="30,0,0,0"
          Fill="#fbffff"
          Points="40,0 15,0 0,21 25,21" />
      <Polygon
          Width="40"
          Height="21"
          Margin="30,0,0,0"
          Fill="#fbffff"
          Points="40,0 15,0 0,21 25,21" />
      <Polygon
          Width="40"
          Height="21"
          Margin="30,0,0,0"
          Fill="#fbffff"
          Points="40,0 15,0 0,21 25,21" />
      <Polygon
          Width="40"
          Height="21"
          Margin="30,0,0,0"
          Fill="#fbffff"
          Points="40,0 15,0 0,21 25,21" />
  </StackPanel>
4.再来添加触发器,Grid下边
触发器修改的是容器的Margin
<Grid.Triggers>
    <EventTrigger RoutedEvent="Grid.Loaded">
        <BeginStoryboard>
            <Storyboard RepeatBehavior="Forever">
                <ThicknessAnimation
                    AutoReverse="False"
                    BeginTime="0:0:0.00000"
                    Storyboard.TargetName="sp_slide"
                    Storyboard.TargetProperty="Margin"
                    To="-10,0,0,0"
                    Duration="0:0:8" />
            </Storyboard>
        </BeginStoryboard>
    </EventTrigger>
</Grid.Triggers>
以上就是实现旋转带的方式了


