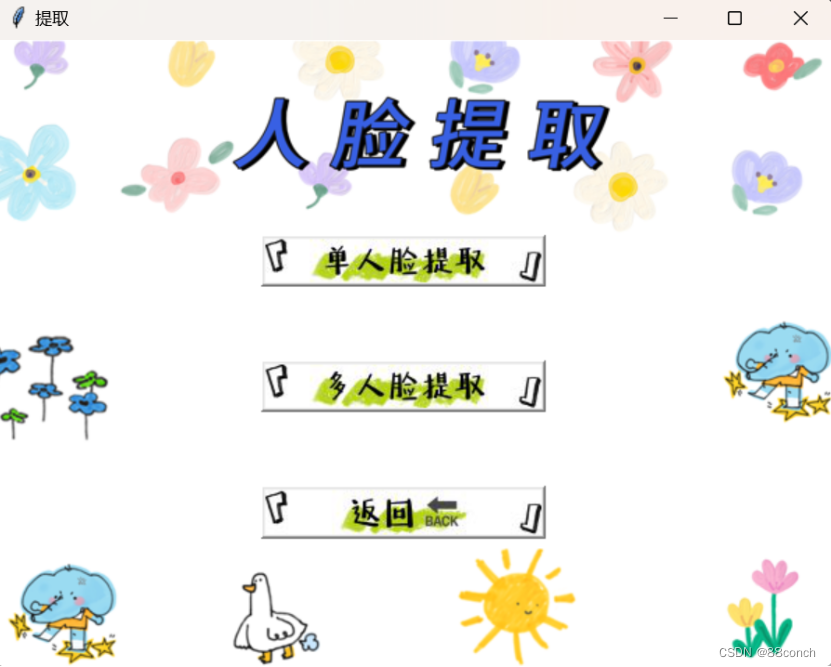
提取人脸
导入所需的库
tkinter:用于创建图形用户界面。filedialog:用于打开文件对话框。
cv2:OpenCV库,用于图像处理和计算机视觉。PIL(Python Imaging Library)和ImageTk:用于处理和显示图像。messagebox:用于显示消息框。
subprocess:用于执行系统命令。
import tkinter as tk
from tkinter import filedialog
import cv2
from PIL import Image, ImageTk
from tkinter import messagebox
import subprocess
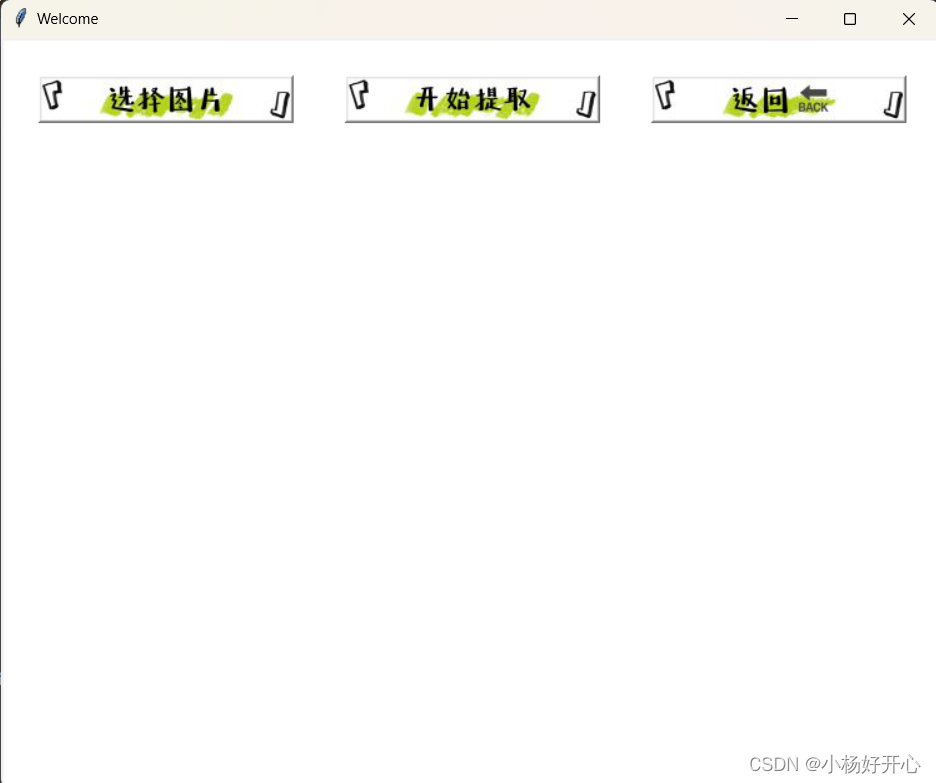
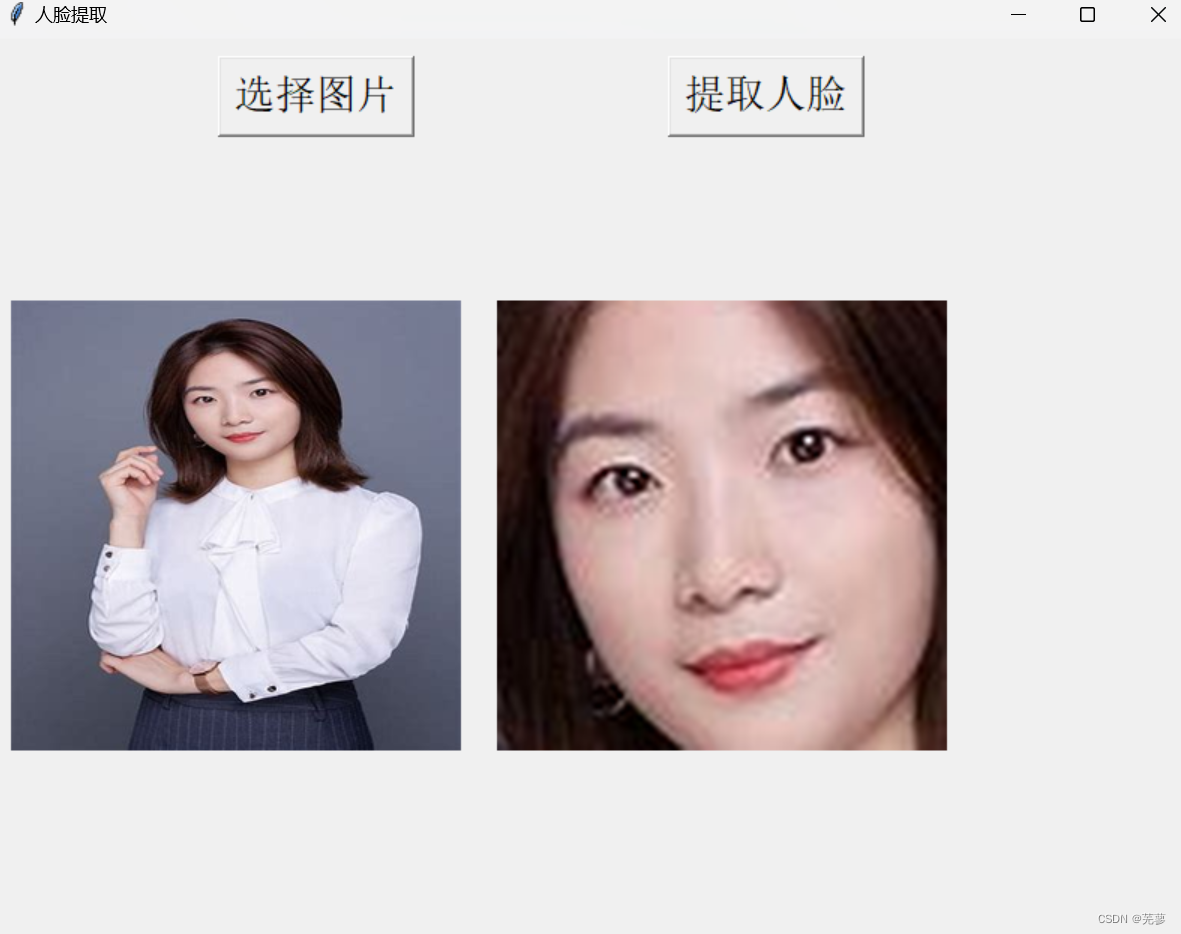
创建窗口
创建一个
Tkinter窗口对象win,并设置窗口的标题和大小。
win = tk.Tk()
win.title("人脸提取")
win.geometry("800x650")
显示原始图片
创建一个标签(Label)对象
image_label_original,用于显示原始图片。然后使用pack()方法将标签放置在窗口的左侧,并设置一些填充和边距。
image_label_original = tk.Label(win)
image_label_original.pack(side=tk.LEFT, padx=10, pady=80)
显示检测到的人脸
创建另一个标签(Label)对象
image_label_detected,用于显示检测到的人脸。同样使用pack()方法将标签放置在窗口的左侧,并设置一些填充和边距。
image_label_detected = tk.Label(win)
image_label_detected.pack(side=tk.LEFT, padx=10, pady=80)
创建全局变量
创建一个全局变量
selected_image_path,用于存储选择的图片路径。
selected_image_path = None
定义字体对象
定义一个字体对象
my_font,用于按钮和其他文本控件。
my_font = ("Times New Roman", 20)
定义一个函数select_image
定义一个函数
select_image,当按钮被点击时,它会打开文件选择对话框,让用户选择图片。然后使用OpenCV加载图片,转换颜色空间,使用PIL调整图片大小,并使用Tkinter显示图片。
def select_image(): - 定义一个函数,当按钮被点击时,会执行这个函数。global selected_image_path:声明selected_image_path是一个全局变量,这样在函数内部可以修改它的值。
selected_image_path = filedialog.askopenfilename():
打开文件选择对话框,让用户选择一个文件。askopenfilename():函数返回用户选择的文件路径。img = cv2.imread(selected_image_path): 使用OpenCV的imread函数从选择的文件路径中读取图片。
img_rgb = cv2.cvtColor(img, cv2.COLOR_BGR2RGB)
:将图片从BGR颜色空间转换到RGB颜色空间。img_pil = Image.fromarray(img_rgb)
:将NumPy数组转换为PIL图像。img_pil = img_pil.resize((300, 300), Image.Resampling.LANCZOS): 使用LANCZOS插值方法将图像大小调整为300x300像素。img_tk = ImageTk.PhotoImage(image=img_pil):将PIL图像转换为Tkinter可以显示的PhotoImage对象。
image_label_original.config(image=img_tk):
配置标签image_label_original以显示新加载的图片。image_label_original.image = img_tk: 设置标签的image属性,以便在Tkinter中显示图像。
def select_image():
    global selected_image_path
    # 打开文件选择对话框
    selected_image_path = filedialog.askopenfilename()

    # 使用OpenCV加载图片
    img = cv2.imread(selected_image_path)
    img_rgb = cv2.cvtColor(img, cv2.COLOR_BGR2RGB)
    img_pil = Image.fromarray(img_rgb)
    img_pil = img_pil.resize((300, 300), Image.Resampling.LANCZOS)  # 调整图片大小为300x300
    img_tk = ImageTk.PhotoImage(image=img_pil)

    # 显示原始图片
    image_label_original.config(image=img_tk)
    image_label_original.image = img_tk
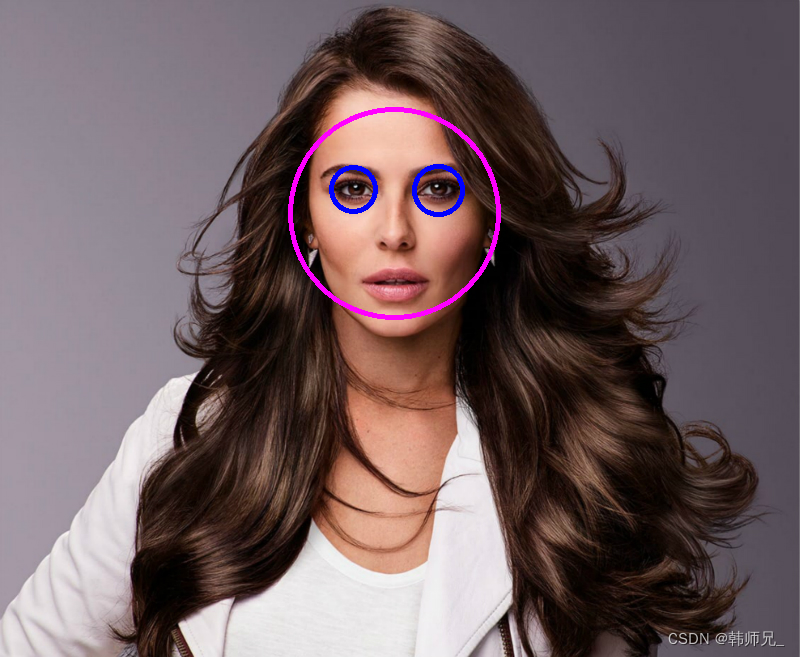
定义了extract_faces函数
if selected_image_path: - 检查selected_image_path是否已经被设置,即是否已经选择了图片。
img = cv2.imread(selected_image_path): 使用OpenCV的imread函数加载选择的图片。
gray = cv2.cvtColor(img, cv2.COLOR_BGR2GRAY):将图片从BGR颜色空间转换到灰度颜色空间。
face_cascade = cv2.CascadeClassifier(cv2.data.haarcascades + 'haarcascade_frontalface_default.xml'):加载预训练的人脸检测Haar级联分类器。
faces = face_cascade.detectMultiScale(gray, scaleFactor=1.1, minNeighbors=5)
:使用加载的分类器在灰度图像中检测多个人脸,并返回它们的坐标和大小。
print(f"Detected faces: {len(faces)}"): 打印检测到的人脸数量。
if len(faces) > 0: 检查是否检测到人脸。
(x, y, w, h) = faces[0]: 获取第一个检测到的人脸的坐标和大小。
face_img = img[y:y+h, x:x+w]
:从原始图片中裁剪出人脸区域。
face_img = cv2.cvtColor(face_img, cv2.COLOR_BGR2RGB)
: 将裁剪的人脸图像从BGR颜色空间转换到RGB颜色空间。
face_img = Image.fromarray(face_img):
将裁剪后的图像从NumPy数组转换为PIL图像。face_img = face_img.resize((300, 300), Image.Resampling.LANCZOS): 使用LANCZOS插值方法将图像大小调整为300x300像素。
face_img = ImageTk.PhotoImage(face_img): 将PIL图像转换为Tkinter可以显示的PhotoImage对象。image_label_detected.config(image=face_img):
配置标签image_label_detected以显示新的人脸图像。
image_label_detected.image = face_img: 设置标签的image属性,以便在Tkinter中显示图像。 else: - 如果未检测到人脸,执行以下代码。
messagebox.showinfo("信息", "没有检测到人脸"): 显示一个消息框,告知用户没有检测到人脸。else:
如果selected_image_path未设置,执行以下代码。messagebox.showwarning("警告", "请先选择一张图片"):显示一个警告消息框,告知用户需要先选择一张图片。
def extract_faces():
    if selected_image_path:
        # 使用OpenCV的人脸检测
        img = cv2.imread(selected_image_path)
        gray = cv2.cvtColor(img, cv2.COLOR_BGR2GRAY)
        face_cascade = cv2.CascadeClassifier(cv2.data.haarcascades + 'haarcascade_frontalface_default.xml')
        faces = face_cascade.detectMultiScale(gray, scaleFactor=1.1, minNeighbors=5)

        # 打印检测到的人脸数量
        print(f"Detected faces: {len(faces)}")

        # 如果检测到人脸,裁剪并显示
        if len(faces) > 0:
            (x, y, w, h) = faces[0]  # 获取第一个检测到的人脸
            print(f"Face coordinates: x={x}, y={y}, w={w}, h={h}")
            face_img = img[y:y+h, x:x+w]  # 裁剪人脸区域

            # 转换为PIL图像并调整大小
            face_img = cv2.cvtColor(face_img, cv2.COLOR_BGR2RGB)
            face_img = Image.fromarray(face_img)
            face_img = face_img.resize((300, 300), Image.Resampling.LANCZOS)  # 调整人脸图片大小为300x300
            face_img = ImageTk.PhotoImage(face_img)
            image_label_detected.config(image=face_img)
            image_label_detected.image = face_img
        else:
            messagebox.showinfo("信息", "没有检测到人脸")
    else:
        messagebox.showwarning("警告", "请先选择一张图片")
设置按钮
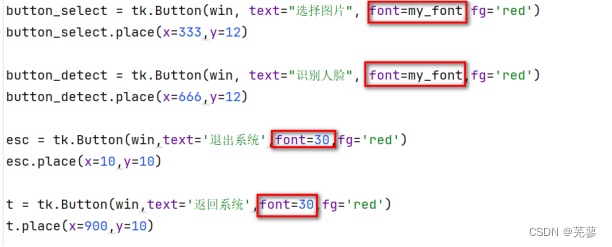
button_select = tk.Button(win, text="选择图片", font=my_font, command=select_image, fg='black'):
创建一个名为button_select的按钮,显示文本为"选择图片",字体样式为my_font,按钮点击时执行select_image函数,文本颜色为黑色。
button_select.place(x=150, y=12):
将button_select按钮放置在窗口win的特定位置,横坐标为150,纵坐标为12。
button_extract = tk.Button(win, text="提取人脸", font=my_font, command=extract_faces, fg='black'):
创建另一个名为button_extract的按钮,显示文本为"提取人脸",字体样式为my_font,按钮点击时执行extract_faces函数,文本颜色为黑色。
button_extract.place(x=450, y=12):
将button_extract按钮放置在窗口win的特定位置,横坐标为450,纵坐标为12。
创建选择图片和识别人脸的按钮
button_select = tk.Button(win, text="选择图片", font=my_font, command=select_image, fg='black')
button_select.place(x=150, y=12)

button_extract = tk.Button(win, text="提取人脸", font=my_font, command=extract_faces, fg='black')
button_extract.place(x=450, y=12)
运行GUI主循环
win.mainloop(): 进入窗口win的主事件循环,使窗口显示并等待用户操作,直到用户关闭窗口。
win.mainloop()
运行显示
全部代码:
import tkinter as tk
from tkinter import filedialog
import cv2
from PIL import Image, ImageTk
from tkinter import messagebox
import subprocess

win = tk.Tk()
win.title("人脸提取")
win.geometry("800x650")

image_label_original = tk.Label(win)
image_label_original.pack(side=tk.LEFT, padx=10, pady=80)

image_label_detected = tk.Label(win)
image_label_detected.pack(side=tk.LEFT, padx=10, pady=80)

selected_image_path = None

my_font = ("Times New Roman", 20)

def select_image():
    global selected_image_path
    # 打开文件选择对话框
    selected_image_path = filedialog.askopenfilename()

    # 使用OpenCV加载图片
    img = cv2.imread(selected_image_path)
    img_rgb = cv2.cvtColor(img, cv2.COLOR_BGR2RGB)
    img_pil = Image.fromarray(img_rgb)
    img_pil = img_pil.resize((300, 300), Image.Resampling.LANCZOS)  # 调整图片大小为300x300
    img_tk = ImageTk.PhotoImage(image=img_pil)

    # 显示原始图片
    image_label_original.config(image=img_tk)
    image_label_original.image = img_tk

# 人脸检测函数
def extract_faces():
    if selected_image_path:
        # 使用OpenCV的人脸检测
        img = cv2.imread(selected_image_path)
        gray = cv2.cvtColor(img, cv2.COLOR_BGR2GRAY)
        face_cascade = cv2.CascadeClassifier(cv2.data.haarcascades + 'haarcascade_frontalface_default.xml')
        faces = face_cascade.detectMultiScale(gray, scaleFactor=1.1, minNeighbors=5)

        # 打印检测到的人脸数量
        print(f"Detected faces: {len(faces)}")

        # 如果检测到人脸,裁剪并显示
        if len(faces) > 0:
            (x, y, w, h) = faces[0]  # 获取第一个检测到的人脸
            print(f"Face coordinates: x={x}, y={y}, w={w}, h={h}")
            face_img = img[y:y+h, x:x+w]  # 裁剪人脸区域

            # 转换为PIL图像并调整大小
            face_img = cv2.cvtColor(face_img, cv2.COLOR_BGR2RGB)
            face_img = Image.fromarray(face_img)
            face_img = face_img.resize((300, 300), Image.Resampling.LANCZOS)  # 调整人脸图片大小为300x300
            face_img = ImageTk.PhotoImage(face_img)
            image_label_detected.config(image=face_img)
            image_label_detected.image = face_img
        else:
            messagebox.showinfo("信息", "没有检测到人脸")
    else:
        messagebox.showwarning("警告", "请先选择一张图片")

# 创建选择图片和识别人脸的按钮
button_select = tk.Button(win, text="选择图片", font=my_font, command=select_image, fg='black')
button_select.place(x=150, y=12)

button_extract = tk.Button(win, text="提取人脸", font=my_font, command=extract_faces, fg='black')
button_extract.place(x=450, y=12)

win.mainloop()