1.用anaconda创建虚拟环境
(base) C:\Users\Administrator>conda -V
conda 24.5.0
(base) C:\Users\Administrator>conda create -n appenv python
Channels:
- https://mirrors.tuna.tsinghua.edu.cn/anaconda/pkgs/main
- defaults
Platform: win-64
Collecting package metadata (repodata.json): done
Solving environment: done
## Package Plan ##
environment location: d:\anaconda3\envs\appenv
added / updated specs:
- python
The following NEW packages will be INSTALLED:
bzip2 anaconda/pkgs/main/win-64::bzip2-1.0.8-h2bbff1b_6
ca-certificates anaconda/pkgs/main/win-64::ca-certificates-2024.3.11-haa95532_0
expat anaconda/pkgs/main/win-64::expat-2.6.2-hd77b12b_0
libffi anaconda/pkgs/main/win-64::libffi-3.4.4-hd77b12b_1
openssl anaconda/pkgs/main/win-64::openssl-3.0.13-h2bbff1b_2
pip anaconda/pkgs/main/win-64::pip-24.0-py312haa95532_0
python anaconda/pkgs/main/win-64::python-3.12.3-h1d929f7_1
setuptools anaconda/pkgs/main/win-64::setuptools-69.5.1-py312haa95532_0
sqlite anaconda/pkgs/main/win-64::sqlite-3.45.3-h2bbff1b_0
tk anaconda/pkgs/main/win-64::tk-8.6.14-h0416ee5_0
tzdata anaconda/pkgs/main/noarch::tzdata-2024a-h04d1e81_0
vc anaconda/pkgs/main/win-64::vc-14.2-h2eaa2aa_1
vs2015_runtime anaconda/pkgs/main/win-64::vs2015_runtime-14.29.30133-h43f2093_3
wheel anaconda/pkgs/main/win-64::wheel-0.43.0-py312haa95532_0
xz anaconda/pkgs/main/win-64::xz-5.4.6-h8cc25b3_1
zlib anaconda/pkgs/main/win-64::zlib-1.2.13-h8cc25b3_1
Proceed ([y]/n)? y
Downloading and Extracting Packages:
Preparing transaction: done
Verifying transaction: done
Executing transaction: done
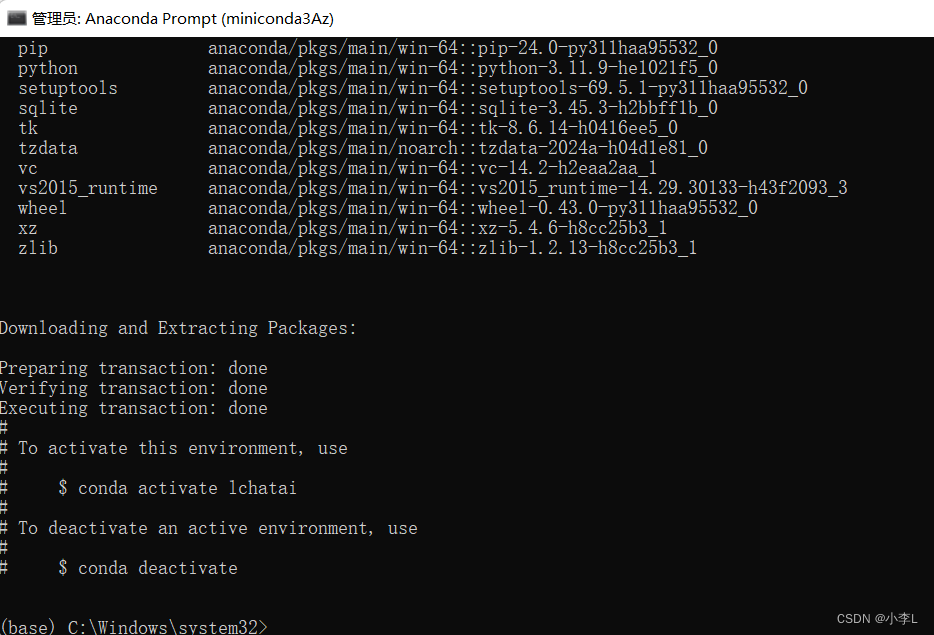
#
# To activate this environment, use
#
# $ conda activate appenv
#
# To deactivate an active environment, use
#
# $ conda deactivate
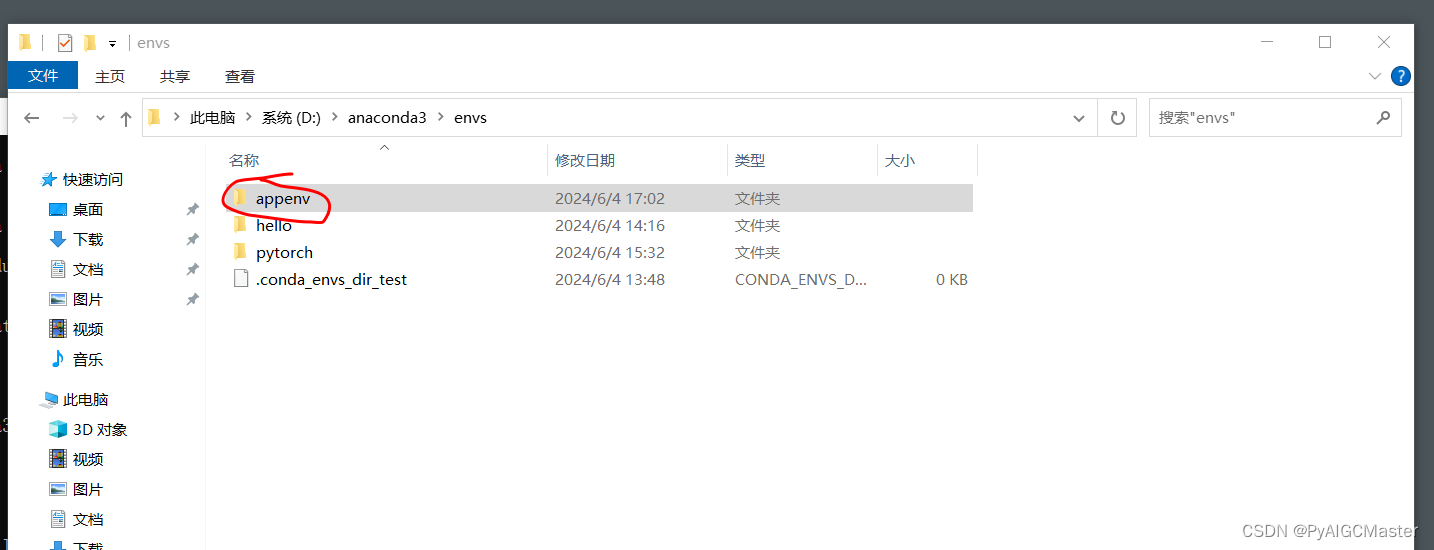
(base) C:\Users\Administrator>2.真实位置如下:
D:\anaconda3\envs\appenv
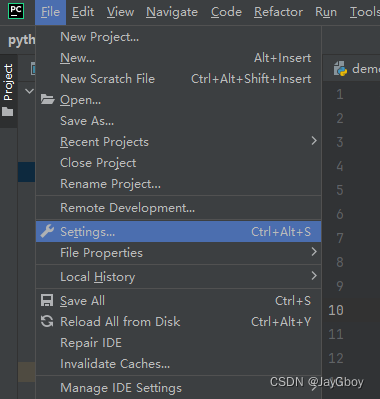
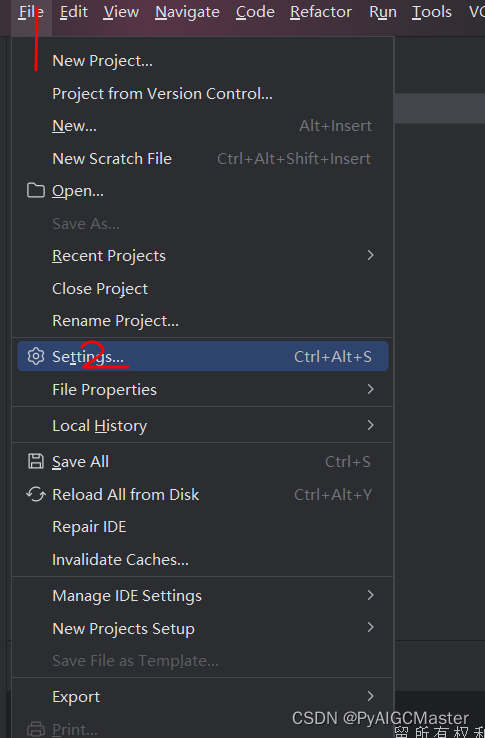
3.打开pycharm
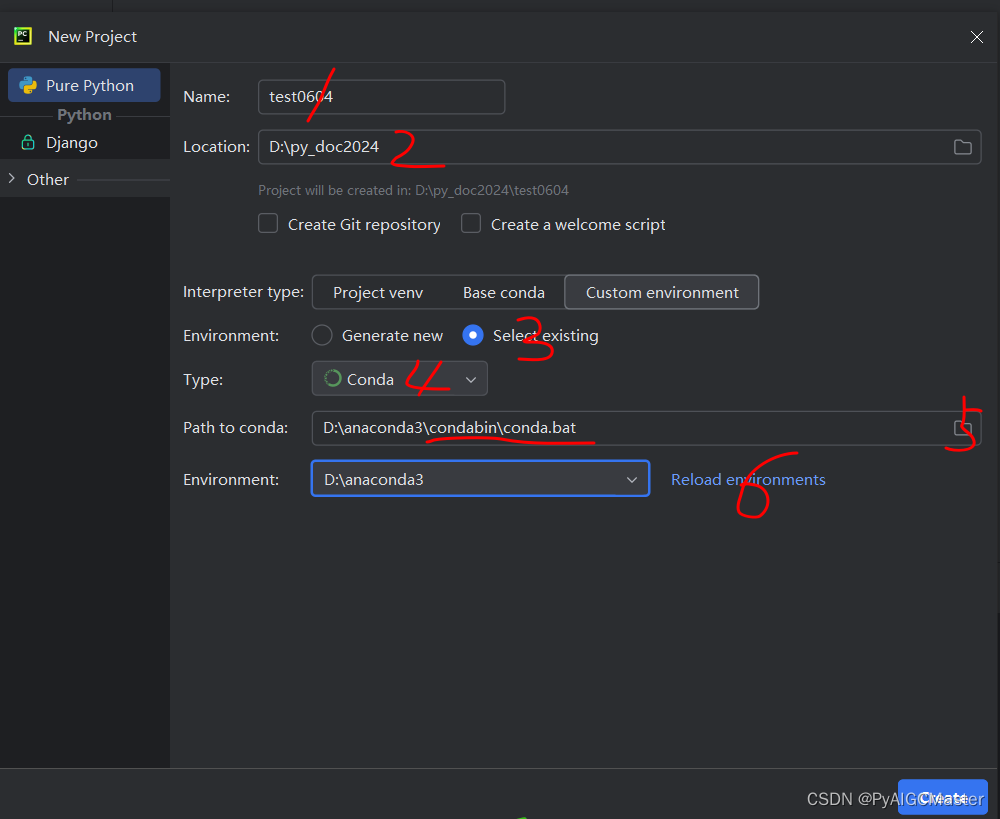
4.新建工程,注意第五步最为重要。第六步选择实际想用的环境。

进入系统可见成功。以上是新建工程时的方法。
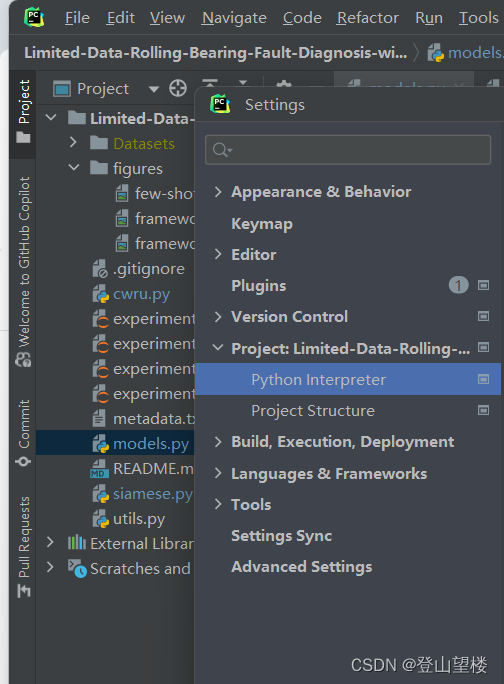
下面演示如何在已有工程中修改这个环境
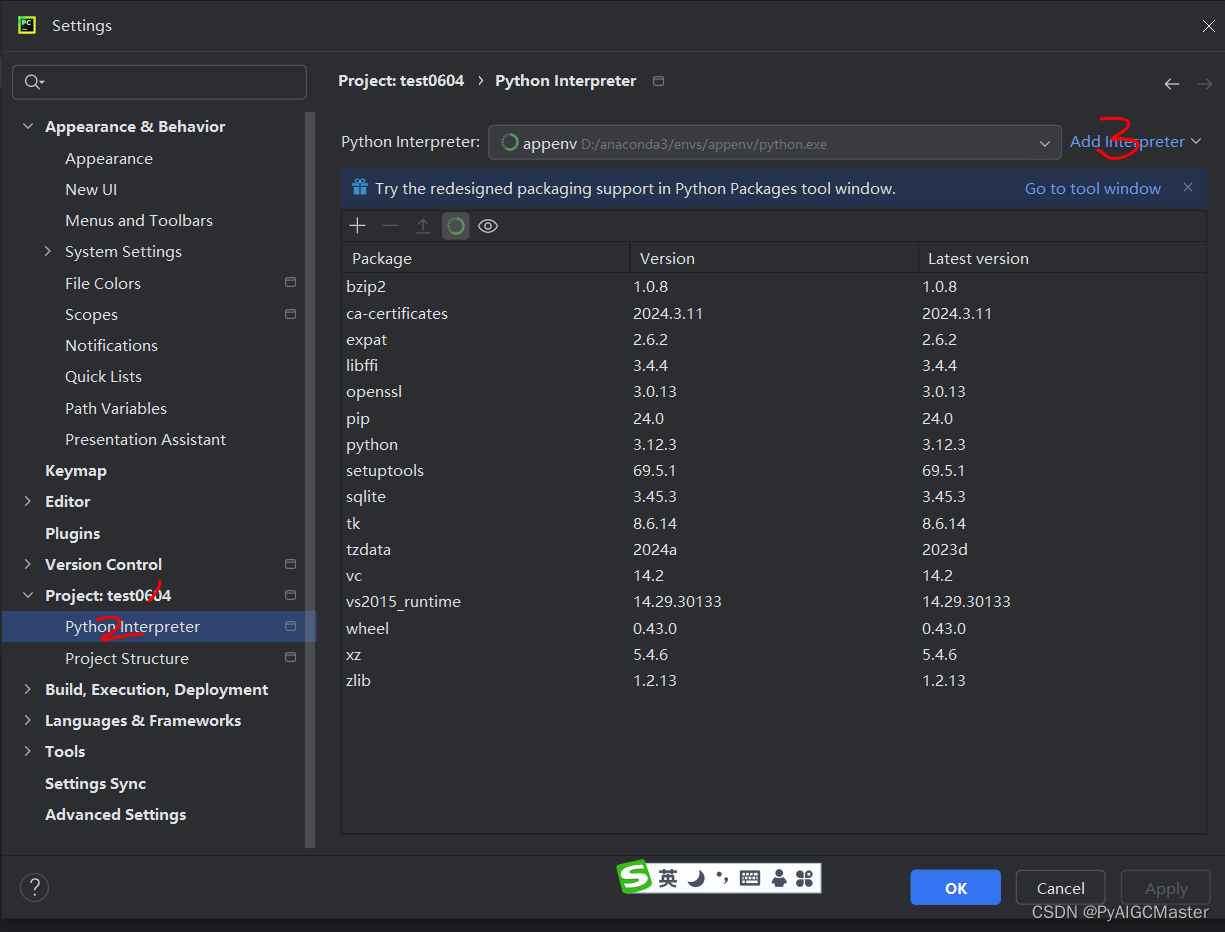
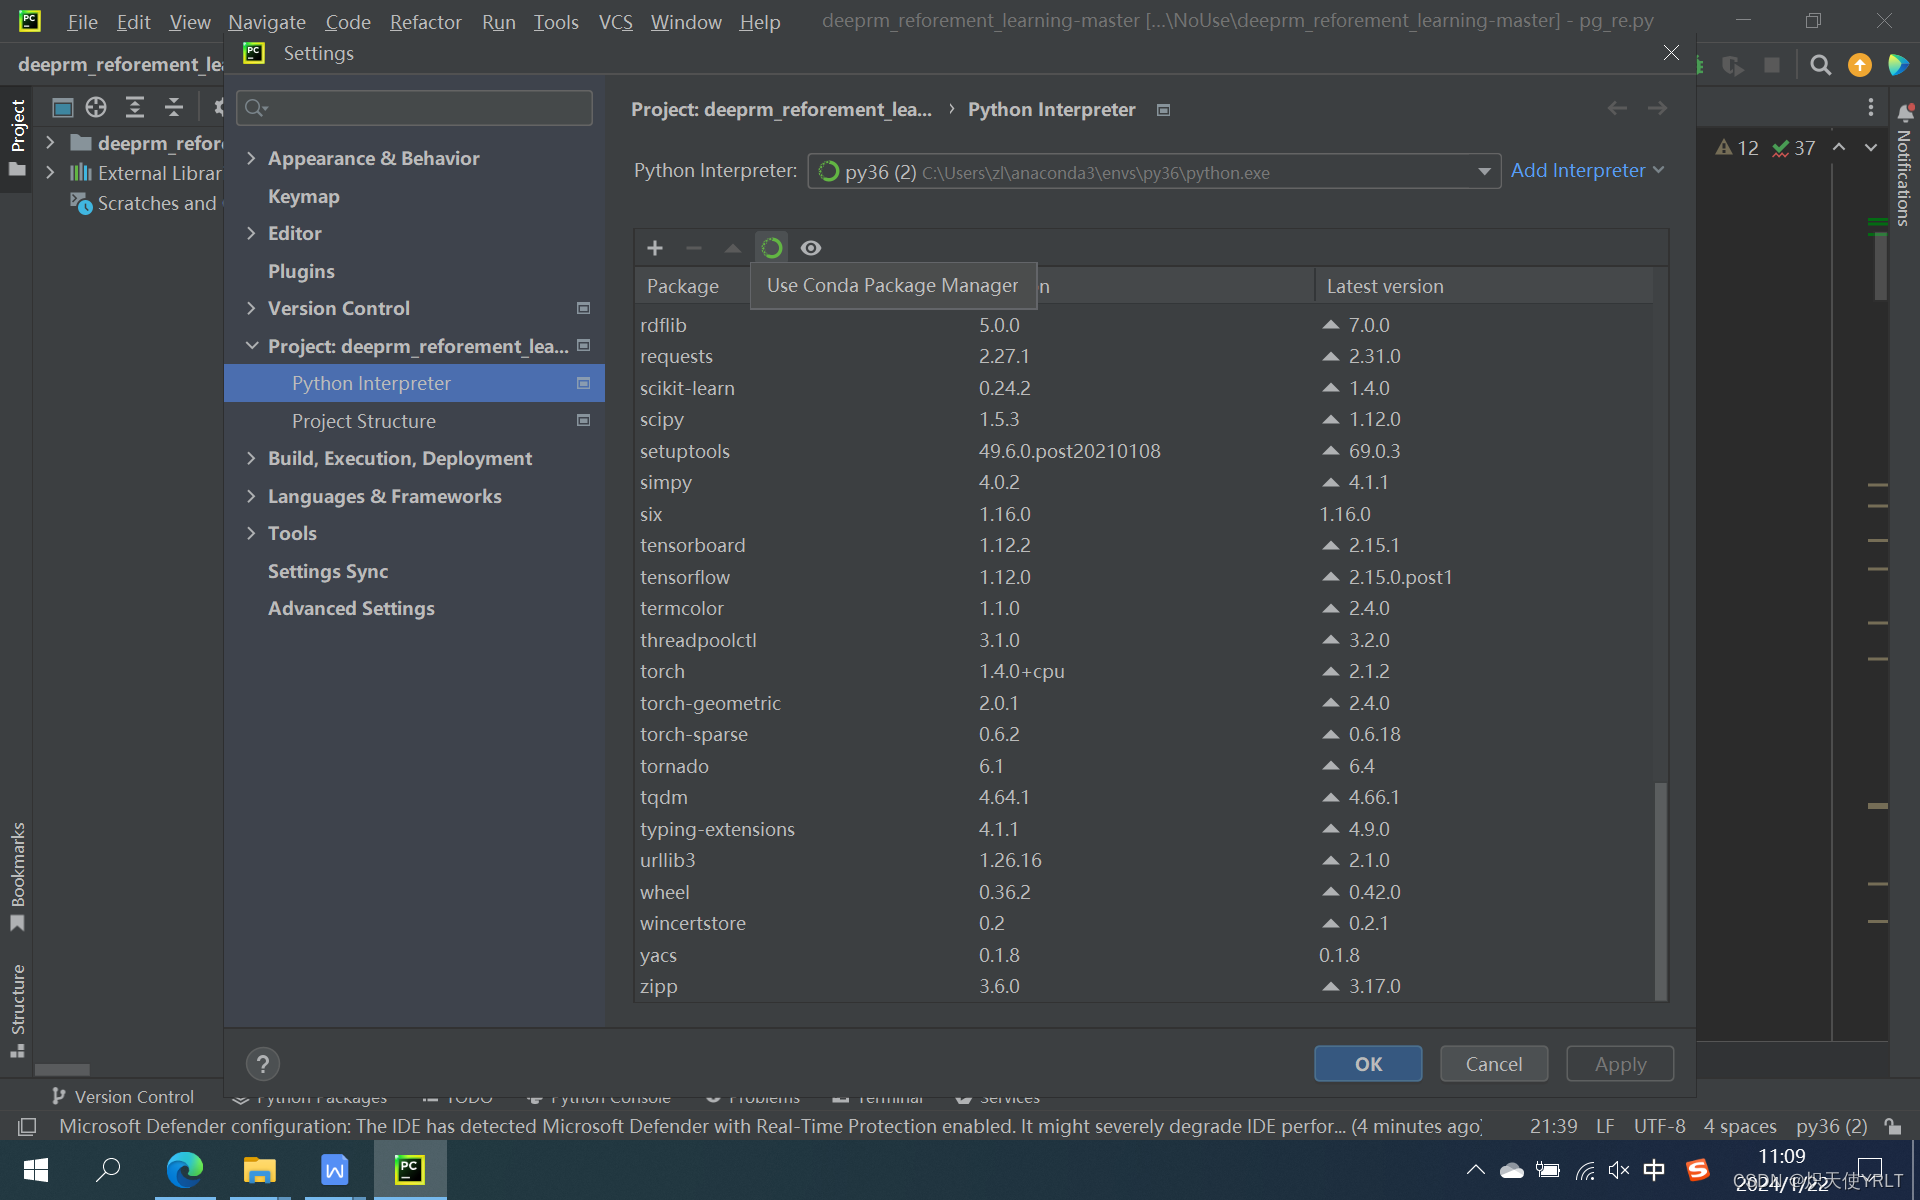
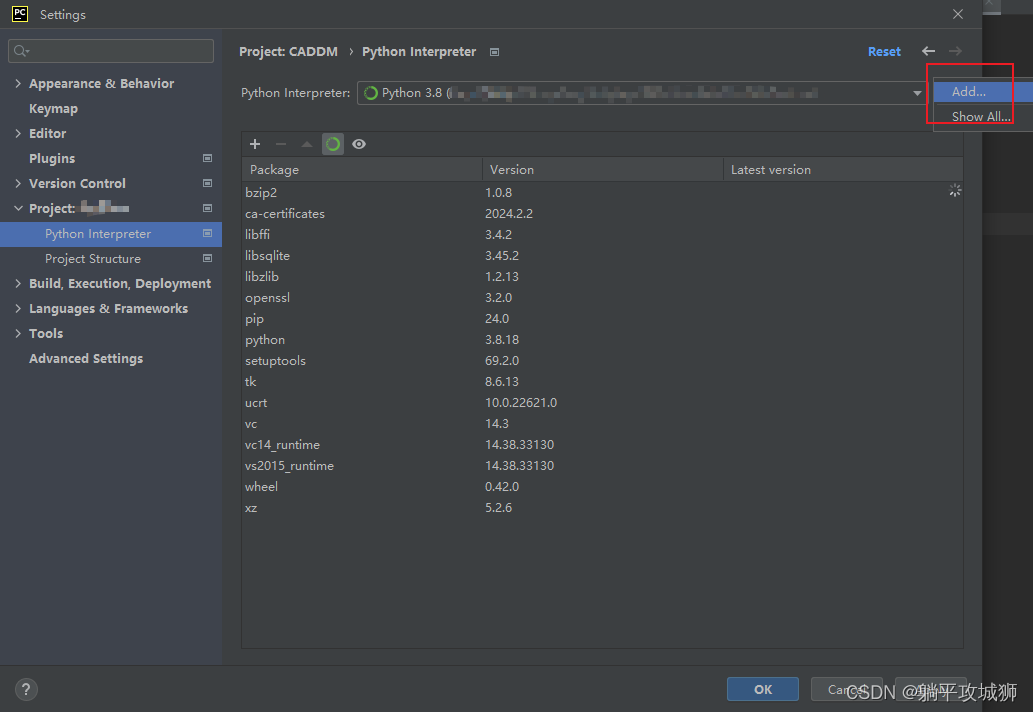
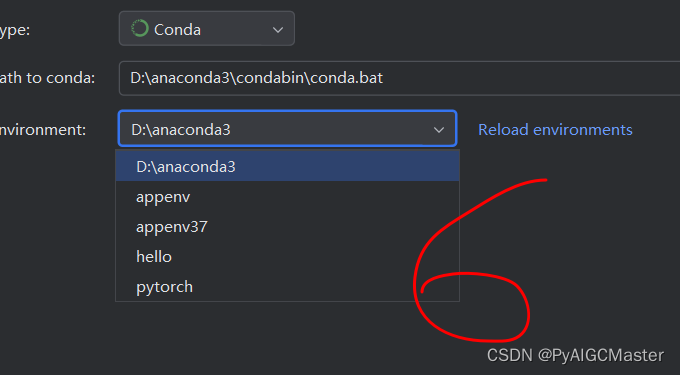
点小三角号:
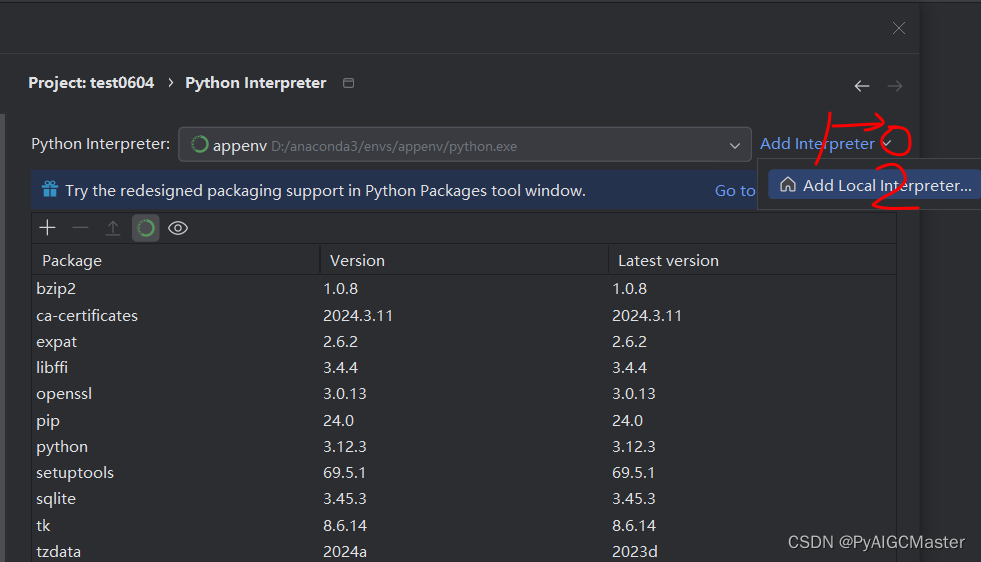
注意三是点小三角号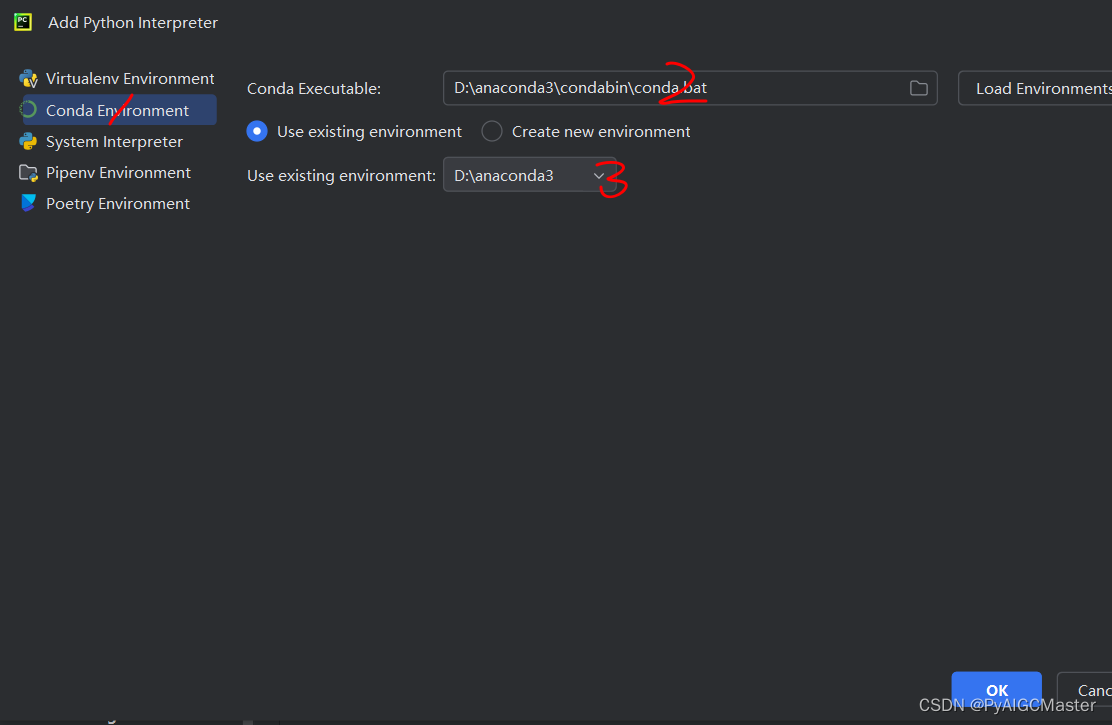
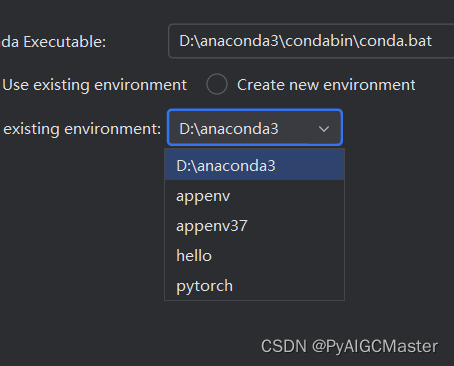
比如我使用的是最后一个。
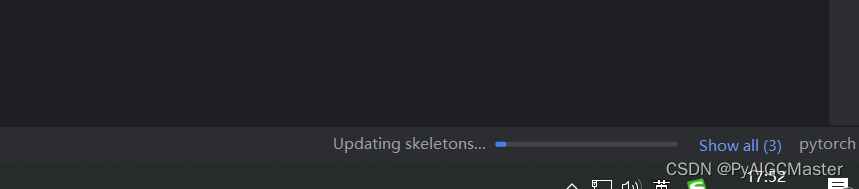
等待更新:早知不选最后一个,太太大了。只是演示而已。
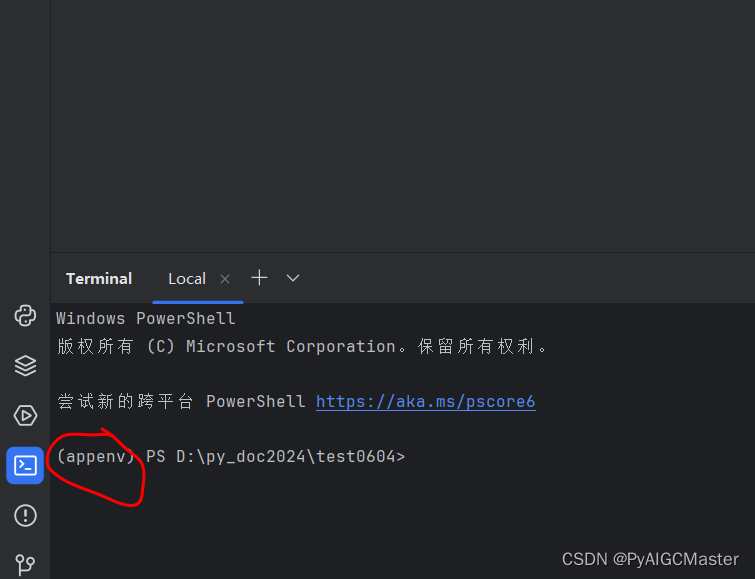
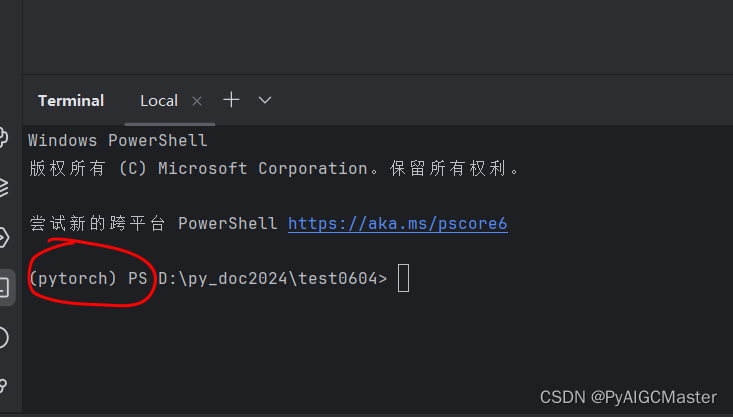
重启pytharm ,正常。
cs上大多是修改已有工程的,并且都说得不明白,我个人觉得。所以我的这个应该是最好的。欢迎点赞,让更多人看到。