SpringBoot启动流程分析之创建SpringApplication对象(一)
目录:
文章目录
流程分析
1、SpringApplication的构造方法
来看一下在SpringApplication对象的构造方法中都做了哪些事。
public SpringApplication(Class<?>... primarySources) {
	this(null, primarySources);
}

@SuppressWarnings({ "unchecked", "rawtypes" })
public SpringApplication(ResourceLoader resourceLoader, Class<?>... primarySources) {
	this.resourceLoader = resourceLoader;
        //判断primarySources不能为空
	Assert.notNull(primarySources, "PrimarySources must not be null");
        //将primarySources放入SpringApplication的全局变量primarySources,Set集合中
	this.primarySources = new LinkedHashSet<>(Arrays.asList(primarySources));
        //从类路径中推断应用程序类型放到SpringApplication的全局变量webApplicationType
	this.webApplicationType = WebApplicationType.deduceFromClasspath();
        //从META-INF/spring.factories文件中获取ApplicationContextInitializer接口的实现类并利用反射创建对象返回放入SpringApplication的全局变量initializers,List集合中
	setInitializers((Collection) getSpringFactoriesInstances(
				ApplicationContextInitializer.class));
        //同上,也是从META-INF/spring.factories文件中获取ApplicationListener接口的实现类并利用反射创建对象返回放入SpringApplication的全局变量listeners,List集合中
	setListeners((Collection) getSpringFactoriesInstances(ApplicationListener.class));
        //通过获取当前调用栈,找到入口方法main所在的类,放入SpringApplication的全局变量mainApplicationClass
	this.mainApplicationClass = deduceMainApplicationClass();
}
1.1、推断应用程序类型
private static final String[] SERVLET_INDICATOR_CLASSES = { "javax.servlet.Servlet",
			"org.springframework.web.context.ConfigurableWebApplicationContext" };

private static final String WEBFLUX_INDICATOR_CLASS = "org."
			+ "springframework.web.reactive.DispatcherHandler";

private static final String WEBMVC_INDICATOR_CLASS = "org.springframework."
			+ "web.servlet.DispatcherServlet";

private static final String JERSEY_INDICATOR_CLASS = "org.glassfish.jersey.servlet.ServletContainer";


static WebApplicationType deduceFromClasspath() {
        //ClassUtils.isPresent()从默认classloader中判断是否存在对应的类型
	if (ClassUtils.isPresent(WEBFLUX_INDICATOR_CLASS, null)
			&& !ClassUtils.isPresent(WEBMVC_INDICATOR_CLASS, null)
			&& !ClassUtils.isPresent(JERSEY_INDICATOR_CLASS, null)) {
		return WebApplicationType.REACTIVE;
	}
	for (String className : SERVLET_INDICATOR_CLASSES) {
		if (!ClassUtils.isPresent(className, null)) {
			return WebApplicationType.NONE;
		}
	}
	return WebApplicationType.SERVLET;
}
推断逻辑是:
先是判断默认的classloader中是否存在org.springframework.web.reactive.DispatcherHandler、且不存在org.springframework.web.servlet.DispatcherServlet、org.glassfish.jersey.servlet.ServletContainer,如果为true返回WebApplicationType.REACTIVE;
然后循环String数组,判断如果默认的classloader中是否不存在javax.servlet.Servlet和org.springframework.web.context.ConfigurableWebApplicationContext,如果不存在,则认为不是web应用程序,返回WebApplicationType.NONE;
最后是返回WebApplicationType.SERVLET。
三种返回类型的解释如下:
    1、WebApplicationType.NONE:不是web应用程序

    2、WebApplicationType.SERVLET:基于servlet的Web应用程序运行

    3、WebApplicationType.REACTIVE:响应式的web应用程序
1.2、设置Initializers
传入参数是class类型即ApplicationContextInitializer.class,最终调用方法是getSpringFactoriesInstances,注意第二个参数,传的是一个空的Class数组,则加载所有的配置的类,方便后续给定限定类型的时候无需再次加载,直接从cache中读取。
SpringFactoriesLoader.loadFactoryNames(Class<?> factoryClass, @Nullable ClassLoader classLoader):这个方法,其作用是使用给定的类加载器从“META-INF/spring.factories”加载给定类型的工厂实现的完全限定类名,即得到所有ApplicationContextInitializer接口实现类的完全限定类名,去重。
setInitializers((Collection) getSpringFactoriesInstances(
				ApplicationContextInitializer.class));

private <T> Collection<T> getSpringFactoriesInstances(Class<T> type) {
		return getSpringFactoriesInstances(type, new Class<?>[] {});
	}

private <T> Collection<T> getSpringFactoriesInstances(Class<T> type,
		Class<?>[] parameterTypes, Object... args) {
	ClassLoader classLoader = getClassLoader();
	// Use names and ensure unique to protect against duplicates
        //得到所有ApplicationContextInitializer接口的实现类
	Set<String> names = new LinkedHashSet<>(
			SpringFactoriesLoader.loadFactoryNames(type, classLoader));
        //创建所有ApplicationContextInitializer接口实现类的实例
	List<T> instances = createSpringFactoriesInstances(type, parameterTypes,
			classLoader, args, names);
        //根据order排序
	AnnotationAwareOrderComparator.sort(instances);
	return instances;
}
随后当做参数传递到createSpringFactoriesInstances方法中,这个方法主要作用就是根据传入的type类型,parameterTypes参数类型(空Class数组)以及得到的完全限定类名集合创建对象实例,其中getDeclaredConstructor方法作用是得到指定参数类型的构造方法,parameterTypes为空数组即的得到的就是默认构造方法。构造方法基本都是空的,所以无需关心创建Initializers实例的时候在构造方法中执行了什么操作。这些对象的initialize方法会在后面的run方法中被调用。
@SuppressWarnings("unchecked")
private <T> List<T> createSpringFactoriesInstances(Class<T> type,
		Class<?>[] parameterTypes, ClassLoader classLoader, Object[] args,
		Set<String> names) {
        //new 一个跟检索出来的接口实现类相同size的List
	List<T> instances = new ArrayList<>(names.size());
	for (String name : names) {
		try {
                        //通过类加载器加载类
			Class<?> instanceClass = ClassUtils.forName(name, classLoader);
                        //判断是否为ApplicationContextInitializer接口的实现类
			Assert.isAssignable(type, instanceClass);
                        //得到指定参数类型的构造方法
			Constructor<?> constructor = instanceClass
					.getDeclaredConstructor(parameterTypes);
                        //创建对象
			T instance = (T) BeanUtils.instantiateClass(constructor, args);
                        //放到List中,返回
			instances.add(instance);
		}
		catch (Throwable ex) {
			throw new IllegalArgumentException(
					"Cannot instantiate " + type + " : " + name, ex);
		}
	}
	return instances;
}
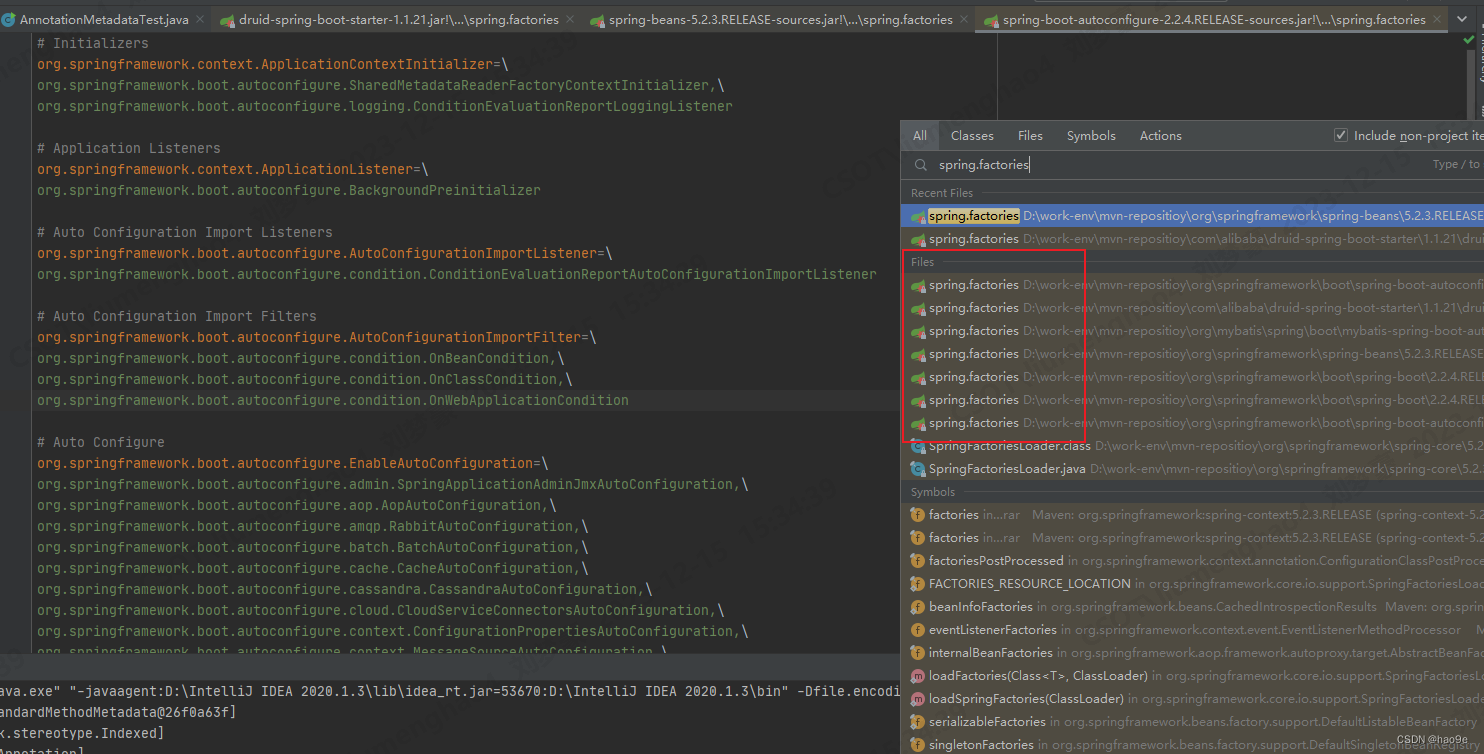
spring.factories文件内容中Initializers如下。
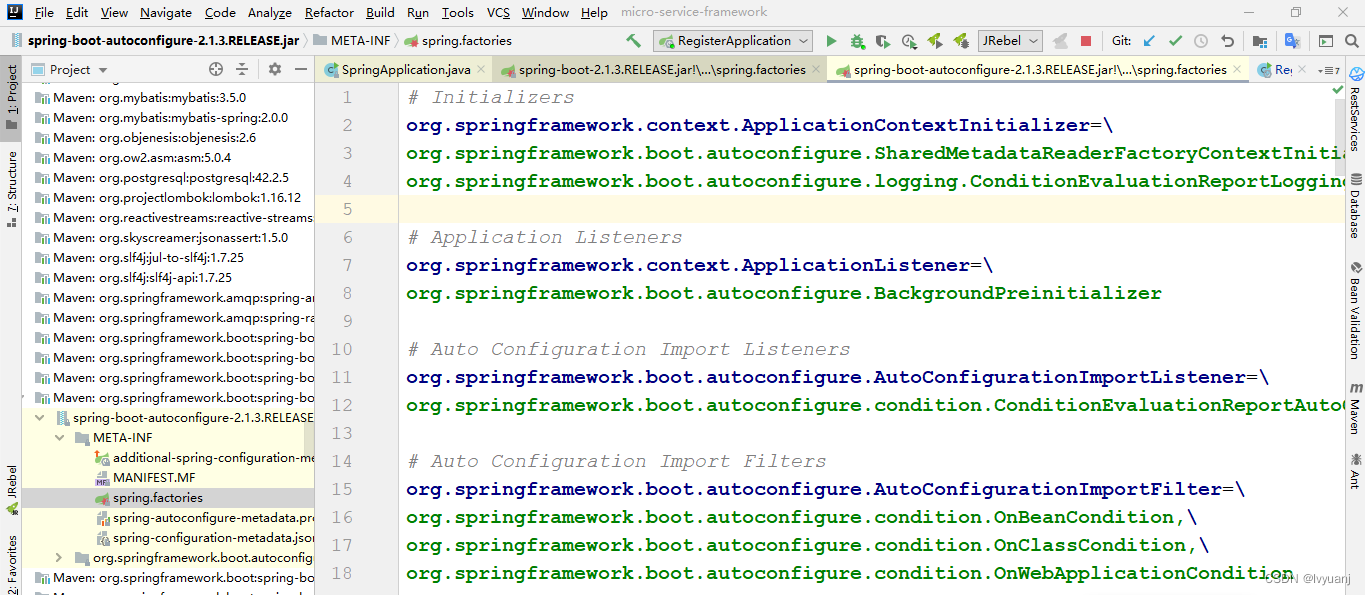
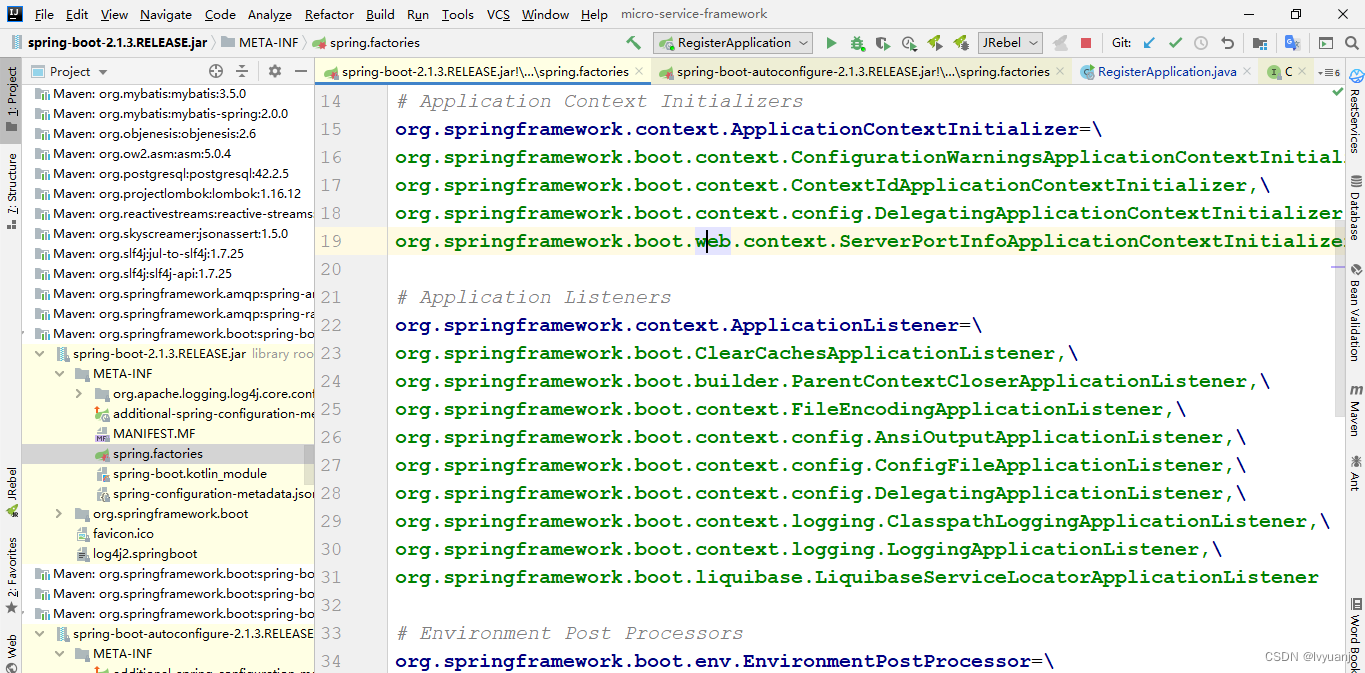
1.3、设置Listener
这一步跟上面设置Initializers执行的操作是一样的。spring.factories文件内容中Listener如下。

整理一下Listener对应的Event
| 监听器 | 事件类型 |
|---|---|
| BackgroundPreinitializer | ApplicationStartingEvent、ApplicationEnvironmentPreparedEvent、ApplicationPreparedEvent、ApplicationStartedEvent、ApplicationReadyEvent、ApplicationFailedEvent、ApplicationContextInitializedEvent |
| ClearCachesApplicationListener | ContextRefreshedEvent |
| ParentContextCloserApplicationListener | ParentContextAvailableEvent |
| FileEncodingApplicationListener | ApplicationEnvironmentPreparedEvent |
| AnsiOutputApplicationListener | ApplicationEnvironmentPreparedEvent |
| ConfigFileApplicationListener | ApplicationEnvironmentPreparedEvent、ApplicationPreparedEvent |
| DelegatingApplicationListener | ApplicationEnvironmentPreparedEvent |
| ClasspathLoggingApplicationListener | ApplicationEnvironmentPreparedEvent、ApplicationFailedEvent |
| LoggingApplicationListener | ApplicationStartingEvent、ApplicationEnvironmentPreparedEvent、ApplicationPreparedEvent、ContextClosedEvent、ApplicationFailedEvent |
| LiquibaseServiceLocatorApplicationListener | ApplicationStartingEvent |
1.4、推断main方法所在类
StackTraceElement数组包含了StackTrace(堆栈轨迹)的内容,通过遍历它可以得到当前方法以及其定义类、调用行数等信息。
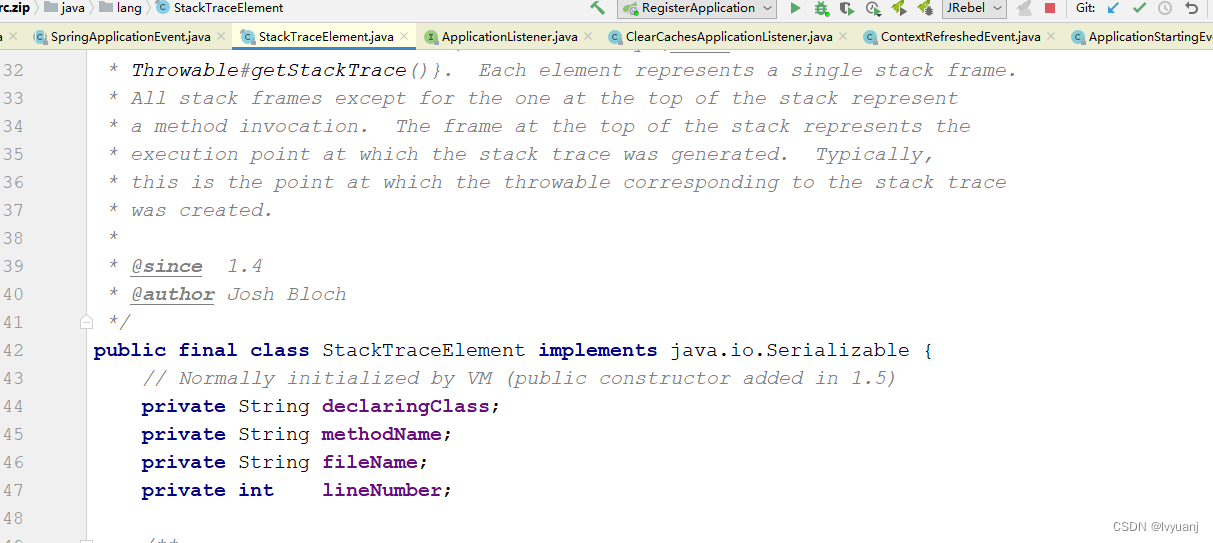
private Class<?> deduceMainApplicationClass() {
	try {
                //获取StackTraceElement数组,也就是这个栈的信息。
		StackTraceElement[] stackTrace = new RuntimeException().getStackTrace();
		for (StackTraceElement stackTraceElement : stackTrace) {
			if ("main".equals(stackTraceElement.getMethodName())) {
                                //stackTraceElement.getClassName(),得到定义类,即main方法所在类
				return Class.forName(stackTraceElement.getClassName());
			}
		}
	}
	catch (ClassNotFoundException ex) {
		// Swallow and continue
	}
	return null;
}
SpringApplication对象的创建过程就完成了。
Springboot 启动还可以使用流式API SpringApplicationBuilder的方式启动:
@SpringBootApplication
public class RegisterApplication {
	public static void main(String[] args) {
		new SpringApplicationBuilder(RegisterApplication.class)
				// 设置当前应用类型
				.web(WebApplicationType.SERVLET)
				// 设置 banner 横幅打印方式、有关闭、日志、控制台
				.bannerMode(Banner.Mode.OFF)
				// 设置自定义的 banner
				.banner()
				// 追加自定义的 initializer 到集合中
				.initializers()
				// 追加自定义的 listeners 到集合中
				.listeners()
				.run(args);
	}
}