一、ffmpeg安装
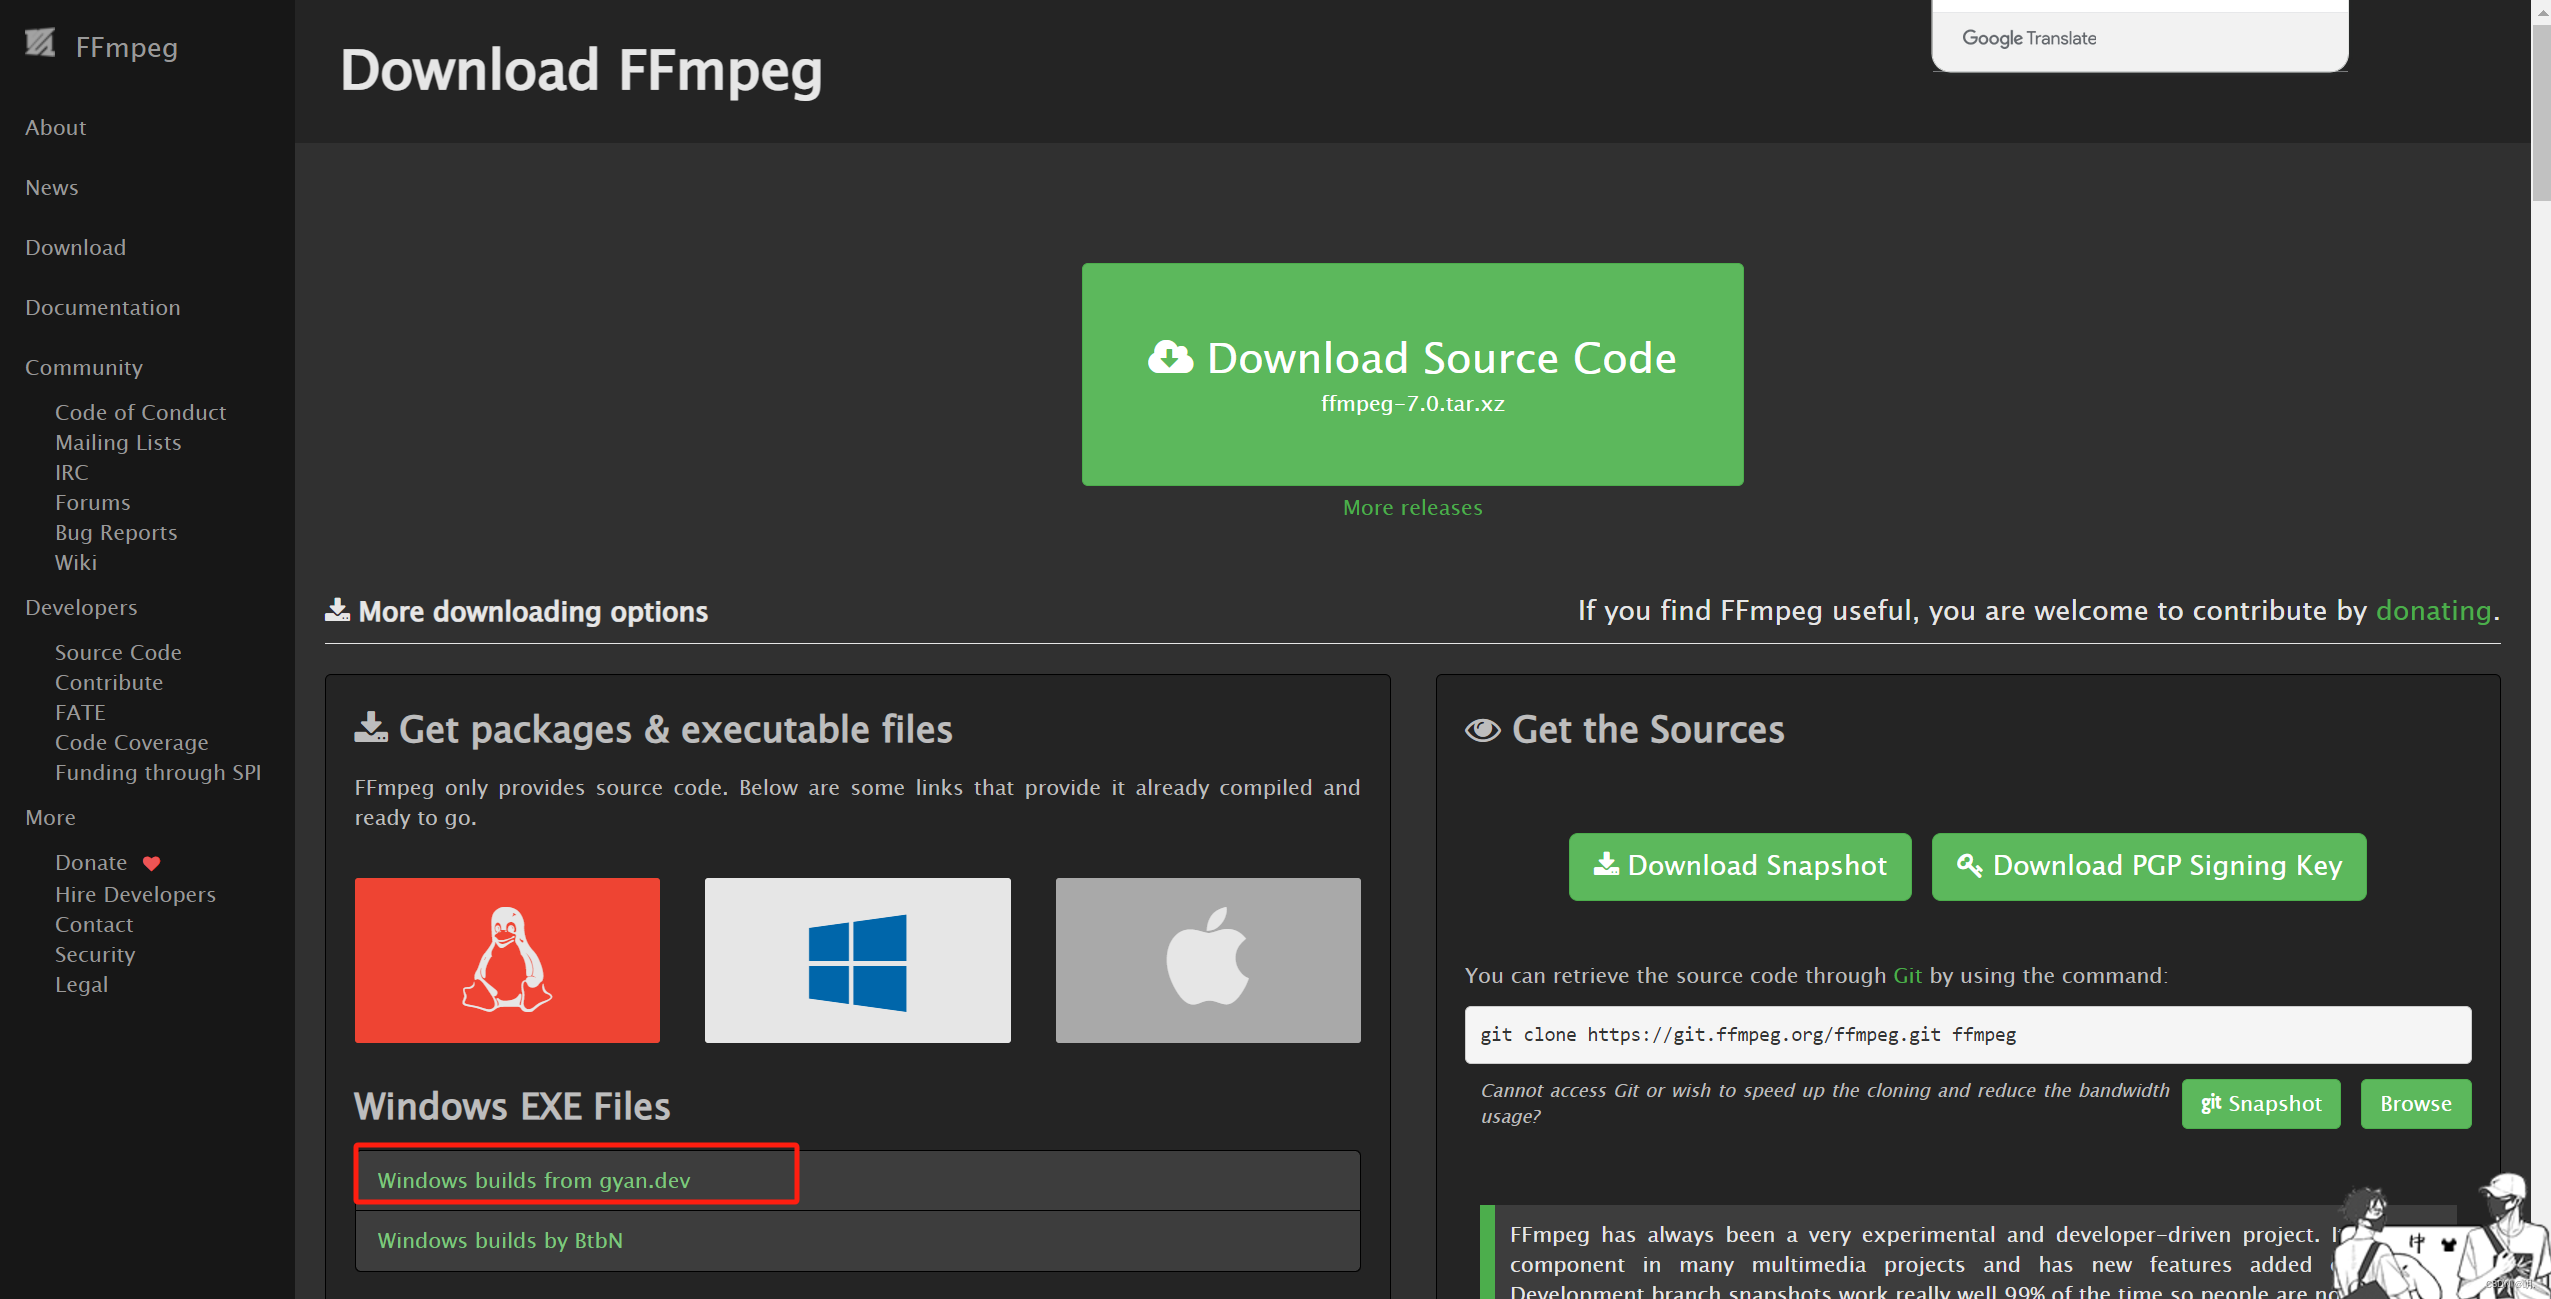
ffmpeg下载 https://ffmpeg.org/download.html
 找ffmpeg-release-essentials.zip点击下载,下载完解压
 ffmpeg.exe 程序运行
二、配置ffmpeg环境变量


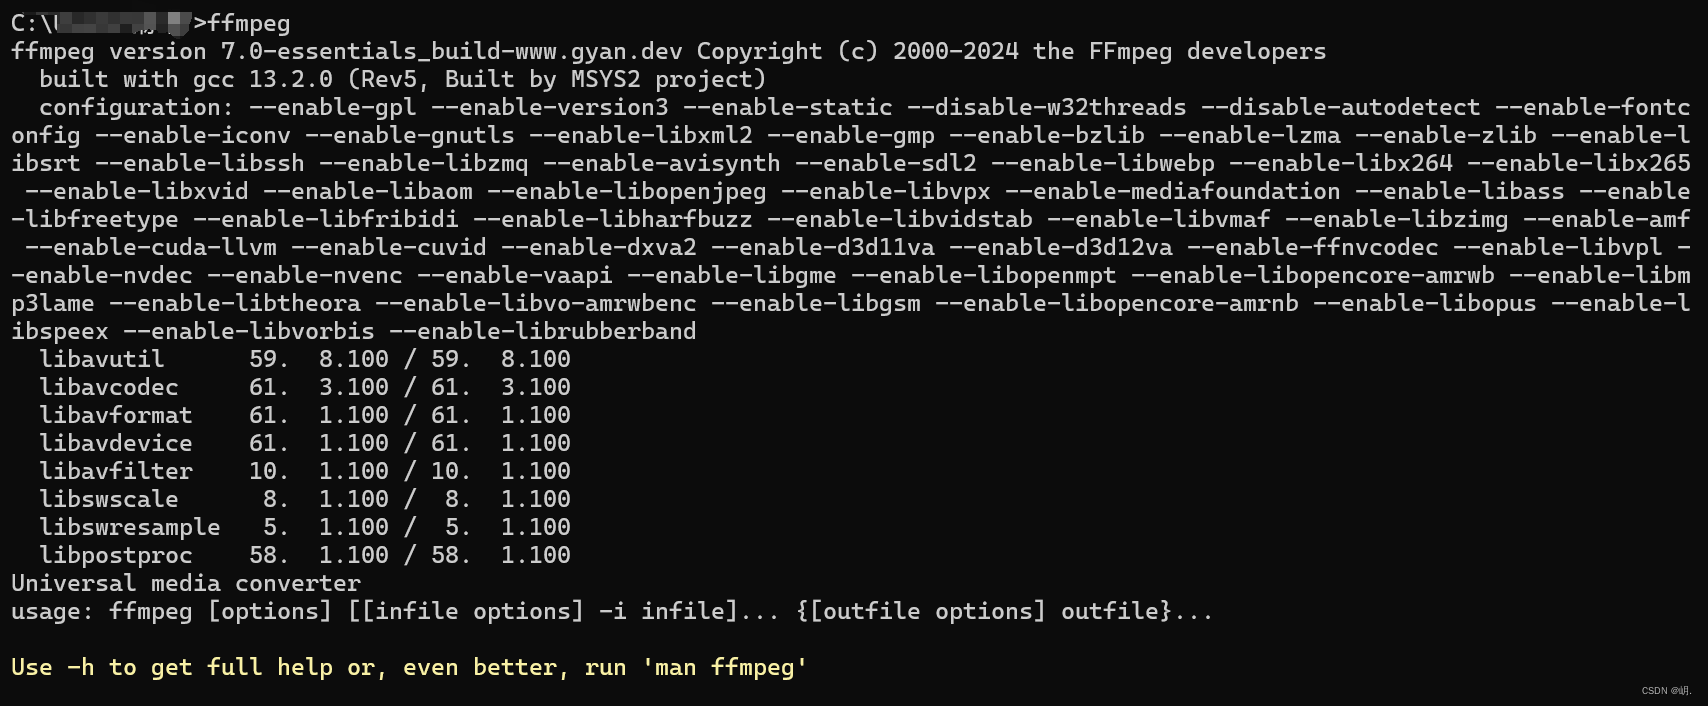
添加成功后验证是否生效任意地方打开cmd窗口输入 ffmpeg 打印如下表示成功
三、node搭建websocket服务
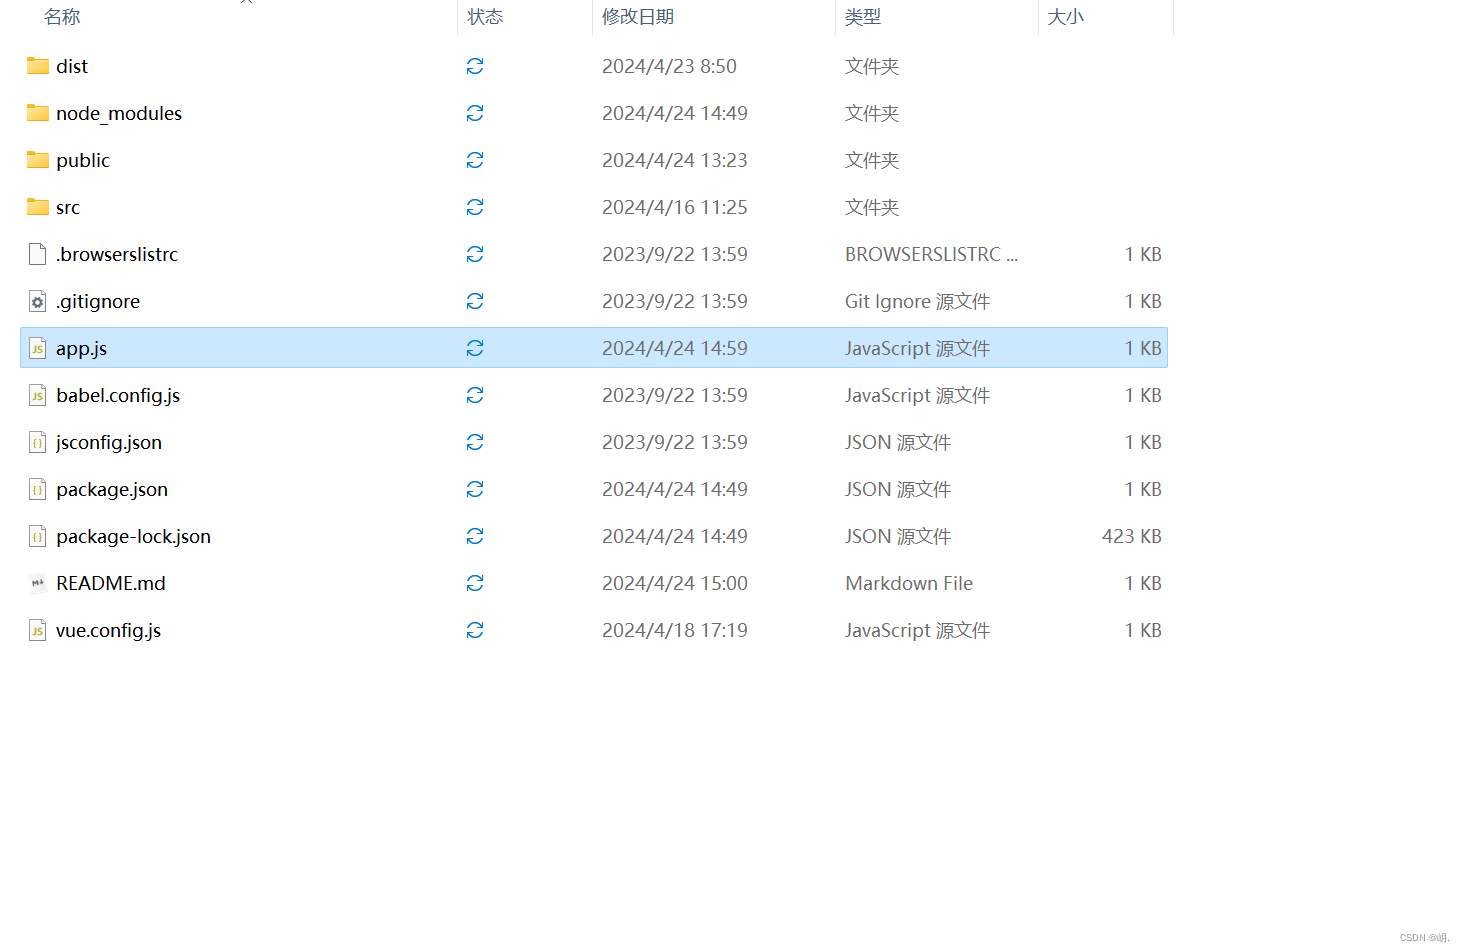
新建一个app.js文件,同级目录下npm安装 node-rtsp-stream
我是直接写在项目里了,你们可以单独写在外面
npm install node-rtsp-stream -S
app.js内容
const stream = require('node-rtsp-stream')
const urls = [
'rtsp://admin:123456@192.168.2.100:554/Streaming/Channels/101',
'rtsp://admin:123456@192.168.2.100:554/Streaming/Channels/201',
'rtsp://admin:123456@192.168.2.100:554/Streaming/Channels/301'
]; // 将此处替换为实际的RTSP流地址
let wsPort = 9999; // 初始端口号
urls.forEach((url) => {
new stream({
name: `video-stream-${urls.indexOf(url) + 1}`,
streamUrl: url,
wsPort: wsPort,
ffmpegOptions: {
'-stats': '',
'-r': 30,
'-s': '1920*1080'
}
});
wsPort++; // 每次递增端口号
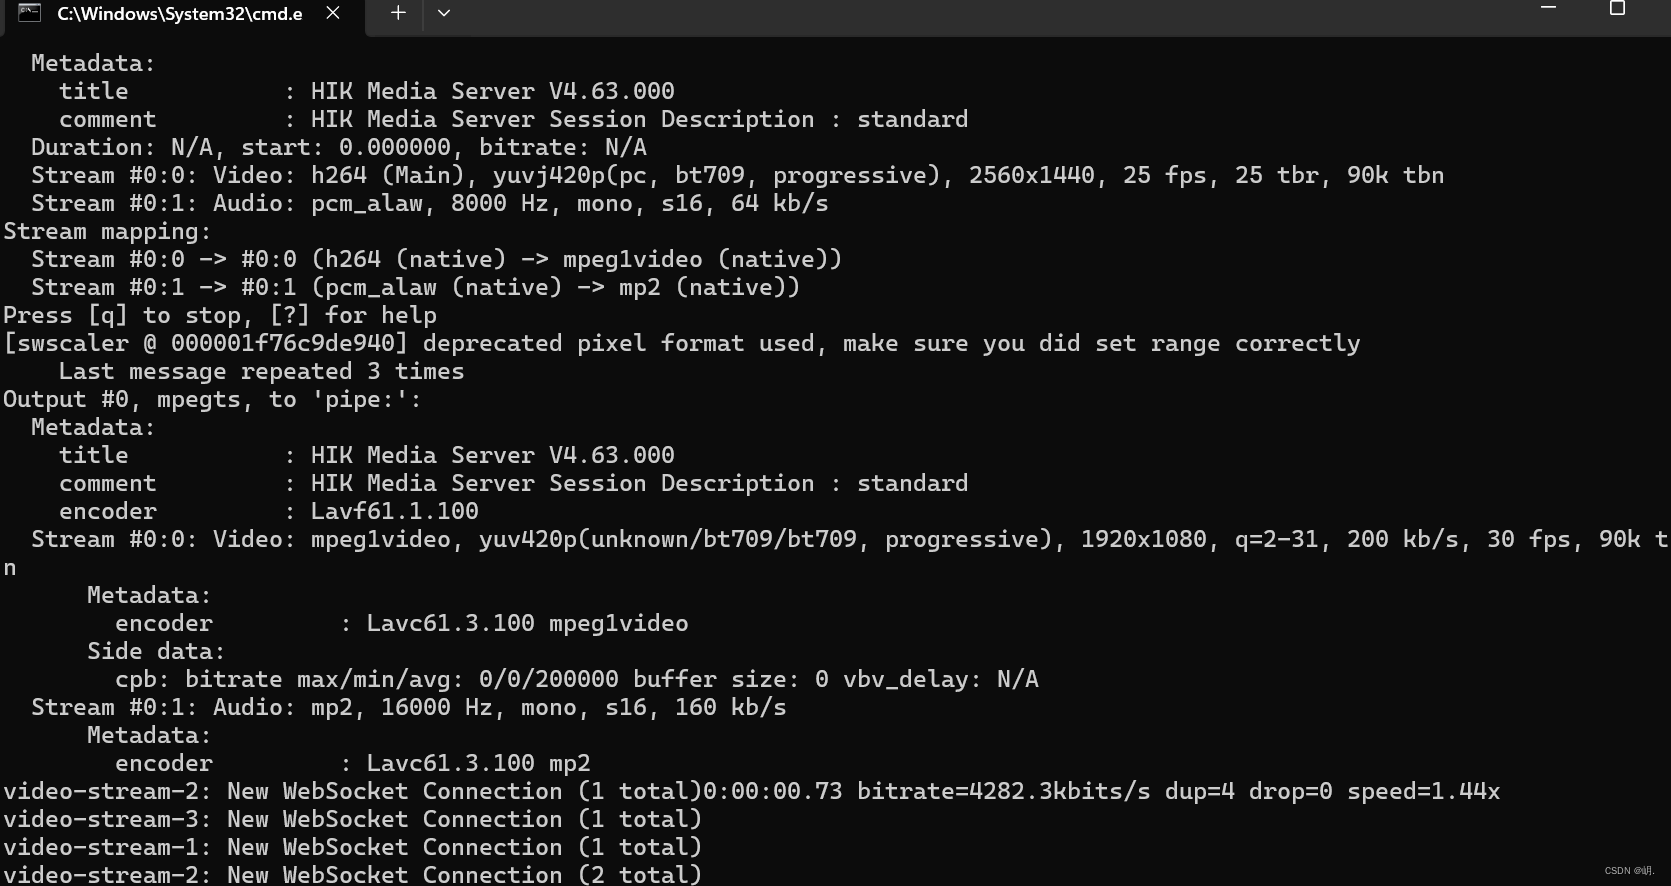
});运行
node app.js这样就是成功了
四、vue播放视频
vue组件
jsmpeg.min.js下载地址
链接:https://pan.baidu.com/s/1_KgKM-sOzfrAVs_8LgCG1w?pwd=z7z5
提取码:z7z5
<template>
    <div class="view">
        <p>录像画面</p>
        <div id="video-container">
        </div>
    </div>
</template>

<script>
import '../../public/jsmpeg.min.js'
export default {

    data() {
        return {
            players: []
        };
    },
    methods: {
    },
    mounted() {
        //开始播放
        const container = document.getElementById('video-container');
        for (let i = 0; i < 3; i++) {
            const canvas = document.createElement('canvas');
            canvas.id = `video-${i + 1}`;
            canvas.style.width = '210px'; // 设置宽度为200px
            canvas.style.height = '210px'; // 设置高度为200px
            canvas.style.margin = '3px'; // 设置高度为200px
            container.appendChild(canvas);
            const url = `ws://127.0.0.1:${9999 + i}/video-stream-${i + 1}`;
            // const url = `ws://127.0.0.1:9999/video-stream-${i + 1}`;
            this.players.push(new JSMpeg.Player(url, { canvas }));
            this.players[i].play();
        }

    },
    watch: {},
    filters: {},
    beforeDestroy() {
        this.players.forEach(player => player.stop());
    }

}

</script>
<style scoped>
.view {
    background-color: rgb(43, 168, 188);
    box-sizing: border-box;

}

#video-container{
    height: 450px;

}
</style>
jsmpeg.min.js建议在index.html引入,我只是不放心又引入了一遍,正常在index.html也要引入