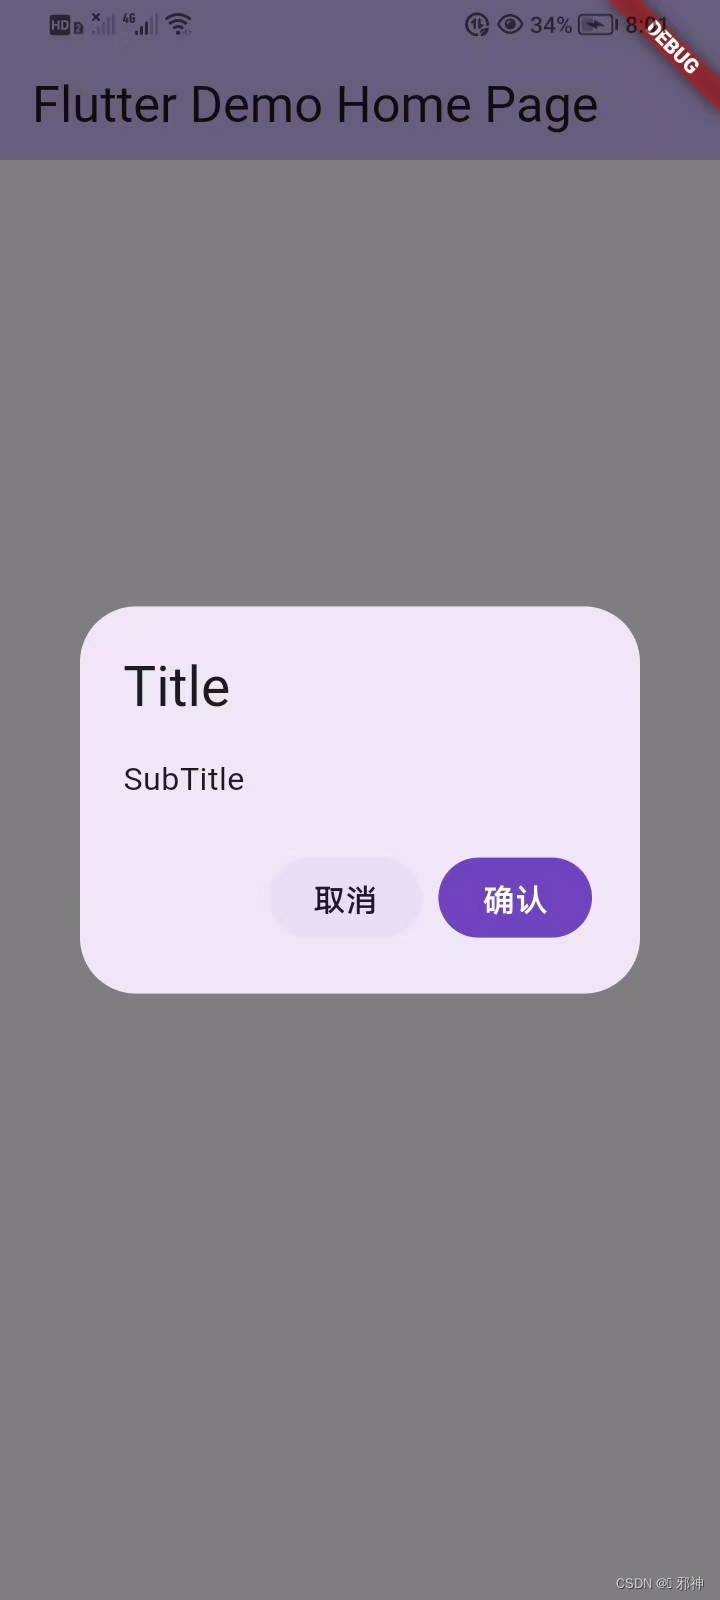
showDialog 实现
实现弹窗的方式showDialog,部分源码如下:
Future<T> showDialog<T>({
  @required BuildContext context,
  bool barrierDismissible = true,
  @Deprecated(
    'Instead of using the "child" argument, return the child from a closure '
    'provided to the "builder" argument. This will ensure that the BuildContext '
    'is appropriate for widgets built in the dialog. '
    'This feature was deprecated after v0.2.3.'
  )
  Widget child,
  WidgetBuilder builder,
  bool useRootNavigator = true,
})
EasyLoading 介绍
包含23种
loading动画效果、进度条展示、Toast展示。纯Flutter端实现,兼容性好,支持iOS、Android。
将以下代码添加到您项目中的 pubspec.yaml 文件:
dependencies:
  flutter_easyloading: any // 请使用最新版
EasyLoading.show(status: 'loading...');

EasyLoading.showProgress(0.3, status: 'downloading...');

EasyLoading.showSuccess('Great Success!');

EasyLoading.showError('Failed with Error');

EasyLoading.showInfo('Useful Information.');

EasyLoading.dismiss();
class MyApp extends StatelessWidget {
const MyApp({super.key});
@override
Widget build(BuildContext context) {
return MaterialApp(
title: 'Flutter EasyLoading',
theme: ThemeData(
primarySwatch: Colors.blue,
),
home: const MyHomePage(title: 'Flutter EasyLoading'),
builder: EasyLoading.init(),
);
}
}
class MyHomePage extends StatefulWidget {
const MyHomePage({super.key, required this.title});
final String title;
@override
State<MyHomePage> createState() => _MyHomePageState();
}
class _MyHomePageState extends State<MyHomePage> {
@override
Widget build(BuildContext context) {
return Scaffold(
appBar: AppBar(
backgroundColor: Theme.of(context).colorScheme.inversePrimary,
title: Text(widget.title),
),
body: Center(
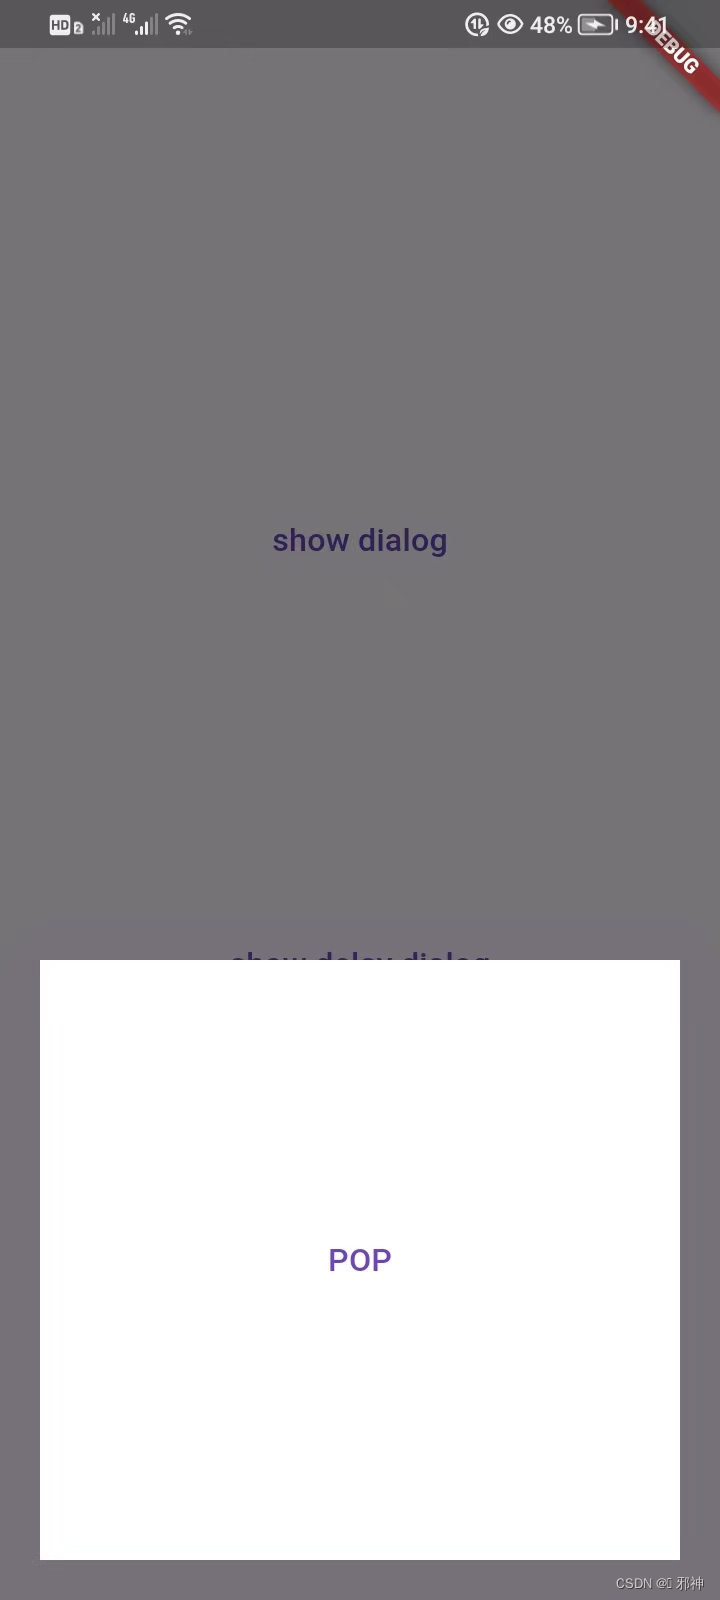
child: GestureDetector(
onTap: () {
EasyLoading.show(status: 'loading...');
},
child: const Text(
'\n显示Overlay\n',
textDirection: TextDirection.ltr,
),
),
));
}
}自定义样式
Flutter EasyLoading目前支持的自定义属性:
/// loading的样式, 默认[EasyLoadingStyle.dark].
EasyLoadingStyle loadingStyle;

/// loading的指示器类型, 默认[EasyLoadingIndicatorType.fadingCircle].
EasyLoadingIndicatorType indicatorType;

/// loading的遮罩类型, 默认[EasyLoadingMaskType.none].
EasyLoadingMaskType maskType;

/// 文本的对齐方式 , 默认[TextAlign.center].
TextAlign textAlign;

/// loading内容区域的内边距.
EdgeInsets contentPadding;

/// 文本的内边距.
EdgeInsets textPadding;

/// 指示器的大小, 默认40.0.
double indicatorSize;

/// loading的圆角大小, 默认5.0.
double radius;

/// 文本大小, 默认15.0.
double fontSize;

/// 进度条指示器的宽度, 默认2.0.
double progressWidth;

/// [showSuccess] [showError] [showInfo]的展示时间, 默认2000ms.
Duration displayDuration;

/// 文本的颜色, 仅对[EasyLoadingStyle.custom]有效.
Color textColor;

/// 指示器的颜色, 仅对[EasyLoadingStyle.custom]有效.
Color indicatorColor;

/// 进度条指示器的颜色, 仅对[EasyLoadingStyle.custom]有效.
Color progressColor;

/// loading的背景色, 仅对[EasyLoadingStyle.custom]有效.
Color backgroundColor;

/// 遮罩的背景色, 仅对[EasyLoadingMaskType.custom]有效.
Color maskColor;

/// 当loading展示的时候,是否允许用户操作.
bool userInteractions;

/// 展示成功状态的自定义组件
Widget successWidget;

/// 展示失败状态的自定义组件
Widget errorWidget;

/// 展示信息状态的自定义组件
Widget infoWidget;
EasyLoading 是一个全局单例, 所以我们可以在任意一个地方自定义它的样式:
EasyLoading.instance
  ..displayDuration = const Duration(milliseconds: 2000)
  ..indicatorType = EasyLoadingIndicatorType.fadingCircle
  ..loadingStyle = EasyLoadingStyle.dark
  ..indicatorSize = 45.0
  ..radius = 10.0
  ..backgroundColor = Colors.green
  ..indicatorColor = Colors.yellow
  ..textColor = Colors.yellow
  ..maskColor = Colors.blue.withOpacity(0.5);
Flutter EasyLoading 的实现
Flutter EasyLoading的主要实现过程及思路:
Overlay、OverlayEntry实现全局弹窗CustomPaint与Canvas实现圆形进度条绘制
官方关于Overlay的描述:
/// A [Stack] of entries that can be managed independently.
///
/// Overlays let independent child widgets "float" visual elements on top of
/// other widgets by inserting them into the overlay's [Stack]. The overlay lets
/// each of these widgets manage their participation in the overlay using
/// [OverlayEntry] objects.
///
/// Although you can create an [Overlay] directly, it's most common to use the
/// overlay created by the [Navigator] in a [WidgetsApp] or a [MaterialApp]. The
/// navigator uses its overlay to manage the visual appearance of its routes.
///
/// See also:
///
///  * [OverlayEntry].
///  * [OverlayState].
///  * [WidgetsApp].
///  * [MaterialApp].
class Overlay extends StatefulWidget {}
Overlay是一个Stack的Widget,可以将OverlayEntry插入到Overlay中,使独立的child窗口悬浮于其他Widget之上。利用这个特性,我们可以用Overlay将MaterialApp或CupertinoApp包裹起来,这样做的目的是为了确保loading组件能覆盖在其他组件之上,因为在Flutter中只会存在一个MaterialApp或CupertinoApp根节点组件。
将 context 缓存到内存中,后续所有调用均不需要提供context。实现如下:
@override
Widget build(BuildContext context) {
  return Directionality(
    child: Overlay(
      initialEntries: [
        OverlayEntry(
          builder: (BuildContext _context) {
            // 缓存 context
            EasyLoading.instance.context = _context;
            // 这里的child必须是MaterialApp或CupertinoApp
            return widget.child;
          },
        ),
      ],
    ),
    textDirection: widget.textDirection,
  );
}
// 创建OverlayEntry
OverlayEntry _overlayEntry = OverlayEntry(
  builder: (BuildContext context) => LoadingContainer(
    key: _key,
    status: status,
    indicator: w,
    animation: _animation,
  ),
);

// 将OverlayEntry插入到Overlay中
// 通过Overlay.of()我们可以获取到App根节点的Overlay
Overlay.of(_getInstance().context).insert(_overlayEntry);

// 调用OverlayEntry自身的remove()方法,从所在的Overlay中移除自己
_overlayEntry.remove();
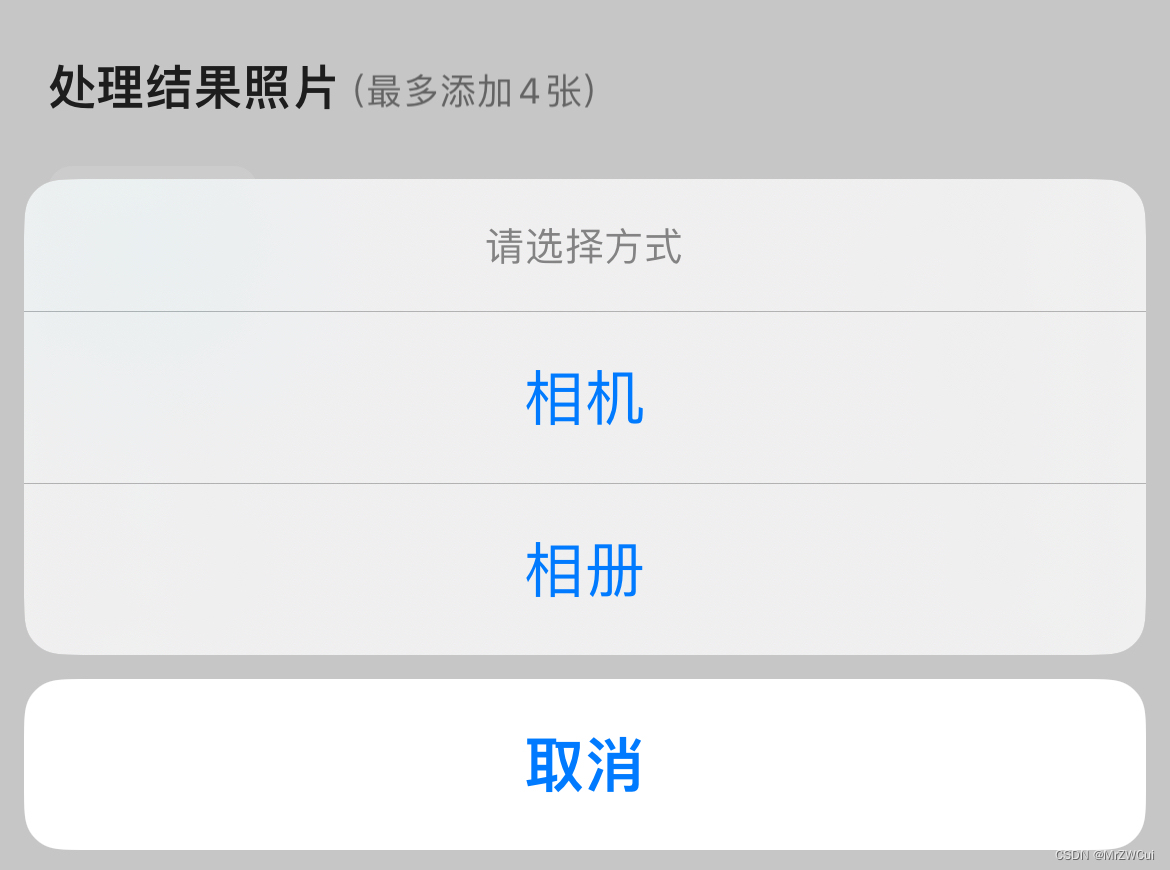
Overlay、OverlayEntry的使用及理解还是很简单,我们也可以再更多的使用场景使用他们,比如说,类似PopupWindow的弹窗效果、全局自定义Dialog弹窗等等。只要灵活运用,我们可以实现很多我们想要的效果。
CustomPaint与Canvas实现圆形进度条绘制
几乎所有的
UI系统都会提供一个自绘UI的接口,这个接口通常会提供一块2D画布Canvas,Canvas内部封装了一些基本绘制的API,我们可以通过Canvas绘制各种自定义图形。在Flutter中,提供了一个CustomPaint组件,它可以结合一个画笔CustomPainter来实现绘制自定义图形。接下来我将简单介绍下圆形进度条的实现。
CustomPaint构造函数:
const CustomPaint({
  Key key,
  this.painter,
  this.foregroundPainter,
  this.size = Size.zero,
  this.isComplex = false,
  this.willChange = false,
  Widget child,
})
- painter: 背景画笔,会显示在子节点后面;
- foregroundPainter: 前景画笔,会显示在子节点前面
- size:当
child为null时,代表默认绘制区域大小,如果有child则忽略此参数,画布尺寸则为child尺寸。如果有child但是想指定画布为特定大小,可以使用SizeBox包裹CustomPaint实现。- isComplex:是否复杂的绘制,如果是,
Flutter会应用一些缓存策略来减少重复渲染的开销。- willChange:和
isComplex配合使用,当启用缓存时,该属性代表在下一帧中绘制是否会改变。
通过CustomPainter绘制圆形进度条:
class _CirclePainter extends CustomPainter {
  final Color color;
  final double value;
  final double width;

  _CirclePainter({
    @required this.color,
    @required this.value,
    @required this.width,
  });

  @override
  void paint(Canvas canvas, Size size) {
    final paint = Paint()
      ..color = color
      ..strokeWidth = width
      ..style = PaintingStyle.stroke
      ..strokeCap = StrokeCap.round;
    canvas.drawArc(
      Offset.zero & size,
      -math.pi / 2,
      math.pi * 2 * value,
      false,
      paint,
    );
  }

  @override
  bool shouldRepaint(_CirclePainter oldDelegate) => value != oldDelegate.value;
}
CustomPainter中定义了一个虚函数paint:
void paint(Canvas canvas, Size size);
这个函数是绘制的核心所在,它包含了以下两个参数:
- canvas: 画布,包括各种绘制方法, 如
drawLine(画线)、drawRect(画矩形)、drawCircle(画圆)等- size: 当前绘制区域大小
画布现在有了,那么接下来我们就需要一支画笔了。Flutter提供了Paint类来实现画笔。而且可以配置画笔的各种属性如粗细、颜色、样式等,比如:
final paint = Paint()
  ..color = color // 颜色
  ..strokeWidth = width // 宽度
  ..style = PaintingStyle.stroke
  ..strokeCap = StrokeCap.round;
drawArc方法进行圆弧的绘制了:
canvas.drawArc(
  Offset.zero & size,
  -math.pi / 2,
  math.pi * 2 * value,
  false,
  paint,
);
到此,我们就完成了进度条的绘制。另外我们也需要注意下绘制性能问题。好在类中提供了重写shouldRepaint的方法,这个方法决定了画布什么时候会重新绘制,在复杂的绘制中对提升绘制性能是相当有成效的。
@override
bool shouldRepaint(_CirclePainter oldDelegate) => value != oldDelegate.value;
案例 切换到分支 flutter_custom_widget
![[SwiftUI]<span style='color:red;'>系统</span><span style='color:red;'>弹</span><span style='color:red;'>窗</span>和自定义<span style='color:red;'>弹</span><span style='color:red;'>窗</span>](https://img-blog.csdnimg.cn/direct/d7268c97fd1f42f9a66af443c9cbcb44.png)


![每日一题 --- 数组中的第 K 个最大元素[力扣][Go]](https://img-blog.csdnimg.cn/direct/0aa903ec391b40d59a7f981cfc7d0252.png)