此代码的功能是标注信息验证,将原图和YOLOv8标注文件(txt)放在同一个文件夹中,作为输入文件夹
程序将标注的信息还原到原图中,并将原图和标注后的图像一同保存,以便查看
两个draw_labels函数,分别是将目标区域轮廓标出来或者颜色填充
import cv2
import numpy as np
import os
def read_txt_labels(txt_file):
"""
从 txt 标注文件中读取标签
:param txt_file: txt 标注文件路径
:return: 标签列表
"""
with open(txt_file, "r") as f:
labels = []
for line in f.readlines():
label_data = line.strip().split(" ")
class_id = int(label_data[0])
# 解析边界框坐标
coordinates = [float(x) for x in label_data[1:]]
labels.append([class_id, coordinates])
return labels
def draw_labels(image, labels):
"""
在图像上绘制分割区域轮廓
:param image: 图像
:param labels: 标签列表
"""
for label in labels:
class_id, coordinates = label
# 将坐标转换为整数并重新塑形为多边形
points = [(int(x * image.shape[1]), int(y * image.shape[0])) for x, y in zip(coordinates[::2], coordinates[1::2])]
# 使用多边形绘制轮廓
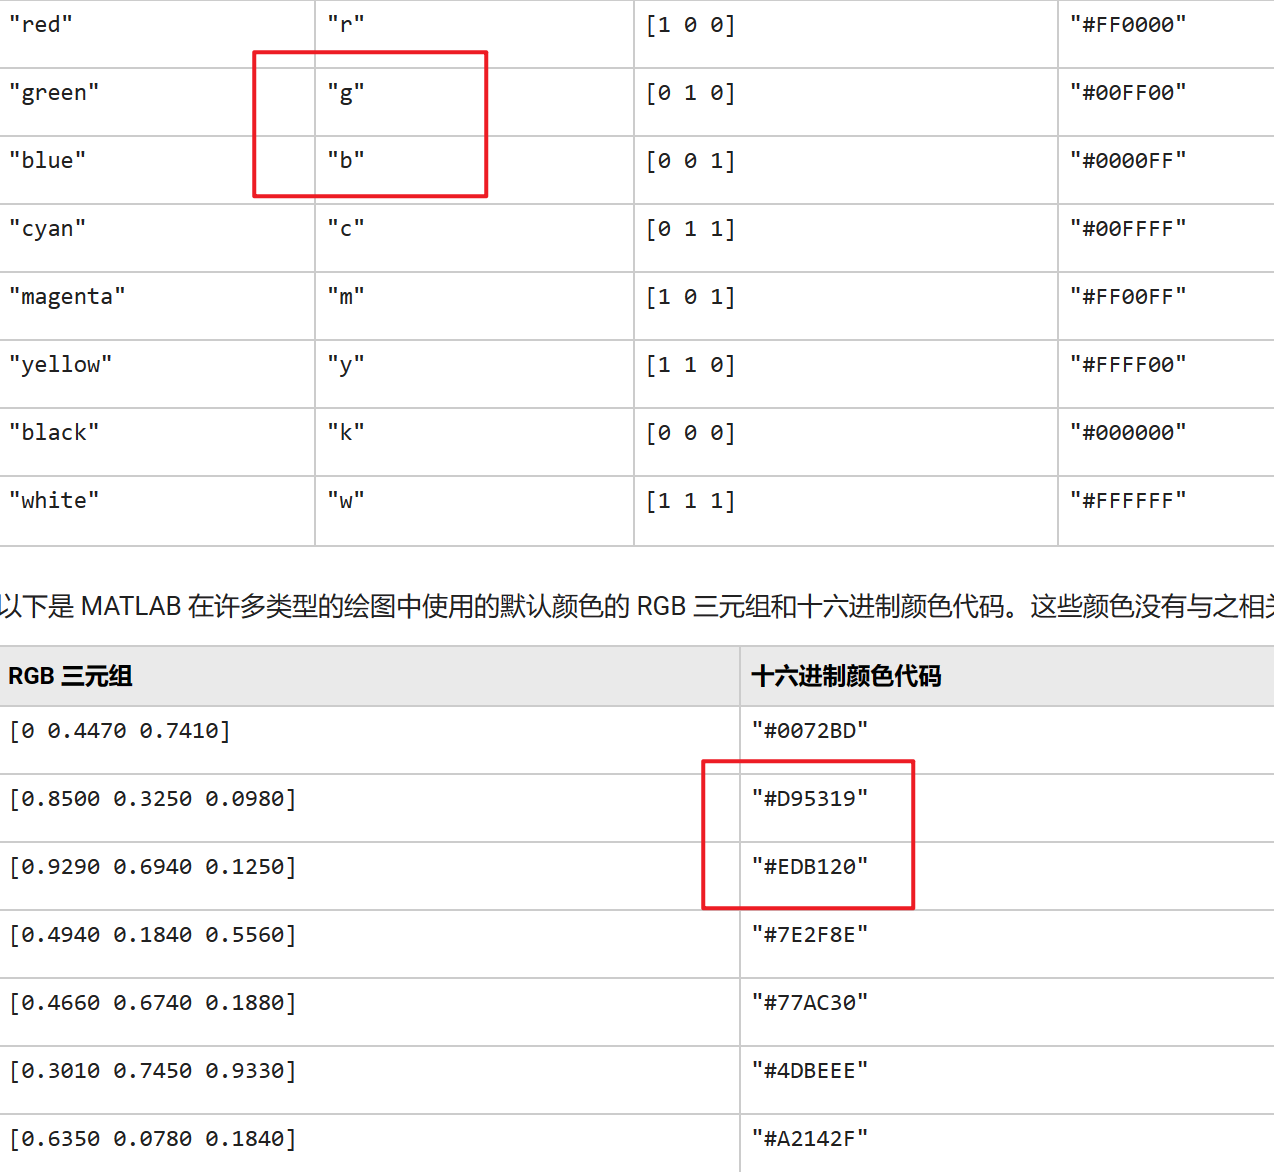
cv2.polylines(image, [np.array(points)], True, (0, 0, 255), 2) # 红色表示分割区域轮廓
# def draw_labels(image, labels):
# """
# 在图像上绘制分割区域
# :param image: 图像
# :param labels: 标签列表
# """
# for label in labels:
# class_id, coordinates = label
# # 将坐标转换为整数并重新塑形为多边形
# points = [(int(x * image.shape[1]), int(y * image.shape[0])) for x, y in zip(coordinates[::2], coordinates[1::2])]
# # 使用多边形填充
# cv2.fillPoly(image, [np.array(points)], (0, 255, 0)) # 绿色表示分割区域
def process_and_save_image(image_path, txt_path, output_folder):
# 读取图像
image = cv2.imread(image_path)
labels = read_txt_labels(txt_path)
# 复制原始图像以进行绘制
image_with_labels = image.copy()
# 绘制分割区域
draw_labels(image_with_labels, labels)
# 创建一个新的图像,左侧是原图,右侧是带标注的图
combined_image = np.concatenate((image, image_with_labels), axis=1)
# 定义输出图像路径
base_filename = os.path.basename(image_path)
output_image_path = os.path.join(output_folder, base_filename)
# 保存图像
cv2.imwrite(output_image_path, combined_image)
def main(input_folder, output_folder):
# 确保输出文件夹存在
if not os.path.exists(output_folder):
os.makedirs(output_folder)
# 获取输入文件夹中的所有图片文件
image_files = [f for f in os.listdir(input_folder) if f.lower().endswith(('.png', '.jpg', '.jpeg'))]
for image_file in image_files:
# 构建图像和标注文件的路径
image_path = os.path.join(input_folder, image_file)
txt_file = os.path.splitext(image_path)[0] + '.txt'
# 检查标注文件是否存在
if os.path.exists(txt_file):
process_and_save_image(image_path, txt_file, output_folder)
else:
print(f"标注文件 {txt_file} 不存在,跳过图像 {image_file}")
if __name__ == "__main__":
input_folder_path = 'D:\Desktop\images' # 替换为实际的输入文件夹路径
output_folder_path = 'D:\Desktop\images_02' # 替换为实际的输出文件夹路径
main(input_folder_path, output_folder_path)
示例:


![[软件工具][windows]<span style='color:red;'>yolov</span><span style='color:red;'>8</span>自动<span style='color:red;'>标注</span>工具自动打<span style='color:red;'>标签</span>工具](https://img-blog.csdnimg.cn/direct/f217a3116a494b7c9907a3157a1037af.jpeg)