在应用中,可以使用<router-link> 内置组件或 $router.push 方法来导航到带参数的路由。
定义路由
// 引入 Vue 和 Vue Router
import { createRouter, createWebHistory } from 'vue-router';

// 引入组件
import Home from '../views/Home.vue';
import User from '../views/User.vue';

const routes = [
  {
    path: '/',
    name: 'Home',
    component: Home
  },
  {
    path: '/user/:id', // 这里是带参数的动态路由
    name: 'User',
    component: User
  }
];

const router = createRouter({
  history: createWebHistory(),
  routes
});

export default router;
在组件中使用参数
/*******************************************************************************/
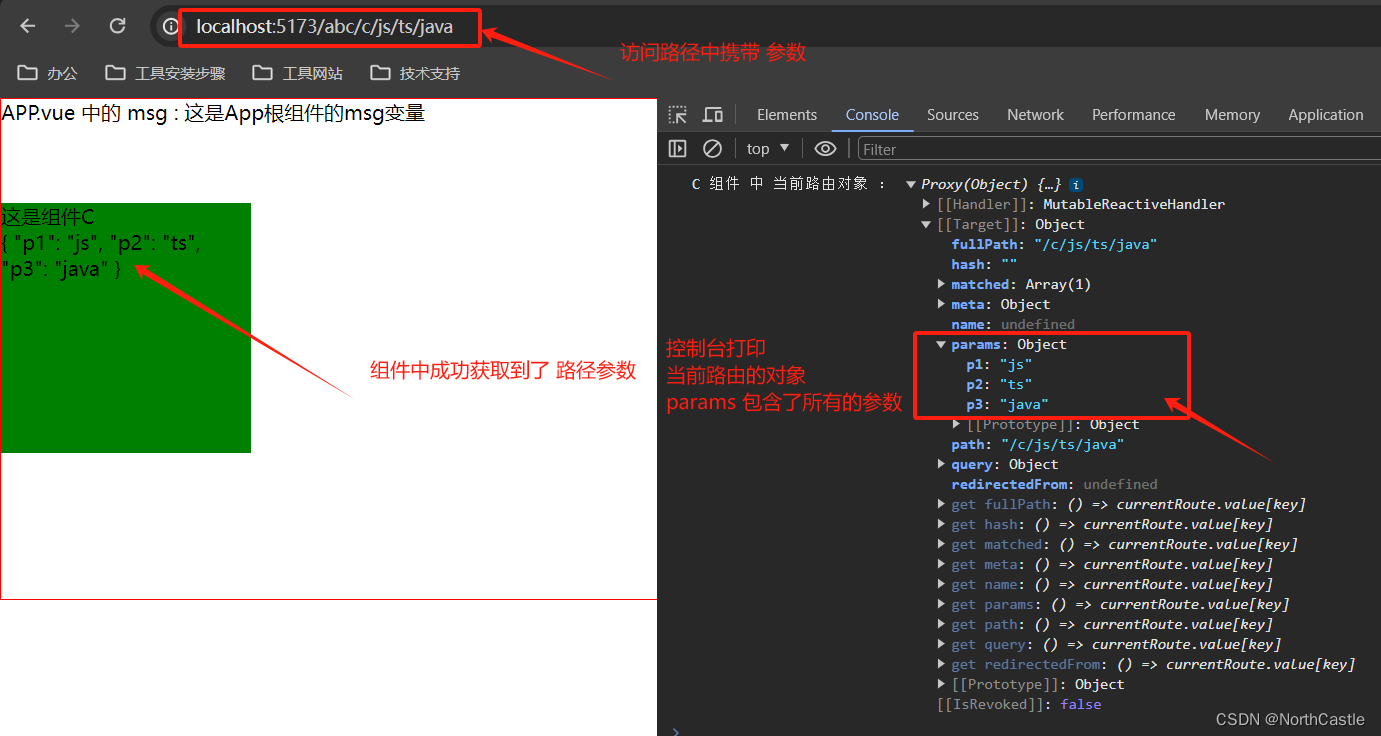
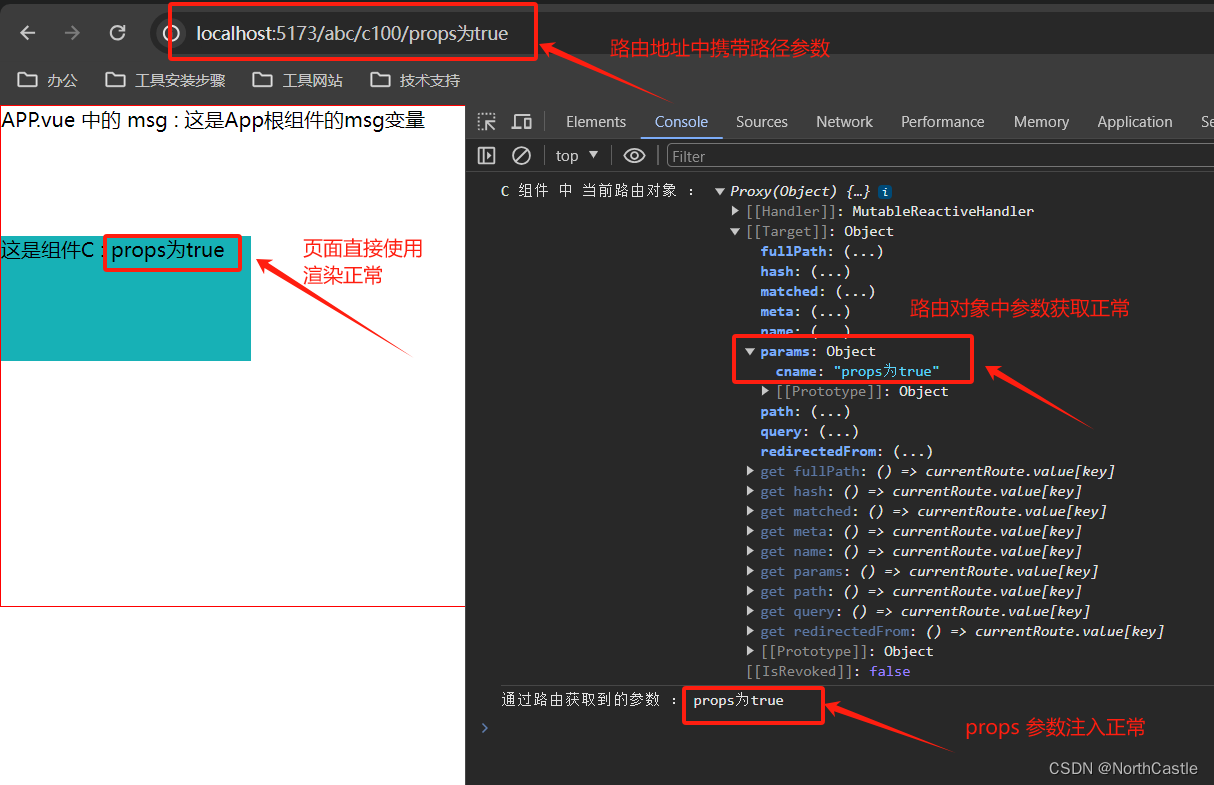
你可以通过 $route.params 来访问路由参数。
<template>
<div>
<h1>User Info</h1>
<p>User ID: {{ $route.params.id }}</p>
<!-- 在这里可以根据 $route.params.id 来获取和展示用户信息 -->
</div>
</template>
<script>
export default {
name: 'User',
mounted() {
// 在组件挂载后,你可以通过 $route.params.id 来获取参数并执行相关操作
const userId = this.$route.params.id;
// TODO: 根据 userId 获取用户信息并展示
}
}
</script>
导航到带参数的路由
/*******************************使用 <router-link> 组件:************************************************/
<template>
  <div>
    <router-link :to="`/user/${userId}`">Go to User</router-link>
  </div>
</template>

<script>
export default {
  data() {
    return {
      userId: 123 // 假设这是你要导航到的用户ID
    };
  }
}
/*******************************使用 router.push 方法:************************************************/
// 假设 this 是 Vue 组件的实例,userId 是你要导航到的用户ID
this.$router.push(`/user/${userId}`);
</script>