目录
一、Namespace
Namespace 在 Kubernetes 中是用来对一组资源进行隔离和管理的,可以将不同的资源划分到不同的 Namespace 中,以便更好地组织和管理它们。每个 Namespace 中的资源都相互隔离,这意味着它们彼此之间默认情况下是不能直接通信的。
在同一个 Namespace 中的 Pod 之间是可以相互通信的,它们可以通过 localhost 或者 Cluster IP 相互访问。但是跨 Namespace 的 Pod 默认情况下是不能直接通信的,需要通过 Service、Ingress 等方式来实现不同 Namespace 之间的通信。因此,虽然 Namespace 提供了一定程度的隔离,但是同一个 Namespace 中的 Pod 是可以互相通信的。
1. 查看Namespace
可以写namespace,也可以写ns
[root@k8s-master ~]# kubectl get namespace
NAME                   STATUS   AGE
calico-apiserver       Active   23h
calico-system          Active   23h
default                Active   23h
kube-node-lease        Active   23h
kube-public            Active   23h
kube-system            Active   23h
kubernetes-dashboard   Active   23h
tigera-operator        Active   23h

# 或
[root@k8s-master ~]# kubectl get ns
NAME                   STATUS   AGE
calico-apiserver       Active   23h
calico-system          Active   23h
default                Active   23h
kube-node-lease        Active   23h
kube-public            Active   23h
kube-system            Active   23h
kubernetes-dashboard   Active   23h
tigera-operator        Active   23h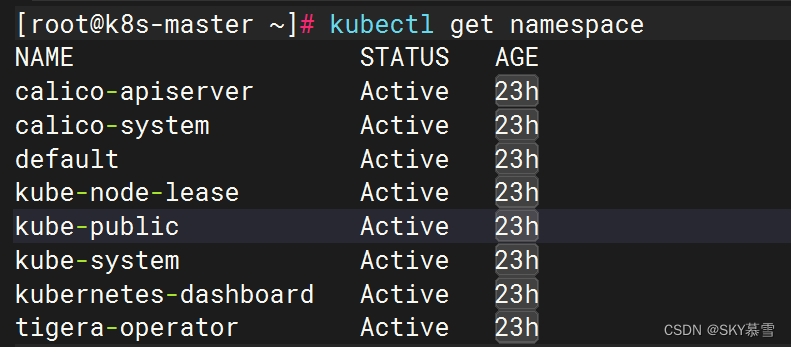

2. 创建Namespace
2.1 使用纯命令行创建
[root@k8s-master ~]# kubectl create namespace wq-01
namespace/wq-01 created

2.2 编写yaml文件创建
[root@k8s-master ~]# vim wq-02-namespace.yaml
[root@k8s-master ~]# cat wq-02-namespace.yaml
apiVersion: v1
kind: Namespace
metadata:
  name: wq-02

[root@k8s-master ~]# kubectl create -f wq-02-namespace.yaml
namespace/wq-02 created
# 或  任选一个方式
# [root@k8s-master ~]# kubectl apply -f wq-02-namespace.yaml
# namespace/wq-02 created

[root@k8s-master ~]# kubectl get namespace
NAME                   STATUS   AGE
calico-apiserver       Active   23h
calico-system          Active   23h
default                Active   23h
kube-node-lease        Active   23h
kube-public            Active   23h
kube-system            Active   23h
kubernetes-dashboard   Active   23h
tigera-operator        Active   23h
wq-01                  Active   3m28s
wq-02                  Active   13s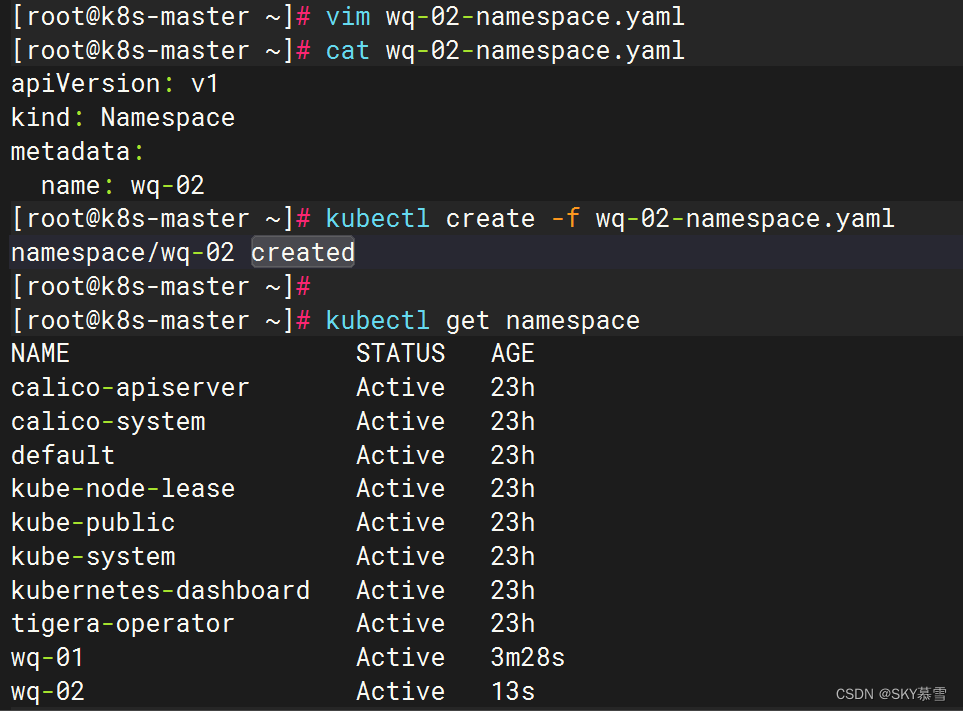
3. 删除Namespace
3.1 使用纯命令行删除
[root@k8s-master ~]# kubectl delete ns/wq-01
namespace "wq-01" deleted
3.2 使用yaml文件删除
如果namespace是使用yaml文件创建的,就可以使用yaml文件删除
[root@k8s-master ~]# kubectl delete -f wq-02-namespace.yaml
namespace "wq-02" deleted
二、Pod
Pod 是 Kubernetes 中最小的可部署和可管理的计算单元。一个 Pod 通常包含一个或多个容器,这些容器共享网络空间、存储空间和其他资源,它们一起运行在同一个节点上。
Pod 是 Kubernetes 中的基本构建块,它提供了一个抽象层来管理容器的部署和生命周期。通过 Pod,Kubernetes 实现了高度可伸缩、可靠和自我修复的容器化应用程序管理
1. 查看pod
1.1 查看默认空间的pod
[root@k8s-master ~]# kubectl get pods
No resources found in default namespace.
1.2 查看指定空间的pod
[root@k8s-master ~]# kubectl get pods --namespace kube-system
1.3 查看全部pod
[root@k8s-master ~]# kubectl get pod -A

1.4 查看pod更多信息
显示状态、ip、运行在哪个节点
[root@k8s-master ~]# kubectl get pods --namespace kube-system -o=wide
1.5 以yaml格式显示详细信息
[root@k8s-master ~]# kubectl get pods --namespace kube-system -o yaml
还可以自定义列名,基于文件自定义列名输出等输出方法
2. 创建pod
2.1使用纯命令行创建
自动创建在默认空间中,所以直接可以查到pod
[root@k8s-master ~]# kubectl run wq01-pod --image=nginx --restart=Never
pod/wq01-pod created
[root@k8s-master ~]# kubectl get pod
NAME       READY   STATUS    RESTARTS   AGE
wq01-pod   1/1     Running   0          6s
2.2 使用yaml创建
新建namespace,编写yaml指定空间
查看时也需要指定空间查看
[root@k8s-master ~]# kubectl create namespace wq-ns
namespace/wq-ns created
[root@k8s-master ~]# kubectl get ns
NAME                   STATUS   AGE
calico-apiserver       Active   24h
calico-system          Active   24h
default                Active   24h
kube-node-lease        Active   24h
kube-public            Active   24h
kube-system            Active   24h
kubernetes-dashboard   Active   24h
tigera-operator        Active   24h
wq-ns                  Active   10s

[root@k8s-master ~]# vim wq-01-pod.yaml
[root@k8s-master ~]# cat wq-01-pod.yaml
apiVersion: v1
kind: Pod
metadata:
  name: wq02-pod
  namespace: wq-ns   #指定空间
  labels:
    name: wq02-pod
spec:
  containers:
  - name: wq02-pod
    image: nginx:latest
    imagePullPolicy: IfNotPresent
    ports:
    - containerPort: 80
[root@k8s-master ~]# kubectl create -f wq-01-pod.yaml
pod/wq02-pod created

[root@k8s-master ~]# kubectl get pod --namespace wq-ns
NAME       READY   STATUS              RESTARTS   AGE
wq02-pod   0/1     ContainerCreating   0          7m16s


也可以使用 -n

3. 删除pod
3.1 使用纯命令行删除
[root@k8s-master ~]# kubectl delete pod wq01-pod
如果pod在某个空间,删除需要加-n,指定空间
强制删除pod
立即终止 Pod ,不等待它正常关闭
[root@k8s-master ~]# kubectl delete pod wq01-pod --grace-period=0 --force
Warning: Immediate deletion does not wait for confirmation that the running resource has been terminated. The resource may continue to run on the cluster indefinitely.
pod "wq01-pod" force deleted
3.2 使用yaml文件删除
[root@k8s-master ~]# kubectl delete -f wq-01-pod.yaml 
3.3 删除所有pod
[root@k8s-master ~]# kubectl delete pods --all