更多SpringBoot3内容请关注我的专栏:《SpringBoot3》
期待您的点赞👍收藏⭐评论✍
重学SpringBoot3-集成Thymeleaf
Thymeleaf 是一个现代的服务器端Java模板引擎,用于Web和独立环境。它能够处理HTML、XML、JavaScript、CSS甚至纯文本。Thymeleaf 的主要目标是提供一个优雅和高度可维护的创建模板的方式。为了实现这一点,它建立在自然模板的概念上,这意味着你可以将静态原型直接转换成动态模板,无需更改标记。 凭借 Spring Framework 的模块、与你喜爱的工具的大量集成以及插入你自己的功能的能力,Thymeleaf 非常适合现代 HTML5 JVM Web 开发。
1. 添加Thymeleaf依赖
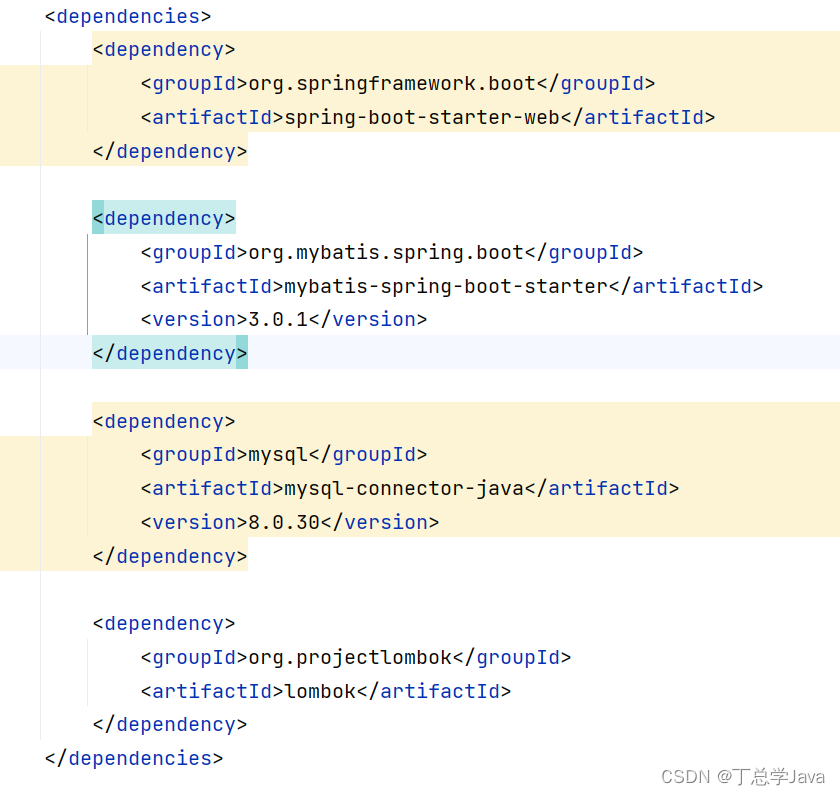
首先,你需要在项目的pom.xml文件中加入Spring Boot的Thymeleaf Starter依赖。如果你使用Maven构建项目,可以添加如下依赖:
<dependency>
    <groupId>org.springframework.boot</groupId>
    <artifactId>spring-boot-starter-thymeleaf</artifactId>
</dependency>
如果你使用Gradle,可以在build.gradle文件中添加:
implementation 'org.springframework.boot:spring-boot-starter-thymeleaf'
2. 配置Thymeleaf属性(可选)
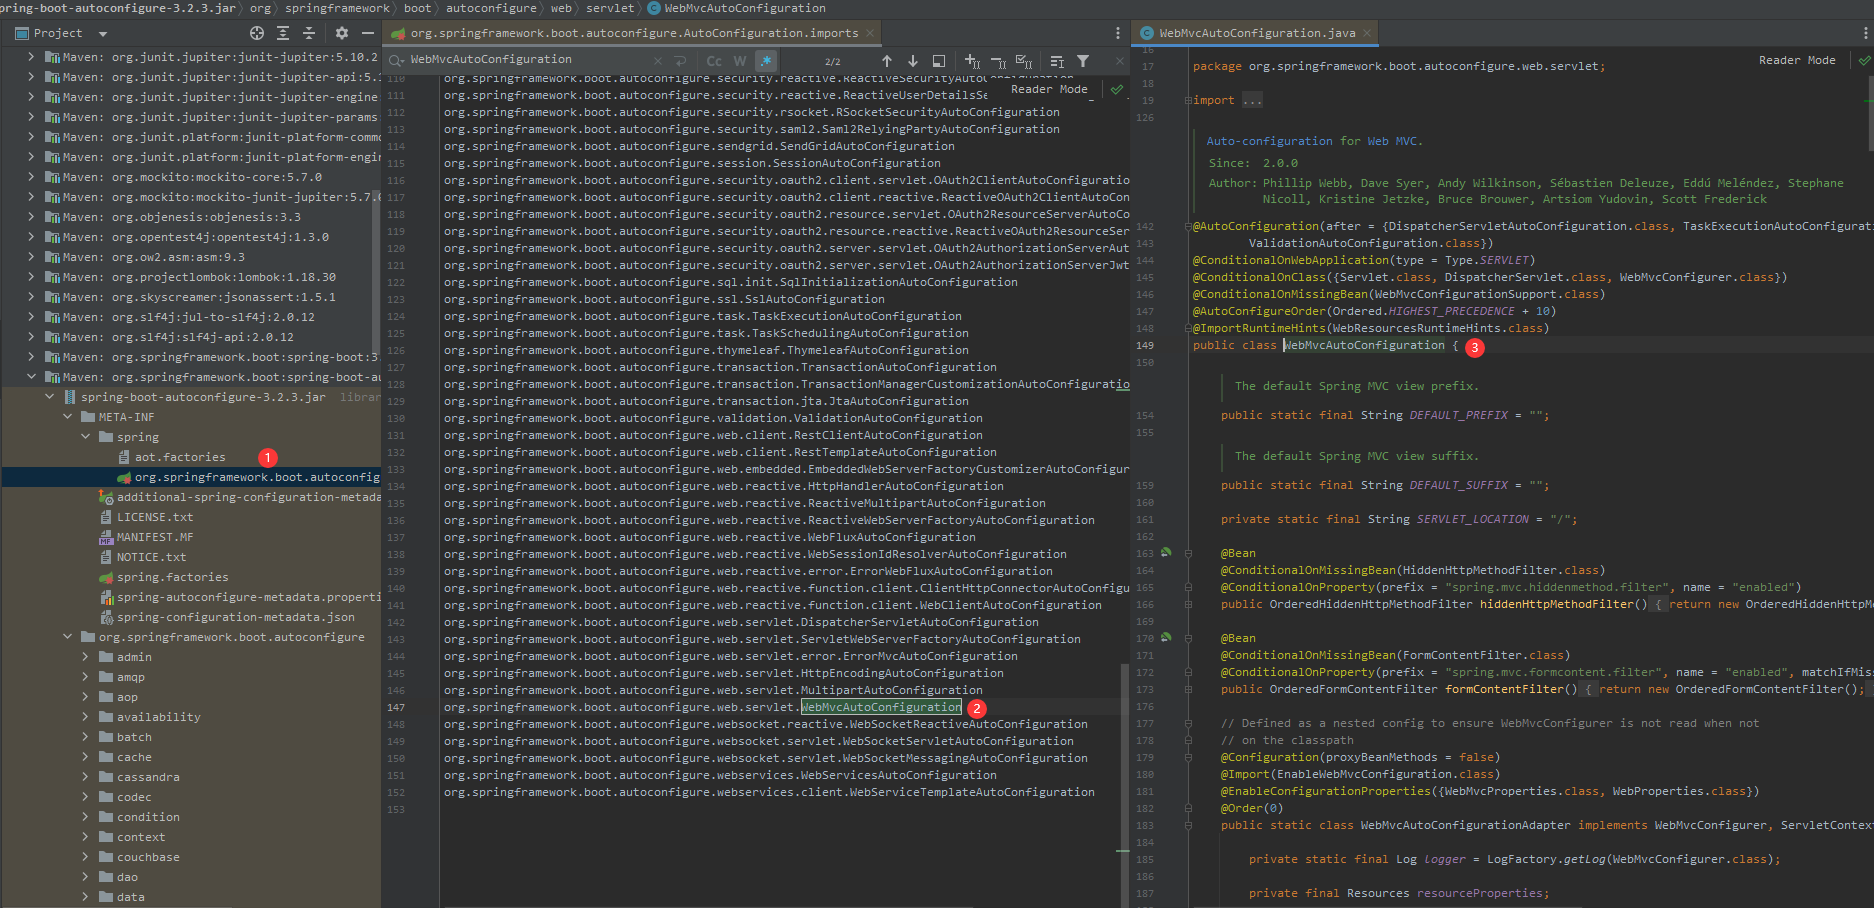
虽然Spring Boot的自动配置已经提供了一个合理的默认配置:
org.springframework.boot.autoconfigure.thymeleaf.ThymeleafProperties
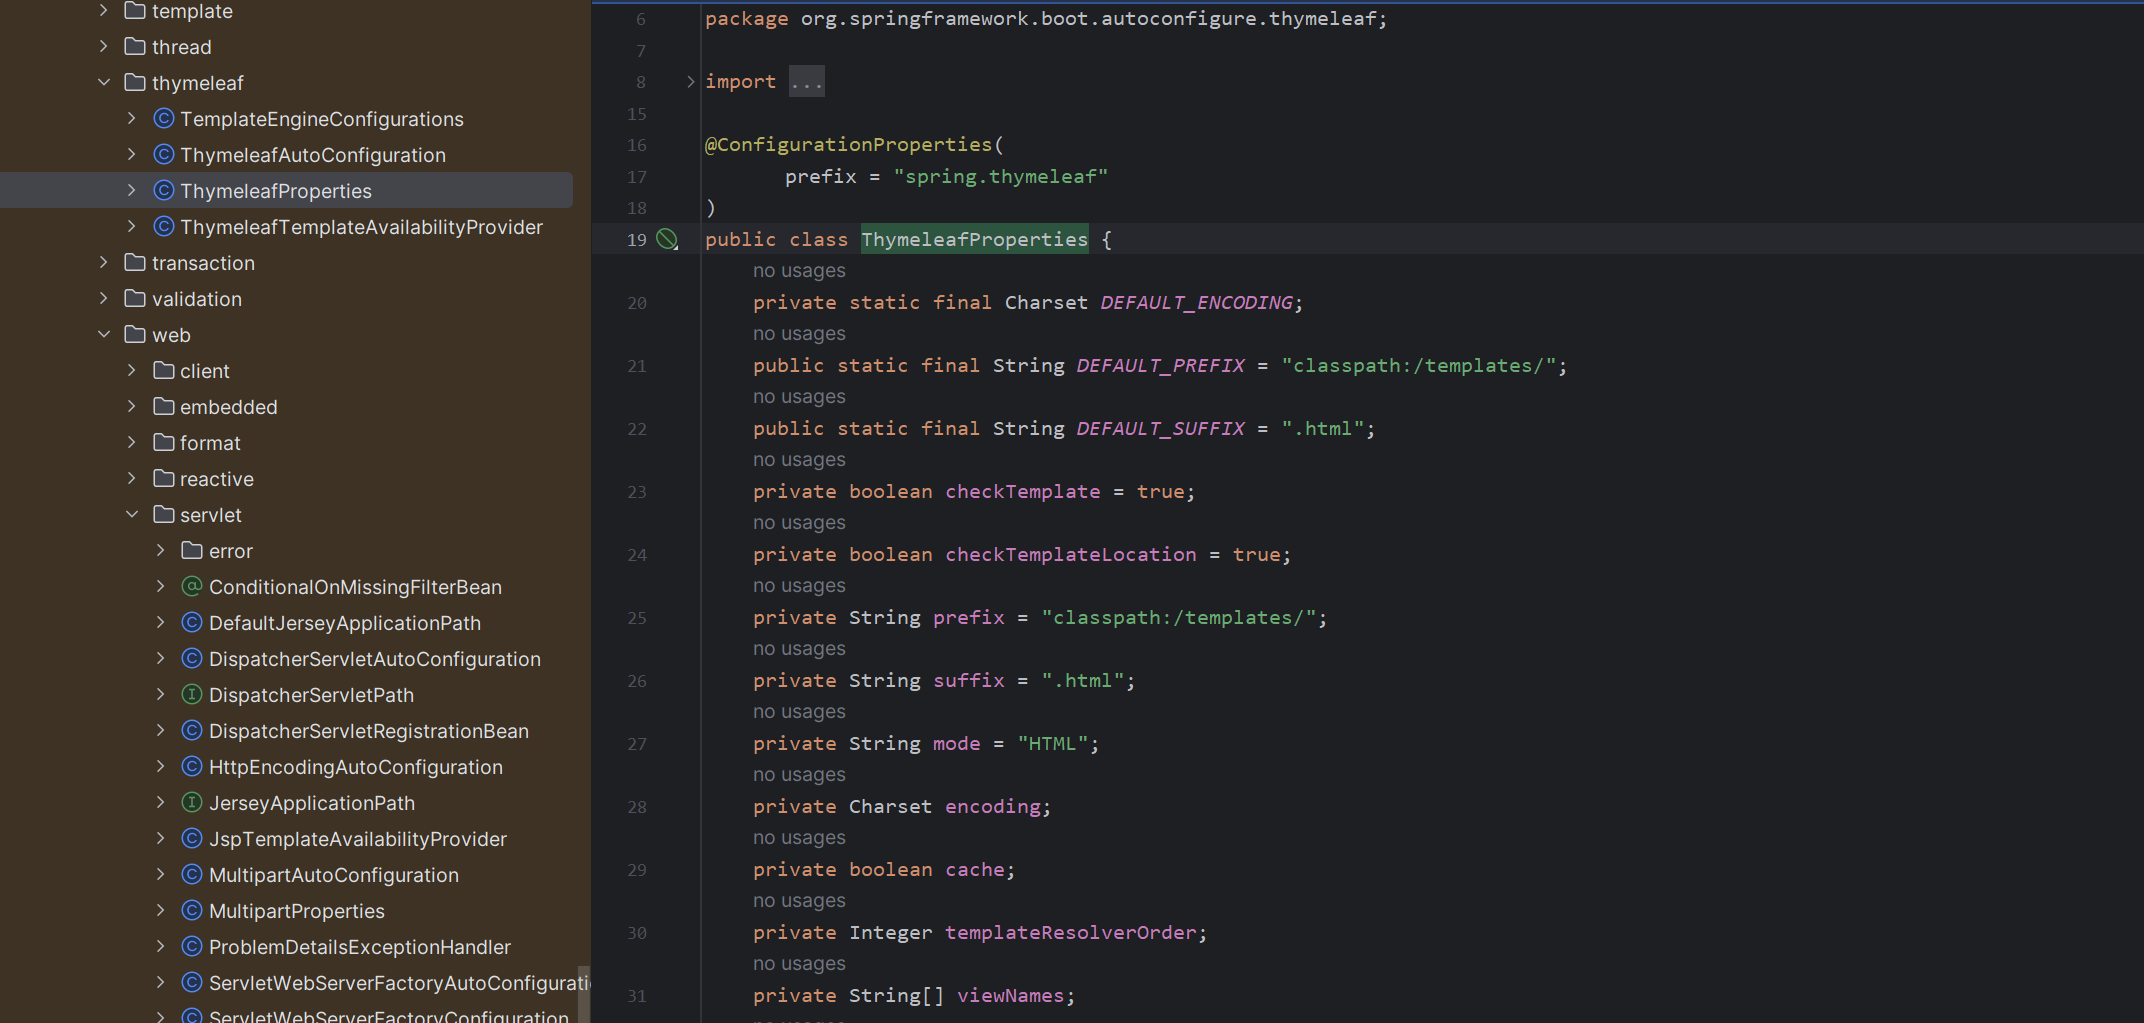
但你仍然可以通过 application.properties 或 application.yml 文件自定义 Thymeleaf 的一些属性。例如:
# 设置Thymeleaf模板文件的前缀位置(默认是`src/main/resources/templates`)
spring.thymeleaf.prefix=classpath:/templates/
# 设置模板文件的后缀(默认是`.html`)
spring.thymeleaf.suffix=.html
# 设置模板模式(默认是HTML5,Thymeleaf 3中为`HTML`)
spring.thymeleaf.mode=HTML
# 开启模板缓存(开发时建议关闭,生产时开启)
spring.thymeleaf.cache=false
3. 创建Thymeleaf模板
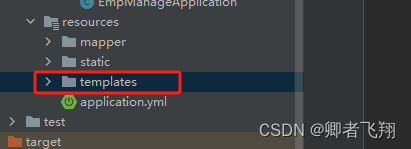
接下来,在 src/main/resources/templates 目录下创建 Thymeleaf 模板文件。例如,创建一个名为 greeting.html 的模板:
<!DOCTYPE html>
<html xmlns:th="http://www.thymeleaf.org">
<head>
    <title>Greeting</title>
</head>
<body>
    <h1 th:text="'Hello, ' + ${name} + '!'">Hello, World!</h1>
</body>
</html>
4. 创建一个Controller
现在,创建一个Spring MVC Controller,用于处理用户请求并返回Thymeleaf模板视图:
import org.springframework.stereotype.Controller;
import org.springframework.ui.Model;
import org.springframework.web.bind.annotation.GetMapping;

@Controller
public class GreetingController {

    @GetMapping("/greeting")
    public String greeting(@RequestParam(name="name", required=false, defaultValue="World") String name, Model model) {
        model.addAttribute("name", name);
        return "greeting";
    }
}
在这个Controller中,greeting 方法处理 /greeting 路径的 GET 请求,接受一个名为 name 的请求参数,并将其添加到模型中。然后,它返回 greeting 作为视图的名称,Spring Boot 会自动使用 Thymeleaf 解析器解析 greeting.html 模板。
5. 运行应用并访问页面
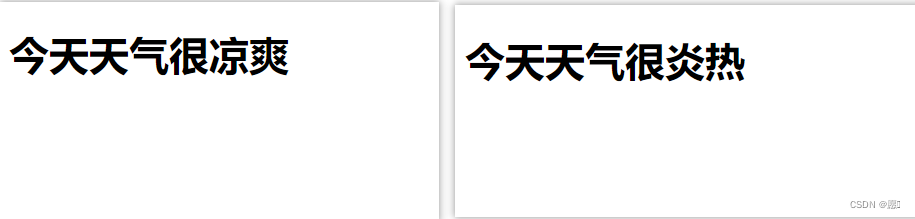
启动你的 Spring Boot 应用,并在浏览器中访问 http://localhost:8080/greeting。你应该能看到基于提供的 name 参数(如果没有提供,则默认为"World")渲染的问候消息。
通过这些步骤,你就可以在 Spring Boot 3 项目中使用 Thymeleaf 模板引擎来渲染动态 Web 页面了。这种方式提供了一个强大而灵活的方法来构建交互式的 Web 应用。
接下来将介绍下 Thymeleaf 的一些常用语法,以便更有效地使用它来创建动态 Web 页面。
Thymeleaf基本语法
Thymeleaf 的表达式和操作主要在HTML模板中以属性的形式出现,使用th:前缀。以下是一些常用的Thymeleaf语法:
变量表达式
${...}:用于访问模型中的数据。<p th:text="${message}">默认消息</p>选择变量表达式
*{...}:用于选择上下文变量的属性,通常与th:object结合使用。<div th:object="${user}"> <p>Name: <span th:text="*{name}">Name</span></p> <p>Email: <span th:text="*{email}">Email</span></p> </div>消息表达式
#{...}:用于国际化和消息。<p th:text="#{welcome.message}">Welcome to our site!</p>链接URL表达式
@{...}:用于生成URL。<a th:href="@{/login}">Login</a>条件表达式
if和unless:用于条件渲染元素。<div th:if="${user.isAdmin}"> <p>Admin features</p> </div> <div th:unless="${user.isAdmin}"> <p>Regular user features</p> </div>循环
th:each:用于遍历集合。<ul> <li th:each="user : ${users}" th:text="${user.name}">User Name</li> </ul>属性值替换
th:attr:用于动态设置HTML属性的值。<input type="text" th:attr="placeholder=#{enter.username},value=${user.name}"/>内联文本
[[]]和[(...)]:用于在HTML属性或文本中直接显示变量和表达式的值。<p th:text="'Welcome, ' + ${user.name} + '!'">Welcome, User!</p> <!-- 内联使用 --> <p>Welcome, [[${user.name}]]!</p>布局属性:Thymeleaf + Thymeleaf Layout Dialect 允许使用布局来重用模板片段,如
th:fragment和th:replace。<!-- 定义片段 --> <div th:fragment="headerFragment"> <p>Header content here...</p> </div> <!-- 引用片段 --> <div th:replace="~{fragments/common :: headerFragment}"></div>
小技巧
格式化:Thymeleaf 提供了一系列的 Utility 对象(#dates, #calendars, #numbers, #strings等)来帮助格式化数据。
param:请求参数对象session:session对象application:application对象#execInfo:模板执行信息#messages:国际化消息#uris:uri/url工具#conversions:类型转换工具#dates:日期工具,是java.util.Date对象的工具类#calendars:类似#dates,只不过是java.util.Calendar对象的工具类#temporals: JDK8+**java.time**API 工具类#numbers:数字操作工具#strings:字符串操作#objects:对象操作#bools:bool操作#arrays:array工具#lists:list工具#sets:set工具#maps:map工具#aggregates:集合聚合工具(sum、avg)#ids:id生成工具
条件类:可以使用
th:classappend根据条件动态添加CSS类,而不是完全替换class属性。JavaScript内联:Thymeleaf 支持在 JavaScript 代码块中内联变量,使用
th:inline="javascript"。引入 devtools 依赖:修改页面后;
ctrl+F9刷新效果;
国际化
Spring Boot 3 对国际化(Internationalization,简称 i18n)的支持继承自 Spring Framework,并且提供了一系列的便捷配置来帮助开发者实现应用的国际化。国际化使得你的应用可以支持多种语言和地区,主要通过使用资源文件来实现,这些资源文件包含了特定语言或地区的文本信息。
实现步骤:
步骤 1: 创建资源文件
Spring Boot 在类路径根下查找 messages 资源绑定文件。文件名为:messages.properties,多语言可以定义多个消息文件,命名为 messages_区域代码.properties
# messages_en_US.properties
welcome.message=Welcome to our application!

# messages_zh_CN.properties
welcome.message=欢迎使用我们的应用程序!
步骤 2: 配置国际化组件
需要配置 Spring Boot 应用以使用这些资源文件。这通常通过定义一个 MessageSource bean 和一个 LocaleResolver bean 来完成。
import org.springframework.context.MessageSource;
import org.springframework.context.annotation.Bean;
import org.springframework.context.annotation.Configuration;
import org.springframework.context.support.ReloadableResourceBundleMessageSource;
import org.springframework.web.servlet.LocaleResolver;
import org.springframework.web.servlet.i18n.SessionLocaleResolver;

import java.util.Locale;

@Configuration
public class InternationalizationConfig {

    @Bean
    public MessageSource messageSource() {
        ReloadableResourceBundleMessageSource messageSource = new ReloadableResourceBundleMessageSource();
        messageSource.setBasename("classpath:messages");
        messageSource.setDefaultEncoding("UTF-8");
        return messageSource;
    }

    @Bean
    public LocaleResolver localeResolver() {
        SessionLocaleResolver sessionLocaleResolver = new SessionLocaleResolver();
        sessionLocaleResolver.setDefaultLocale(Locale.US); // 设置默认区域
        return sessionLocaleResolver;
    }
}
步骤 3: 使用国际化资源
在 Spring Boot 应用中,你可以通过 MessageSource 获取国际化的消息。例如,在一个控制器中,你可以这样做:
import org.springframework.beans.factory.annotation.Autowired;
import org.springframework.context.MessageSource;
import org.springframework.web.bind.annotation.GetMapping;
import org.springframework.web.bind.annotation.RestController;
import org.springframework.web.servlet.LocaleResolver;

import javax.servlet.http.HttpServletRequest;
import java.util.Locale;

@RestController
public class WelcomeController {

    @Autowired
    private MessageSource messageSource;

    @Autowired
    private LocaleResolver localeResolver;

    @GetMapping("/welcome")
    public String welcome(HttpServletRequest request) {
        Locale locale = localeResolver.resolveLocale(request);
        return messageSource.getMessage("welcome.message", null, locale);
    }
}
通过这种方式,根据客户端请求的 Accept-Language 头或会话中的区域设置信息,welcome 接口会返回相应语言的欢迎信息。
Thymeleaf 的强大之处在于它提供了丰富的表达式来处理几乎所有的 Web 应用场景,从简单的变量替换到复杂的条件逻辑和列表处理,再到布局和模板重用,都可以用直观且易于理解的方式完成。