示例
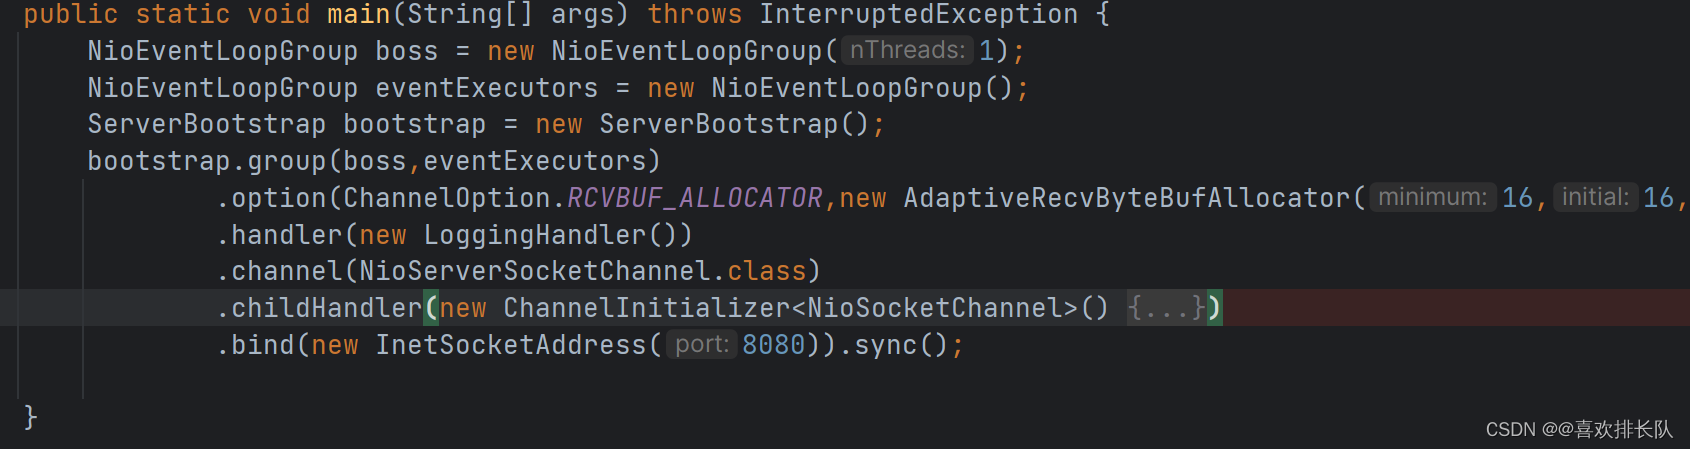
还是拿之前启动源码的示例,来分析NioEventLoopGroup源码
NioEventLoopGroup构造函数
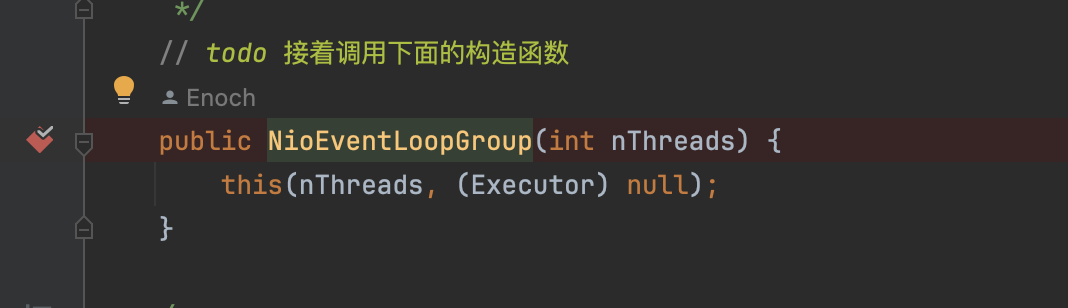


这里能看到会调到父类的MultiThread EventLoopGroup的构造方法
MultiThreadEventLoopGroup

这里我们能看到,如果传入的线程数目为0,那么就会设置2倍的核心的线程数目
接着,继续会调用父类的MultithreadEventExecutorGroup的构造方法
MultiThreadEventExecutorGroup
// todo 在这个构造方法中,完成了一些属性的赋值, 彻底构造完成  事件循环组对象
// todo  Object... args  是 selectorProvider, selectStrategyFactory, RejectedExecutionHandlers.reject()的简写
protected MultithreadEventExecutorGroup(int nThreads, Executor executor,
                                        EventExecutorChooserFactory chooserFactory, Object... args) {

    if (nThreads <= 0) {

        throw new IllegalArgumentException(String.format("nThreads: %d (expected: > 0)", nThreads));
    }

    if (executor == null) {

        // todo 下面需要的参数,一开始使用无参的构造方法时, 传递进来的 就是null ,执行这一行代码, 创建默认的线程工厂
        // todo ThreadPerTaskExecutor  意味为当前的事件循环组   创建Executor , 用于 针对每一个任务的Executor   线程的执行器
        // todo  newDefaultThreadFactory根据它的特性,可以给线程加名字等,
        // todo 比传统的好处是 把创建线程和 定义线程需要做的任务分开, 我们只关心任务,  两者解耦
        // todo 每次执行任务都会创建一个线程实体
        // todo NioEventLoop 线程命名规则  nioEventLoop-1-XX    1代表是第几个group   XX第几个eventLoop
        executor = new ThreadPerTaskExecutor(newDefaultThreadFactory());
    }
    // todo children是线程执行器组里面的线程执行器
    children = new EventExecutor[nThreads];

    // todo  循环实例化
    for (int i = 0; i < nThreads; i++) {

        boolean success = false;
        try {

            // todo 创建EventLoop, 直接看一下这个newChild , 它的返回值是 EventExecutor , 但是如果我们直接去看它子类的实现的话
            // todo 会发现new 的实例其实的 NioEventLoop, 这并不奇怪, 因为,NioEventLoop间接实现了 EventExecutor 接口
            // todo 换句话说, 其实就是 NioEventLoop 就是 拥有线程执行器的功能
            children[i] = newChild(executor, args);
            success = true;
        } catch (Exception e) {

            // TODO: Think about if this is a good exception type
            throw new IllegalStateException("failed to create a child event loop", e);
        } finally {

            if (!success) {

                for (int j = 0; j < i; j++) {

                    children[j].shutdownGracefully();
                }

                for (int j = 0; j < i; j++) {

                    EventExecutor e = children[j];
                    try {

                        while (!e.isTerminated()) {

                            e.awaitTermination(Integer.MAX_VALUE, TimeUnit.SECONDS);
                        }
                    } catch (InterruptedException interrupted) {

                        // Let the caller handle the interruption.
                        Thread.currentThread().interrupt();
                        break;
                    }
                }
            }
        }
    }
    // todo chooser 在这里 初始化了
    chooser = chooserFactory.newChooser(children);

    final FutureListener<Object> terminationListener = new FutureListener<Object>() {

        @Override
        public void operationComplete(Future<Object> future) throws Exception {

            if (terminatedChildren.incrementAndGet() == children.length) {

                terminationFuture.setSuccess(null);
            }
        }
    };

    for (EventExecutor e : children) {

        e.terminationFuture().addListener(terminationListener);
    }

    Set<EventExecutor> childrenSet = new LinkedHashSet<EventExecutor>(children.length);
    Collections.addAll(childrenSet, children);
    readonlyChildren = Collections.unmodifiableSet(childrenSet);
}
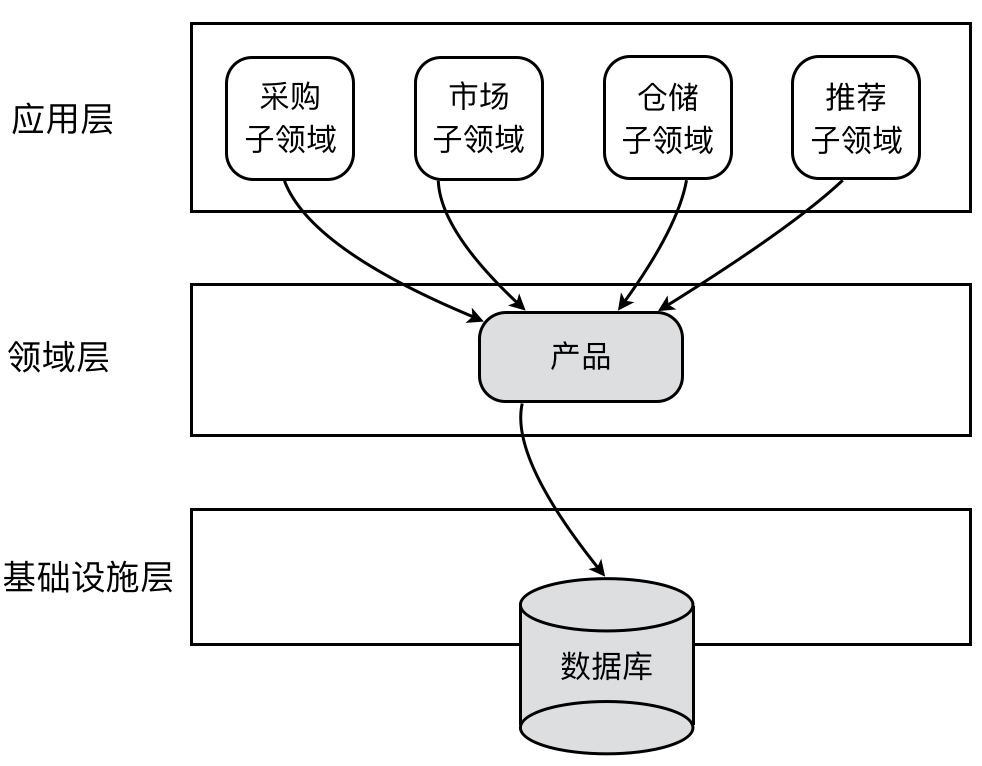
总结一下,这里一共做了几件事:
- 创建线程执行器:ThreadPerTaskExecutor
- 创建线程执行器里面的线程执行器:for {newChild}
- 创建线程选择器
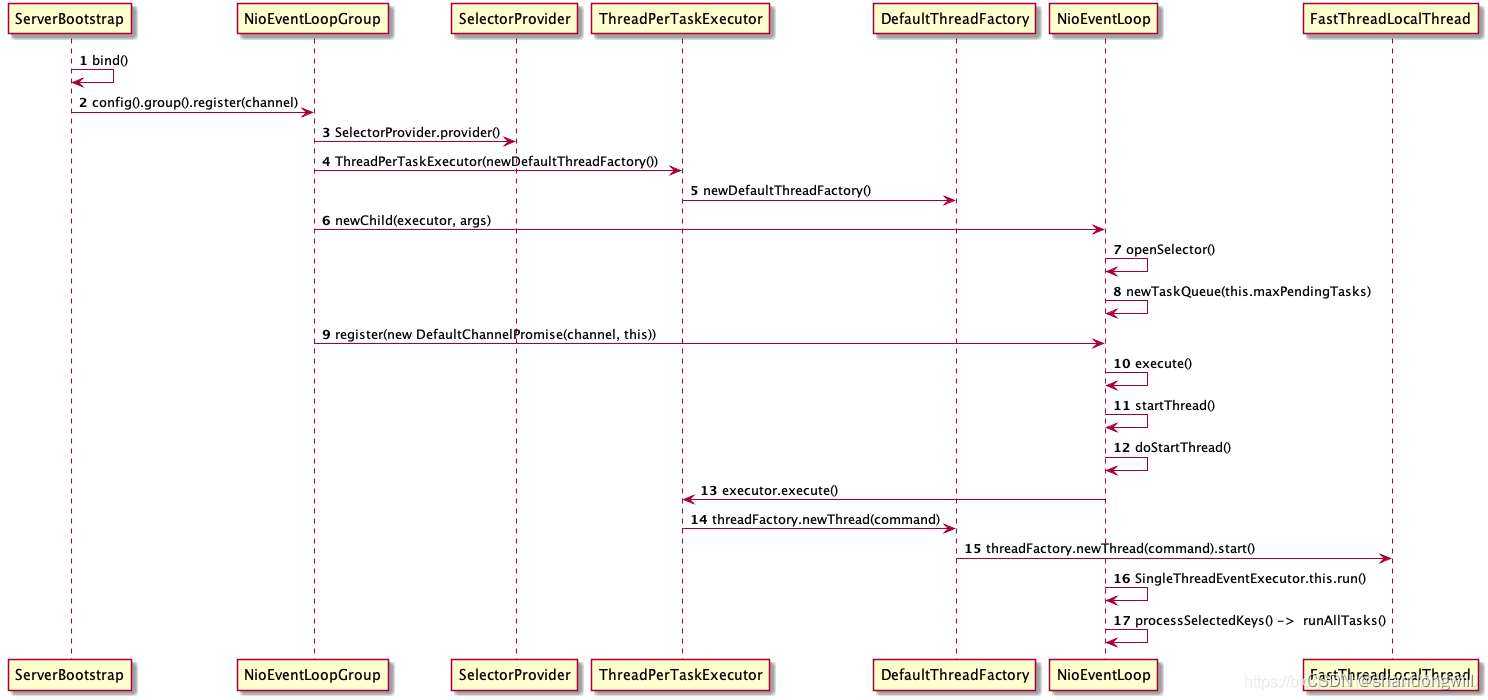
用一张图总结一下:
这里的newChild比较重要,需要进一步分析, 父类的newChild最终会调用到子类 NioEventLoopGroup的newChild方法
NioEventLoopGroup
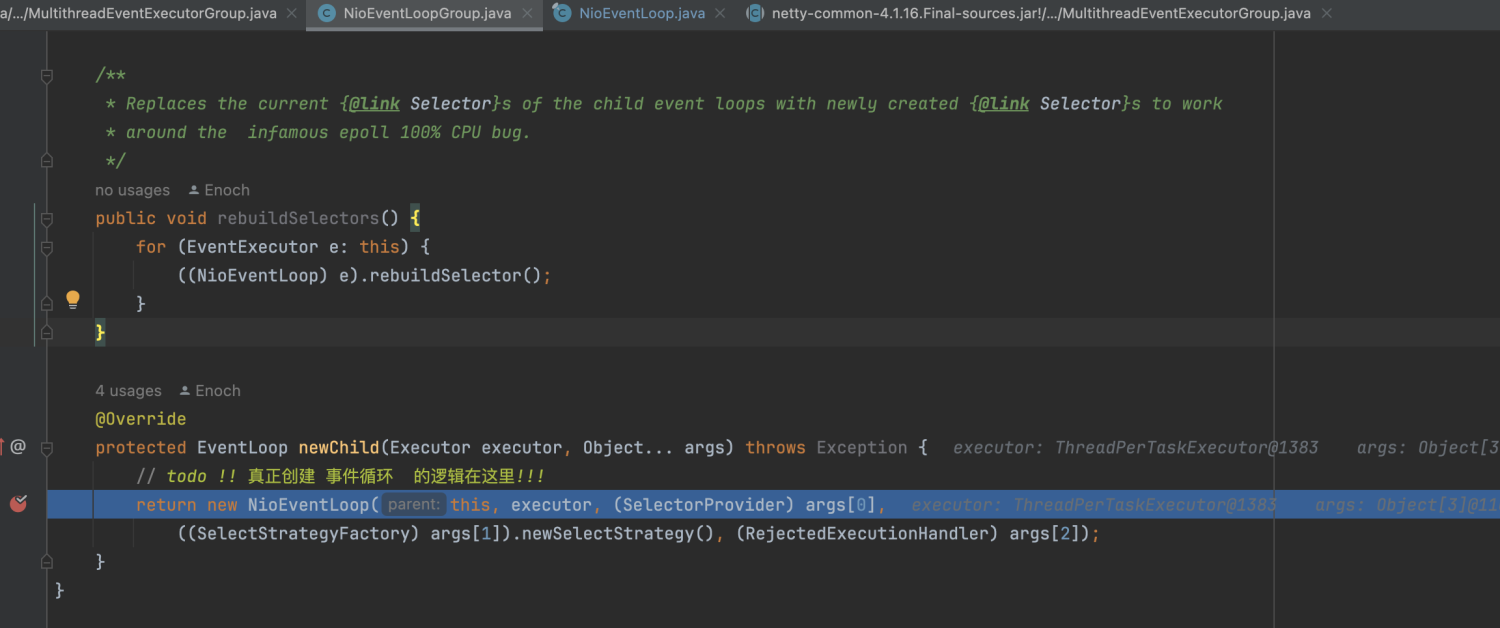
这里几个参数说明一下:
- 第一个是父类MutiThreadEventLoopGroup
- 第二个是父类创建的执行器ThreadPerTaskExecutor
- 第三个是SelectProvider:根据不同的系统来调用select
- 第四个是SelectStrategy
- 第五个是拒绝处理器
这里会调用到NioEventLoop的构造方法
NioEventLoop
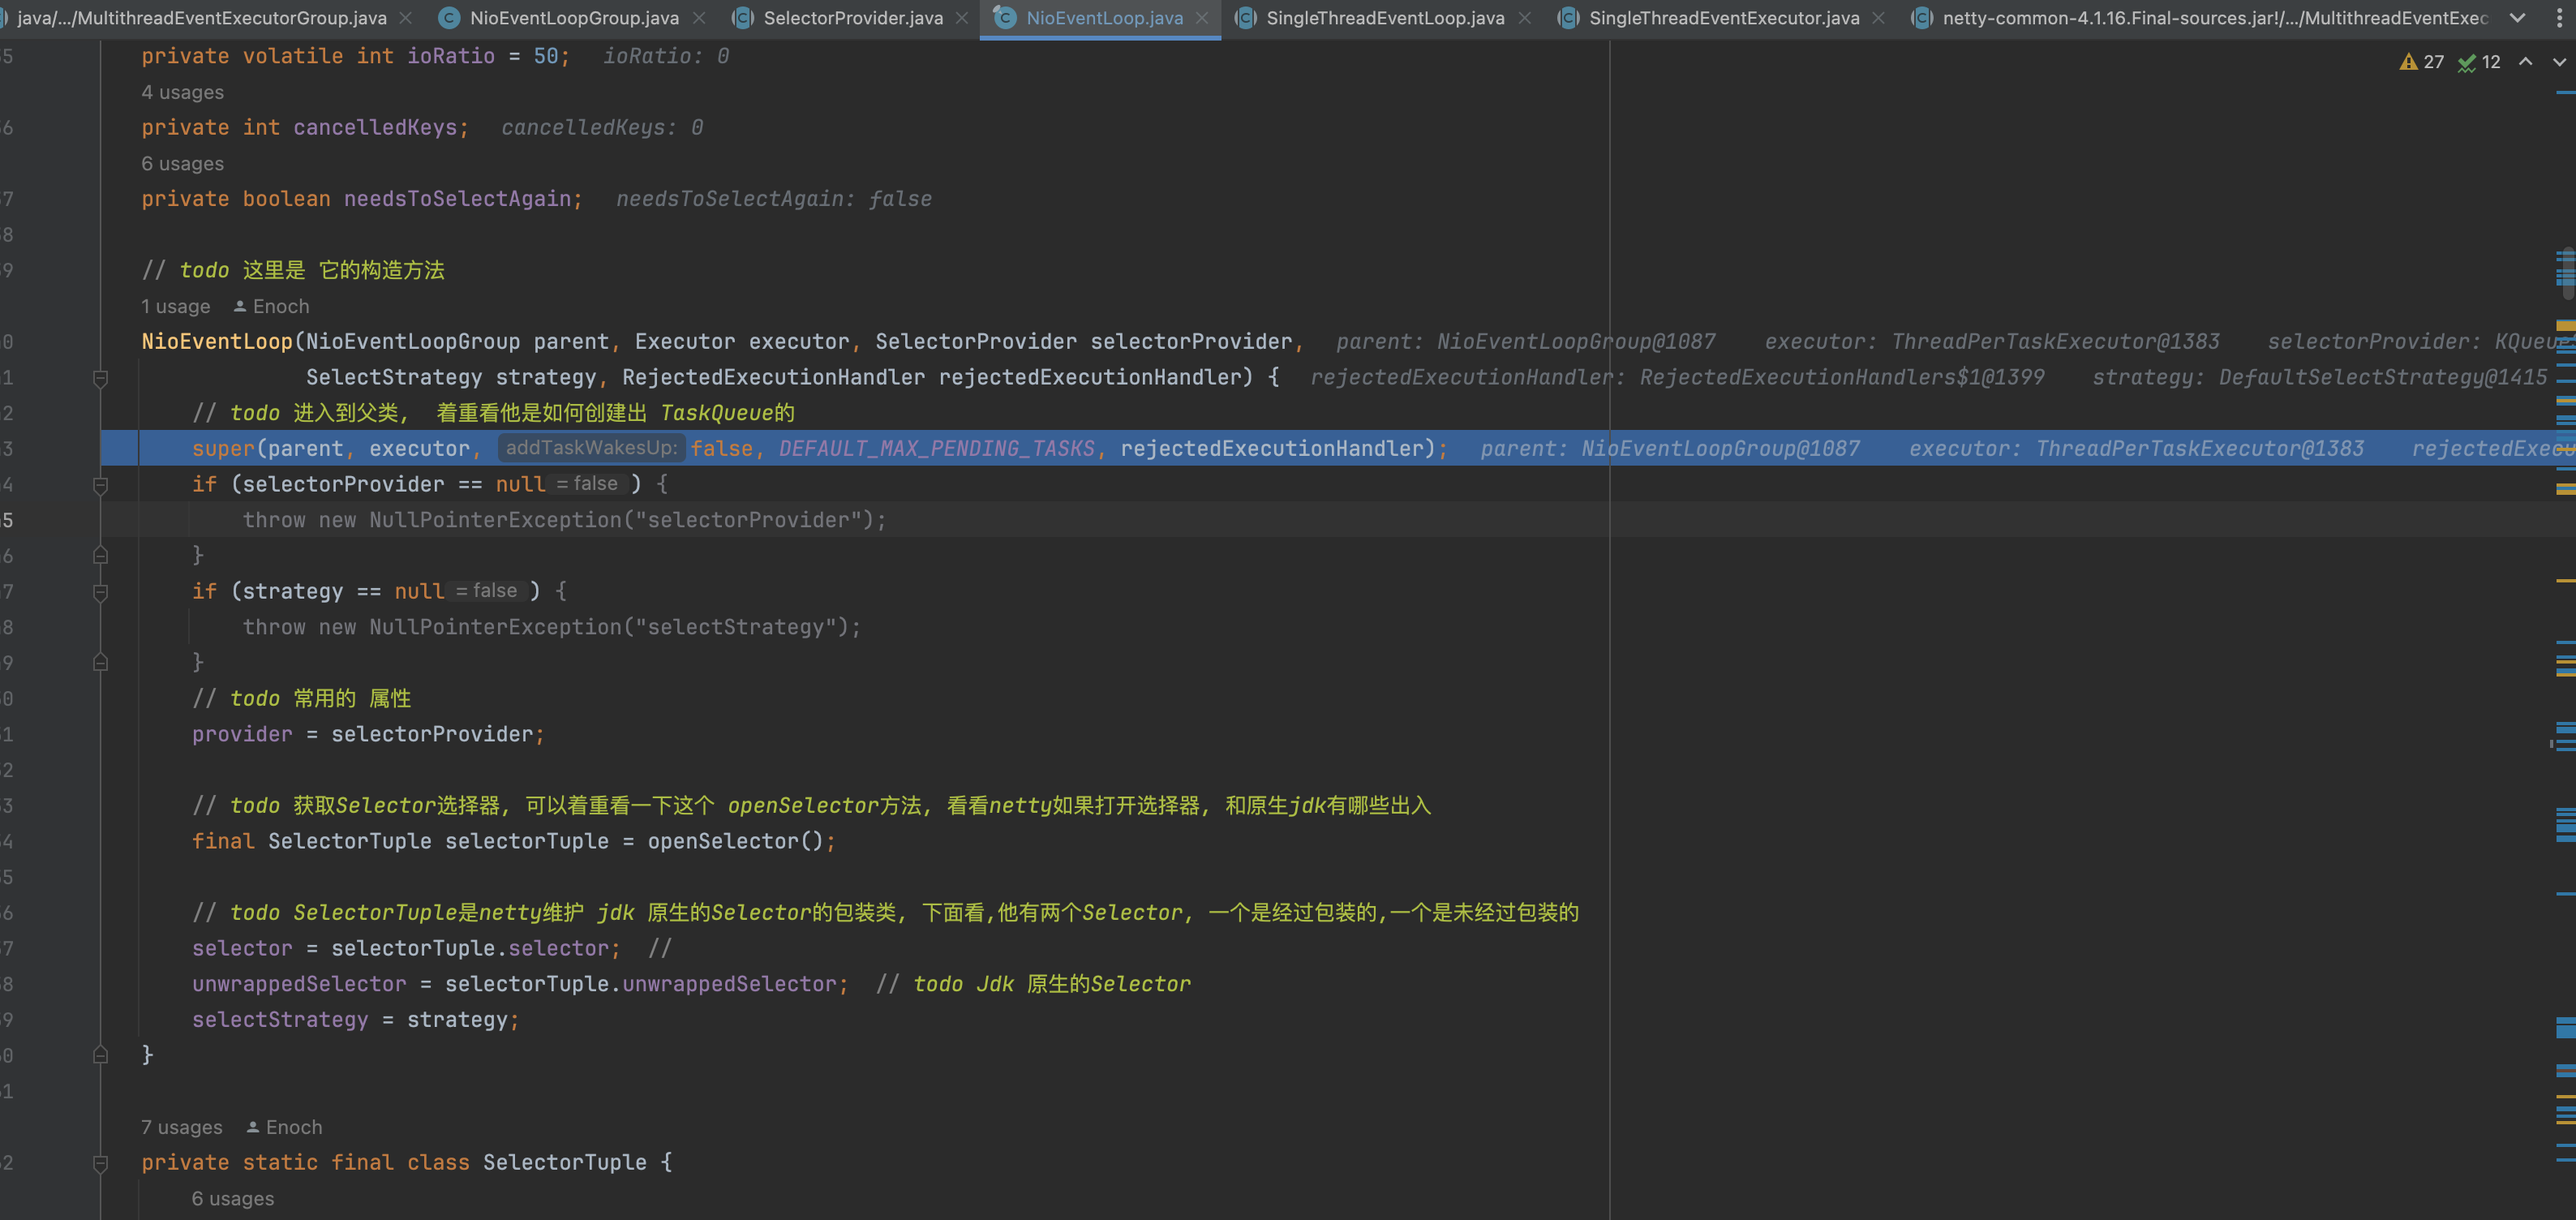
后面就到了NioEventLoopGroup的创建流程了,这里就不详细debug了