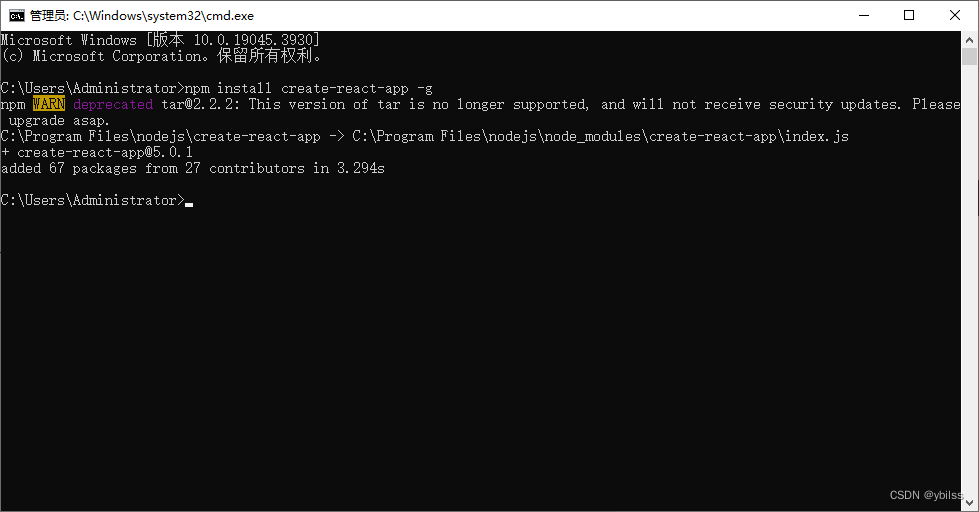
在阅读本篇文章之前,可以阅读一下这篇文章 json-server的基础使用
因为我们接下来需要使用到json-server
在使用axios之前我们需要导入axios
介绍2种情况:
一、在项目中使用
我们一般都是使用以下两种方法安装
npm i axios
yarn add axios
二、在普通学习时
我们可以用 CDN 的方式引入
<script src="https://cdn.bootcdn.net/ajax/libs/axios/1.5.0/axios.js"></script>
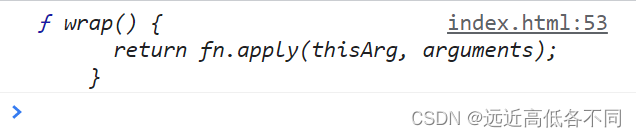
打印输出:
console.log(axios);
axios发送常见的四种请求方式
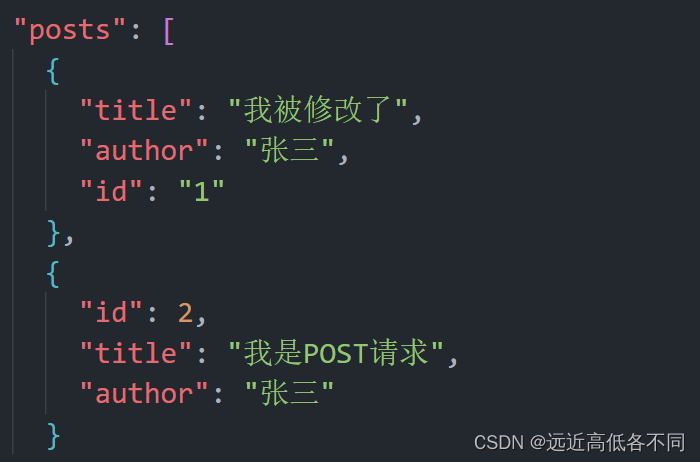
特别注意:大家可以尝试修改操作的id值,如果报错,可以在终端重新执行json-server
在大家操作之前,请大家看一下本人的这篇json-server的基础操作,把里面的示例复制好后,再操作下面案例
<!DOCTYPE html>
<html lang="en">
<head>
<meta charset="UTF-8">
<title></title>
</head>
<body>
<button>发送GET请求</button>
<button>发送POST请求</button>
<button>发送PUT请求</button>
<button>发送DELETE请求</button>
</body>
<script src="https://cdn.bootcdn.net/ajax/libs/axios/1.5.0/axios.js"></script>
<script>
// 获取所有按钮
const btn = document.querySelectorAll("button")
// GET请求
btn[0].onclick = function () {
// 发送AJAX请求
axios({
// 请求类型
method: "GET",
// URL
url: "http://localhost:3000/posts"
}).then(response => {
console.log(response);
})
}
// POST请求
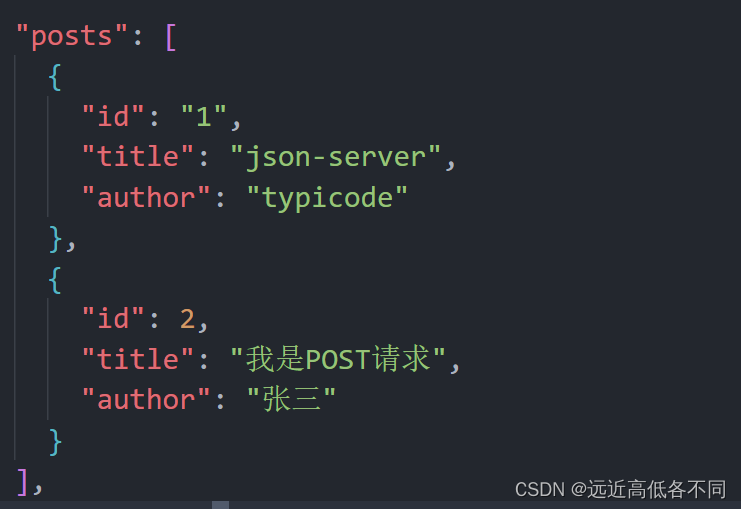
btn[1].onclick = function () {
// 发送AJAX请求
axios({
// 请求类型
method: "POST",
// URL
url: "http://localhost:3000/posts",
// 需要设置请求体
data: {
// json-server 会保存
id: 2,
title: "我是POST请求",
author: "张三"
}
}).then(response => {
console.log(response);
})
}
// PUT请求
btn[2].onclick = function () {
// 发送AJAX请求
axios({
// 请求类型
method: "PUT",
// URL 修改id为1的数据
url: "http://localhost:3000/posts/1",
// 需要设置请求体
data: {
title: "我被修改了",
author: "张三"
}
}).then(response => {
console.log(response);
})
}
// DELETE请求
btn[3].onclick = function () {
// 发送AJAX请求
axios({
// 请求类型
method: "DELETE",
// URL 删除id为1的数据
url: "http://localhost:3000/posts/1",
}).then(response => {
console.log(response);
})
}
</script>
</html>
点击GET请求按钮

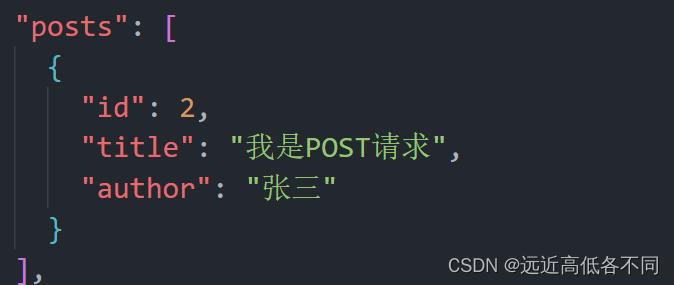
点击POST请求按钮
点击PUT请求按钮
点击DELETE请求按钮
感谢大家的阅读,如有不对的地方,可以向我提出,感谢大家!