编程如画,我是panda!
前言
之前给大家分享了如何搭建openpose环境,并进行了测试案例,但是如果要使用摄像头的话,还需要修改一下运行文件,并且这次会教大家如何输出到json文件 。
如果环境还没有搭建好,请参见我的博客:openpose环境搭建
一、了解输出格式
输出:
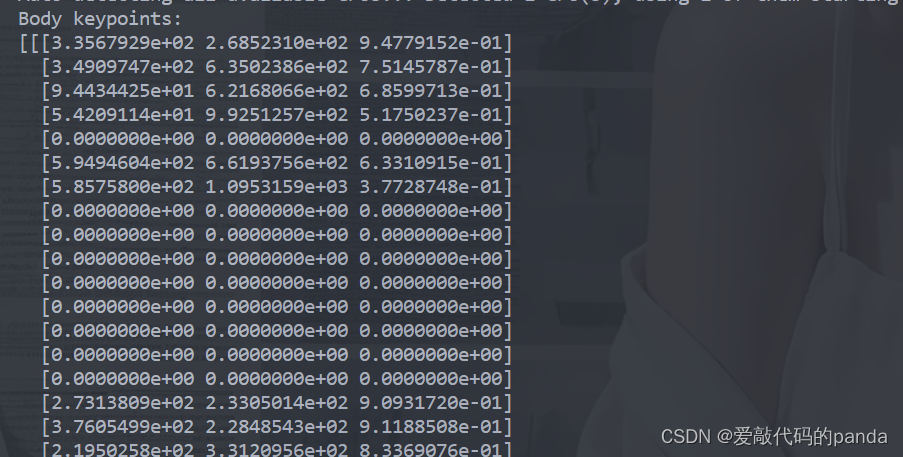

如果你使用一张图片进行测试,会得到一个n*25*3的矩阵, n代表检测到了几个人,25代表25个节点,3代表了(x坐标,y坐标,置信度)。
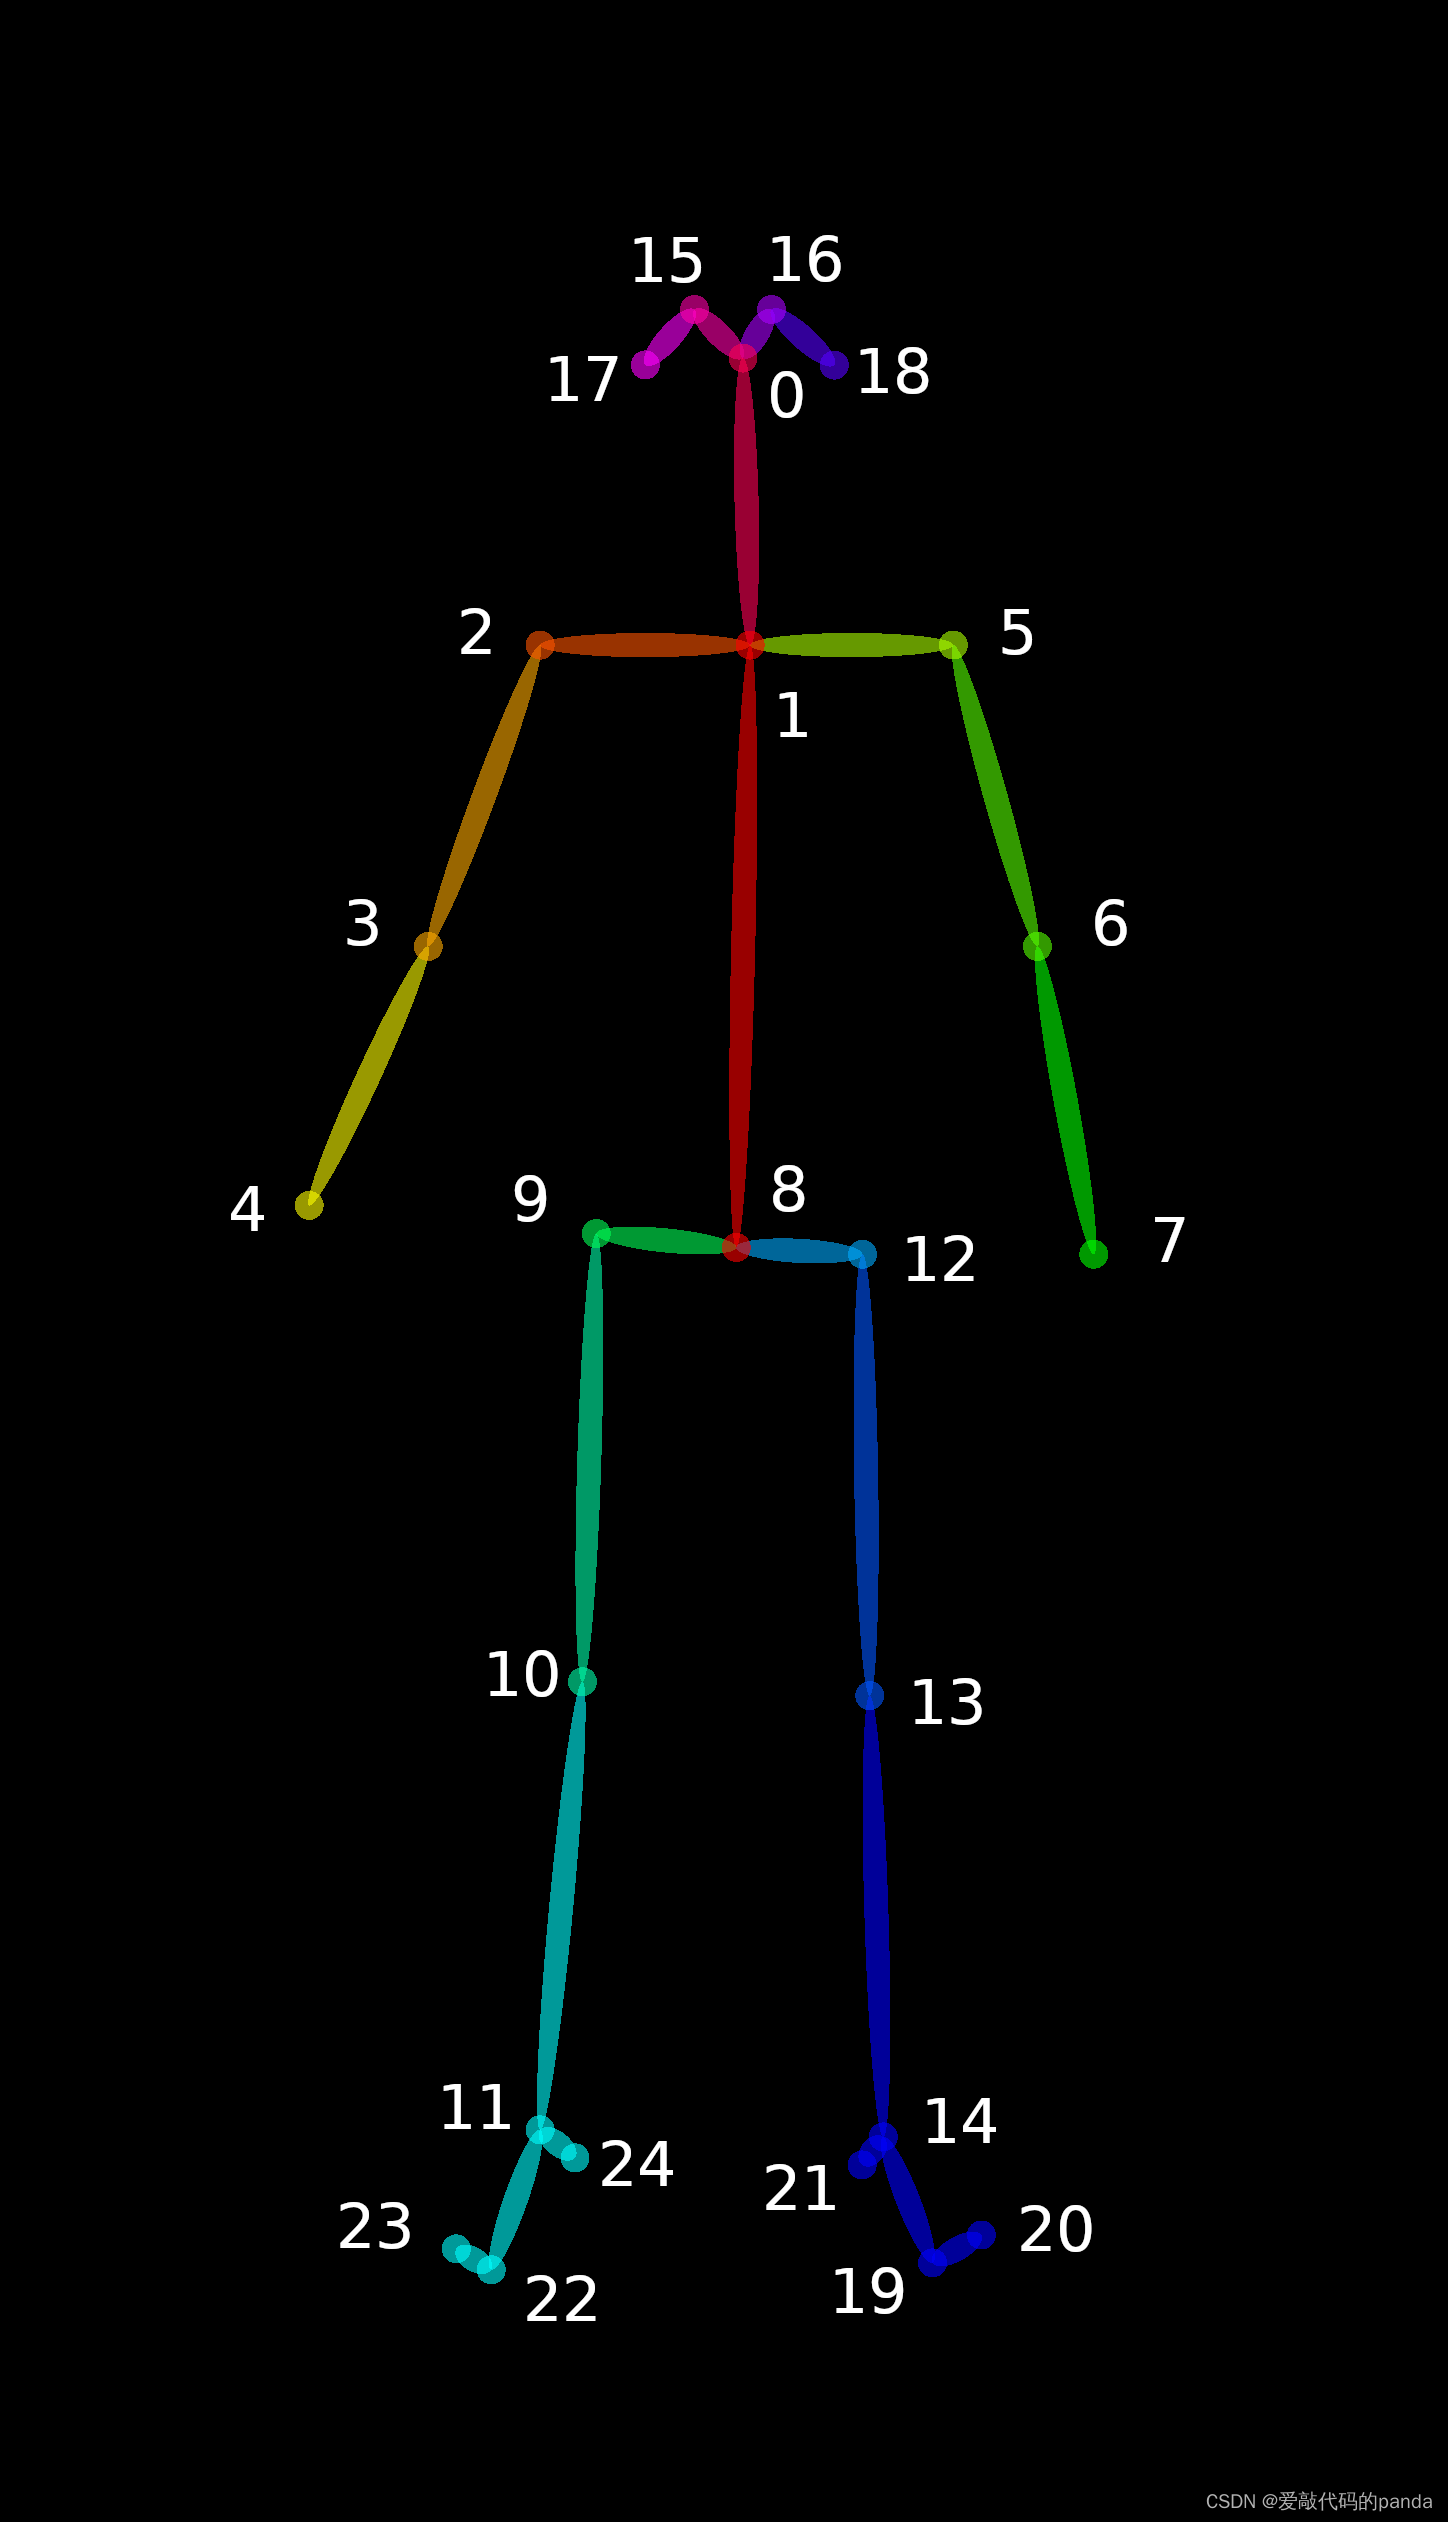
25个节点分别为:
// const std::map<unsigned int, std::string> POSE_BODY_25_BODY_PARTS {
//     {0,  "Nose"},
//     {1,  "Neck"},
//     {2,  "RShoulder"},
//     {3,  "RElbow"},
//     {4,  "RWrist"},
//     {5,  "LShoulder"},
//     {6,  "LElbow"},
//     {7,  "LWrist"},
//     {8,  "MidHip"},
//     {9,  "RHip"},
//     {10, "RKnee"},
//     {11, "RAnkle"},
//     {12, "LHip"},
//     {13, "LKnee"},
//     {14, "LAnkle"},
//     {15, "REye"},
//     {16, "LEye"},
//     {17, "REar"},
//     {18, "LEar"},
//     {19, "LBigToe"},
//     {20, "LSmallToe"},
//     {21, "LHeel"},
//     {22, "RBigToe"},
//     {23, "RSmallToe"},
//     {24, "RHeel"},
//     {25, "Background"}
// };
二、使用摄像头
openpose中有很多参数,可以使用参数来控制是否使用摄像头:
import os
import sys
import cv2
from sys import platform
import argparse
import numpy as np

dir_path = os.path.dirname(os.path.realpath(__file__))
sys.path.append(dir_path)
os.environ['PATH'] = os.environ['PATH'] + ';' + dir_path + '/bin;'
import pyopenpose as op

print(op)
print("成功引入pyopenpose")

parser = argparse.ArgumentParser()
parser.add_argument("--camera", default=0, help="Camera index for capturing video. Default is 0.")
args = parser.parse_known_args()

# Custom Params
params = dict()
params["model_folder"] = "models/"
params["net_resolution"] = "368x256"

# Starting OpenPose
opWrapper = op.WrapperPython()
opWrapper.configure(params)
opWrapper.start()

# Start capturing from the camera
cap = cv2.VideoCapture(int(args[0].camera))

while True:
    # Read a frame from the camera
    ret, frame = cap.read()
    if not ret:
        break

    # Process the frame
    datum = op.Datum()
    datum.cvInputData = frame
    opWrapper.emplaceAndPop(op.VectorDatum([datum]))

    # Display the result
    print("Body keypoints: \n" + str(datum.poseKeypoints))
    cv2.imshow("OpenPose 1.7.0 - Tutorial Python API", datum.cvOutputData)

    # Break the loop when 'q' is pressed
    if cv2.waitKey(1) & 0xFF == ord('q'):
        break

# Release resources
cap.release()
cv2.destroyAllWindows()
opWrapper.stop()
如果你想输出到json文件,可以设置参数:
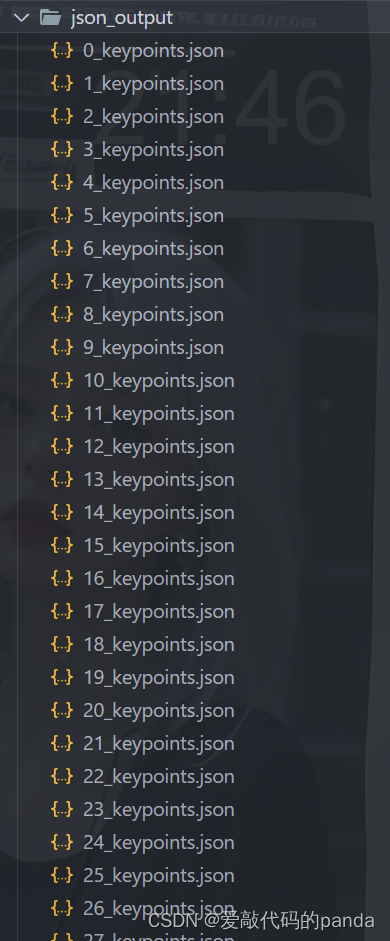
params["write_json"] = "json_output/" # 指定保存 JSON 文件的目录完整代码如下:
import os
import sys
import cv2
from sys import platform
import argparse
import json  # 添加 json 模块

dir_path = os.path.dirname(os.path.realpath(__file__))
sys.path.append(dir_path)
os.environ['PATH'] = os.environ['PATH'] + ';' + dir_path + '/bin;'
import pyopenpose as op

print(op)
print("成功引入pyopenpose")

parser = argparse.ArgumentParser()
parser.add_argument("--camera", default=0, help="Camera index for capturing video. Default is 0.")
args = parser.parse_known_args()

# Custom Params
params = dict()
params["model_folder"] = "models/"
params["net_resolution"] = "368x256"
params["write_json"] = "json_output/"  # 指定保存 JSON 文件的目录

# Starting OpenPose
opWrapper = op.WrapperPython()
opWrapper.configure(params)
opWrapper.start()

# Start capturing from the camera
cap = cv2.VideoCapture(int(args[0].camera))

while True:
    # Read a frame from the camera
    ret, frame = cap.read()
    if not ret:
        break

    # Process the frame
    datum = op.Datum()
    datum.cvInputData = frame
    opWrapper.emplaceAndPop(op.VectorDatum([datum]))

    # Display the result
    print("Body keypoints: \n" + str(datum.poseKeypoints))

    # Check if JSON file exists and read keypoints from JSON
    json_path = os.path.join(params["write_json"], f"{str(args[0].camera)}.json")
    if os.path.exists(json_path):
        with open(json_path, 'r') as json_file:
            json_data = json.load(json_file)
            keypoints = json_data["people"][0]["pose_keypoints_2d"]
            print("Body keypoints from JSON: \n", keypoints)

    cv2.imshow("OpenPose 1.7.0 - Tutorial Python API", datum.cvOutputData)

    # Break the loop when 'q' is pressed
    if cv2.waitKey(1) & 0xFF == ord('q'):
        break

# Release resources
cap.release()
cv2.destroyAllWindows()
opWrapper.stop()
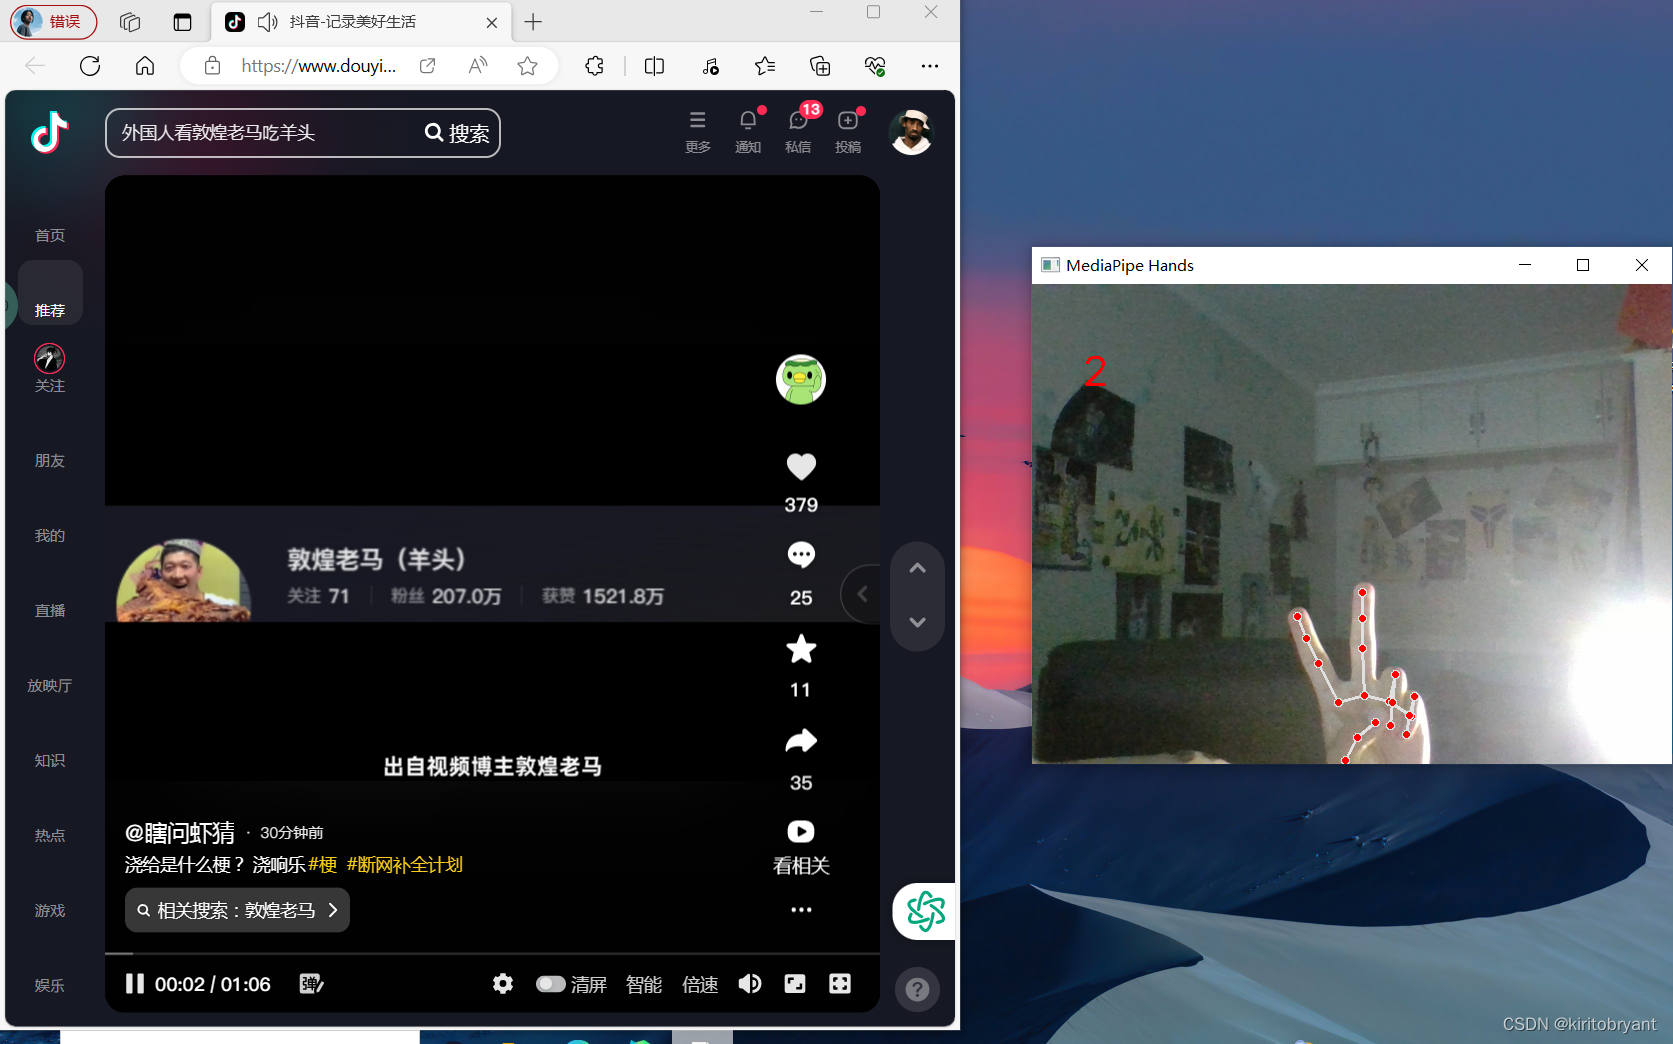
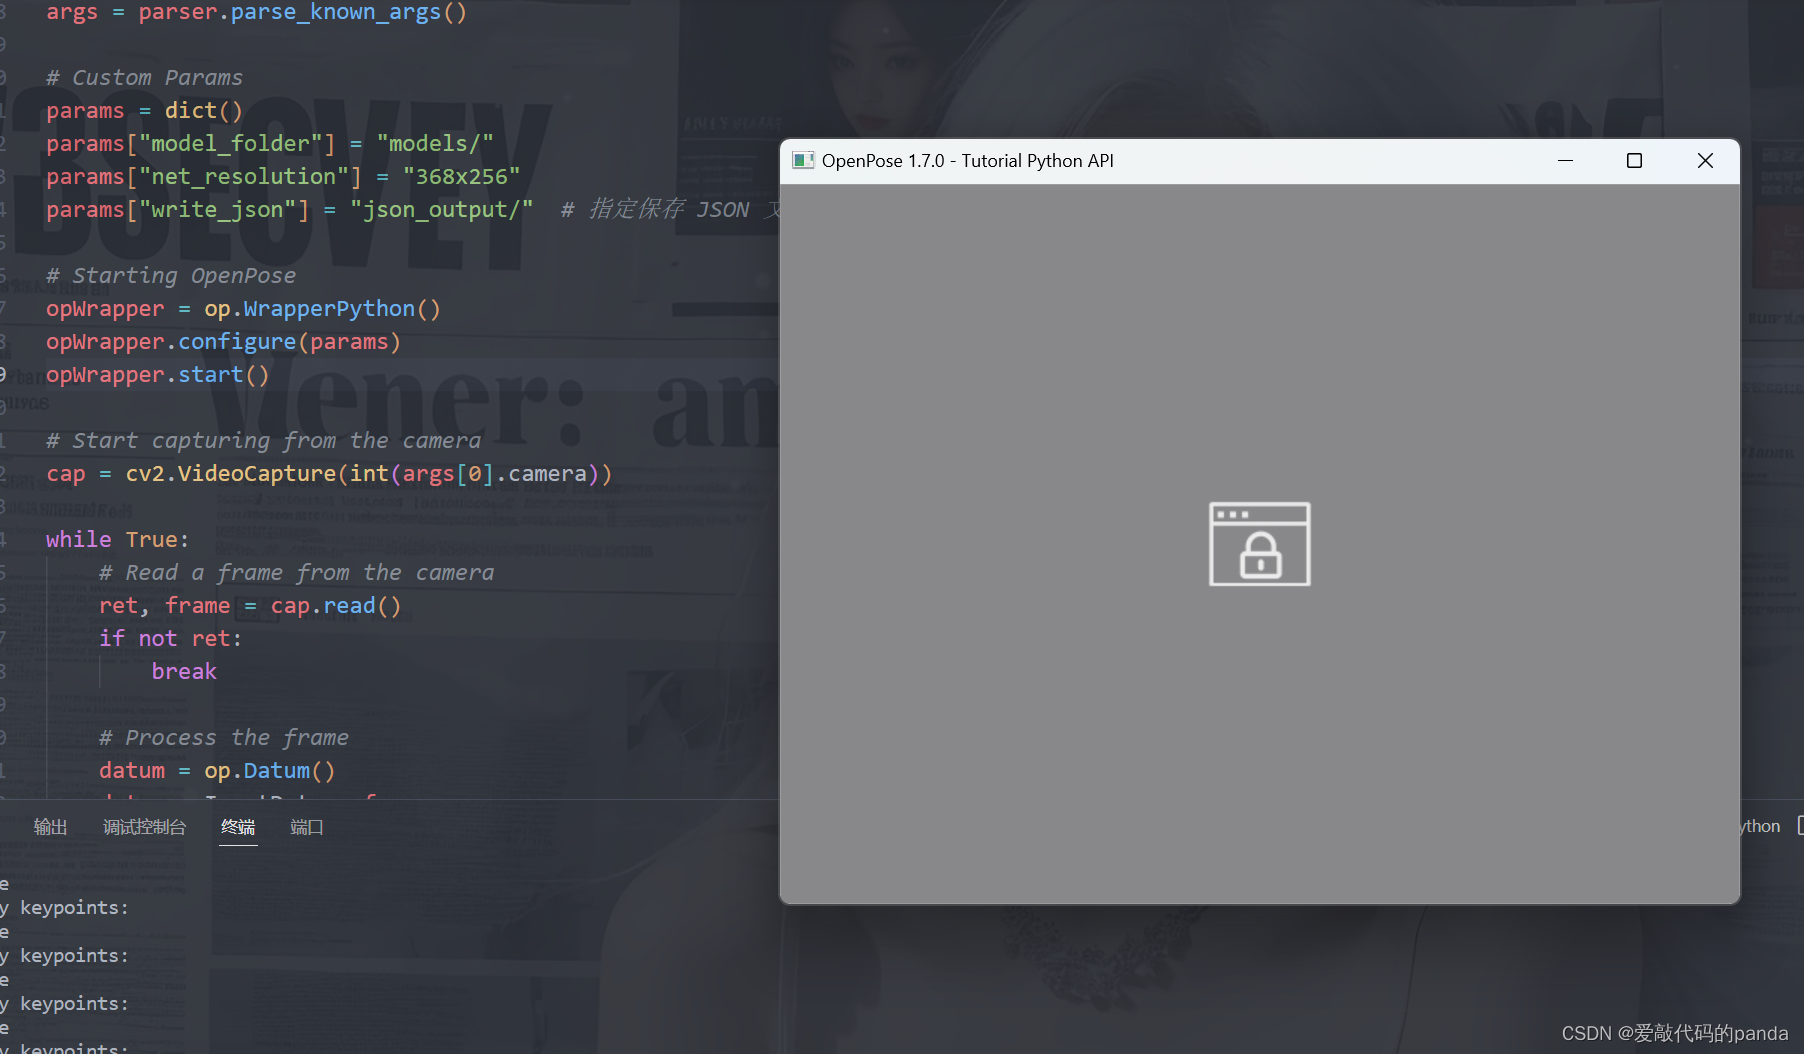
结果:(要把摄像头打开哈,我就不打开了(●'◡'●))
然后会得到json文件夹: